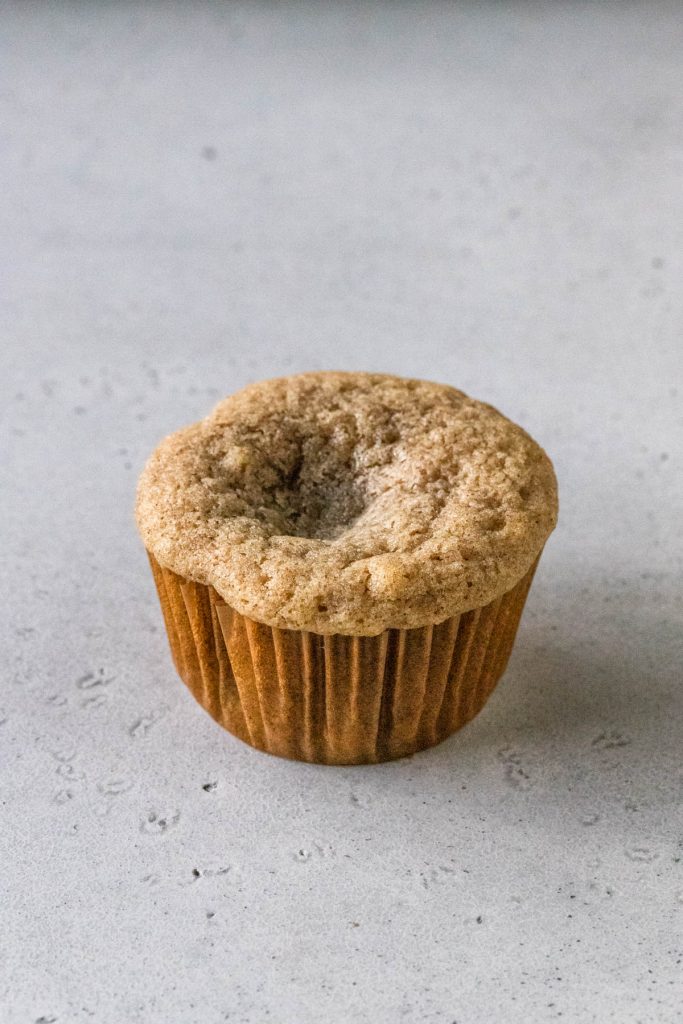
Why Did My Cupcakes Sink
Hello friends! I am here to answer a very common question: why did my cupcakes sink?
Today I will tell you 10 reasons why cupcakes sink, and how to fix them, so you can bake better beautiful cupcakes!
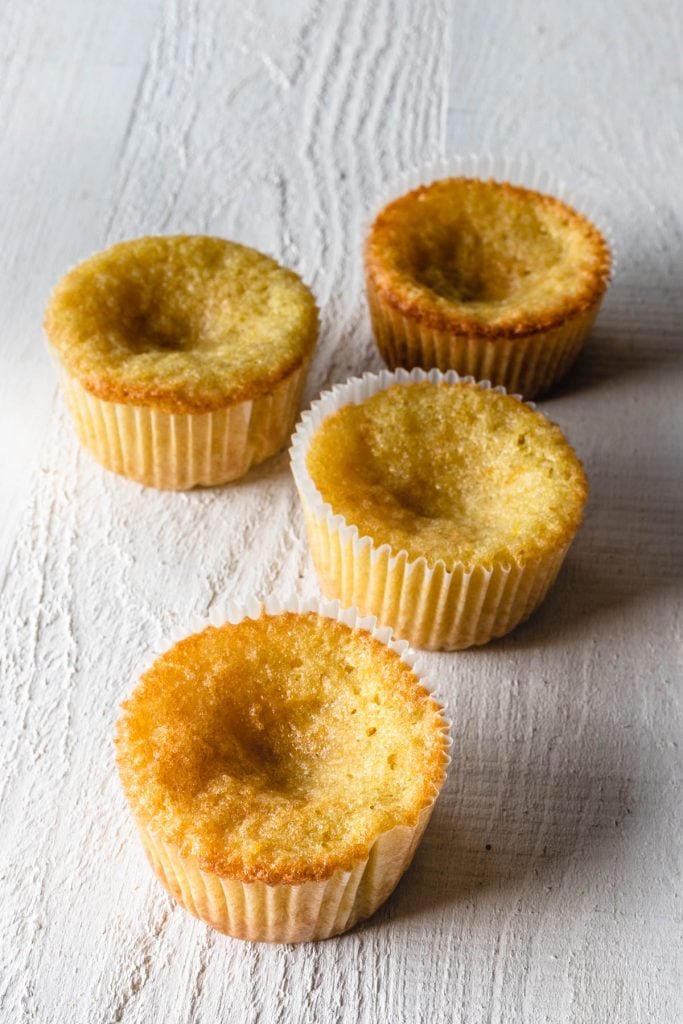
I am sure that if you have baked enough, you’ve encountered this issue: cupcakes that sink in the middle.
This post may contain affiliate links. I earn a commission from qualified purchases. Please read our Privacy policy here.
If you have asked yourself: “why did my cupcakes sink in the middle?”, I am here to help!

Why did my cupcakes sink?
There are a few reasons why cupcakes sink in the middle.
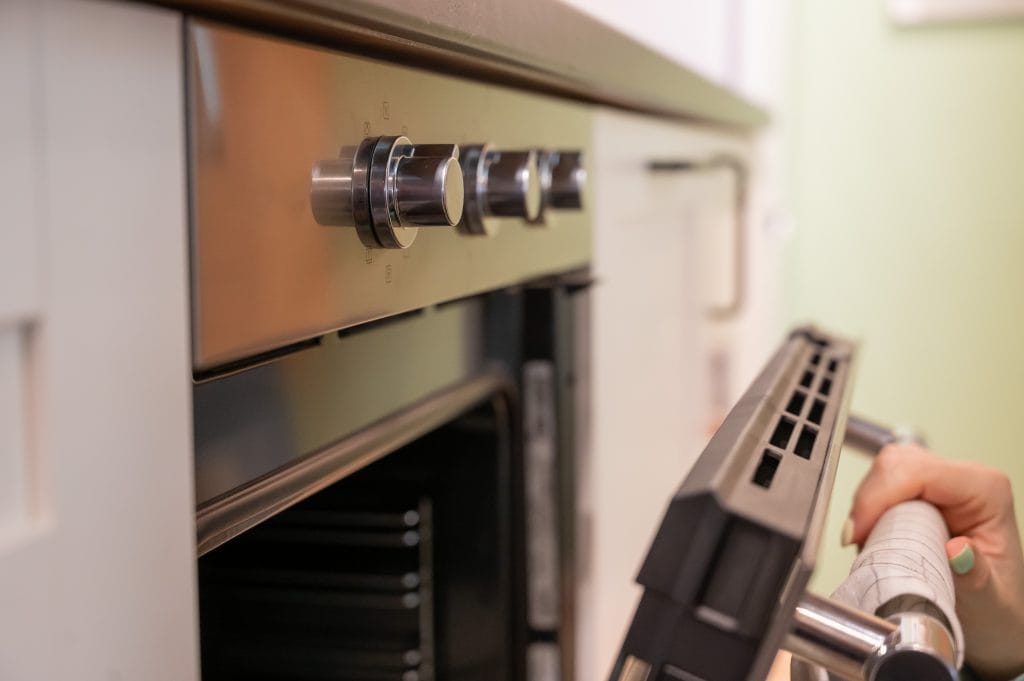
1) You opened the oven door too early
Opening the oven door too early can let cold air in. The cold air can cause the cupcakes to contract or collapse.
As a result, maybe the cupcakes just lose some lift, or become denser, or maybe too much cold air got in there, and the temperature change caused the middle of the cupcakes to sink.
How to fix: don’t open the oven door in the first 10 or 12 minutes of baking. Understandably sometimes you have to rotate your trays, if your oven has hot spots, wait for the 10 minutes to pass to do so. And also, make it quick, don’t open the door all the way, and move fast.
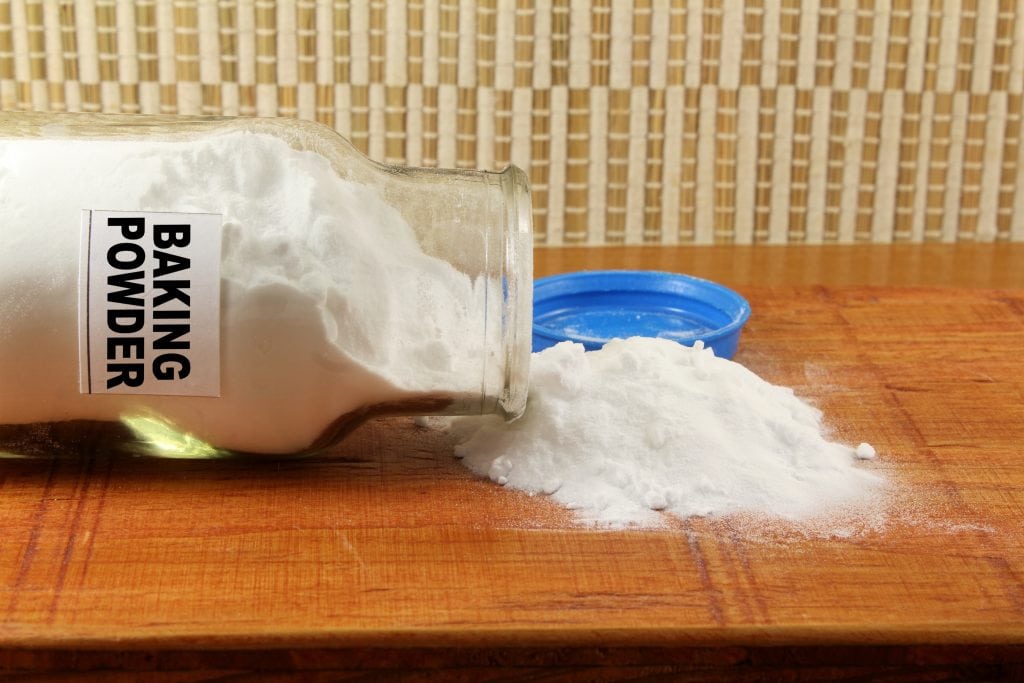
2) Expired leavening agents
If the baking powder or baking soda you are using are expired or old, your cupcakes may sink in the middle.
That is because the expired leavening agent won’t allow for the chemical reactions necessary to give the cupcake lift to happen.
How to fix: check if the baking powder or baking soda you are using are fresh. Add 1/2 tsp of baking powder to 1/4 cup of warm water and mix. If the mixture fizzes and bubbles, you are good to go. If not, toss it. And for the baking soda, add 1/2 tsp of baking soda to 1/4 cup of white vinegar. The mixture should also cause a reaction and fizz. If nothing happens, toss it.
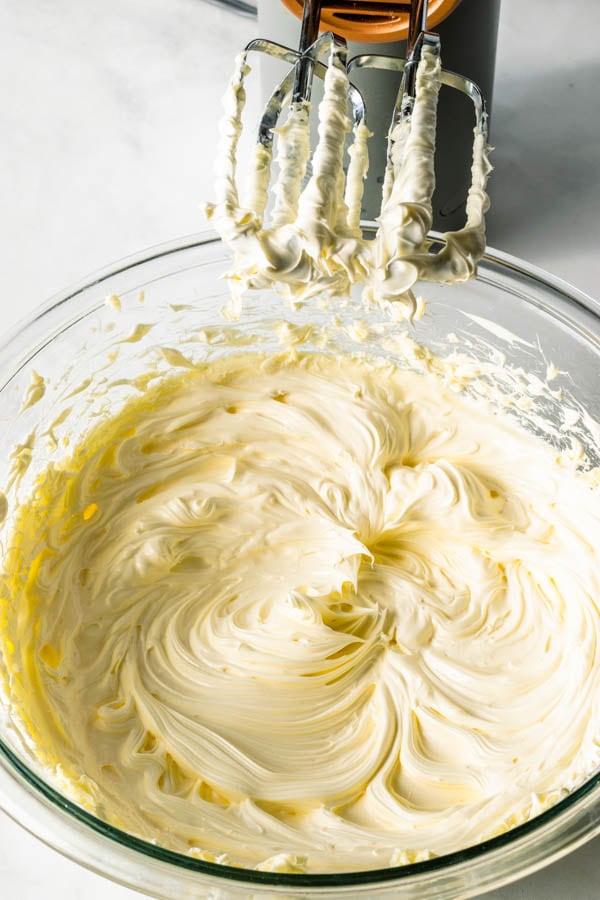
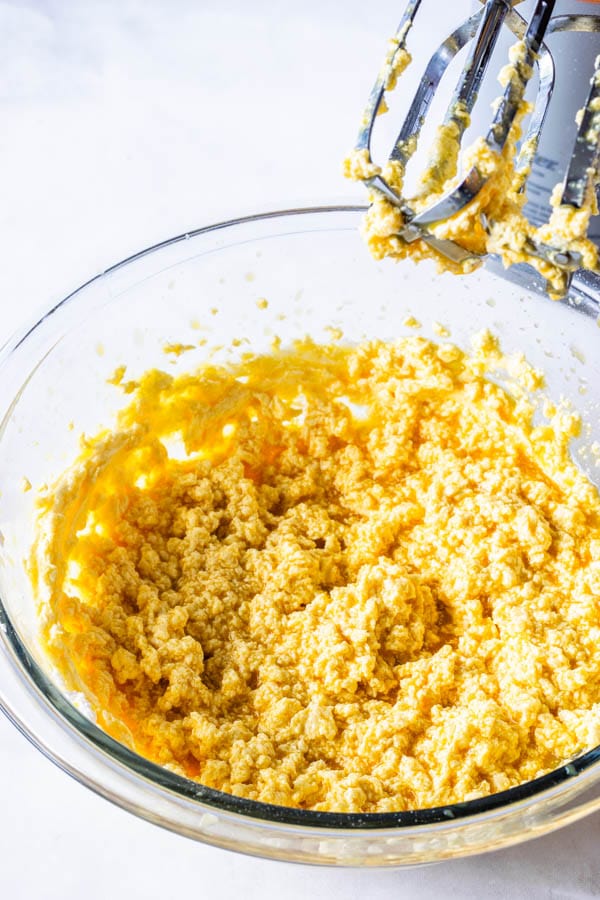
3) Over creaming the butter
Let’s talk about a butter based cupcake batter. Creaming the butter and the sugar is a very important step in getting a good rise on the cupcakes. However, if you beat too much, you will end up incorporating way too much air into the batter, and when the cupcakes bake, they will rise rapidly and then collapse.
How to fix: cream the butter and sugar for about 2 minutes on medium or medium-high speed depending on your mixer, until the mixture is light and fluffy, don’t really go beyond the 2 or 3 minute mark.
4) Over beating the eggs
Just like with the butter, over beating the batter once you add the eggs in will also cause the cupcakes to collapse in the middle, for the same reason: too much air being incorporated in the batter which will cause the cupcakes to rise rapidly and collapse.
How to fix: add the eggs one at a time, and make sure that one egg is incorporated before adding the next one. And once the last egg has been added, stop mixing.
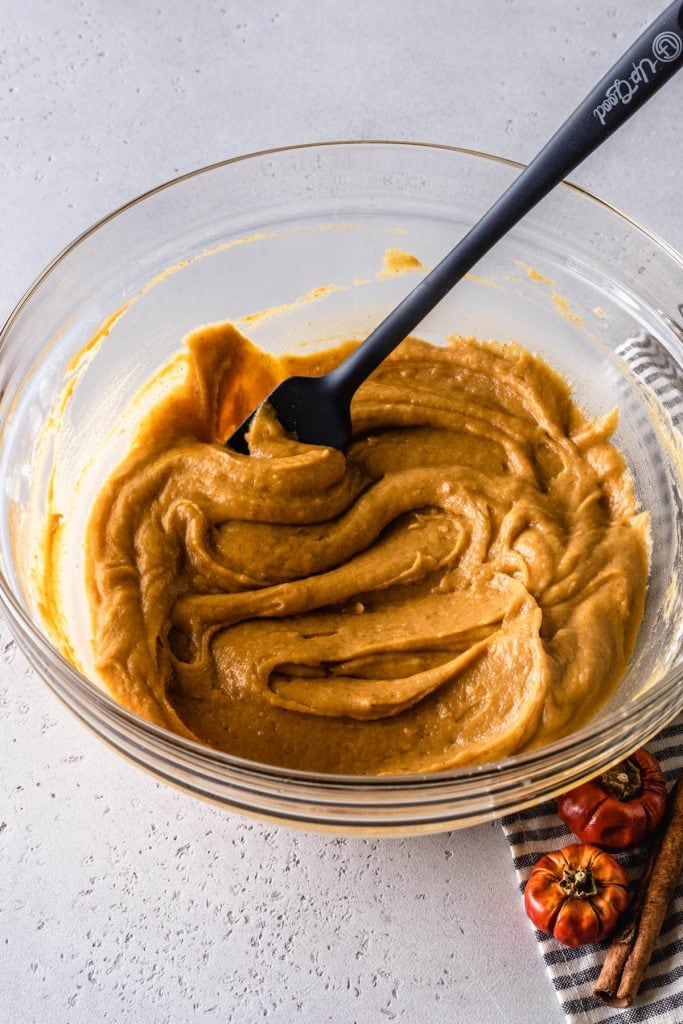
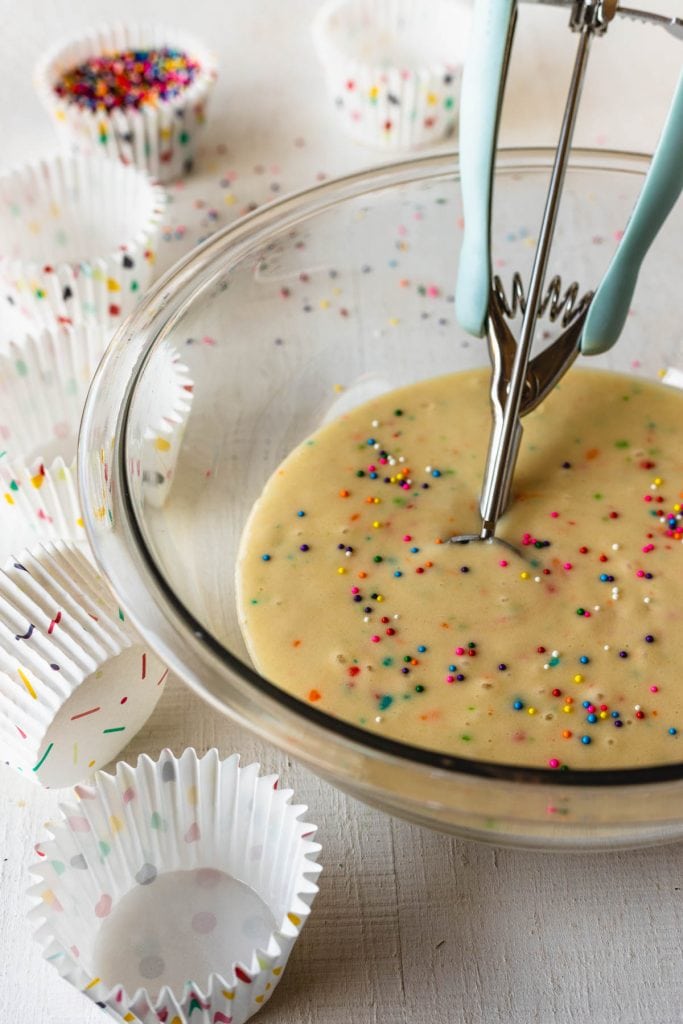
5) Over mixing the batter
Now I am specifically talking about over mixing the batter once you add the flour and dry ingredients in. Not only this can add more air into the batter which will cause the cupcakes to sink in the middle, it can lead to other issues such as dense, dry cupcakes.
How to fix: fold the dry ingredients only until combined. Stop folding once you don’t see any streaks of dry ingredients in the batter.
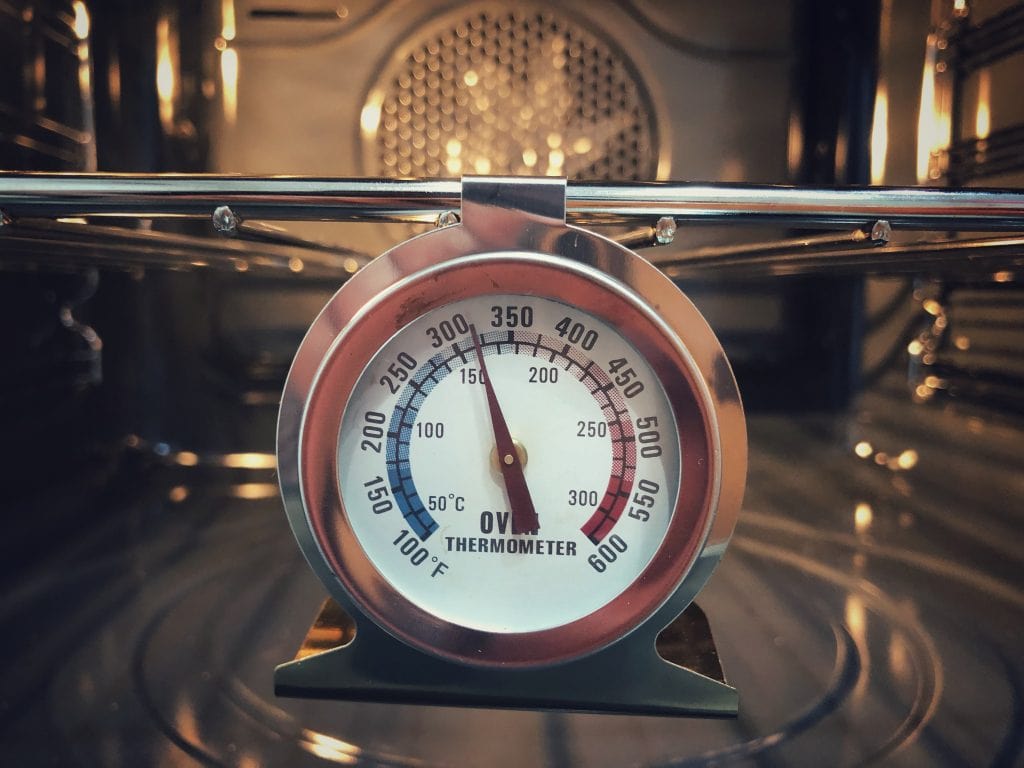
6) Hot oven
If your oven is running high it will cause the cupcakes to rise too rapidly, and the middle won’t be baked, which will cause the cupcakes to sink.
Most home ovens are not accurate at keeping the temperature you set it to. Which is why you should have an oven thermometer in your oven. They are inexpensive and can save you a lot of baking fiascos.
How to fix: set your oven to the temperature the recipe is calling for. Make sure to have an oven thermometer so you can regulate the temperature.
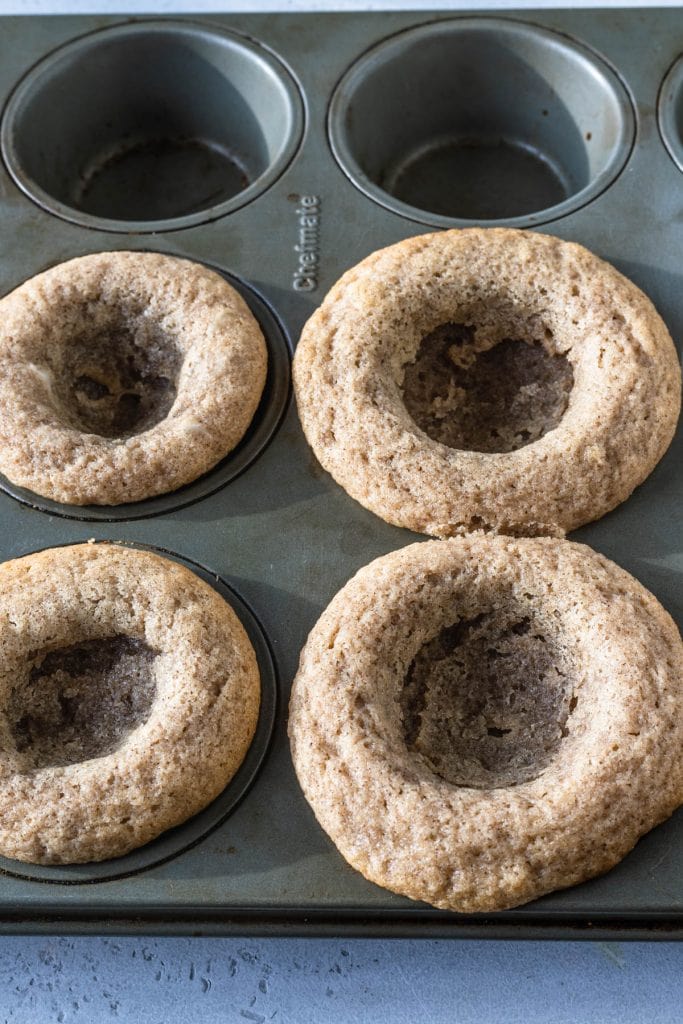
7) Under baking
If you under bake the cupcakes they will sink, because the middle of the cupcake won’t have a chance to set and rise properly.
How to fix: test if the cupcake is fully baked by touching the top gently with your finger. If it springs right back, it’s done baking. You can also use a toothpick to test, insert it in the cake and if it comes out clean, you are good to go.
8) Letting the batter sit
If you let the batter sit, the leavening agents may lose their rising properties.
Double acting baking powder reacts with the batter in two stages: once it gets hydrated, and once it gets hot. So when you start making the batter and the baking powder mixes in with the other ingredients, a reaction will start to happen.
And baking soda always reacts as it gets hydrated as well.
So that means that if you let the batter sit for too long, it will begin to deflate since those leavening reactions already began to take place.
How to fix: bake the cupcakes as soon as you are done mixing the batter.
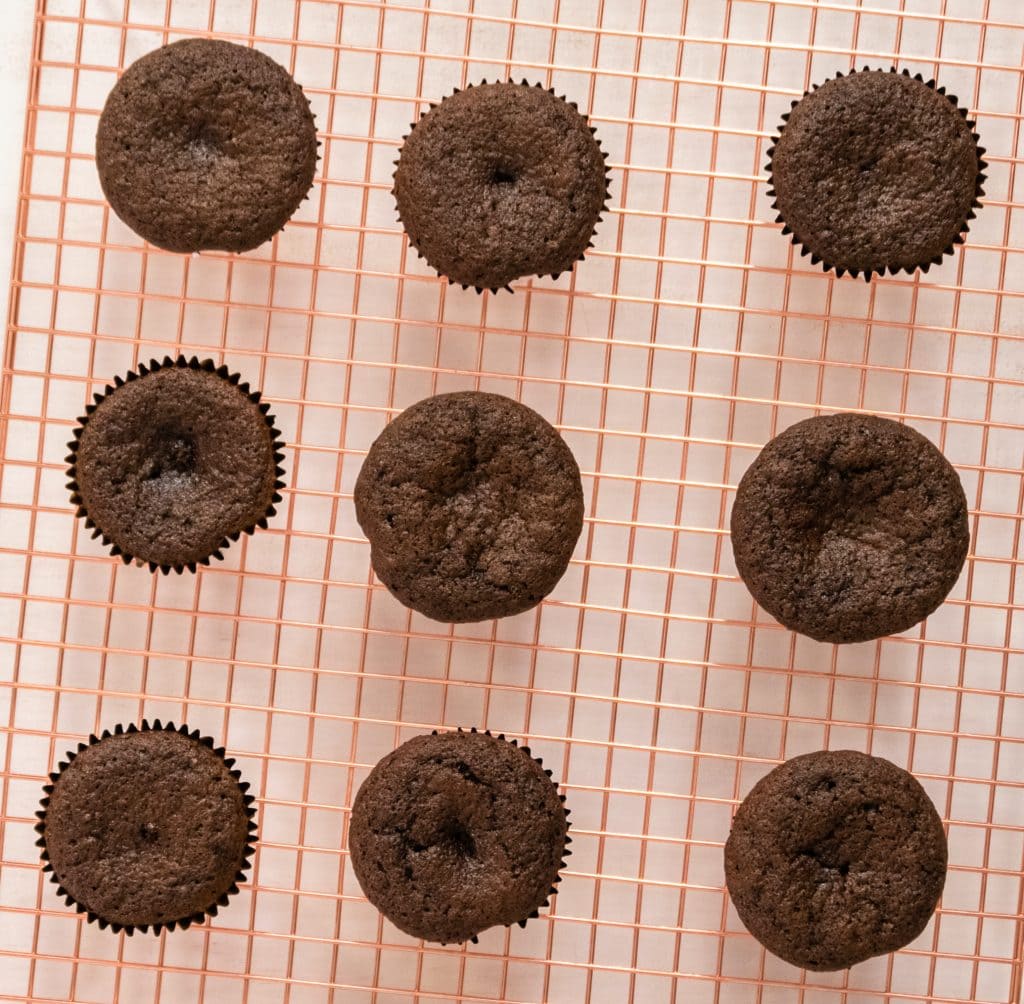
9) Over filling the cupcake pan
If you add too much batter to the cupcake cavities, the batter will rise too much and will consequently fall and deflate, which will leave the middle of the cupcakes looking sad and sunken.
How to fix: fill up each cavity with up to 2/3 of the way with batter. Some recipes call for only 1/2 way of the cavity to be filled up with batter. Always pay attention to what the recipe is calling for.
10) Cocoa powder
Pay close attention to the type of cocoa powder the recipe is calling for!
Dutch-process cocoa powder (or alkalized cocoa powder) does not react with baking soda, which means on recipes that call for baking soda, you should not use dutch-process cocoa powder.
How to fix: As a rule of thumb, use natural cocoa powder, unless the recipe calls for dutch-process cocoa.
Read this article on Sally’s Baking Addiction about cocoa powder and the differences between dutch-process and natural cocoa.
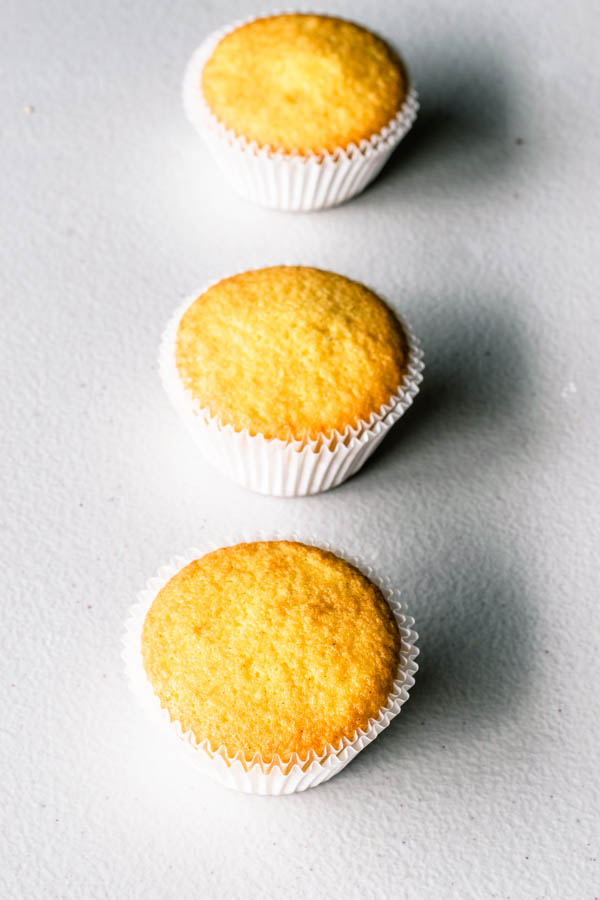
If you want beautiful full cupcakes, with a smooth top, perfect to be frosted and shared with your friends and family, take time to read through the list above!
So, let’s recap the tips above in an easy list that will help you make cupcakes that rise beautifully!
How to make my cupcakes rise perfectly?
Based on the list above, we can draw the following conclusions:
- Make sure to follow the recipe correctly, use the ingredients the recipe is calling for (ie. dutch-process cocoa vs. natural cocoa), preferably using a scale to weigh the ingredients.
- If you haven’t baked in a while, test the baking soda and baking powder to make sure they are still active, as they do have an expiration date. Ensure they are fresh.
- Follow the recipe and fill the cupcake cavities to what’s indicated. If the recipe doesn’t mention, fill it up to 2/3 full with batter.
- Don’t let the batter sit too much after making it. Bake as soon as possible.
- Test for doneness before pulling the cupcakes out. Make sure they spring back once touched in the middle, or a toothpick comes out clean once inserted in the cupcakes.
- Don’t over beat the butter or the eggs, adding air to the batter is important, but too much of it will not be good.
- Have an oven thermometer, so that you can control your oven temperature and set it accurately.
- Don’t open the oven door too early.
I hope this article was helpful! Stay tuned for more cupcake tips that will help you bake perfect cupcakes every time!
For my Cupcake recipes, click here!
And also check out my book Fantastic Filled Cupcakes!
Thanks for reading!
Happy baking!

Thank you
Do you know ratio of baking soda to flour would be
A good starting point for cake recipes is about 1/4 teaspoon baking soda per 1 cup flour, increasing up to 1/2 teaspoon per cup if the recipe has more acidic ingredients like buttermilk, yogurt, sour cream, cocoa. Too much baking soda can make the cake taste soapy and affect texture.
Muito interessante!!!!!