Homemade Oreo Cookies
Hello friends! Today I am going to show you how to make Homemade Oreo Cookies! They are fun to make, and absolutely delicious!
I initially wrote this recipe in 2018, but I am publishing new pictures now, as well as changing the recipe up a bit, just adding more cocoa powder to make for richer cookies!
And I am also adding a video showing you how to make these Homemade Oreo Cookies, which can be found on this page or on Youtube.
This post may contain affiliate links. I earn a commission from qualified purchases. Please read our Privacy policy here.
Anyway, making Homemade Oreo Cookies can be pretty fun, and it’s easy. The ingredients needed are pretty basic, and the only time consuming part is probably rolling out the cookies. But if you’re anything like me, you may find that fun to do!
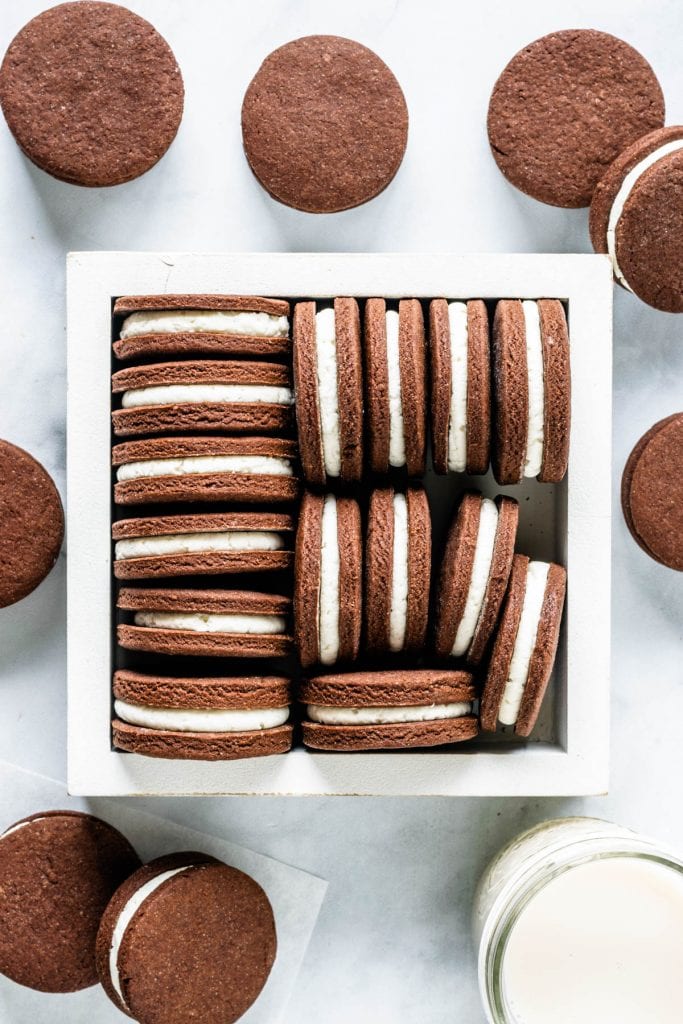
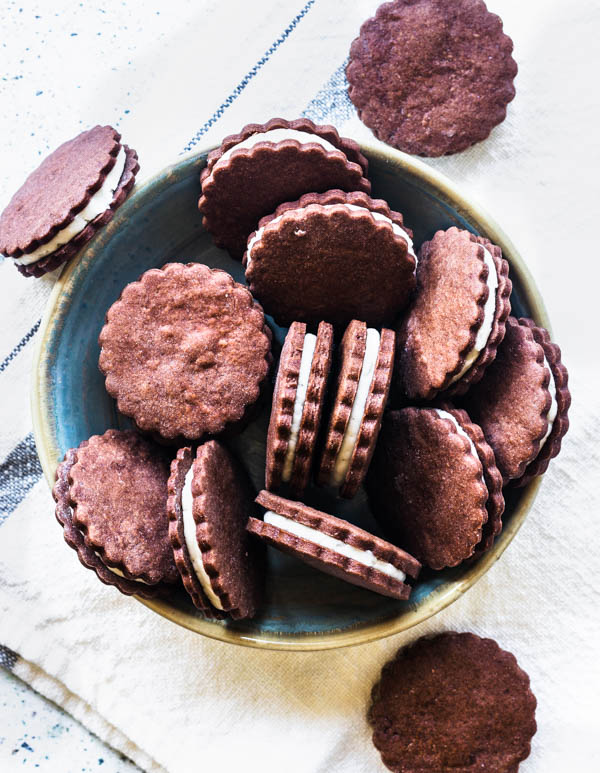
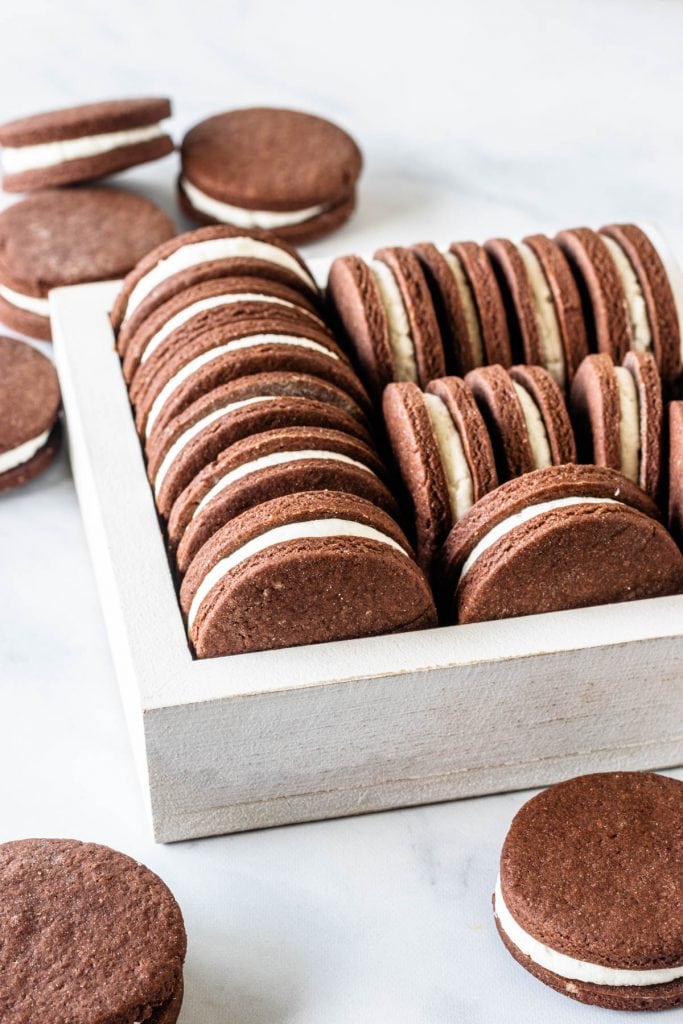
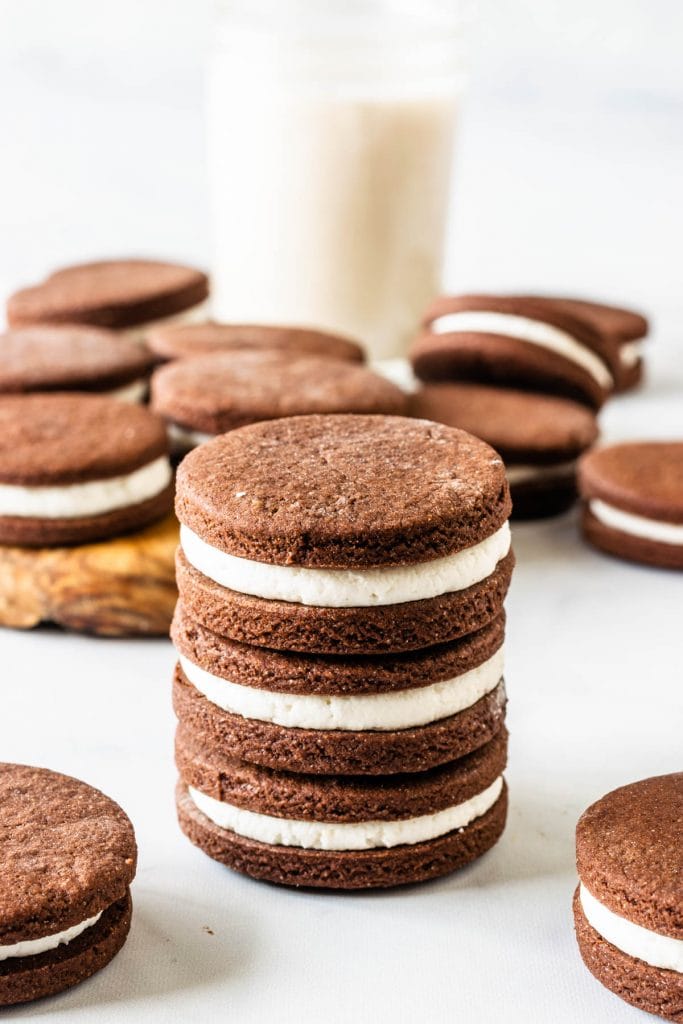
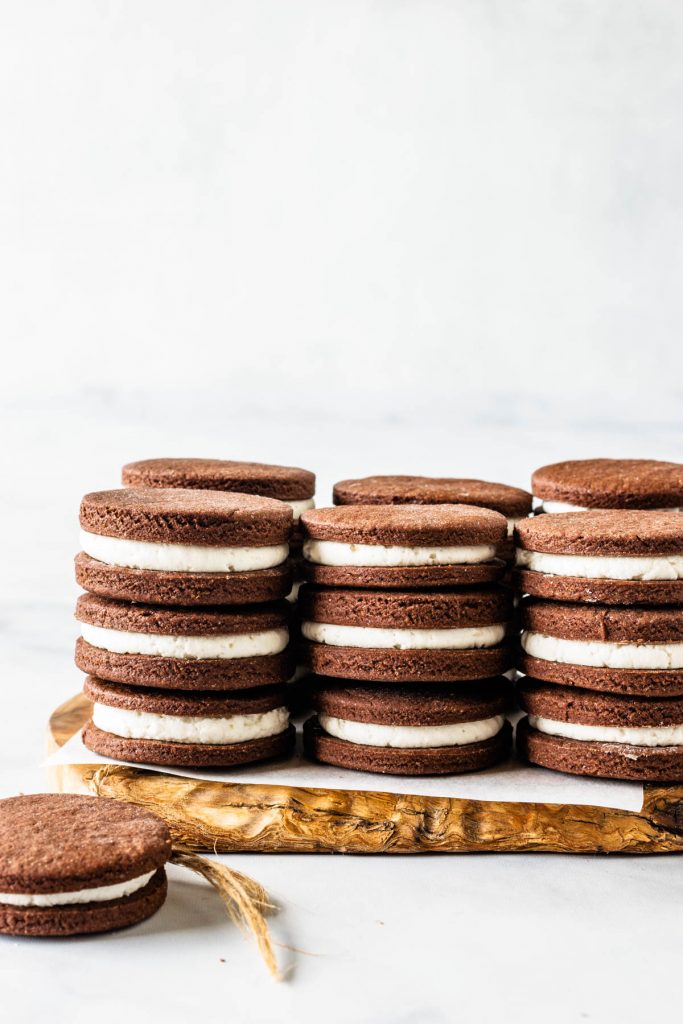
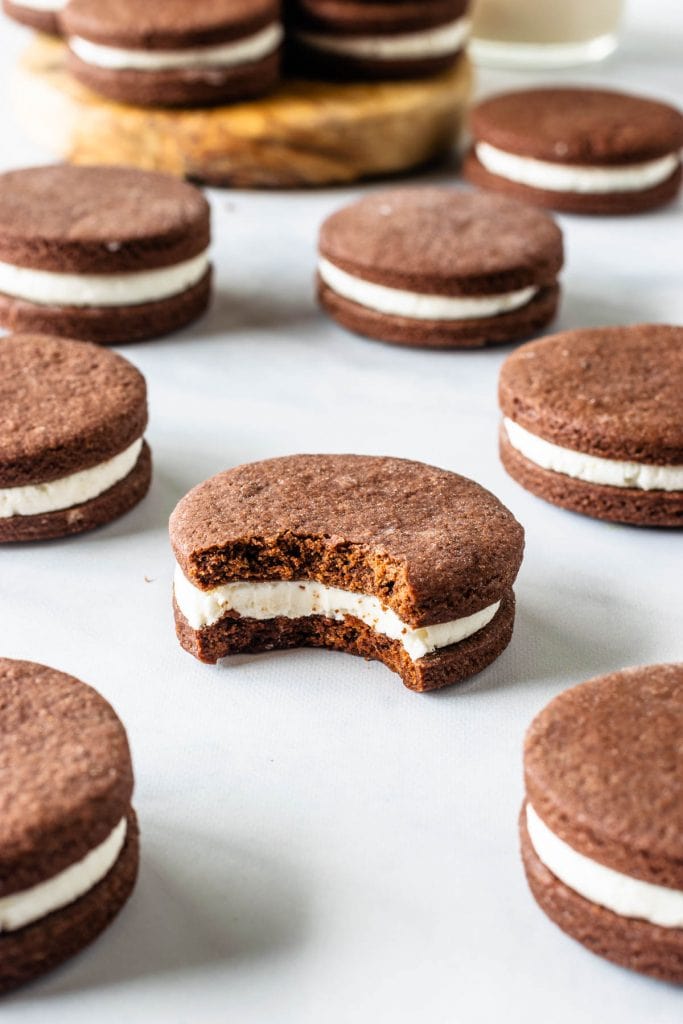
The pictures in this page with the scalloped cookies are from when I first made and photographed these cookies 2 years ago! The round cookies are the recent ones. It’s fun to play with cookie cutters, and make them into all kinds of different shapes if you’d like.
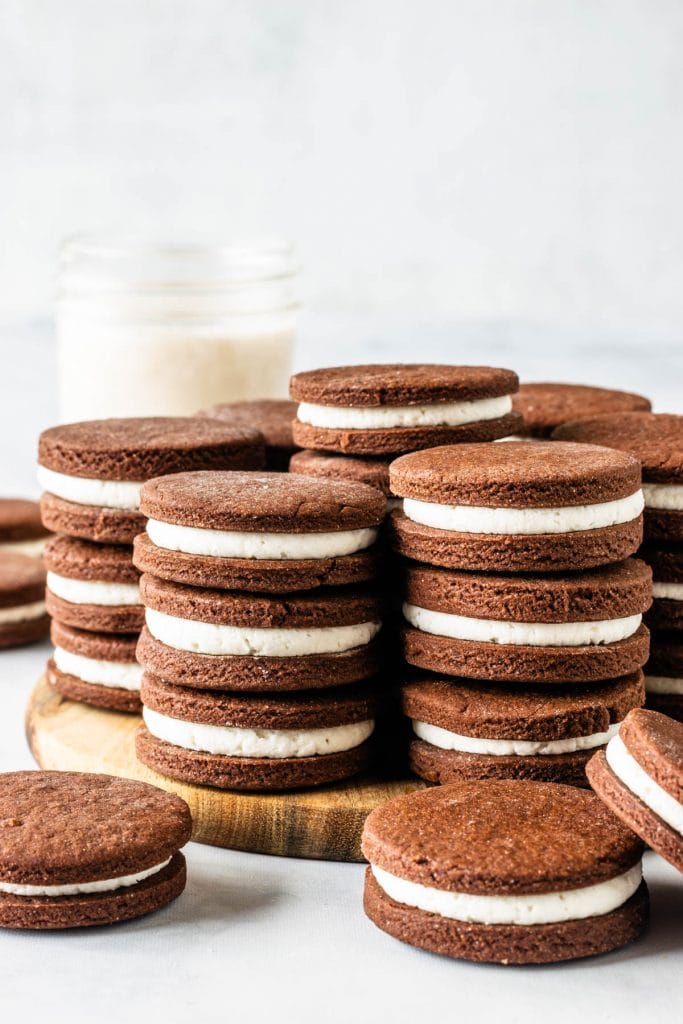
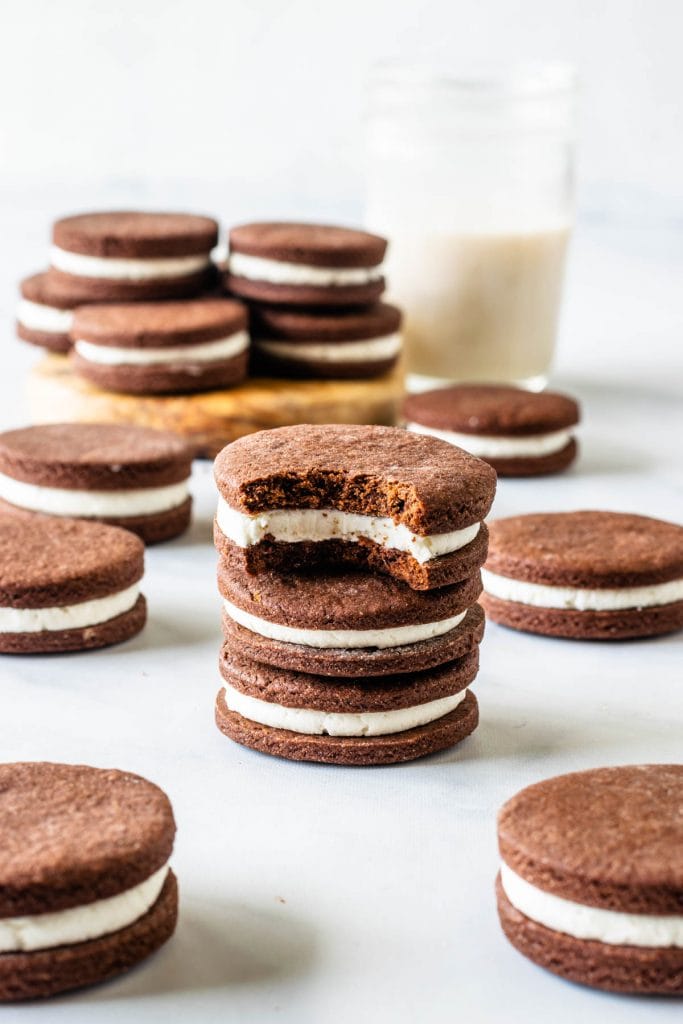
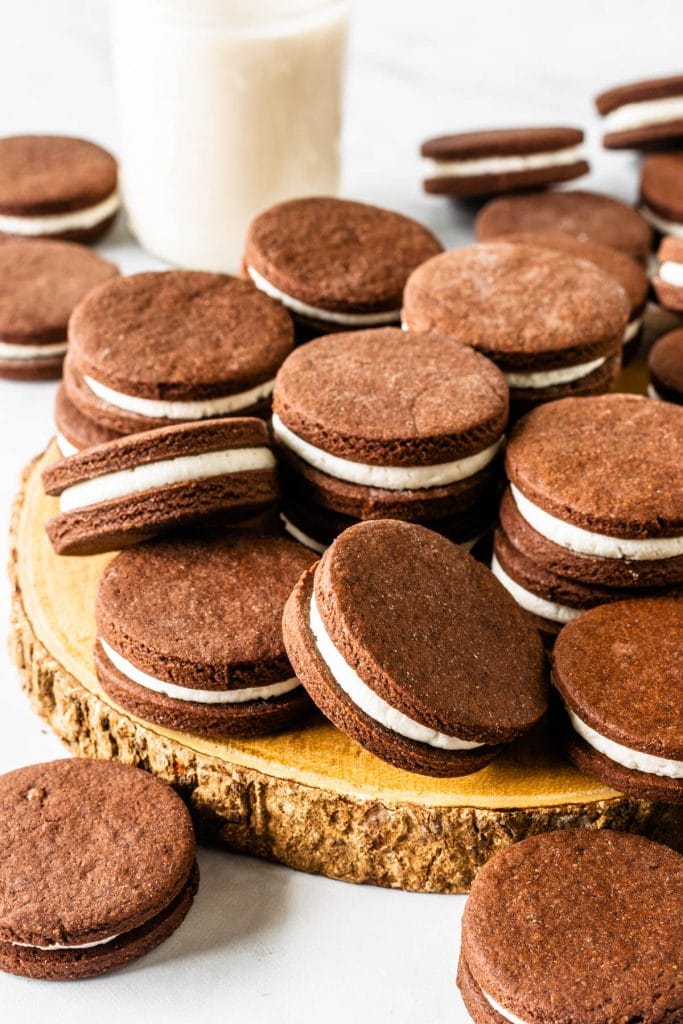
Everything about the homemade Oreo Cookies is better. The freshness, the texture, the flavor! The whole experience!
If you enjoy making, then this is just the project for you.
Now onto some tips about making these Homemade Oreo Cookies.
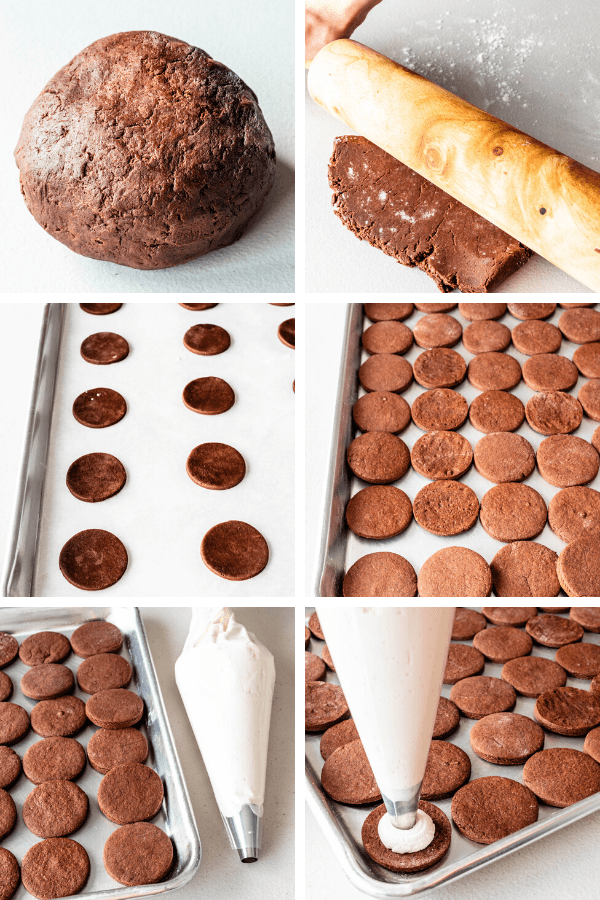
First let’s talk about the dough. I have changed this recipe from the one I originally posted, to increase the amount of cocoa powder.
Here are some tips when making the dough:
- If the dough is too crumbly and dry, add a splash of milk.
- Don’t overwork the dough once you add the flour, as it can yield tough cookies.
- You can place the dough in the freezer, in an air tight container or zip loc bag for up to 2 months. Let it thaw in the fridge overnight before rolling out.
When baking the Homemade Oreo Cookies, you can rest them in the fridge or freezer before placing them in the oven. Some people like to do that before baking cookies.
The reason is very simple. This cookie dough contains butter, and if the butter is solid and cold when the cookies enter the oven, it will take longer to melt and it will give a chance for the cookie to have a better structure and shape.
However, I haven’t chilled this batch, because my house was on the colder side, and my cookies weren’t too soft prior to entering the oven anyway.
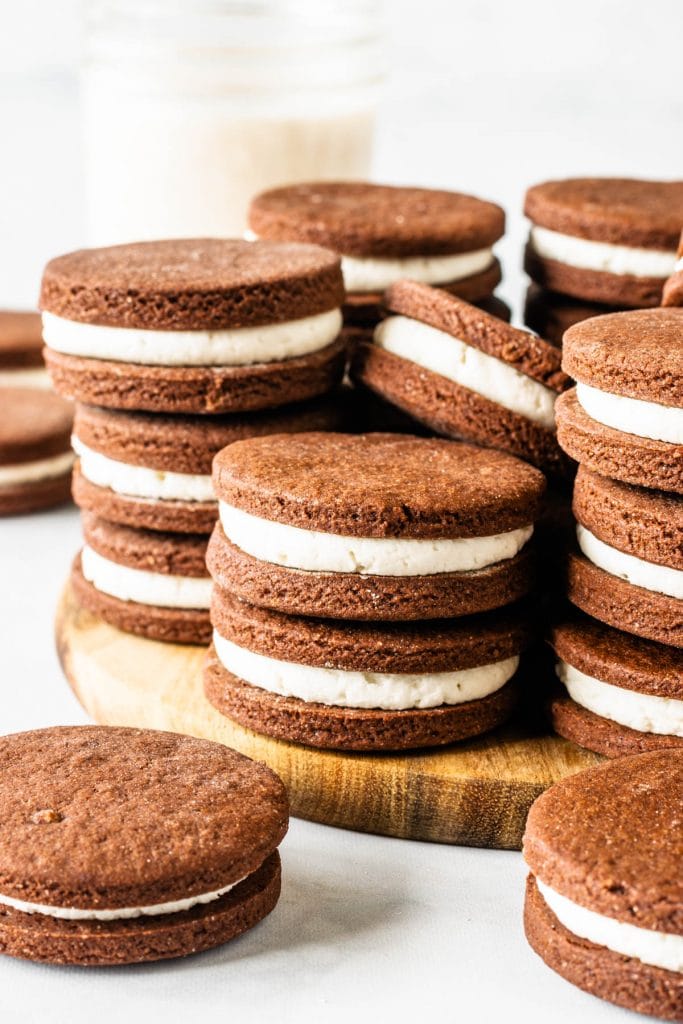
I made the Vanilla Cream Filling using shortening, butter, powdered sugar, and vanilla extract.
Your options are: use all butter if you want to skip the shortening, maybe add some vanilla beans to the cream. Or you can even add some other flavorings to the cream, such as cocoa powder, matcha, other extracts, maybe freeze dried strawberry powder.
I’ve actually done this with my Vegan Matcha Oreos, I added matcha to the cream. But I am thinking some freeze dried fruit powder (strawberry, raspberry, mango) could work wonderfully as well!
If the filling is a bit too thick while you’re making it, add a splash of water or milk to thin it out.
You can pipe the filling in the middle of the cookies, or use a spoon to place some in there, but it probably won’t be as neat looking.
If you are a fan of Oreos like I am here are some other recipes you may enjoy:
And here are some more Cookie recipes you might want to check out:
- Chocolate Coconut Macaroons
- Baked Oatmeal Cups with Chocolate Filling
- White Chocolate Peanut Butter Cookies
- Passionfruit Cookies
- Alfajor Recipe
- Jumbo Thick Chocolate Chip Cookies
- Fudge Gingerbread
Hope you liked today’s recipe! Please consider leaving a review below, and also tagging me on Instagram if you make one of my recipes!
As always, thanks for reading my blog! Have a beautiful day!

Homemade Oreo Cookies
Ingredients
Chocolate Cookie
- 2 1/2 cups all-purpose flour (11.25 oz, 318 grams)
- 1 cup cocoa powder (4.23 oz, 120 grams)
- 1/2 teaspoon baking powder
- 1/4 teaspoon table salt
- 1 cup unsalted butter at room temperature (8 oz, 226 grams)
- 1 cup sugar (7.5 oz, 200 grams)
- 1 large egg
- 4 tablespoons milk (60 ml)
- 1 teaspoon vanilla extract
Vanilla Cream Filling
- 1/3 cup vegetable shortening (2.47 oz, 70 grams)
- 1/3 cup unsalted butter softened (2.82 oz, 80 grams)
- 2 cups powdered sugar sifted (8.82 oz, 250 grams)
- 2 tsp vanilla extract
Instructions
Chocolate Cookie
- Sift flour, cocoa powder, baking powder, and salt. Set aside.
- Cream the butter at medium speed with an electric mixer for 2 minutes. Add the sugar and beat for 2 more minutes until fluffy and lightened in color.
- Add the egg, milk and vanilla to the butter and sugar mixture. Beat for 30 seconds until incorporated.
- Add the sifted flour mixture in and stir on low until just incorporated. If necessary finish mixing with a spatula so you don’t overmix the dough once the flour has been added.
- You may need to knead the dough a few times to bring it together.
- Once the dough is smooth and you don't see any streaks of flour or dry ingredients, form it into a disc and wrap it in plastic wrap. Refrigerate for 3 hours.
- When ready to roll it out, cut dough in four parts to make it easier to work with. Keep the parts you’re not working with covered.
- Sprinkle a bit of flour on top of the counter and roll out one piece of dough at a time until it's about 1/4” thick. Cut rounds in whatever shape you prefer. I used 2" cookie cutters.
- Place the cut cookies in baking sheets, an inch apart from each other.
- Pre-heat the oven to 350ºF and bake each tray for about 10 minutes.
- Let the cookies cool.
Vanilla Cream Filling
- Cream the shortening and butter together with an electric mixer, at medium speed for a couple minutes until fluffy.
- Add the sugar and vanilla. Mix on low until incorporated. Raise the speed to medium and beat for a few seconds. If the cream is too thick, add a bit of water or milk to thin it out slightly.
To assemble
- Put filling in a piping bag fitted with a round tip. Pipe about 1/2 teaspoon of filling inside each cookie (will depend on the size of your wafer). Close the sandwich cookie.
Notes
Nutrition
Omg!! They’re definitely on my to-do list! Thank you for sharing these recipes!!! You make amazing stuff💖
thank you so much Mayra!!!
These look amazing! They definitely go on my to-bake list!
thank you!!!
Que delícia!! Parabéns, Cá! Sempre fazendo coisas gostosas!!😘😍
I am so excited to try these out this weekend! I have one quick question, should I have my mixer on stir as I am gradually adding the flour mixture?
Thanks!
Yes! That should work just fine!! 🙂 Hope you enjoy it!!