Biscoff Cookie Crust
I use this Biscoff crust anytime I want something a little richer than a standard graham cracker base. It’s simple, holds together well, and has that warm, spiced flavor that works especially well with all sorts of different cheesecakes or anything creamy.
I’ve tested both baked and no-bake versions, and while both work, I usually bake it for a slightly firmer texture that slices more cleanly.
Why you’ll love this crust
This is one of those base recipes I come back to often.
This post may contain affiliate links. I earn a commission from qualified purchases. Please read our Privacy policy here.
- Comes together in minutes with just two ingredients
- Holds its shape well when sliced
- My go-to crust for my Biscoff Pie
- Has a deeper flavor than a typical graham crust
- Works especially well with Biscoff-based desserts like my Biscoff chocolate cheesecake, Biscoff cheesecake, and no-bake Biscoff cheesecake
- Easy to scale depending on your pan
Key ingredients & why I use them
Biscoff cookies: These are the entire base of the crust, so I make sure they’re finely ground for an even texture. They bring both sweetness and that signature spiced flavor.
Butter: This is what binds everything together. I melt it so it mixes evenly with the crumbs and creates that “wet sand” texture that presses nicely into the pan.
How to make a Biscoff Cookie Crust
The full amounts are in the recipe card below, but here’s exactly how I do it.
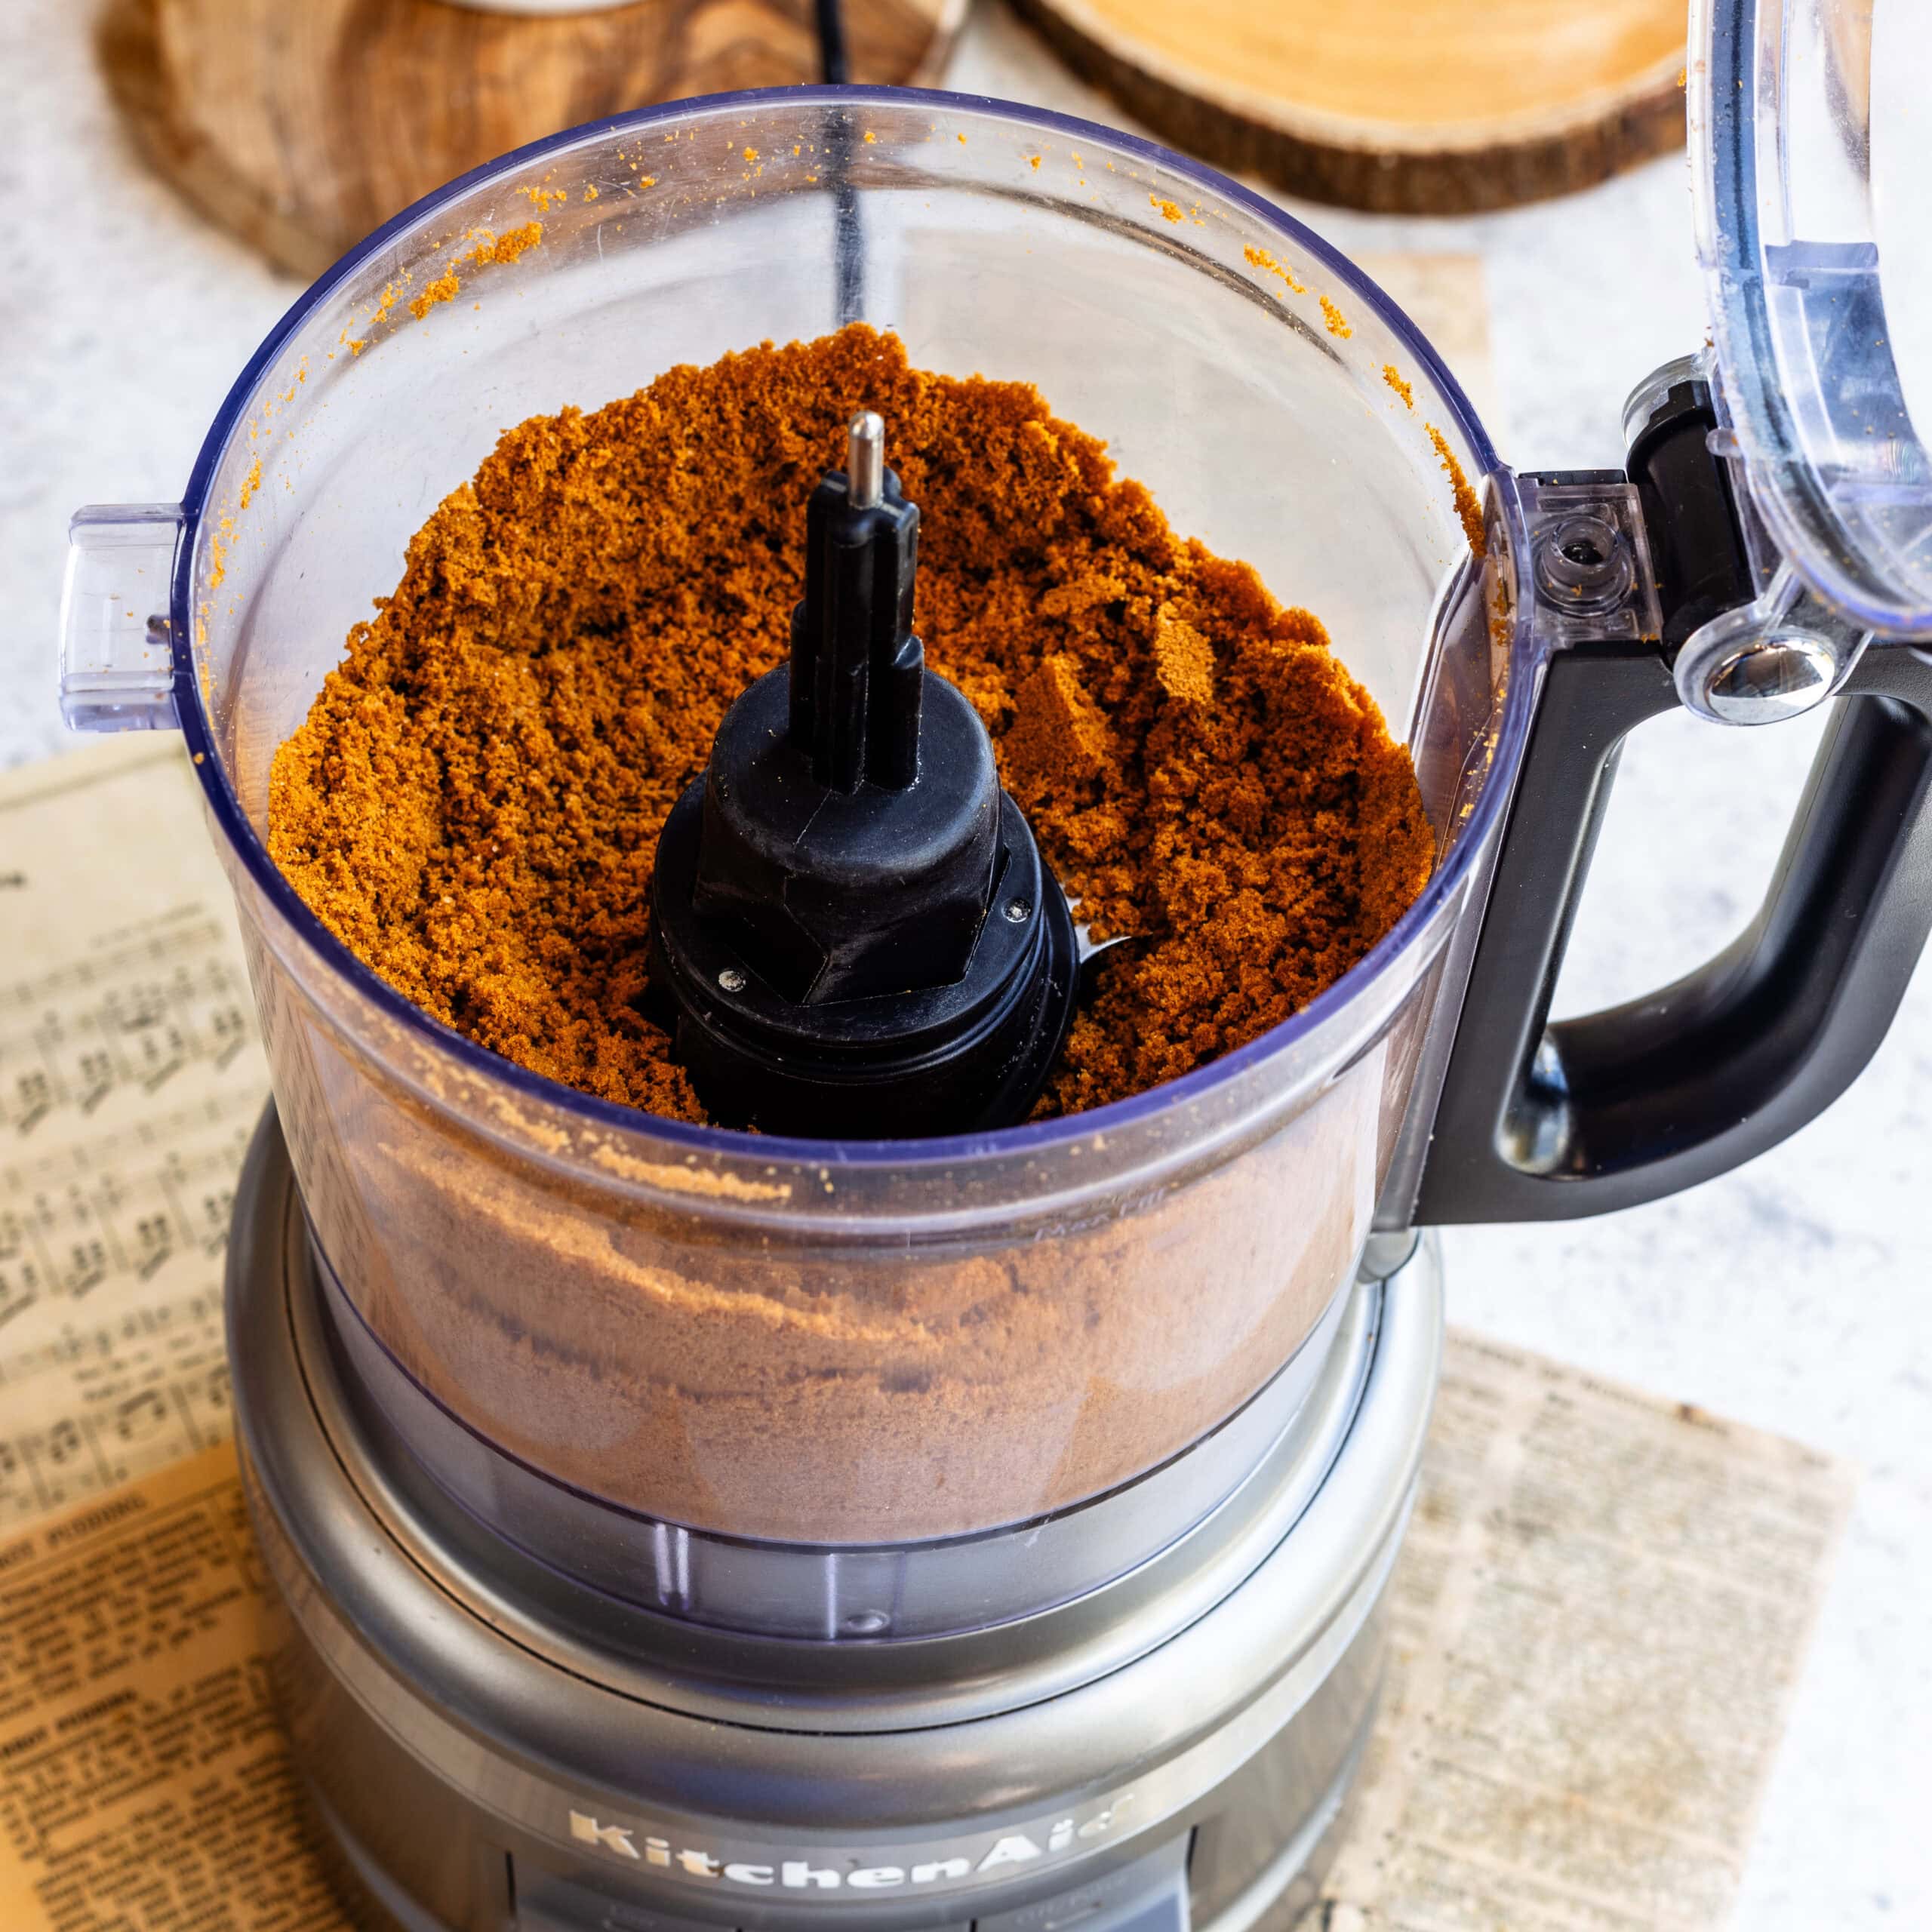
Step 1: Prep the crumbs
Preheat your oven to 350°F (175°C).
Add the Biscoff cookies to a food processor and pulse until you have very fine crumbs. I like to go a little extra here so the crust presses evenly without large pieces.
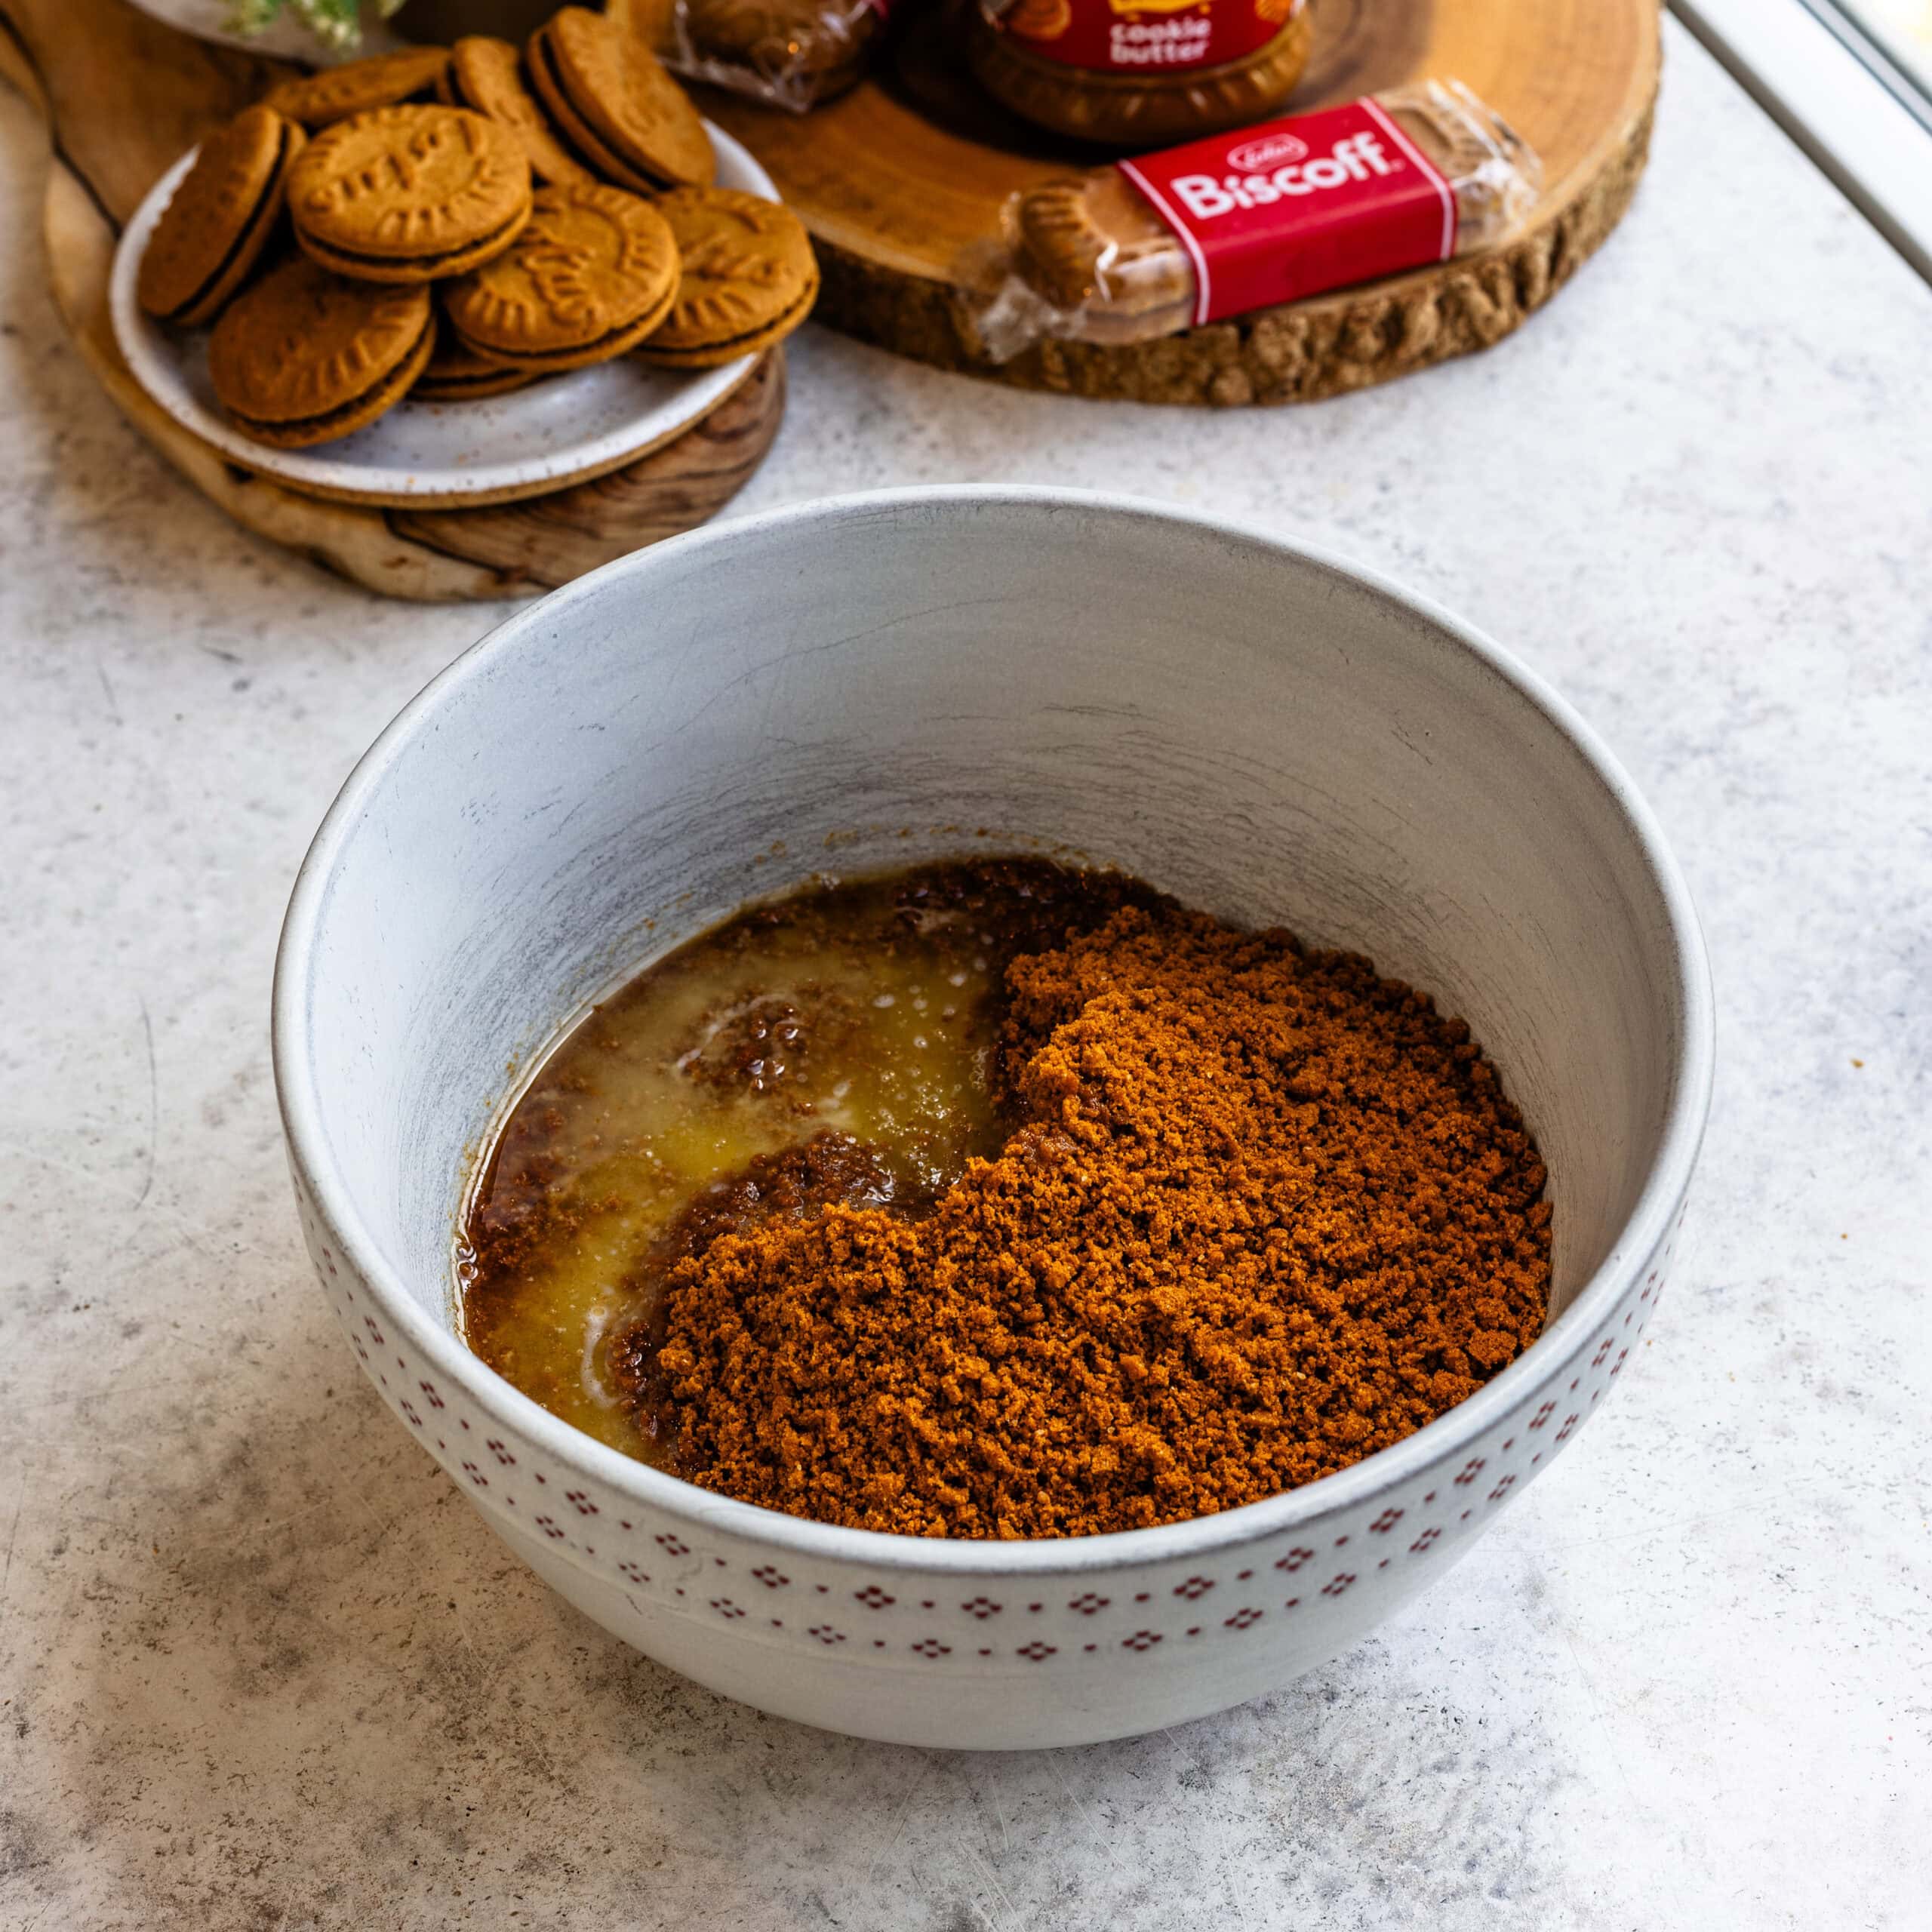
Step 2: Add the butter
Melt the butter and pour it over the crumbs.
Mix until the texture resembles wet sand. When you press it between your fingers, it should hold together easily—this is how you know it’s ready.
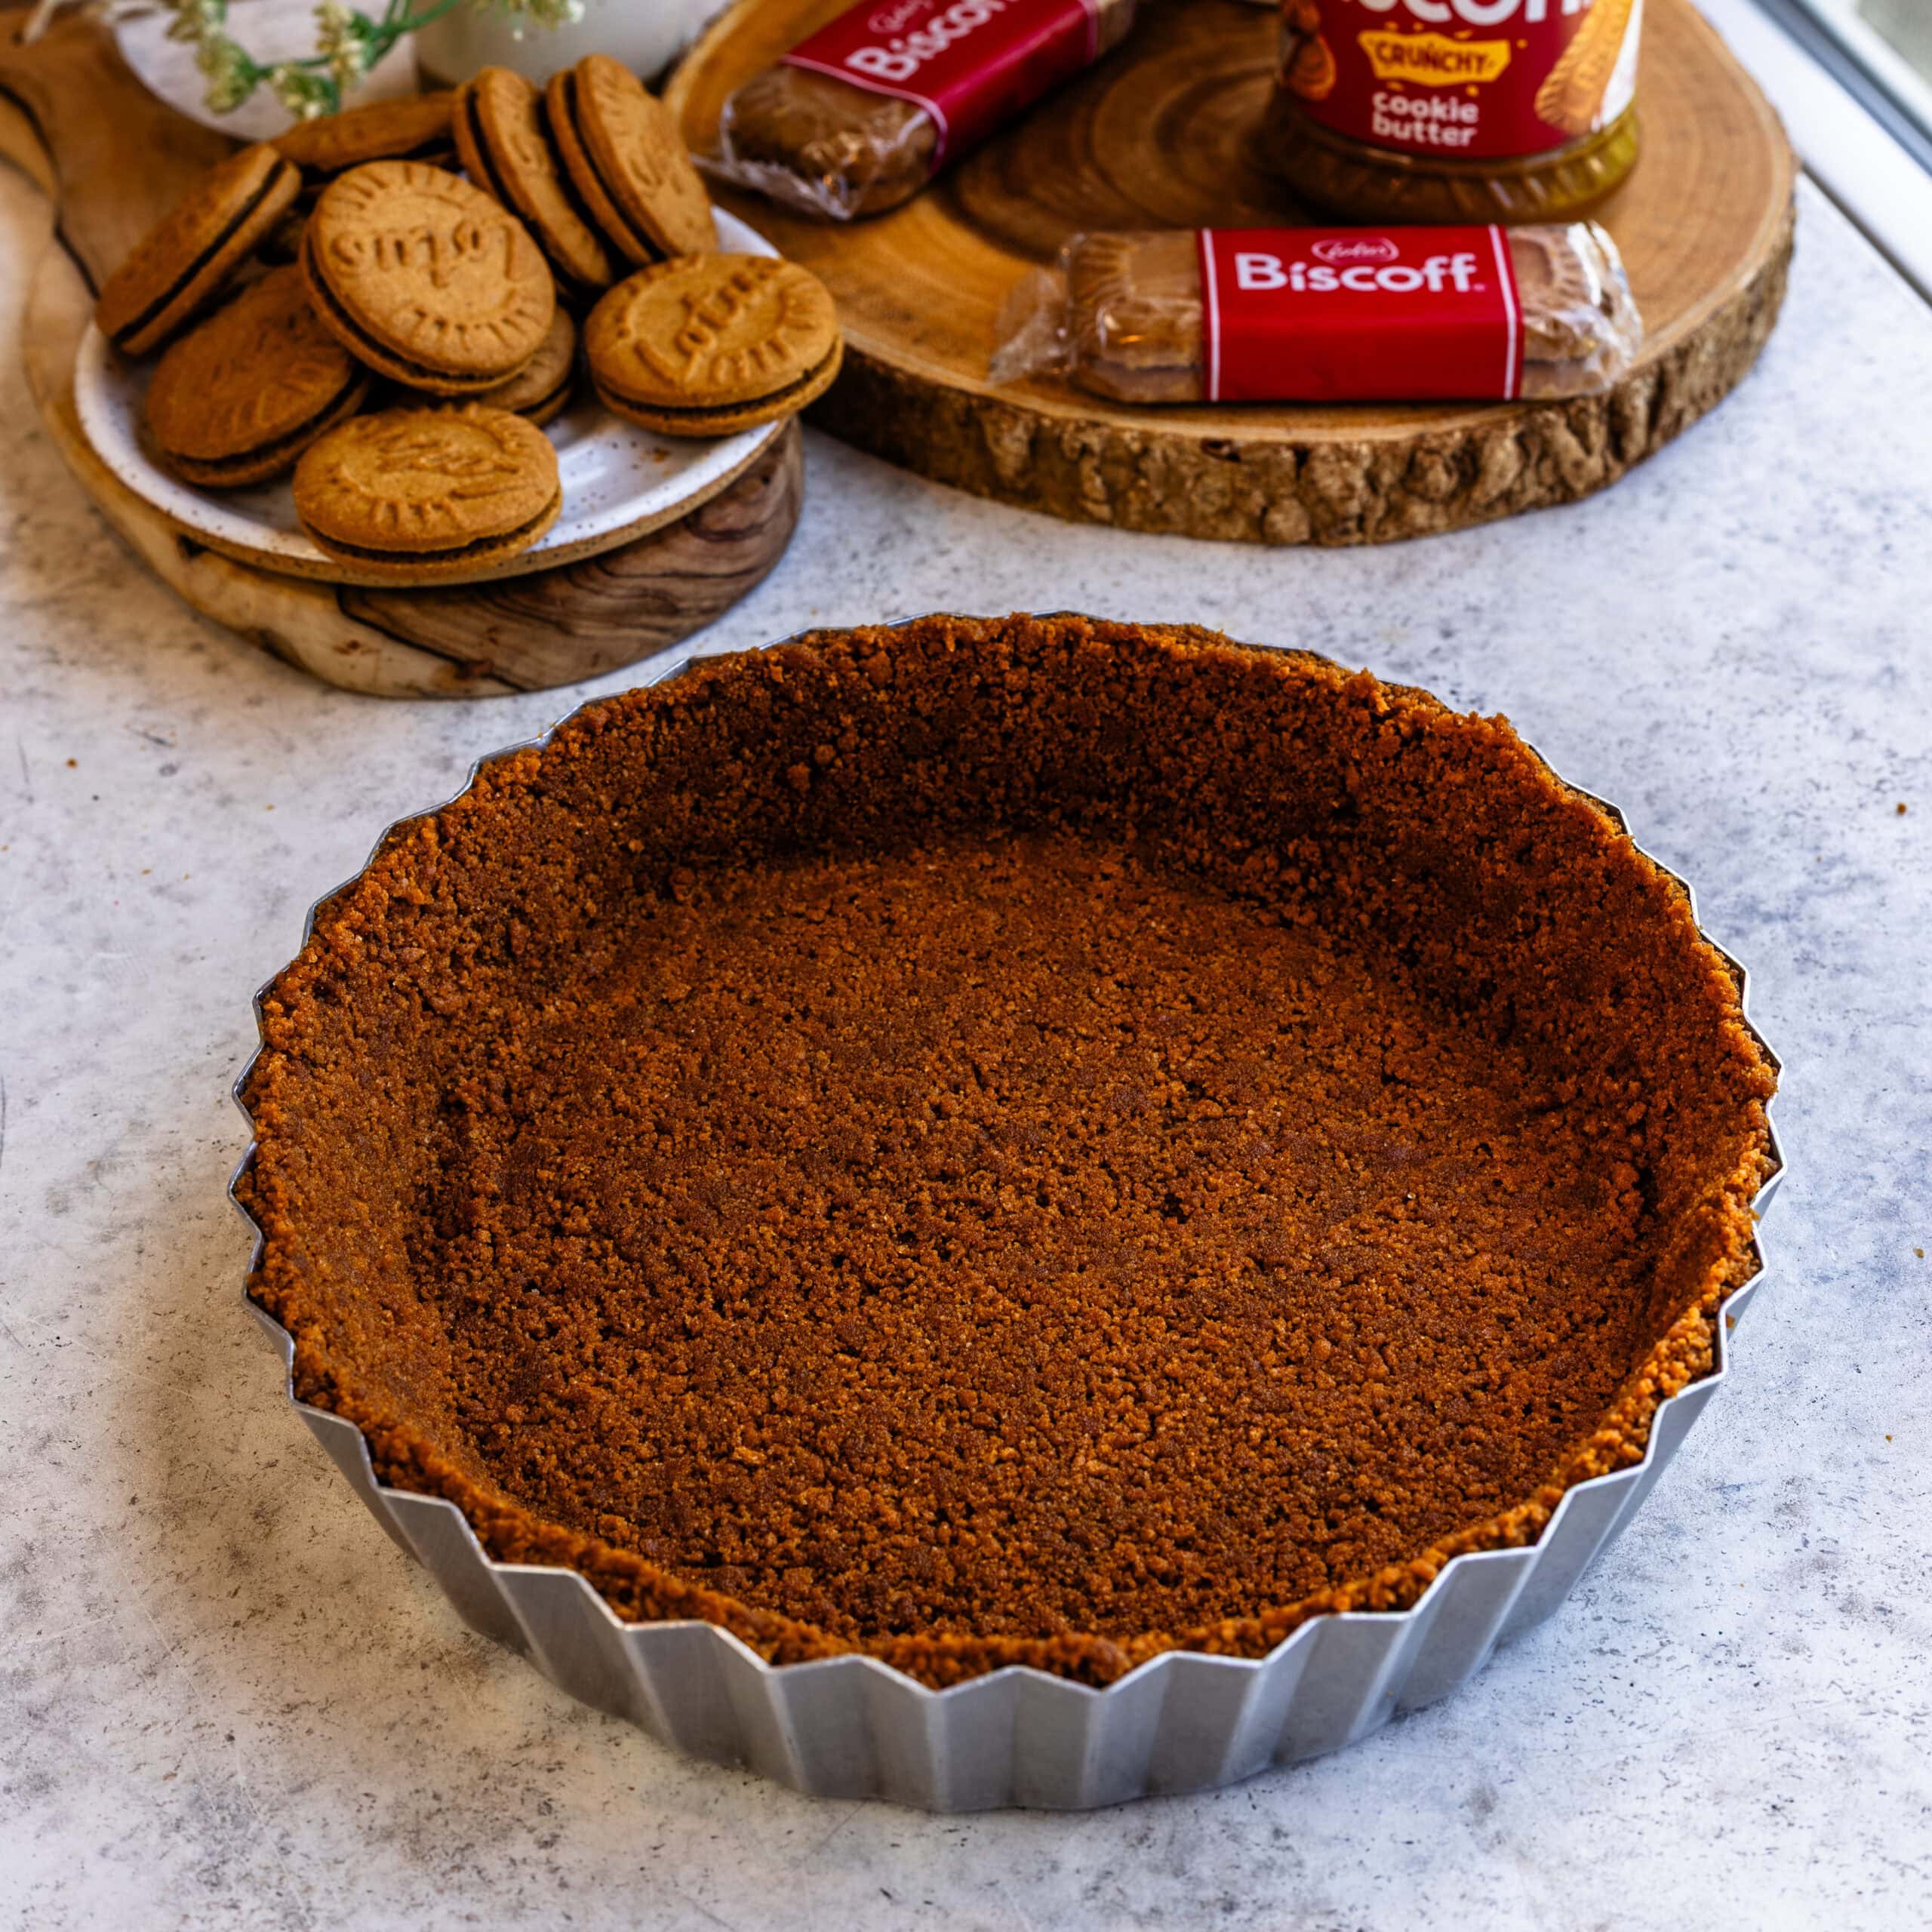
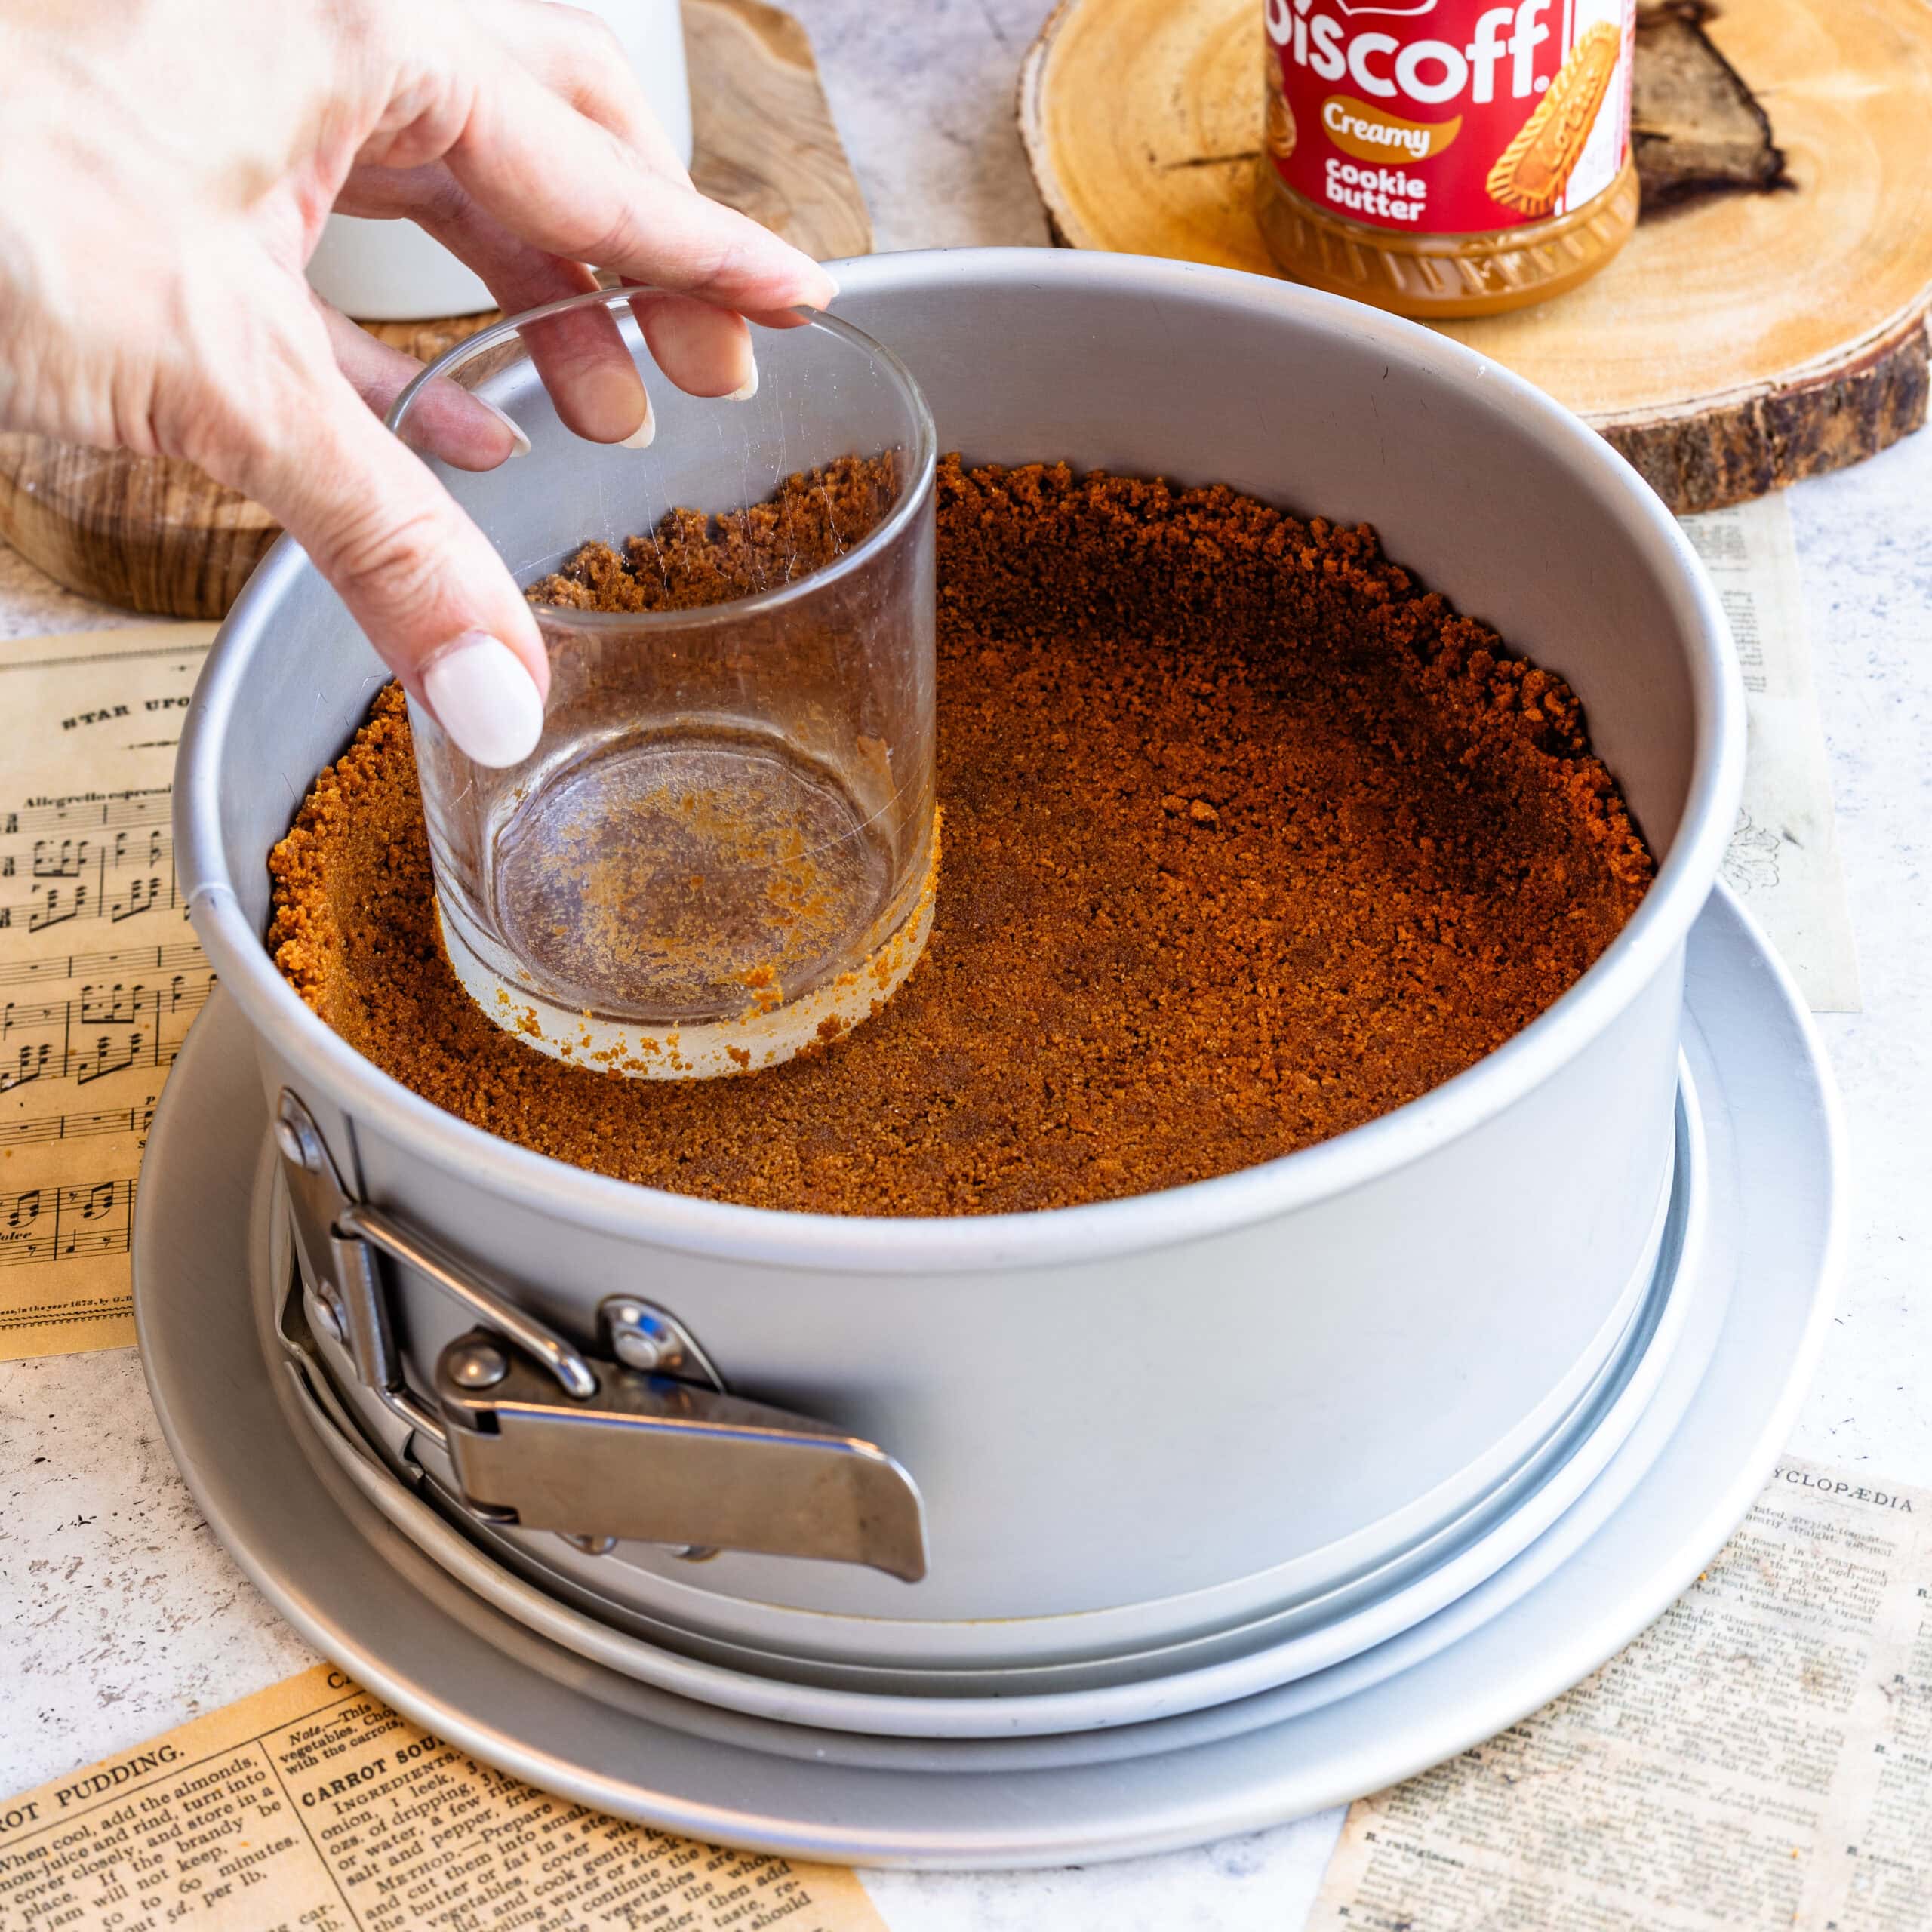
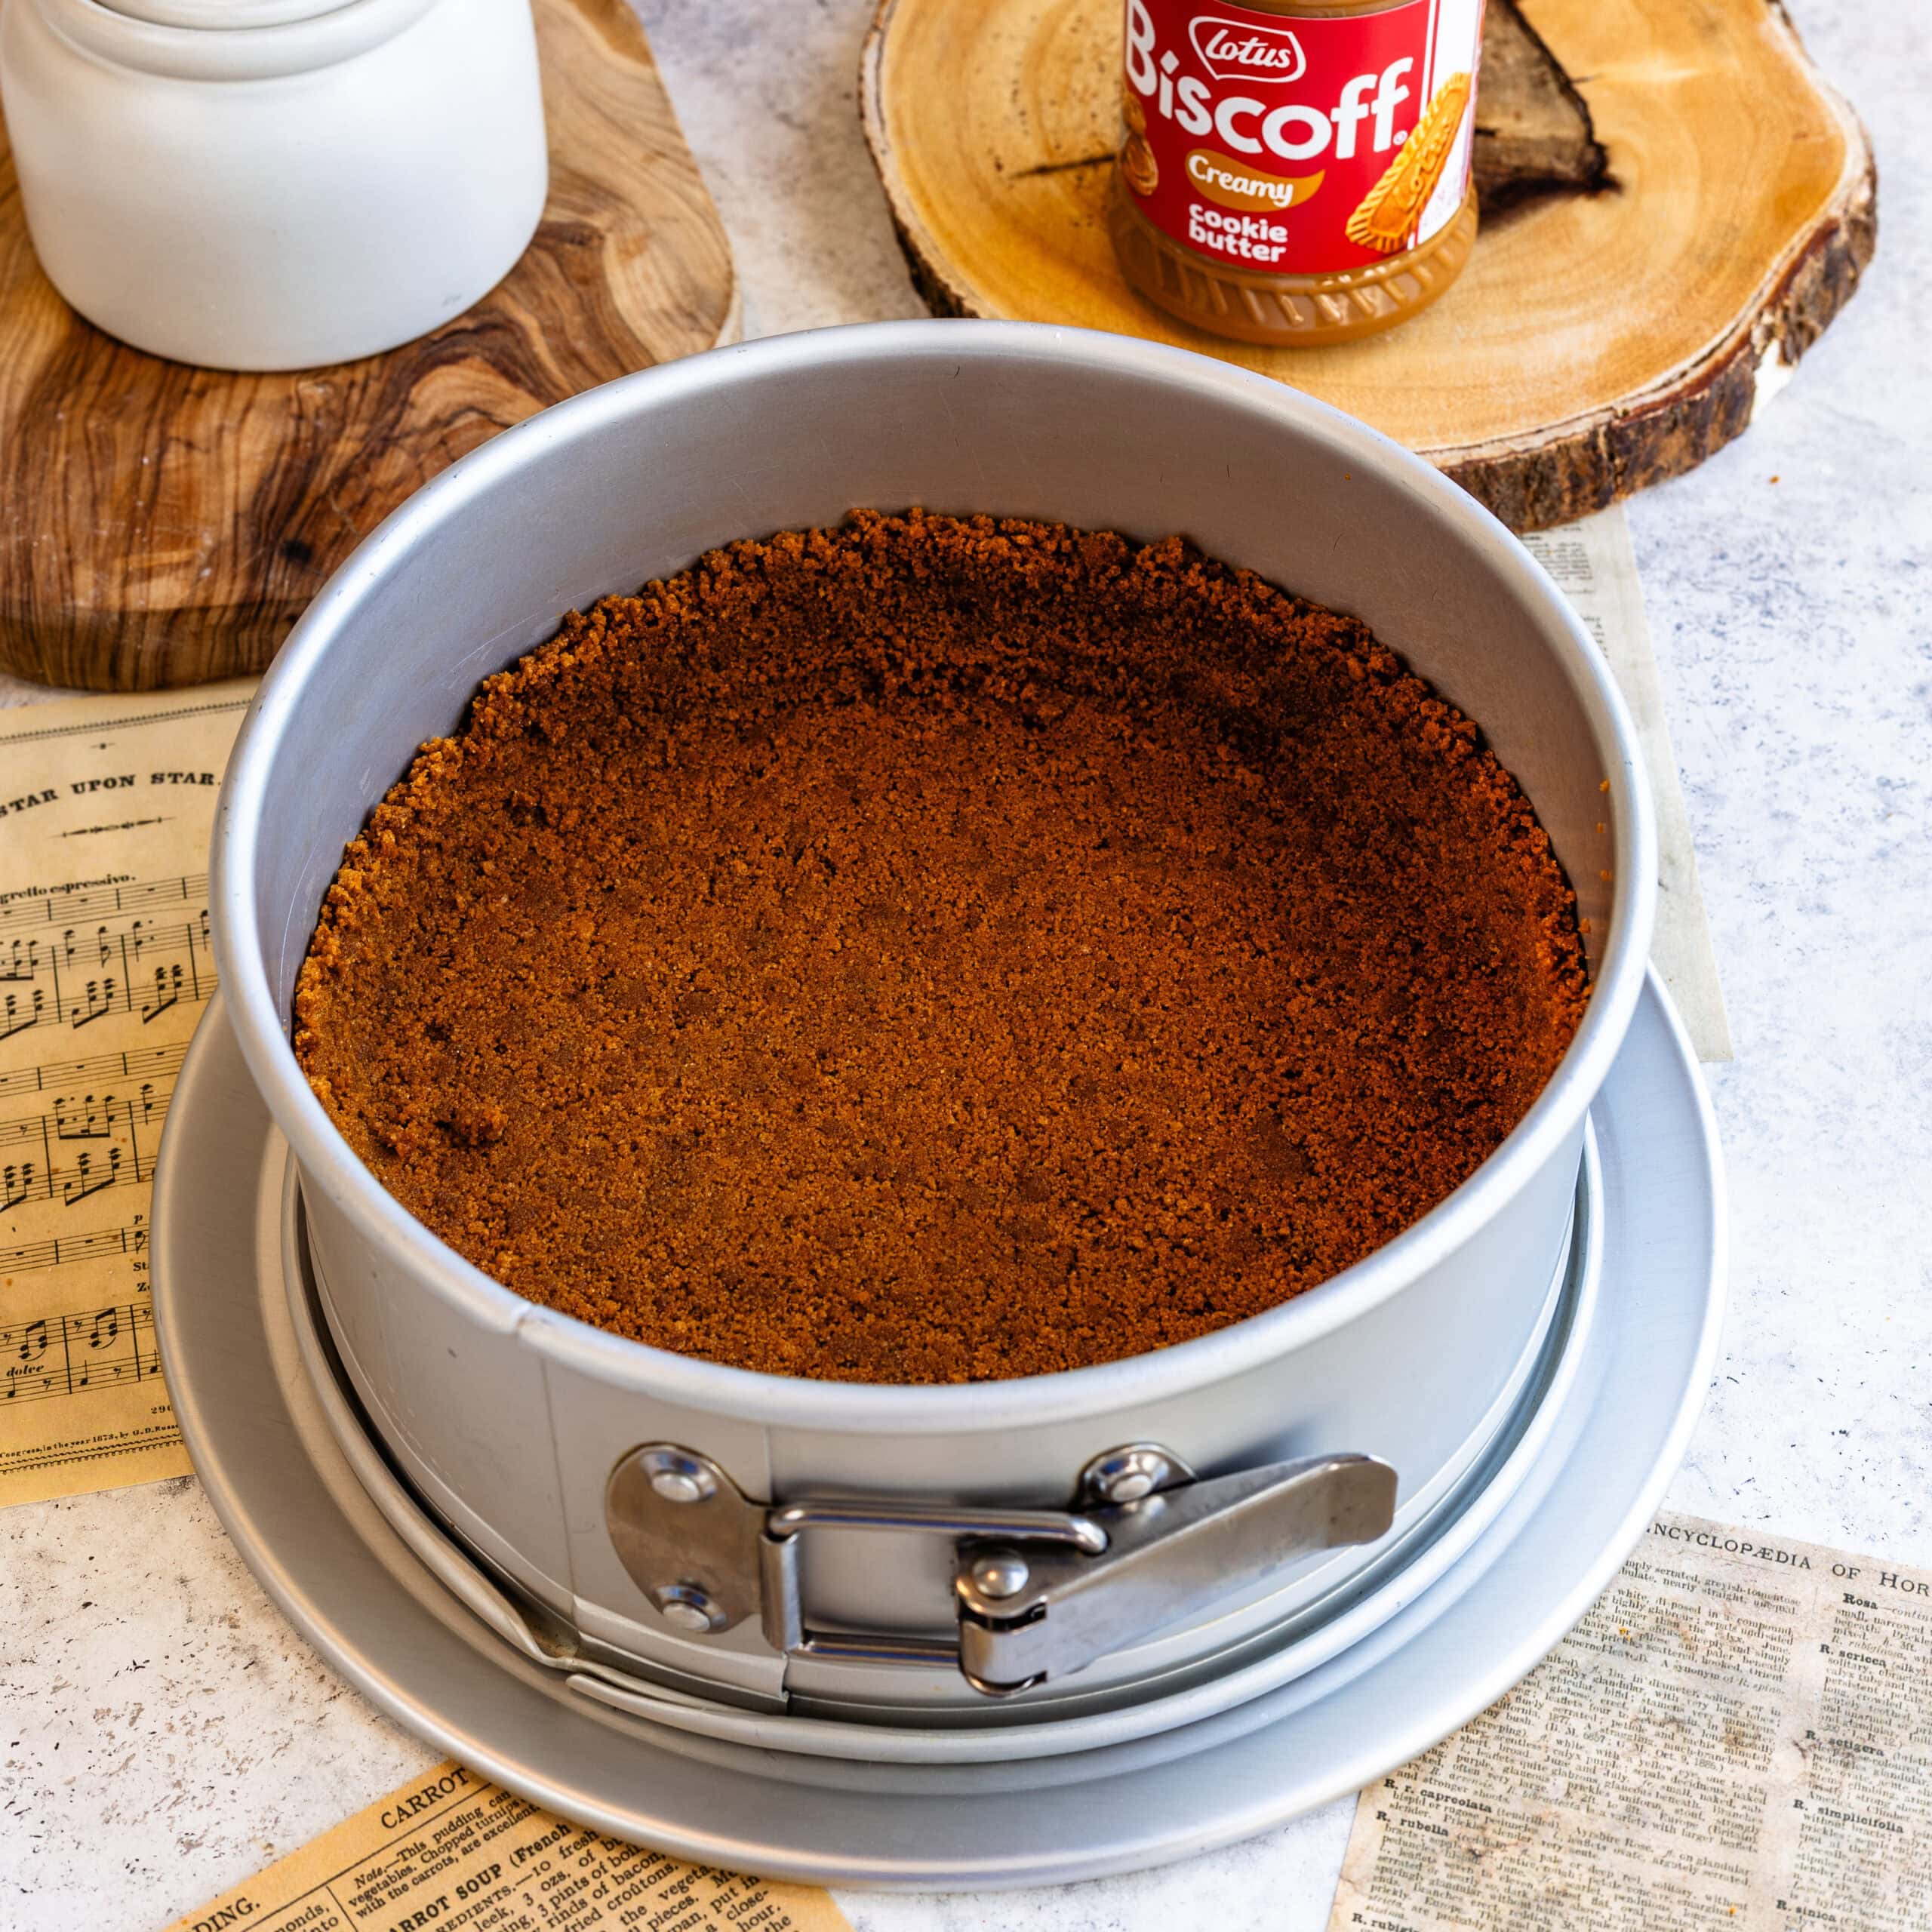
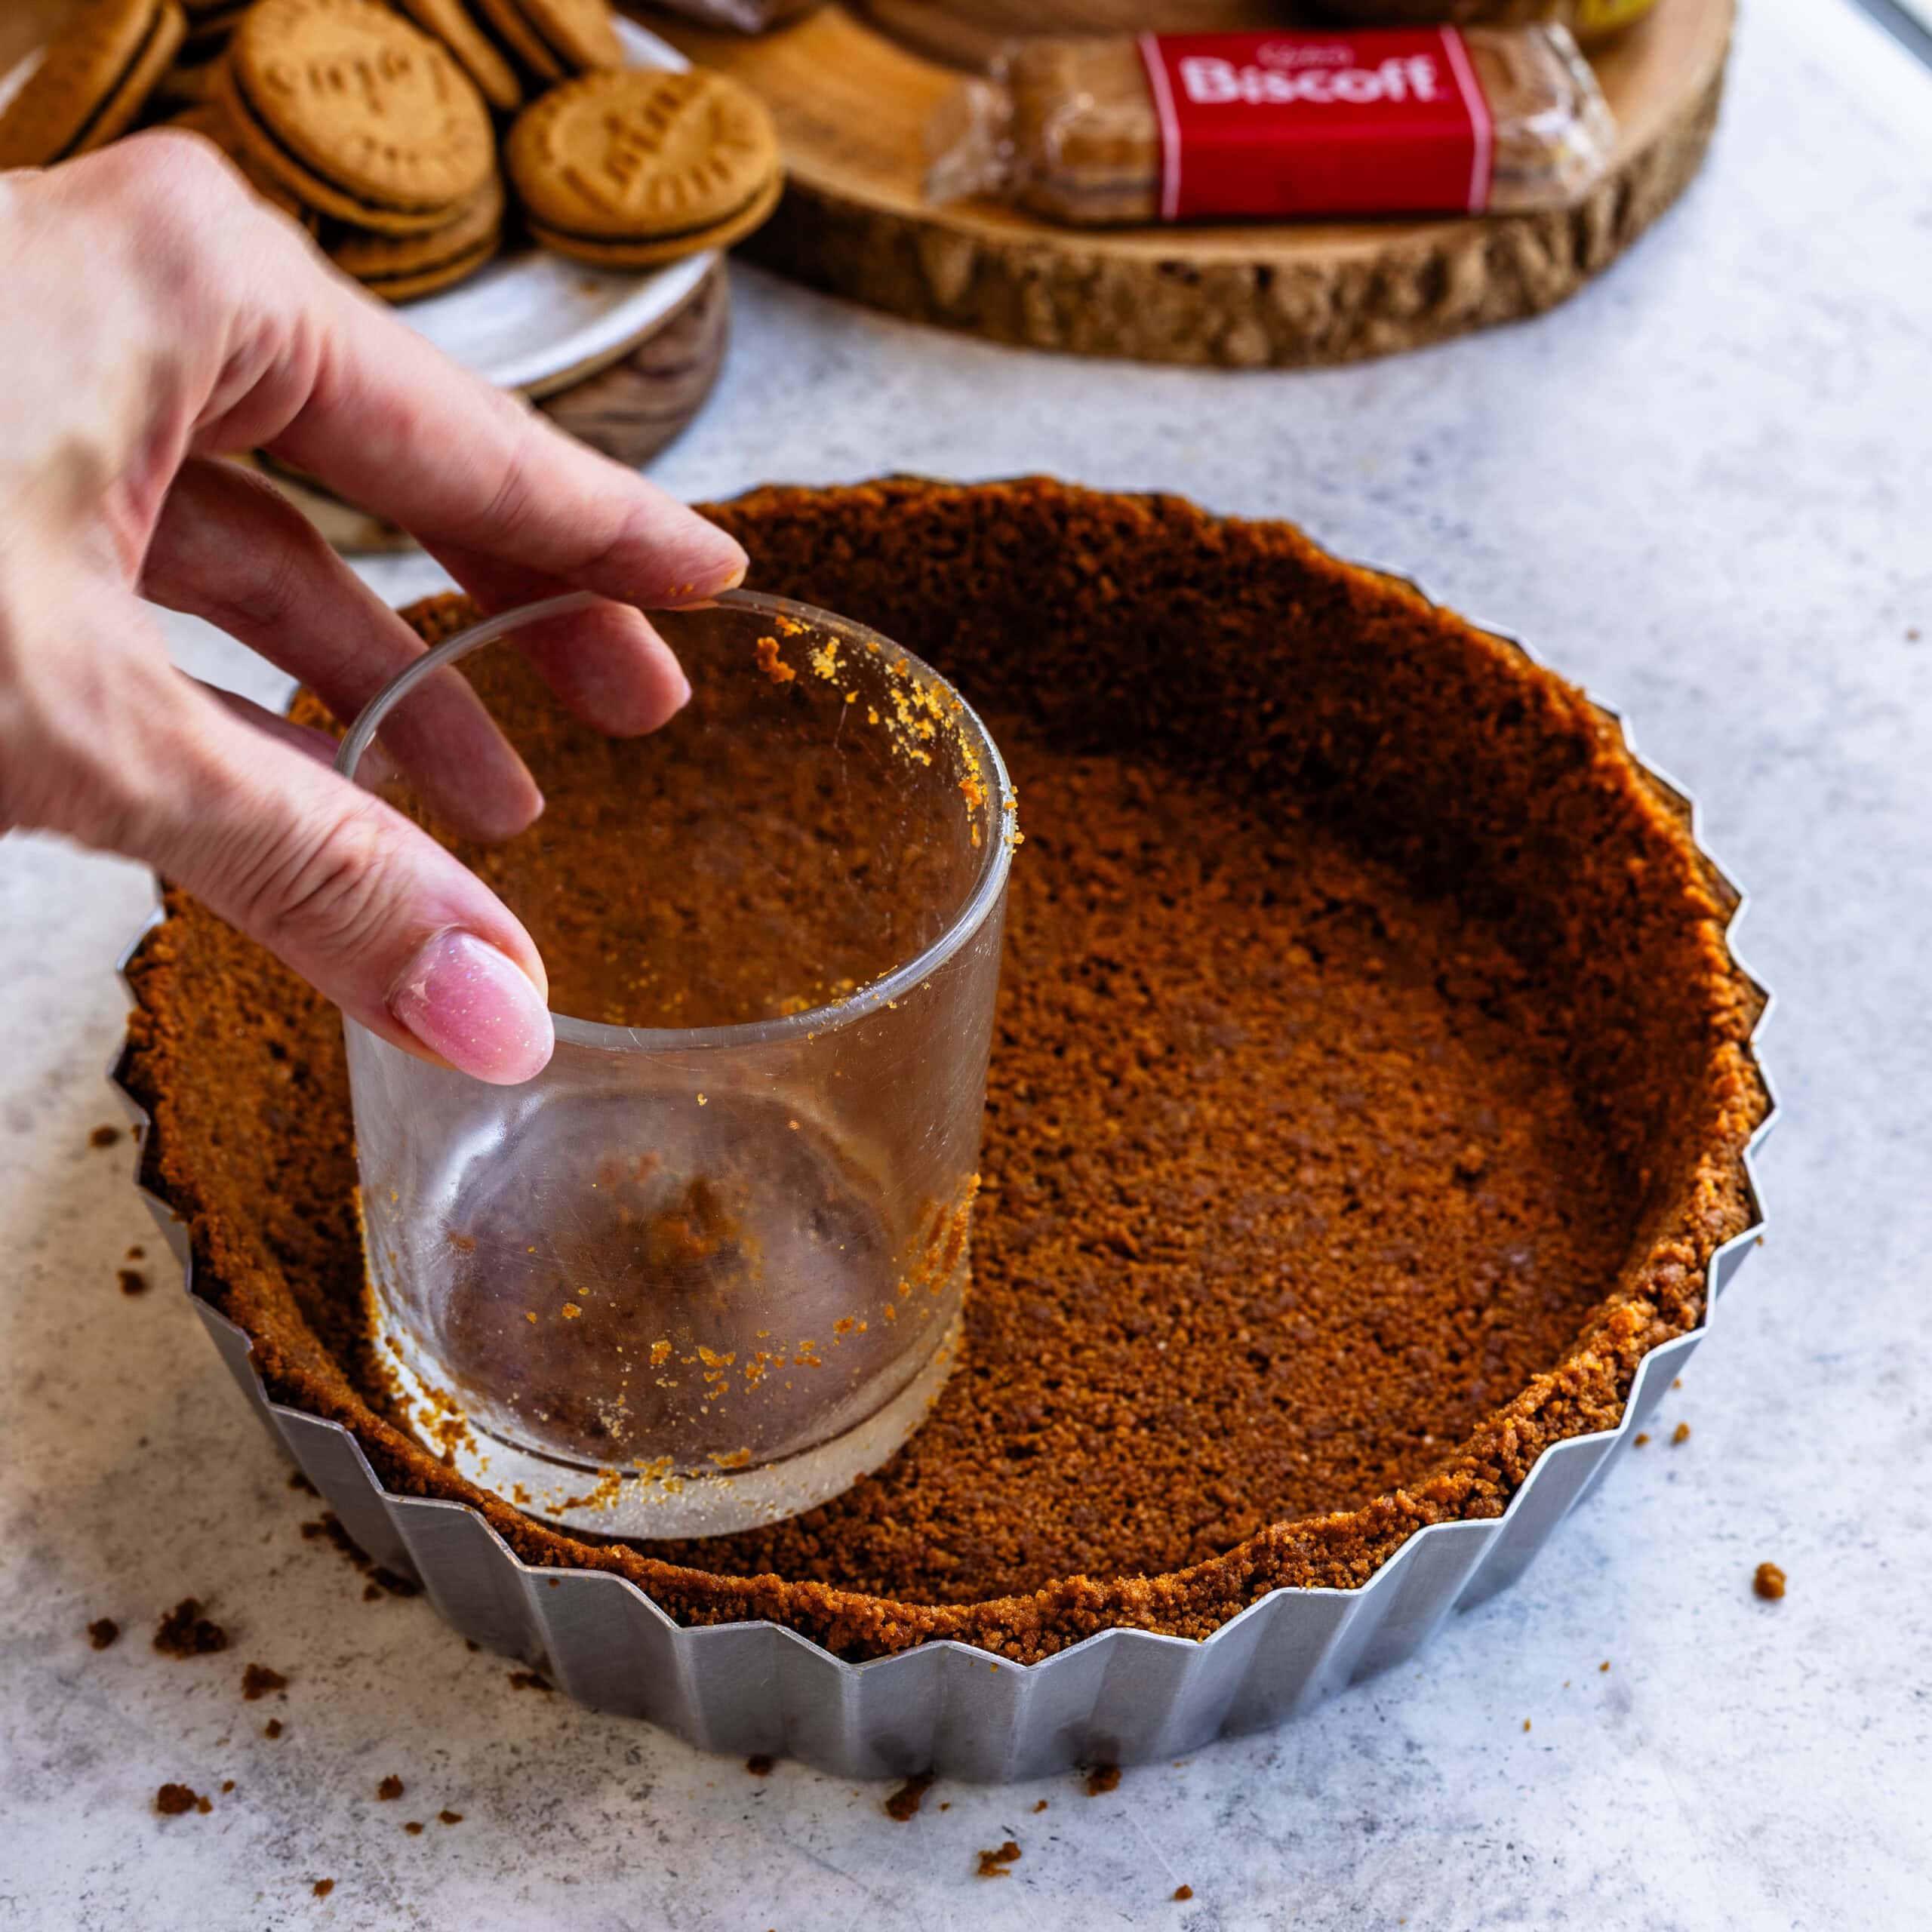
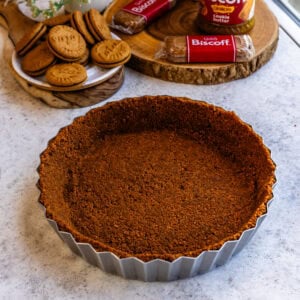
Step 3: Press into the pan
Transfer the mixture to your pan of choice.
Press it firmly into the bottom, making sure it’s even and compact. I always use the bottom of a measuring cup to really pack it down—this step matters more than it seems for a sturdy crust.
Step 4: Bake
Bake for 8–10 minutes, until lightly set and fragrant. Let the crust cool completely before adding your filling.
Expert tips
A few things that make a big difference here:
- Make sure the crumbs are very fine for the best texture
- Press the crust firmly—this is what keeps it from crumbling later
- Don’t skip the cooling step before adding filling
- If it looks dry, add a tiny bit more melted butter
If your crust tends to fall apart, it’s usually from not pressing it hard enough into the pan.
Storage / Make ahead
I often make this ahead of time.
Once baked and cooled, you can store it covered at room temperature for a day, or in the fridge for a couple of days before filling.
Variations
I usually keep this simple, but here are a few ways I adjust it:
- Add a pinch of salt to balance the sweetness
- Mix in a little cinnamon for extra warmth
- Swap part of the Biscoff for graham crackers for a lighter flavor
- Use it as a base for cheesecake, as I do in my Biscoff Cheesecake.
FAQ
Yes. I usually bake it, let it cool, then cover and store it until I’m ready to use it.
Yes. Add an extra ½ tablespoon of melted butter, press it into the pan, and freeze for about 15 minutes to set.
It usually means it wasn’t pressed firmly enough or didn’t have quite enough butter.
Yes. For larger pans or if you want to go up the sides, I increase the recipe by 1.5x.
More recipes you might like
If you’re using this as a base, it works especially well with creamy fillings like cheesecake or mousse. It pairs really nicely with anything Biscoff-forward, or things like my Banana Pudding Cheesecake, where you want that spiced flavor to carry through every layer.
Final thought
This is one of those simple recipes that makes a big difference in the final dessert. Once you make it a couple of times, you won’t really need to think about it.
If you use it, let me know what you paired it with or tag me so I can see it.
Biscoff Cookie Crust
Ingredients
- 250 grams Biscoff cookies 1 package of Biscoff cookies
- ⅓ cup unsalted butter 76g
Instructions
- Preheat your oven to 350°F (175°C).
- Add the Biscoff cookies to a food processor and pulse until you have fine, even crumbs.
- Melt the butter, then pour it over the crumbs and mix until the texture resembles wet sand. It should hold together when pressed.
- Press the mixture firmly into the bottom of an 8 or 9-inch tart pan or an 8–9 inch cheesecake pan, making sure to create an even, compact layer. Use the bottom of a glass or measuring cup to really pack it down.
- Bake for 8–10 minutes, until lightly set and fragrant. Remove from the oven and let it cool completely before filling.
- This amount fits an 8–9 inch tart pan or an 8–9 inch cheesecake pan.