

Espresso Chocolate Scones
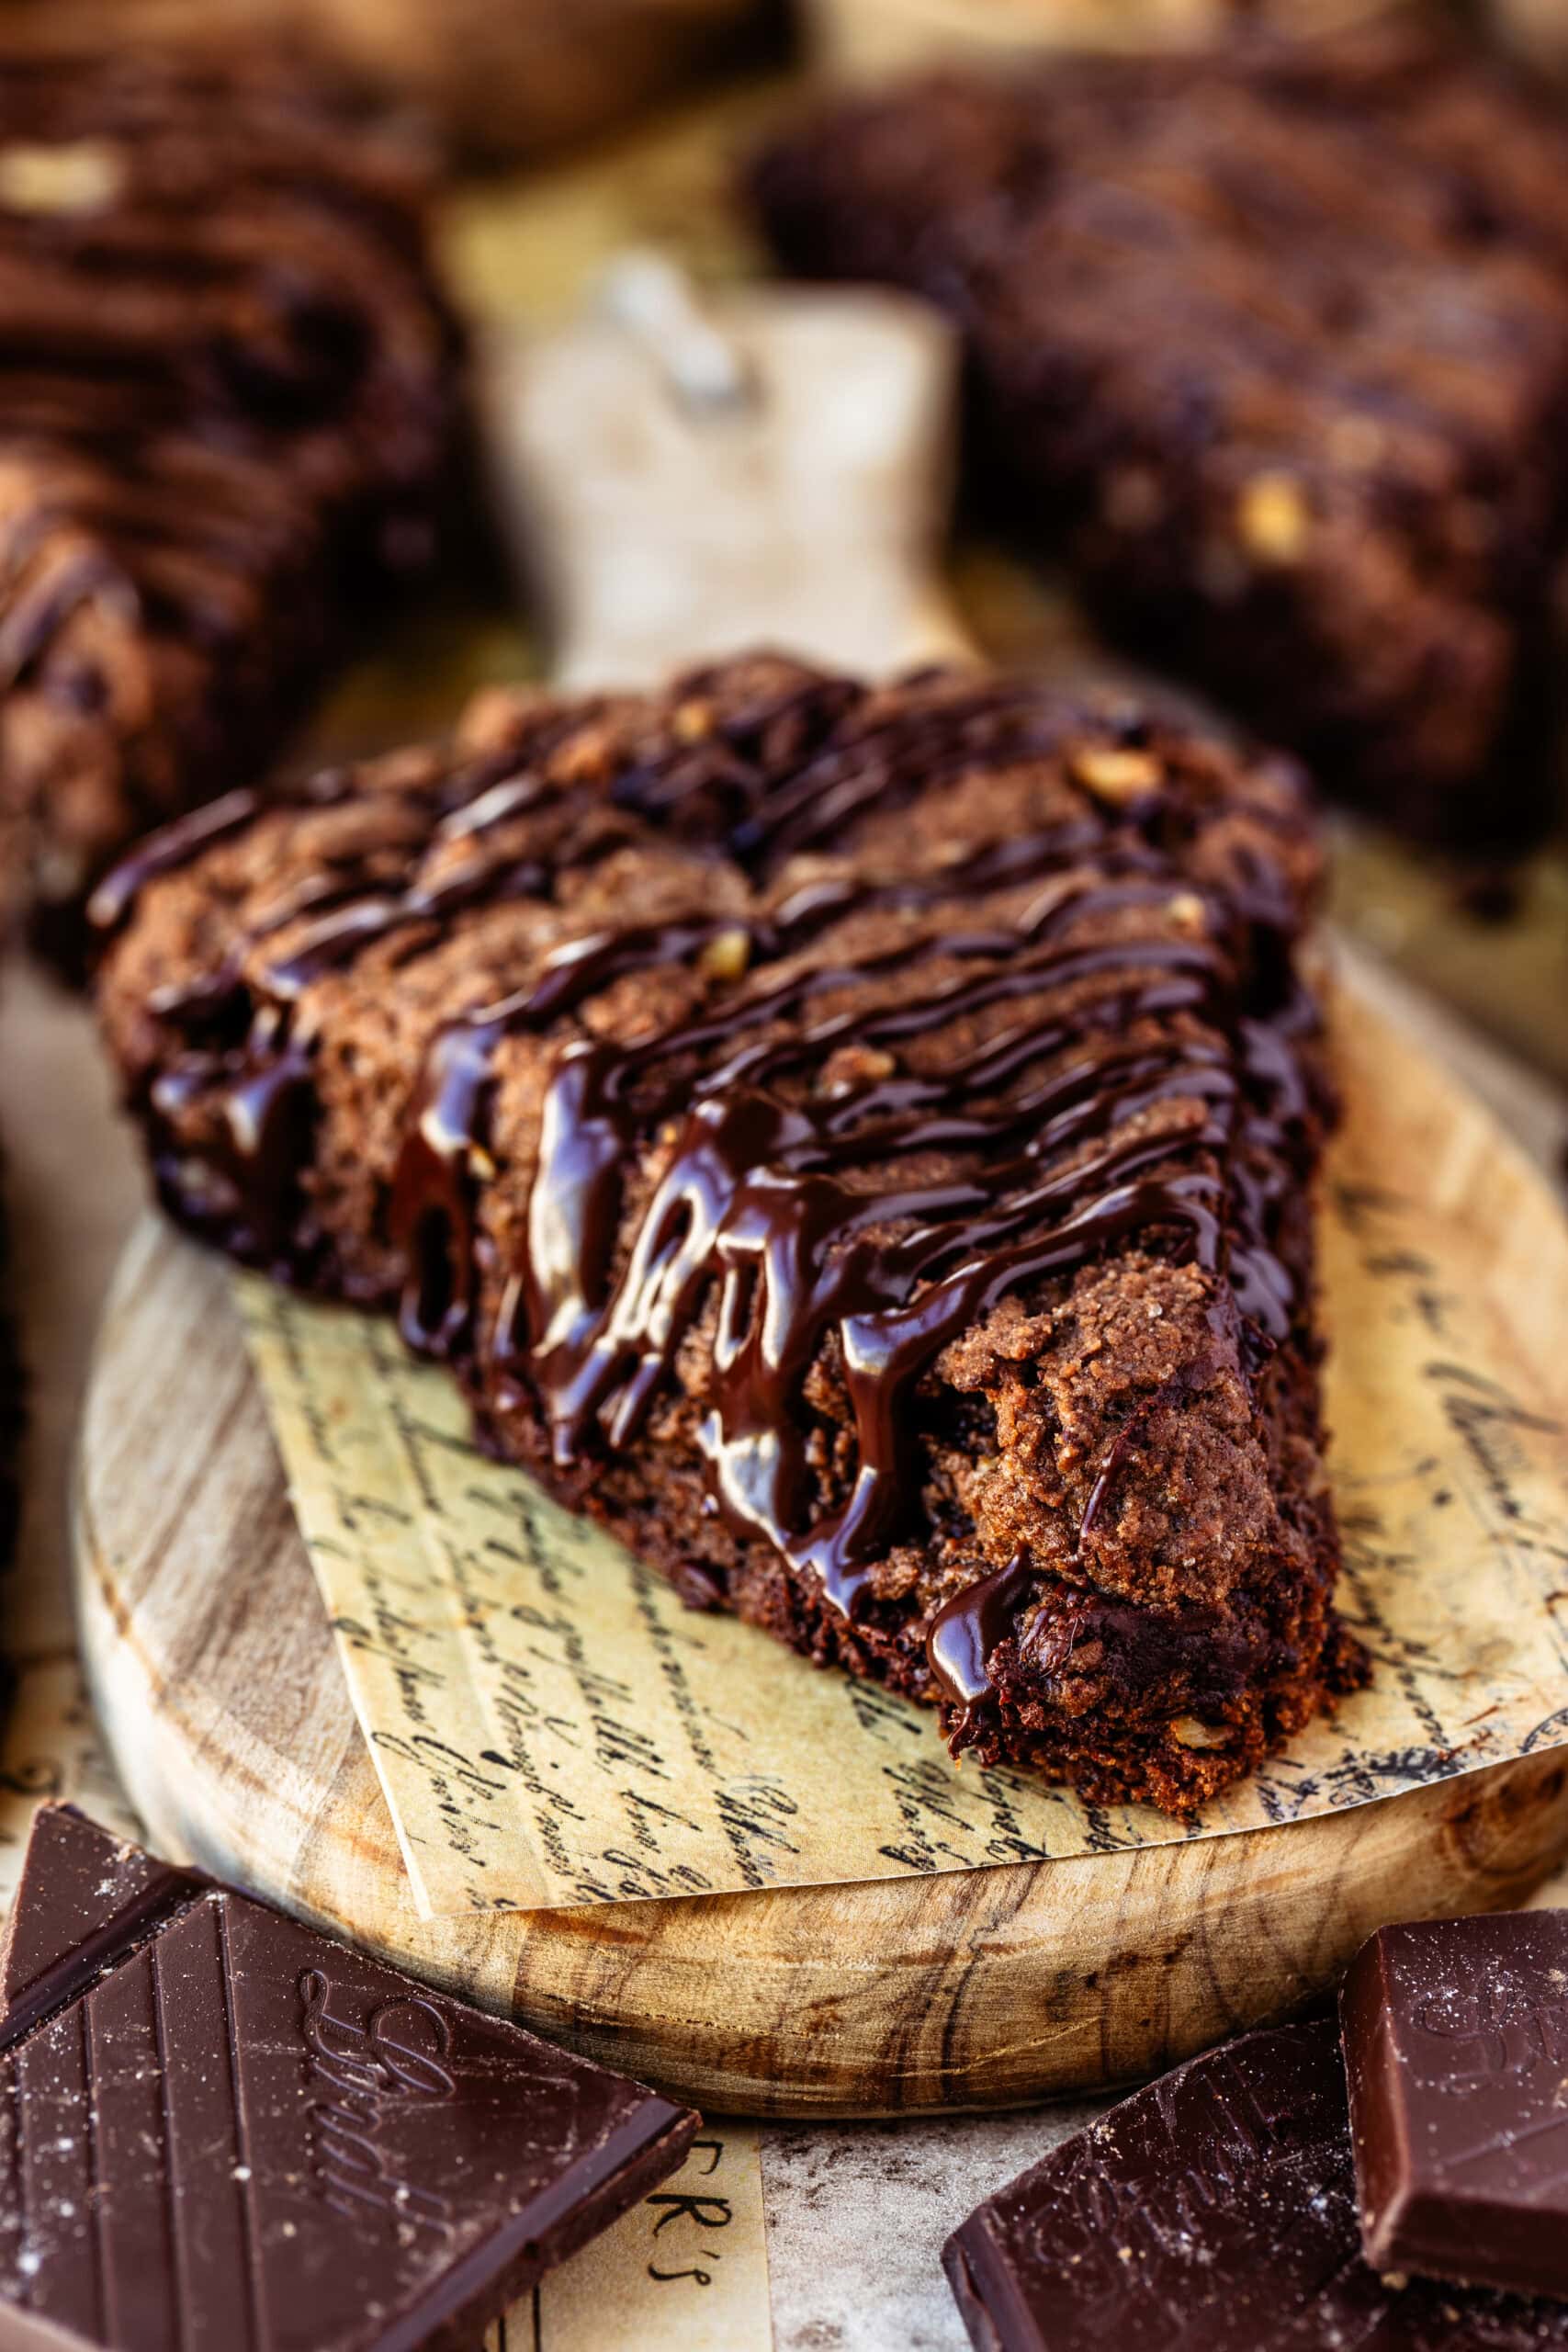
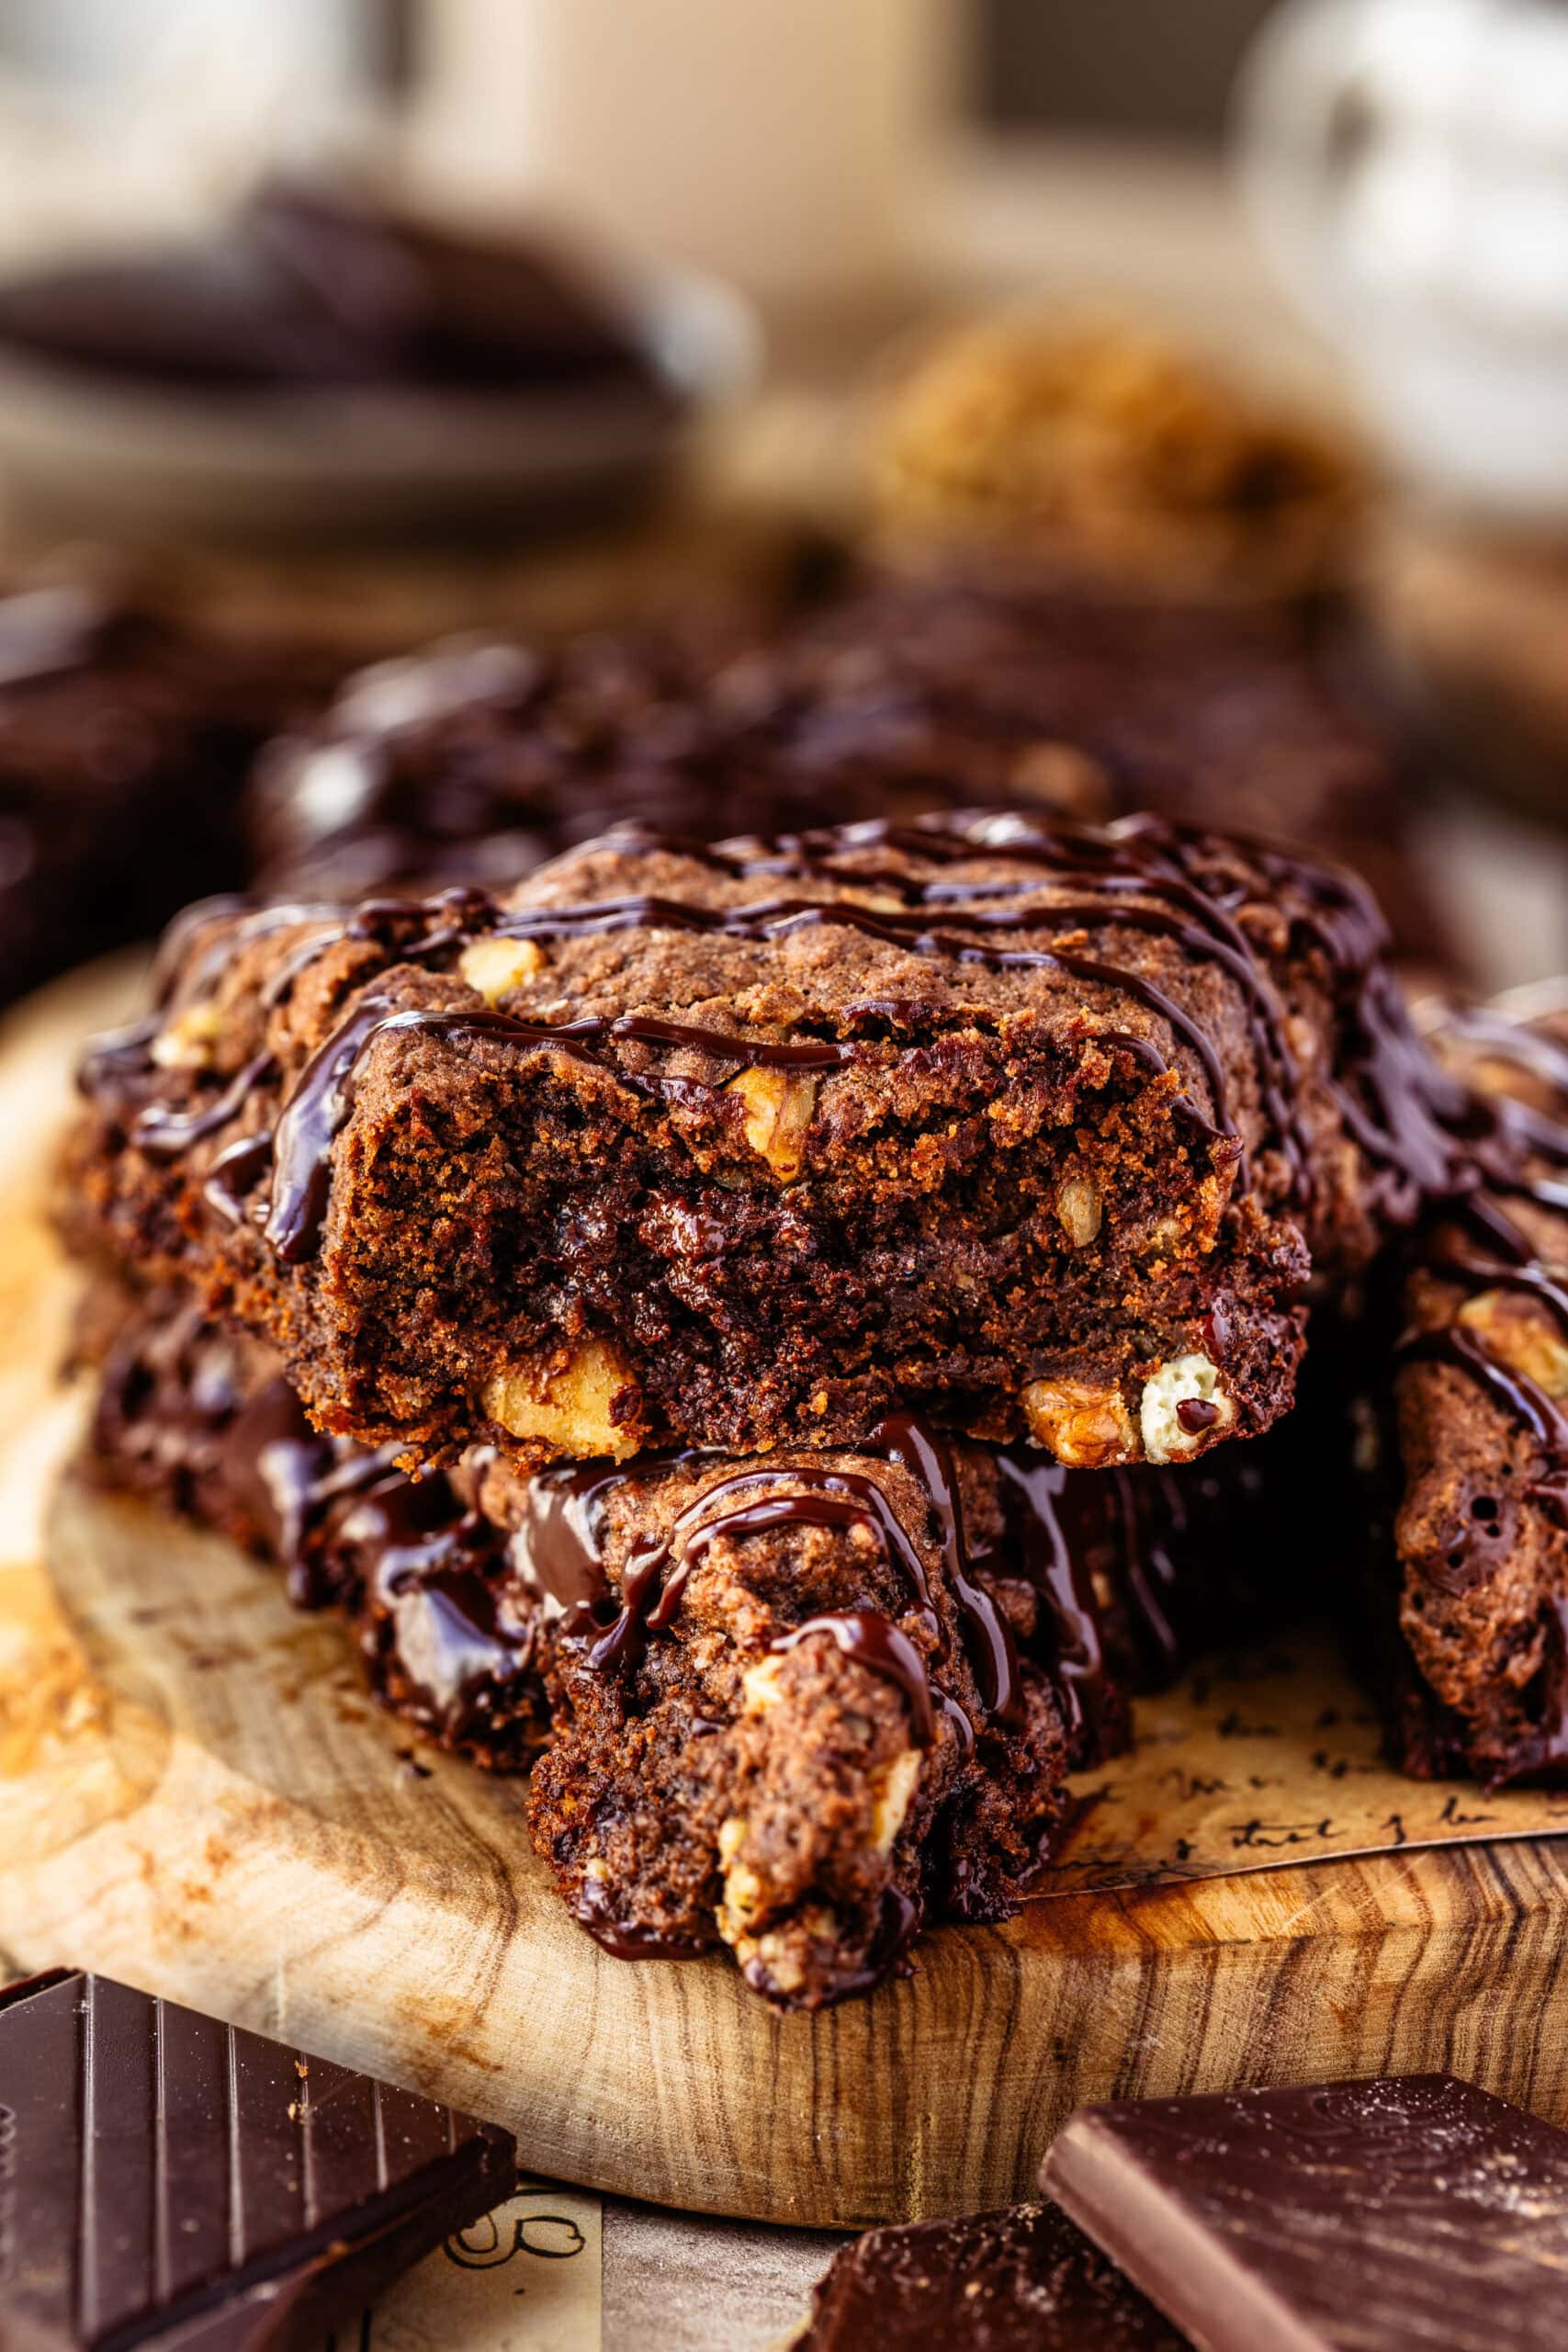
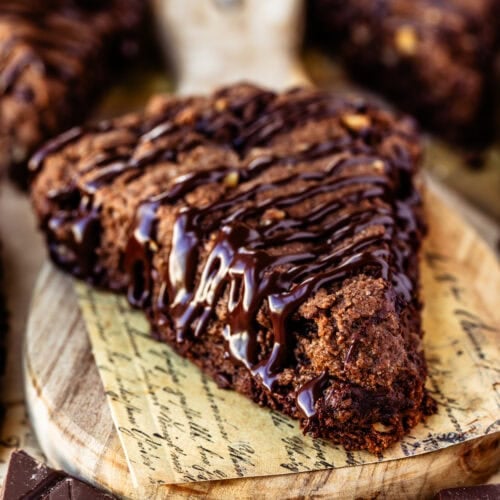
If I had a bakery, these Espresso Chocolate Scones would definitely earn a spot on the menu. They’re easy to make, beautiful to serve, and the flavor combination elevates what could otherwise be a simple breakfast treat or dessert. The espresso glaze takes them over the top, adding just the right finishing touch. Don’t skip the walnuts—they truly work here—and the texture is wonderfully soft with every bite. As expected, these scones are anything but dry.
A little more about these scones
I actually worked at a bakery for a while, and we used to freeze our scones all the time. They freeze beautifully and are very convenient to keep on hand. That said, there’s really nothing quite like a freshly baked scone straight from the oven when the chocolate is still soft, and the edges are just slightly crisp. I have a few more scone recipes on the blog, like Apple Scones and Lemon Strawberry Scones.
You’ll love these scones because…
These are the kind of scones that feel a little bakery-level but are very easy to make at home.
This post may contain affiliate links. I earn a commission from qualified purchases. Please read our Privacy policy here.
- The espresso and chocolate combination is rich but balanced
- Walnuts add texture and complement the chocolate perfectly
- The ganache glaze makes them feel extra special
- The pat-and-fold technique creates tender, flaky layers
- They freeze extremely well, so you can bake them whenever you want
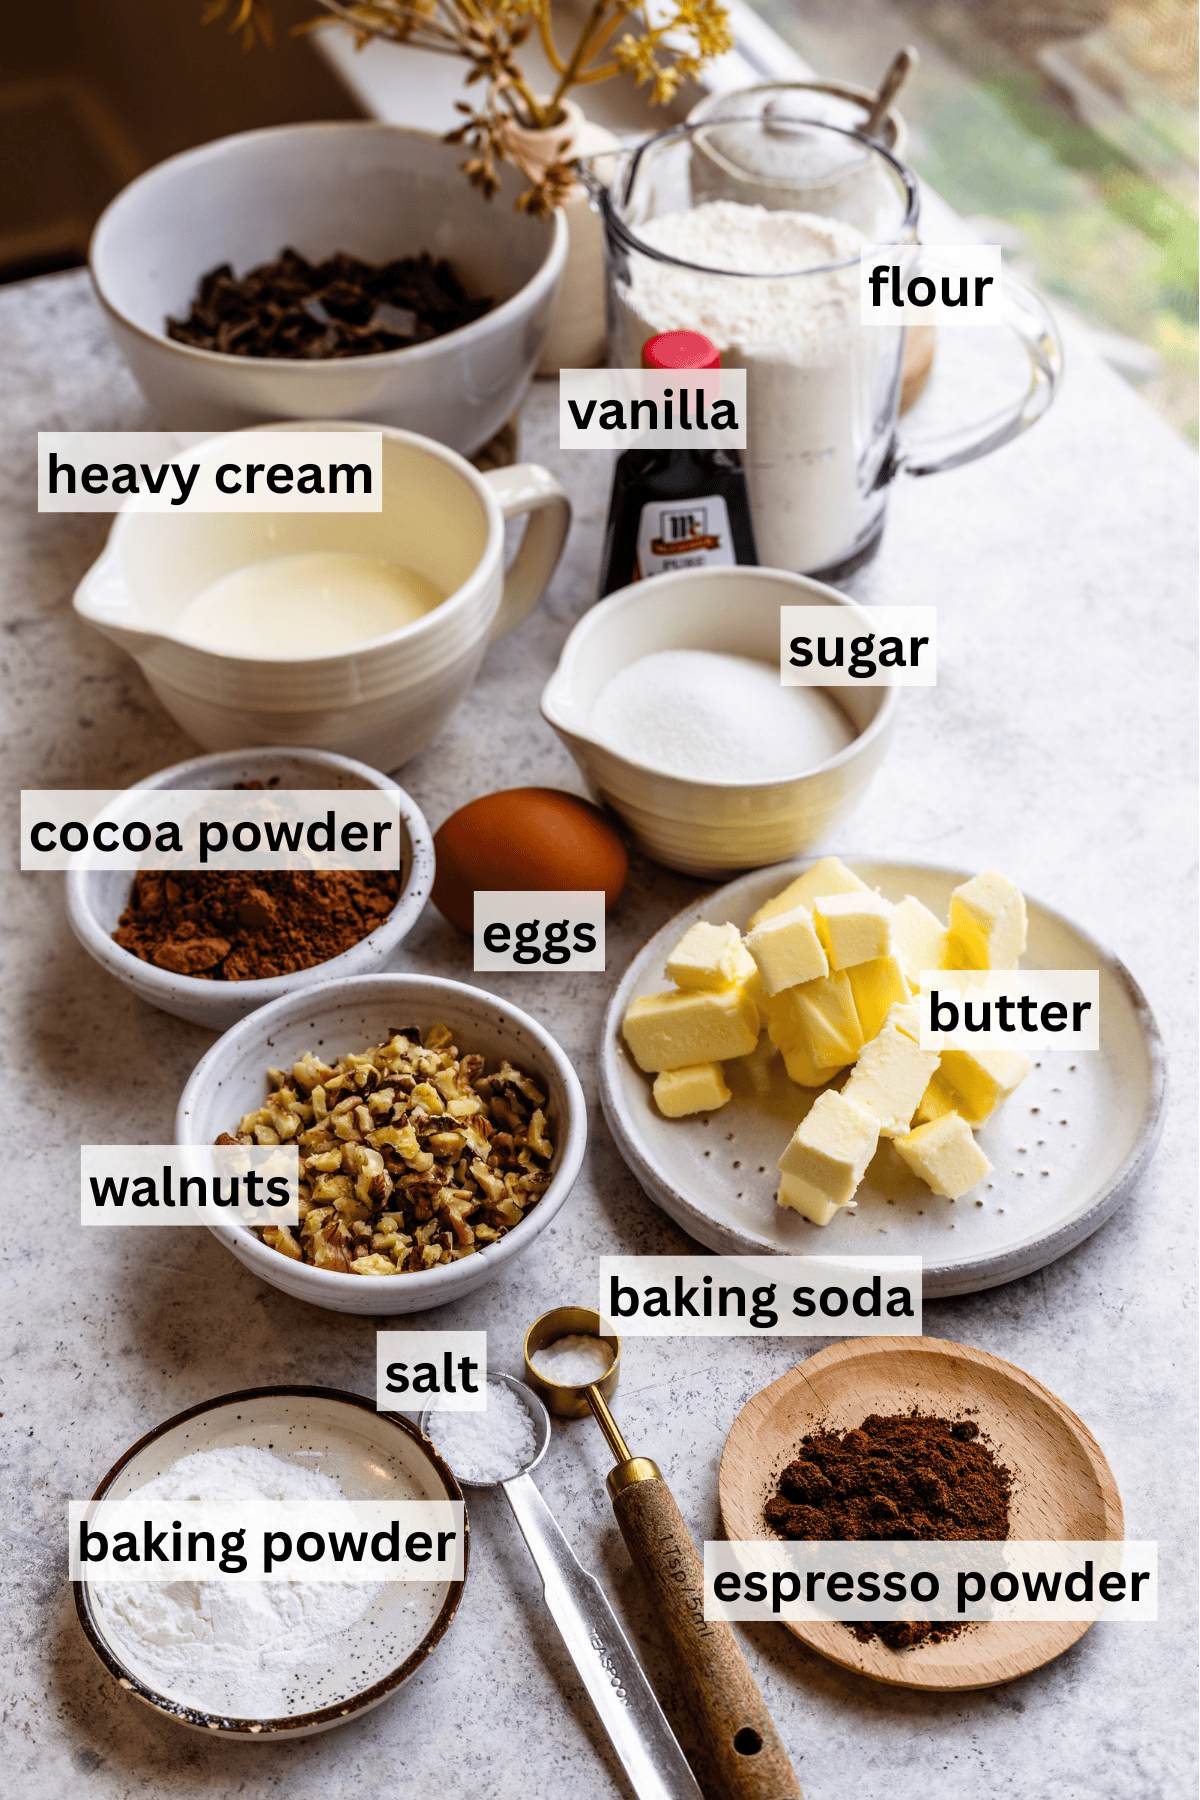
Key Ingredients & Why I Use Them
Cocoa powder: I prefer Dutch-processed cocoa here because it gives the scones a deeper chocolate flavor and a richer color.
Instant espresso powder: This intensifies the chocolate flavor while also giving the scones a subtle coffee note. If you prefer a milder flavor, I usually suggest using about 2 teaspoons instead of the full tablespoon.
Very cold butter: Cold butter is essential for scones. As it melts in the oven, it creates steam pockets that give the scones their soft, flaky texture. I make sure to use cold butter in all of my scone recipes, like my Blueberry Scones.
Heavy cream: Heavy cream makes the dough rich and tender. I almost always reach for cream when making scones because it produces a softer crumb.
Chocolate chips or chopped chocolate: I like using chopped chocolate because it melts into little pockets throughout the scone, but chips work just as well.
Walnuts: Walnuts are optional, but I always include them. They add a slight crunch and pair beautifully with the espresso and chocolate.
How to Make Espresso Chocolate Scones
Scones can be tricky, so I’m here to make them with you step by step! The full recipe card with ingredients is listed below as well for your convenience.
Step 1: Mix the dry ingredients
Preheat the oven to 400°F (or 375°F for convection ovens). Line a baking sheet with parchment paper.
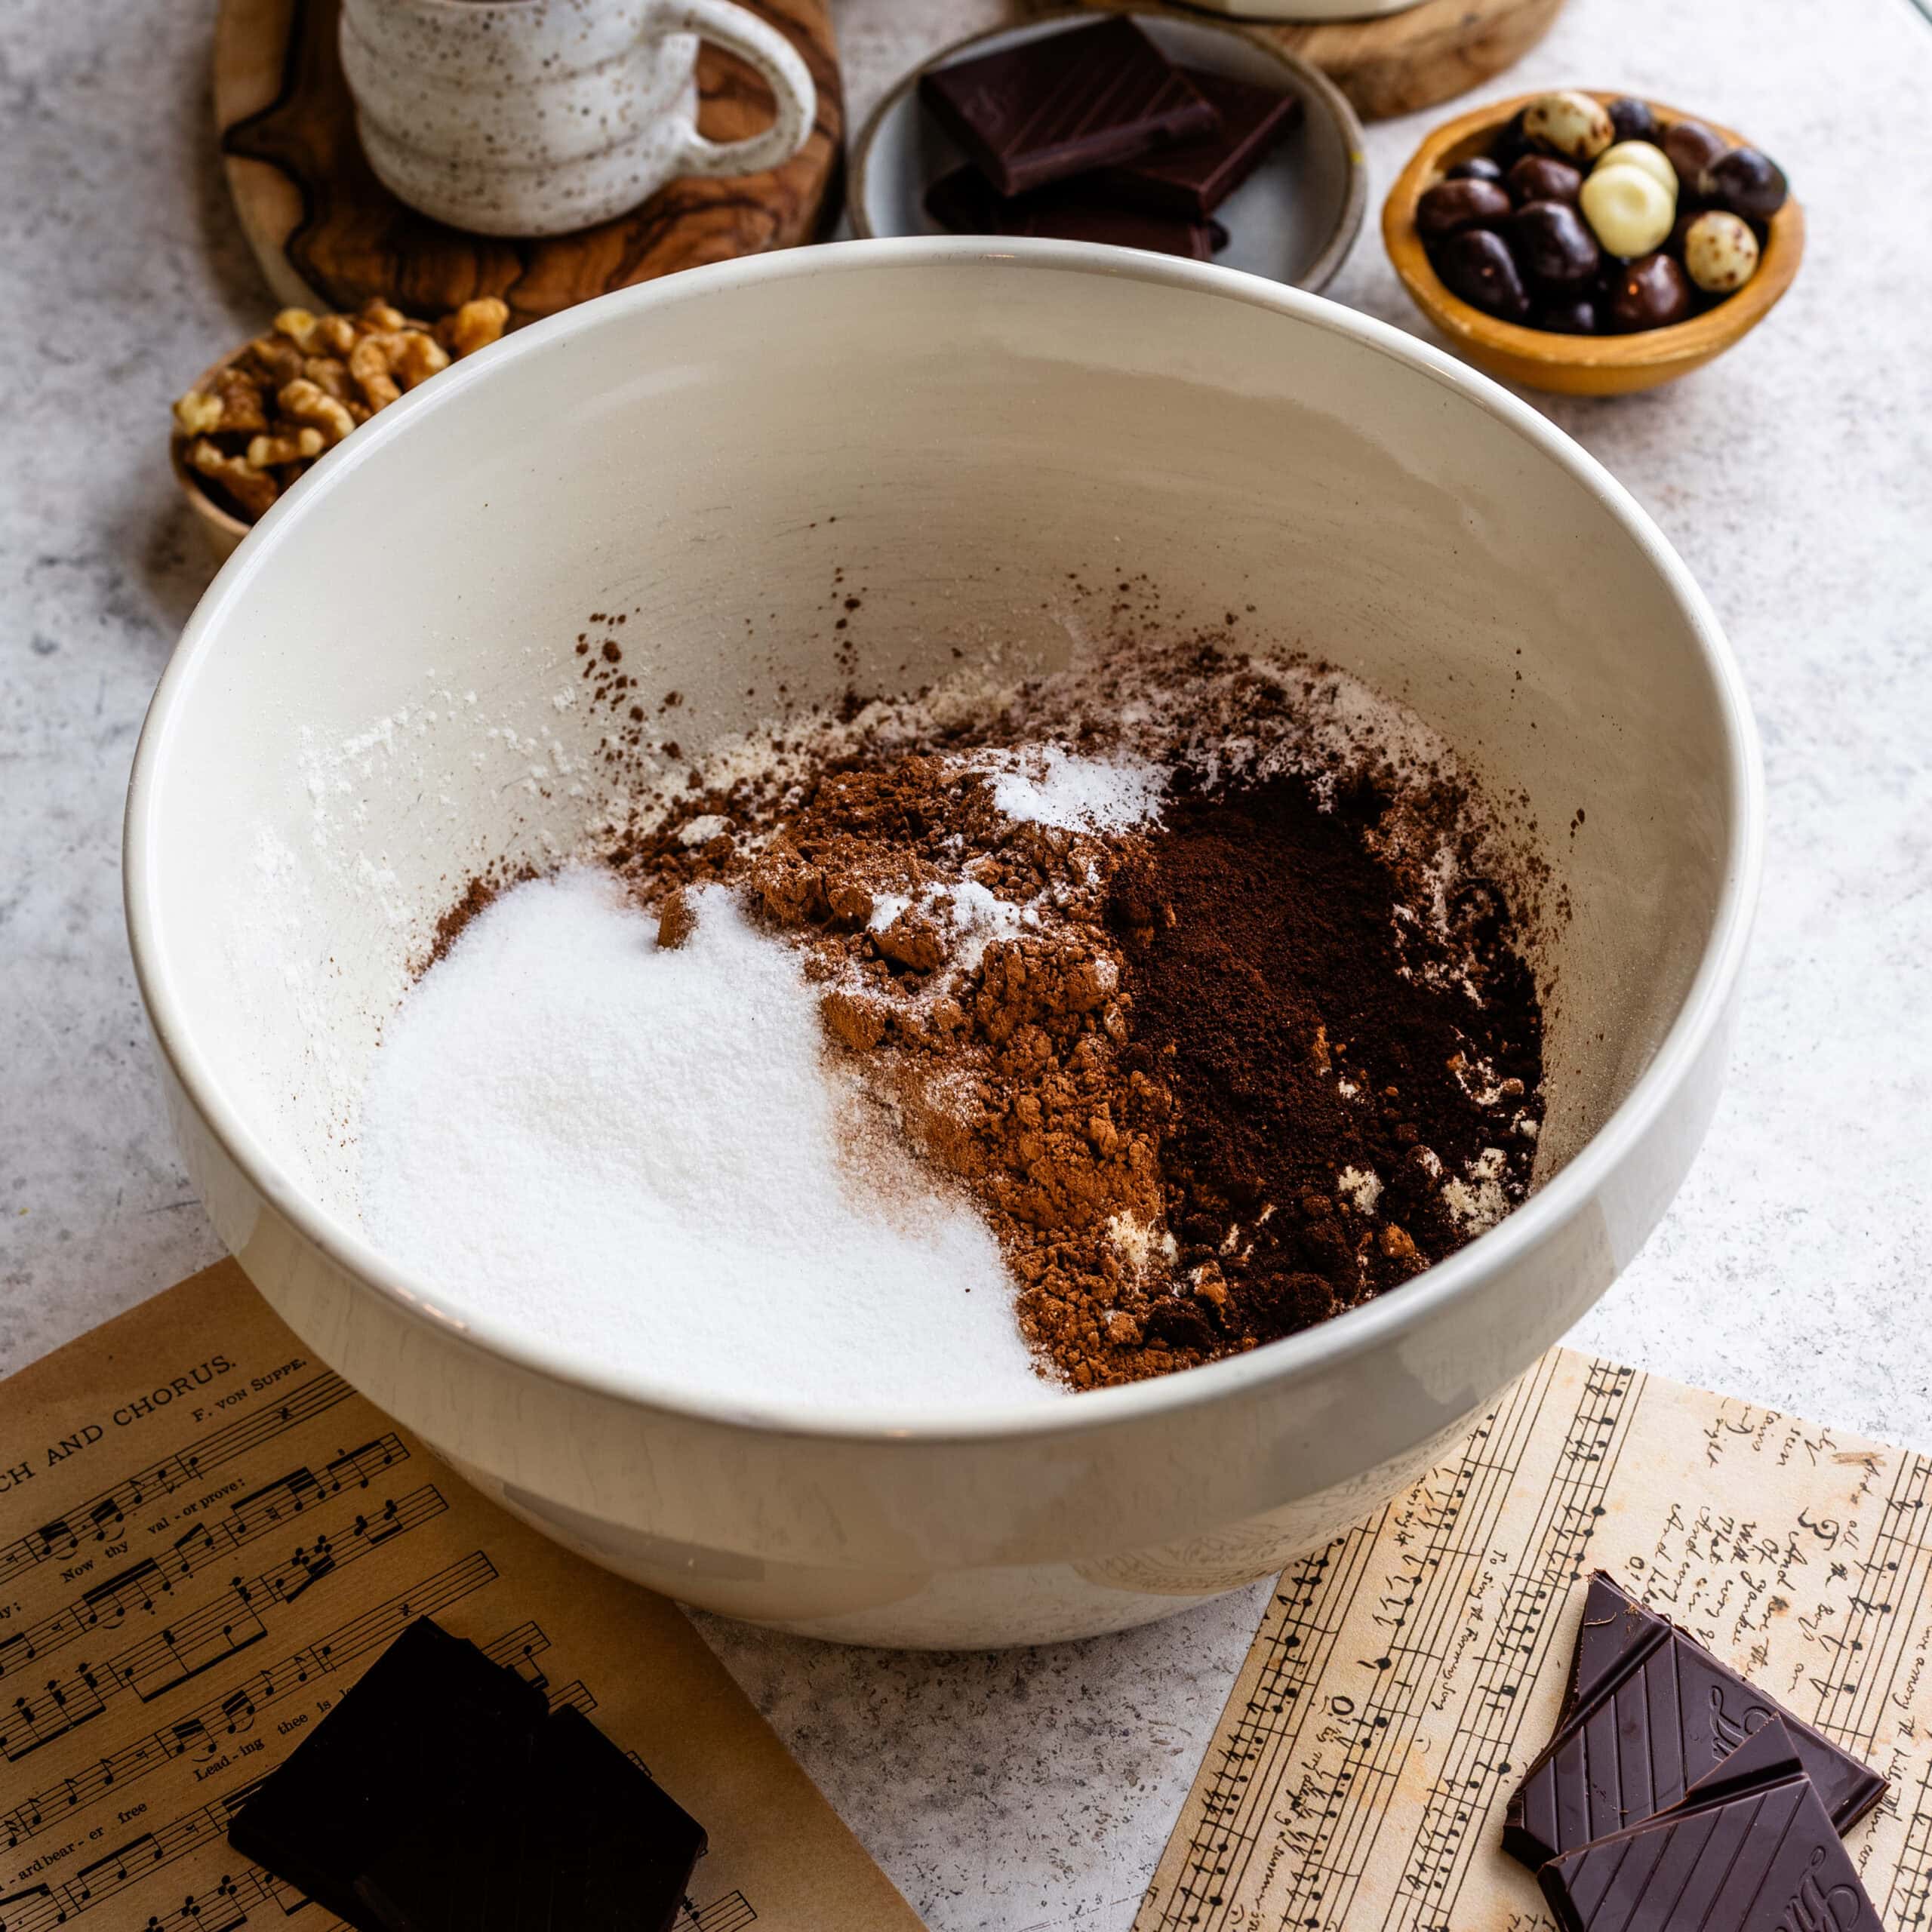
In a large bowl, whisk together the flour, cocoa powder, sugar, baking powder, baking soda, salt, and espresso powder.
Step 2: Cut in the butter
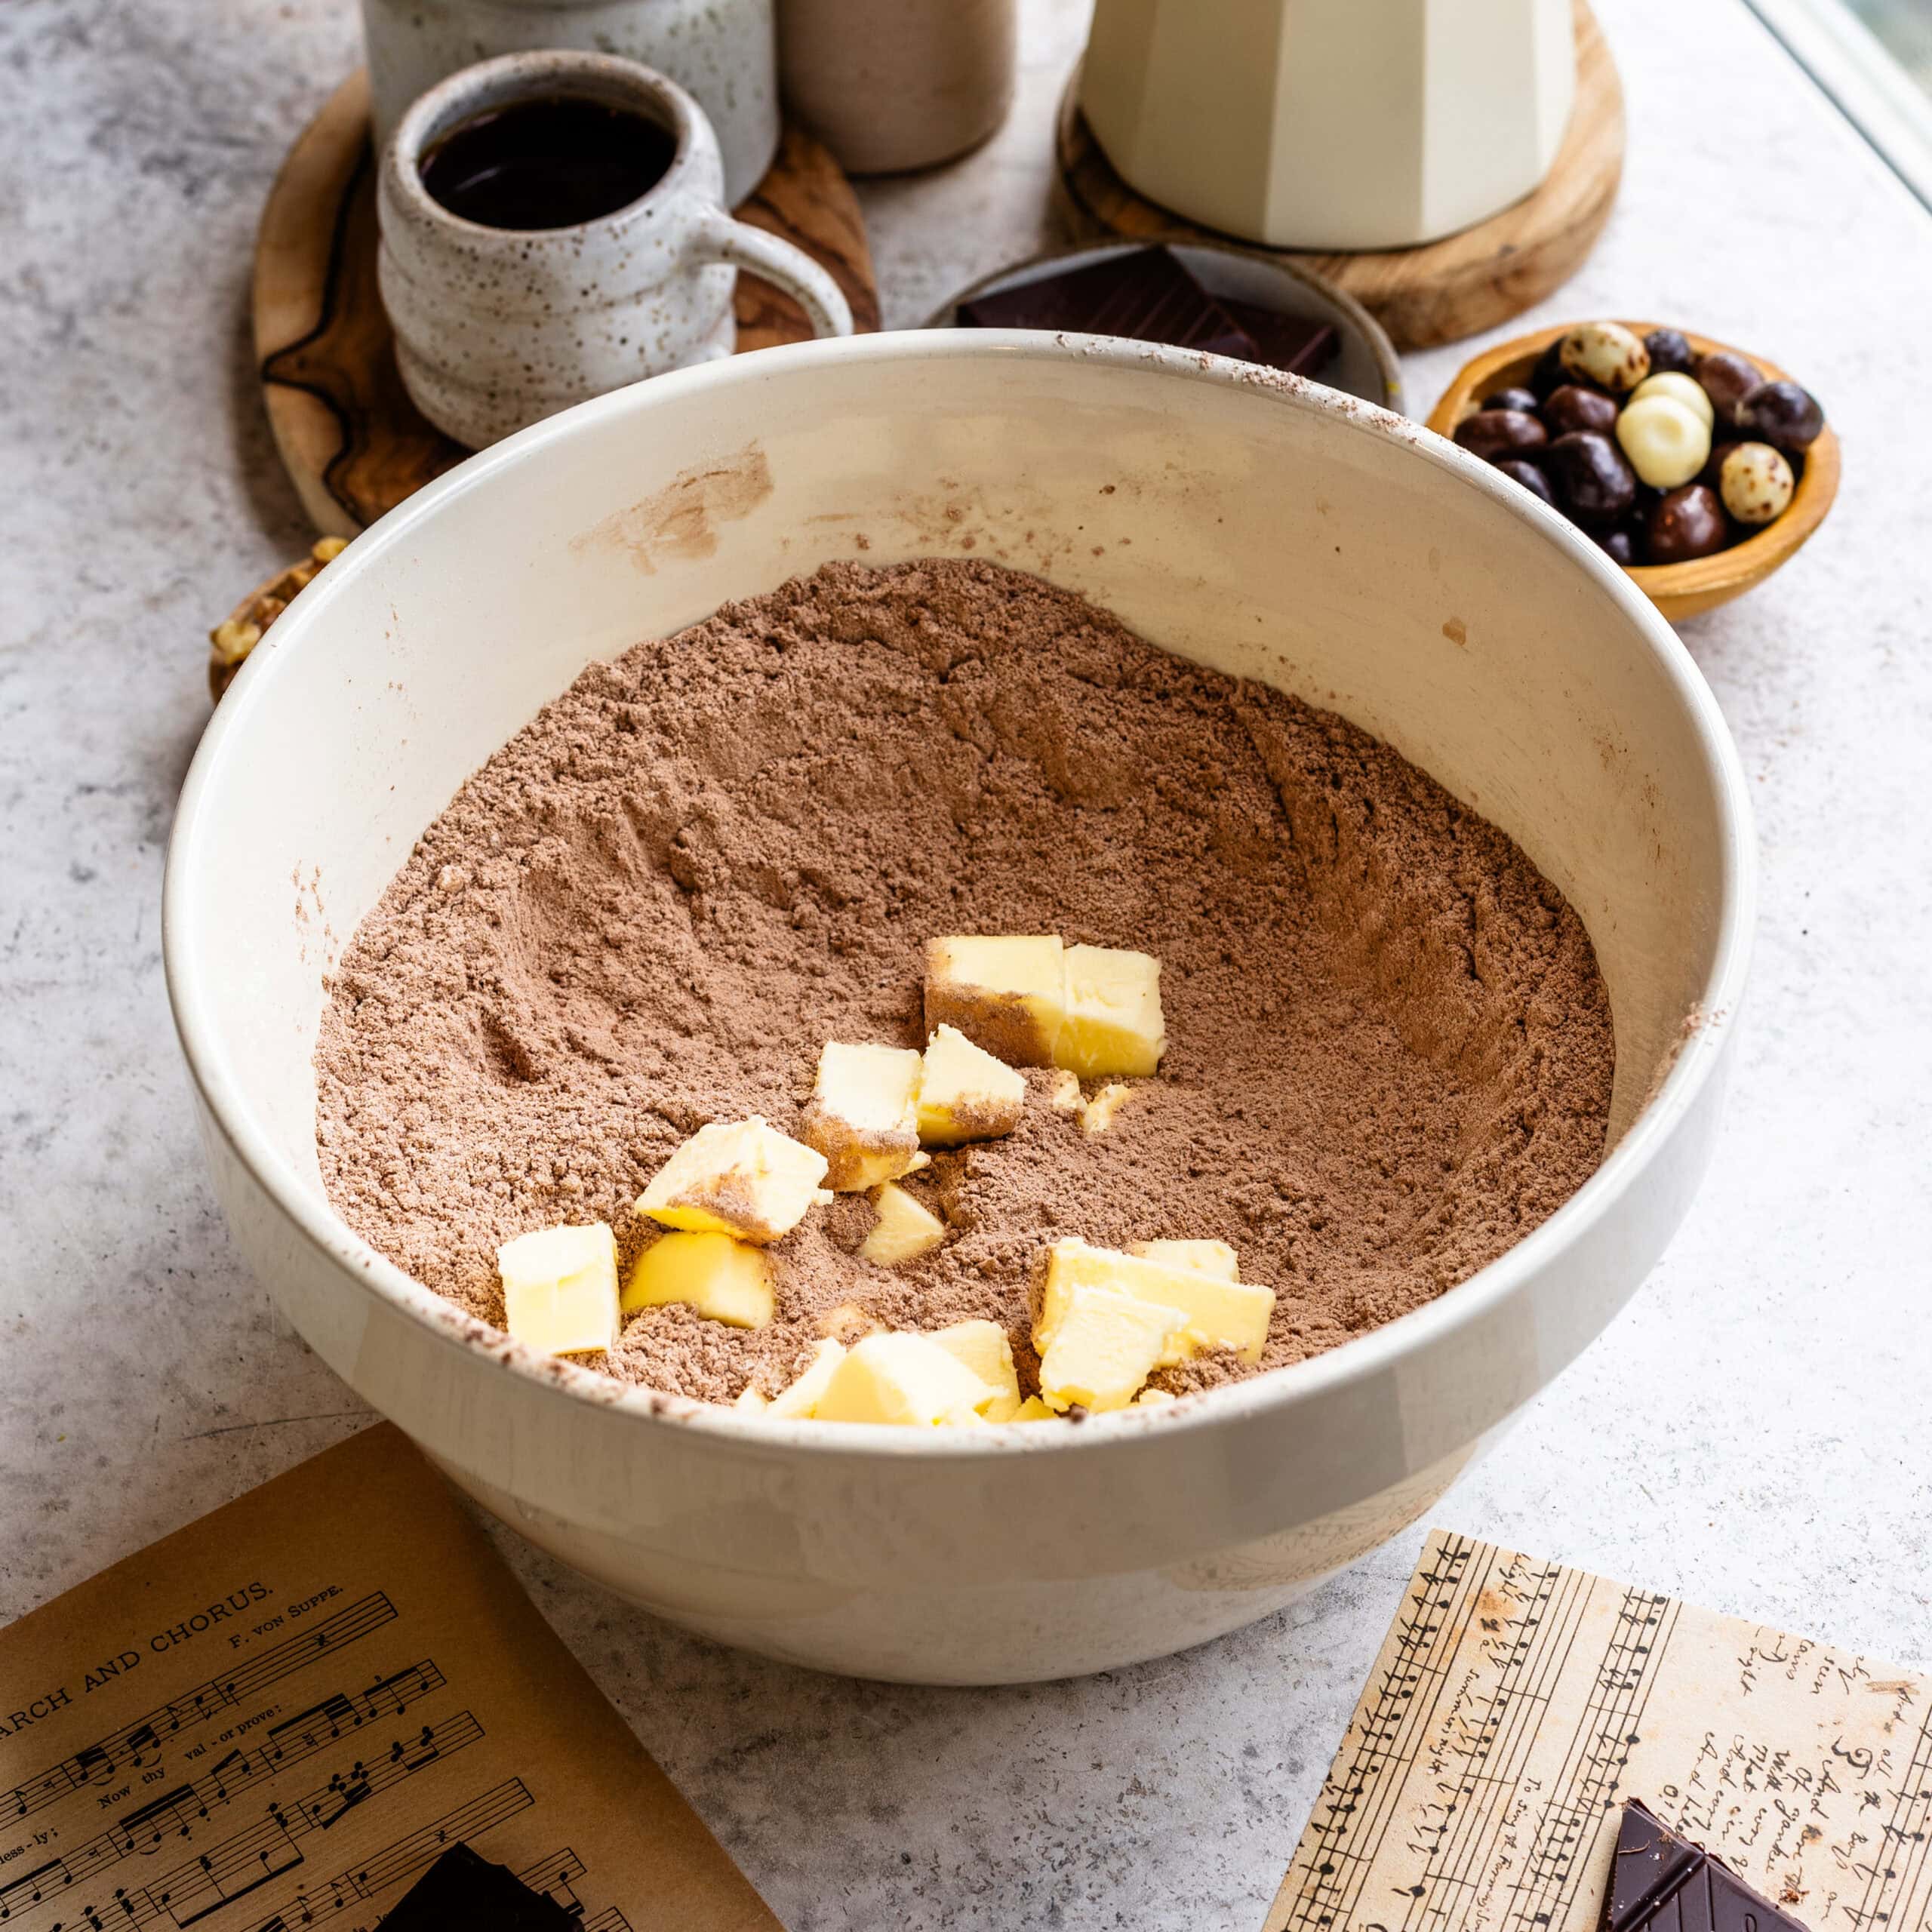
Add the cubed cold butter and cut it into the flour mixture using a pastry cutter, fork, or your fingertips. I stop when the mixture resembles coarse crumbs.
Step 3: Mix the wet ingredients
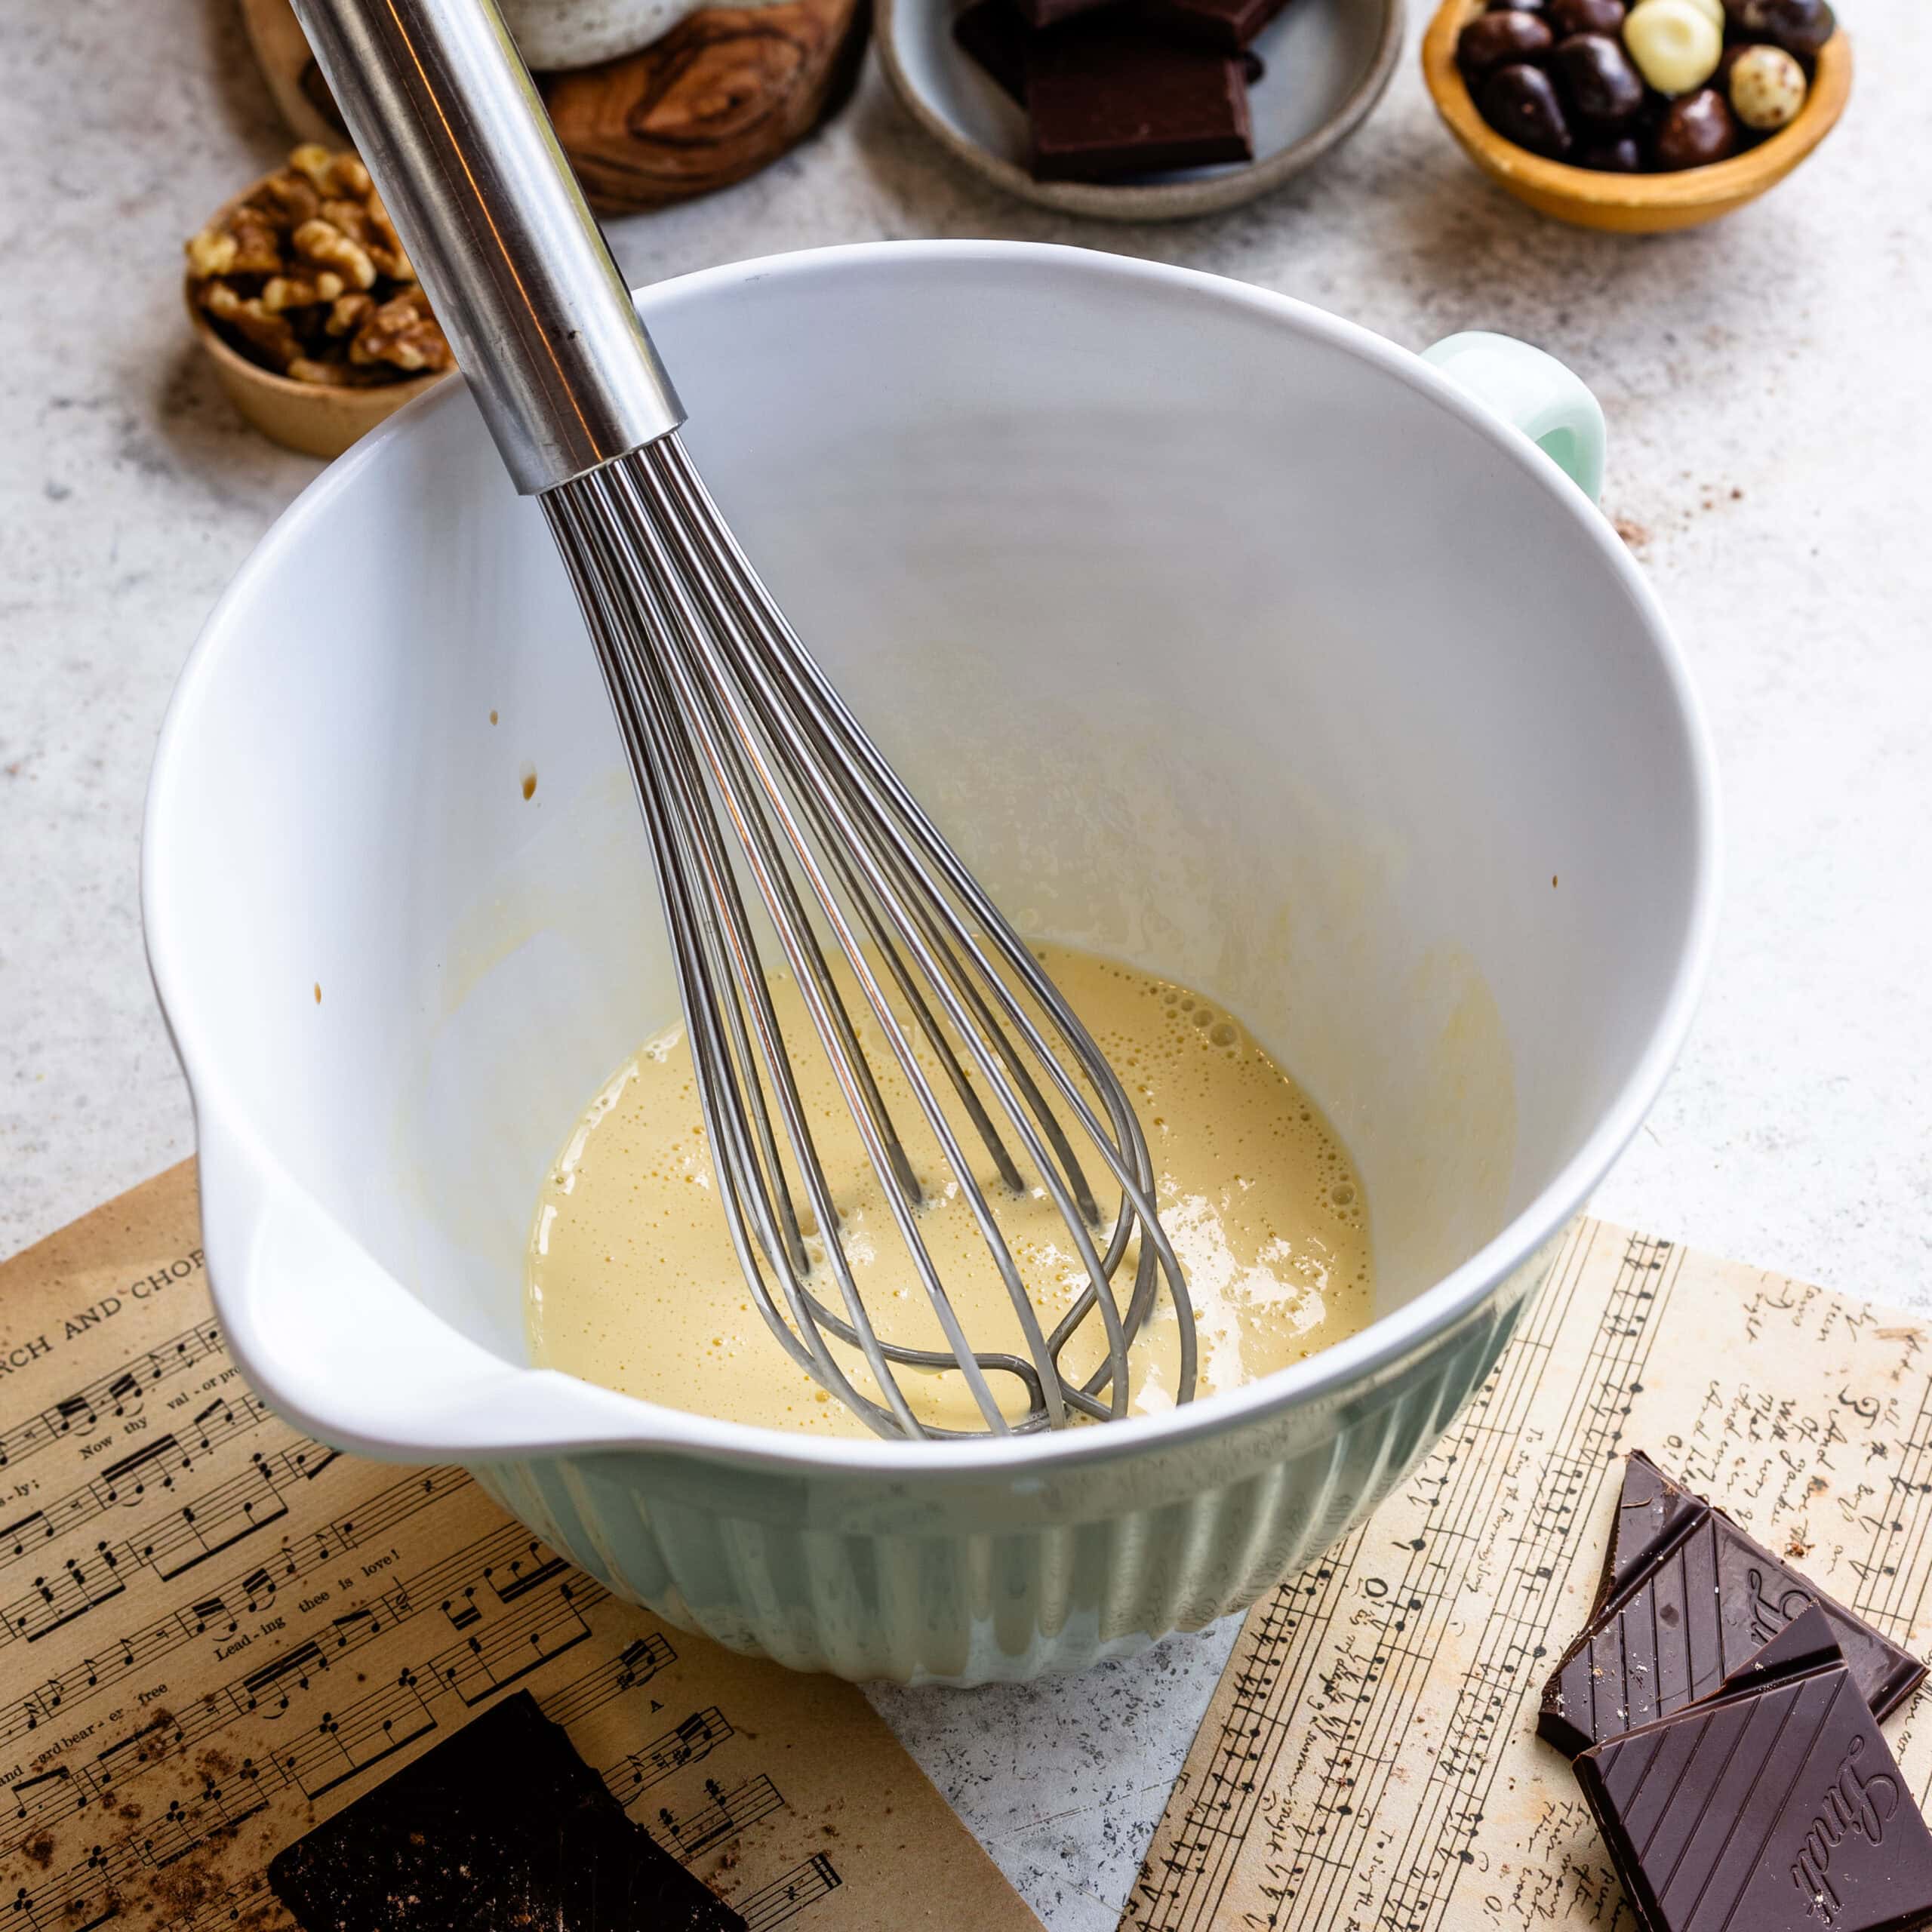
In a separate bowl, whisk together the heavy cream, egg, and vanilla.
Step 4: Add the wet ingredients to the dry
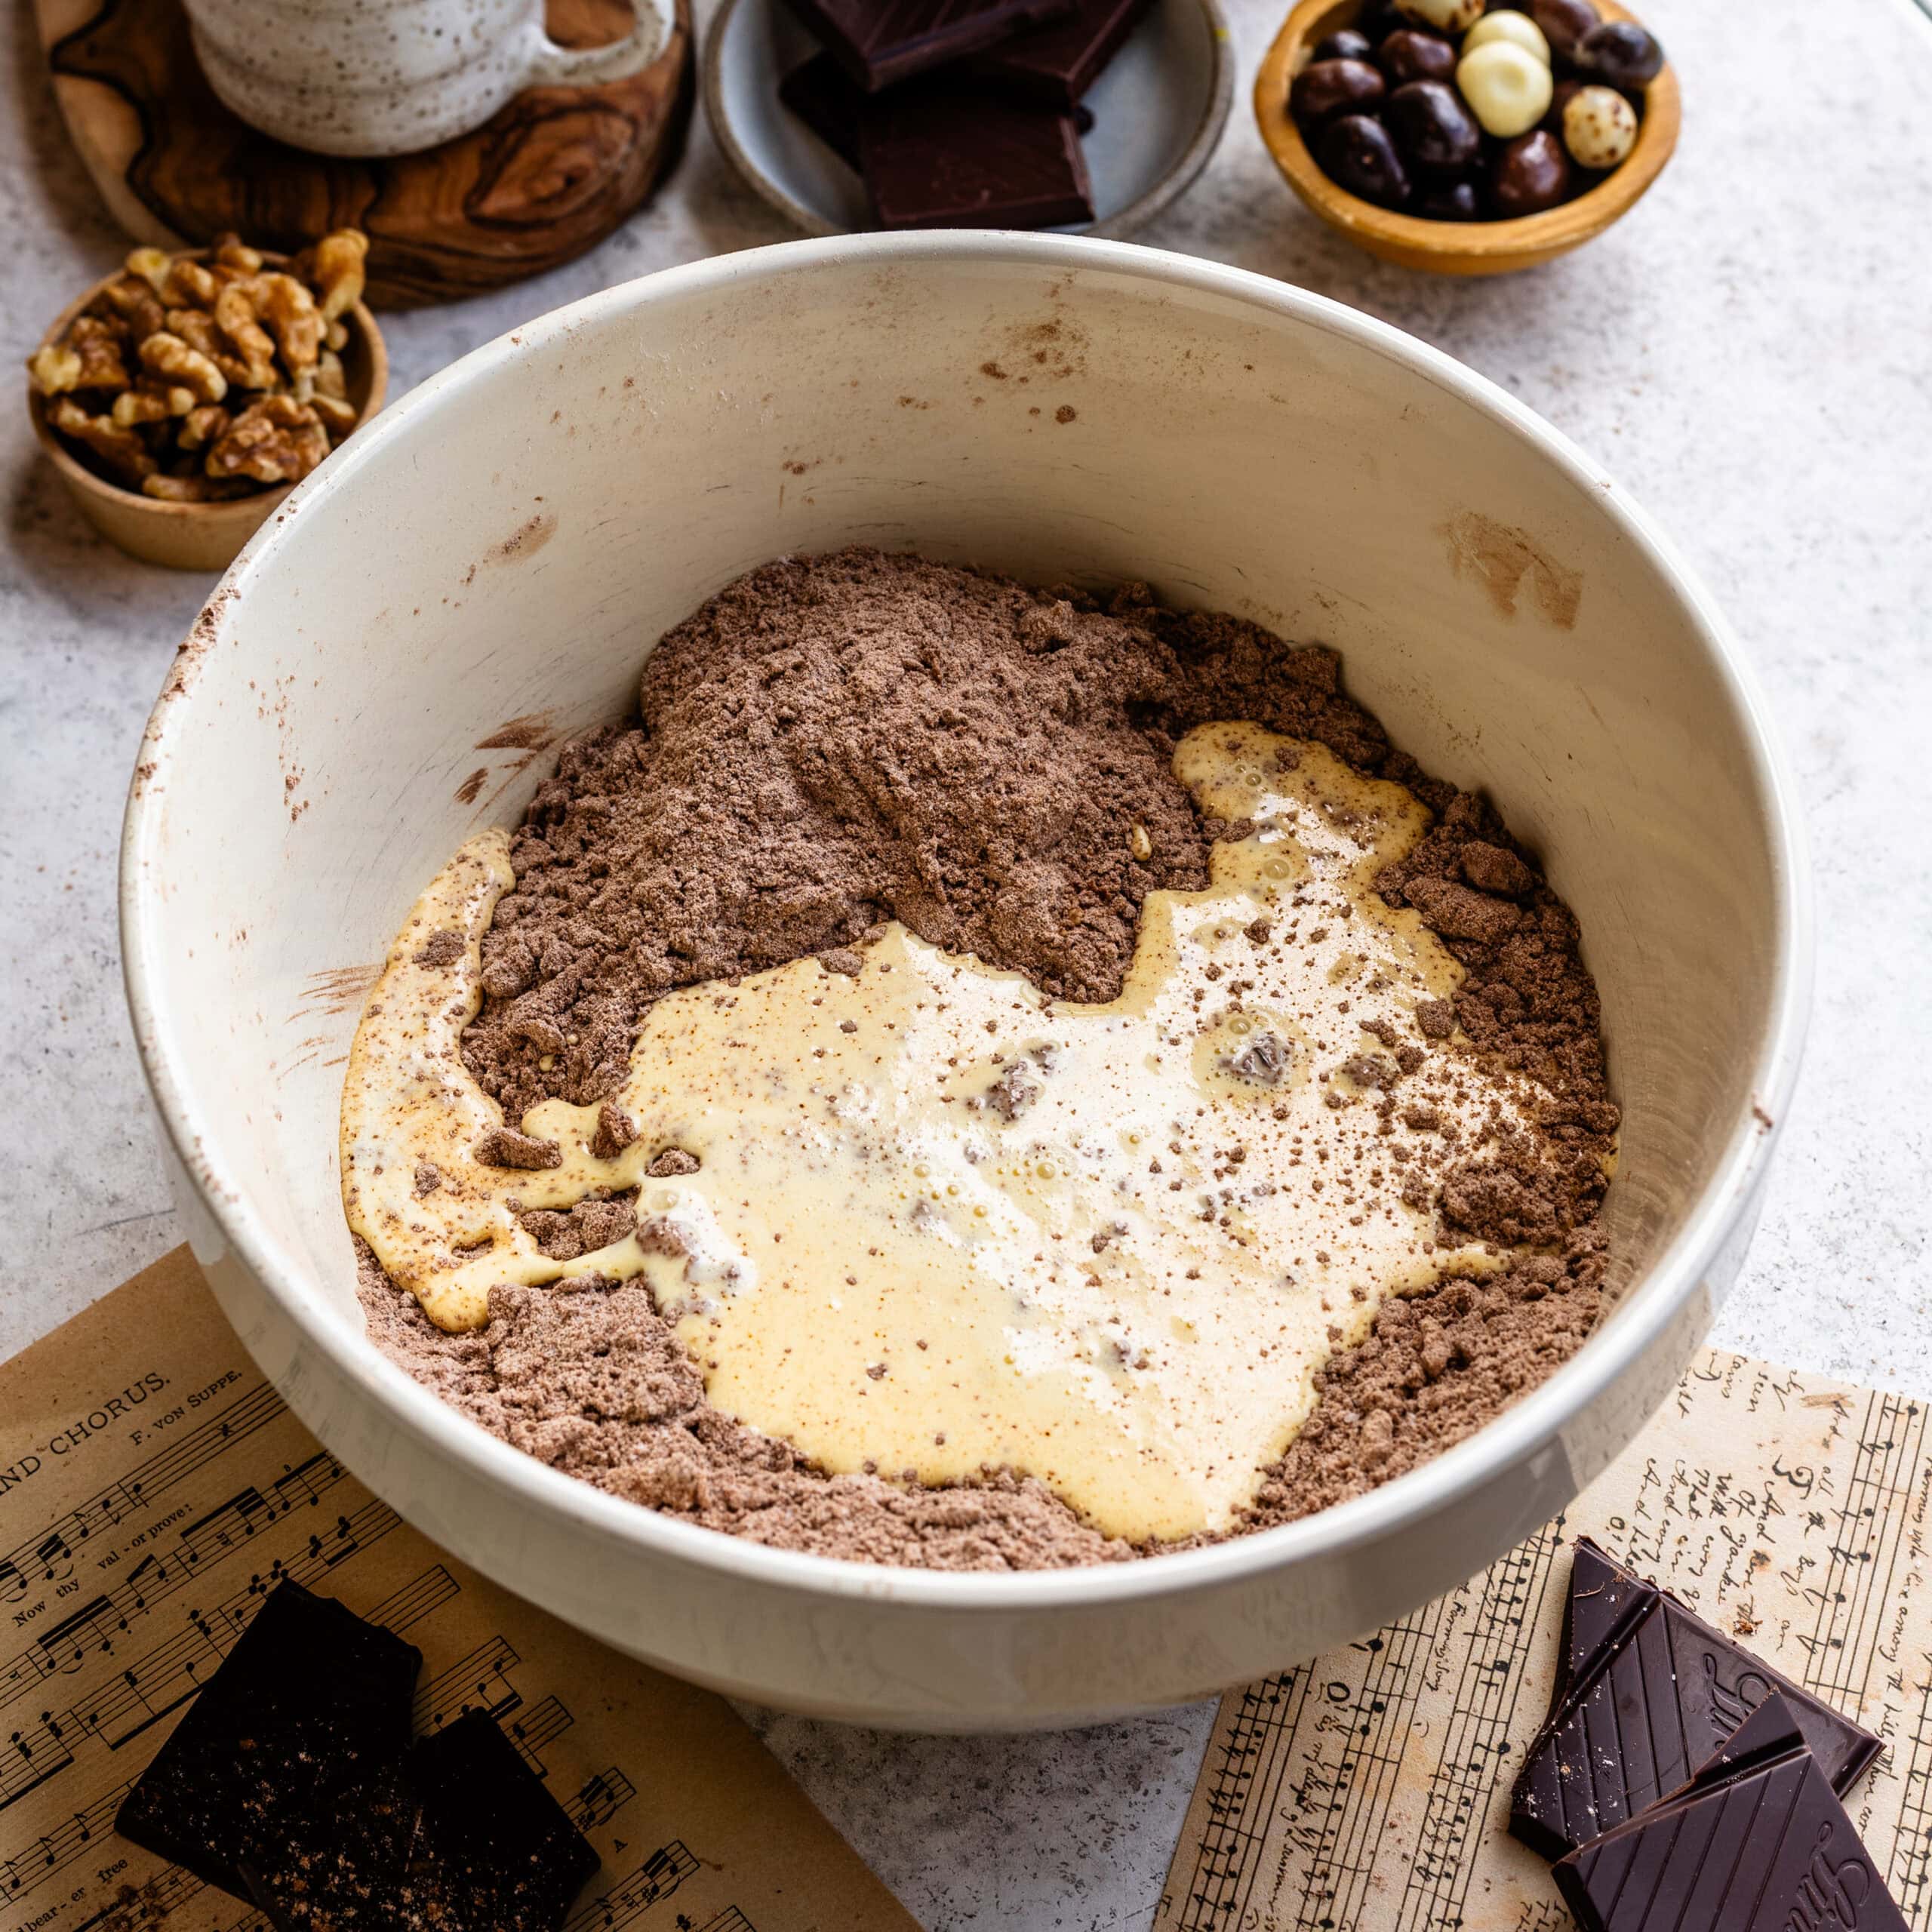
Pour the wet ingredients into the dry ingredients and stir gently with a spatula until the dough is almost combined.
Step 5: Add the nuts and chocolate
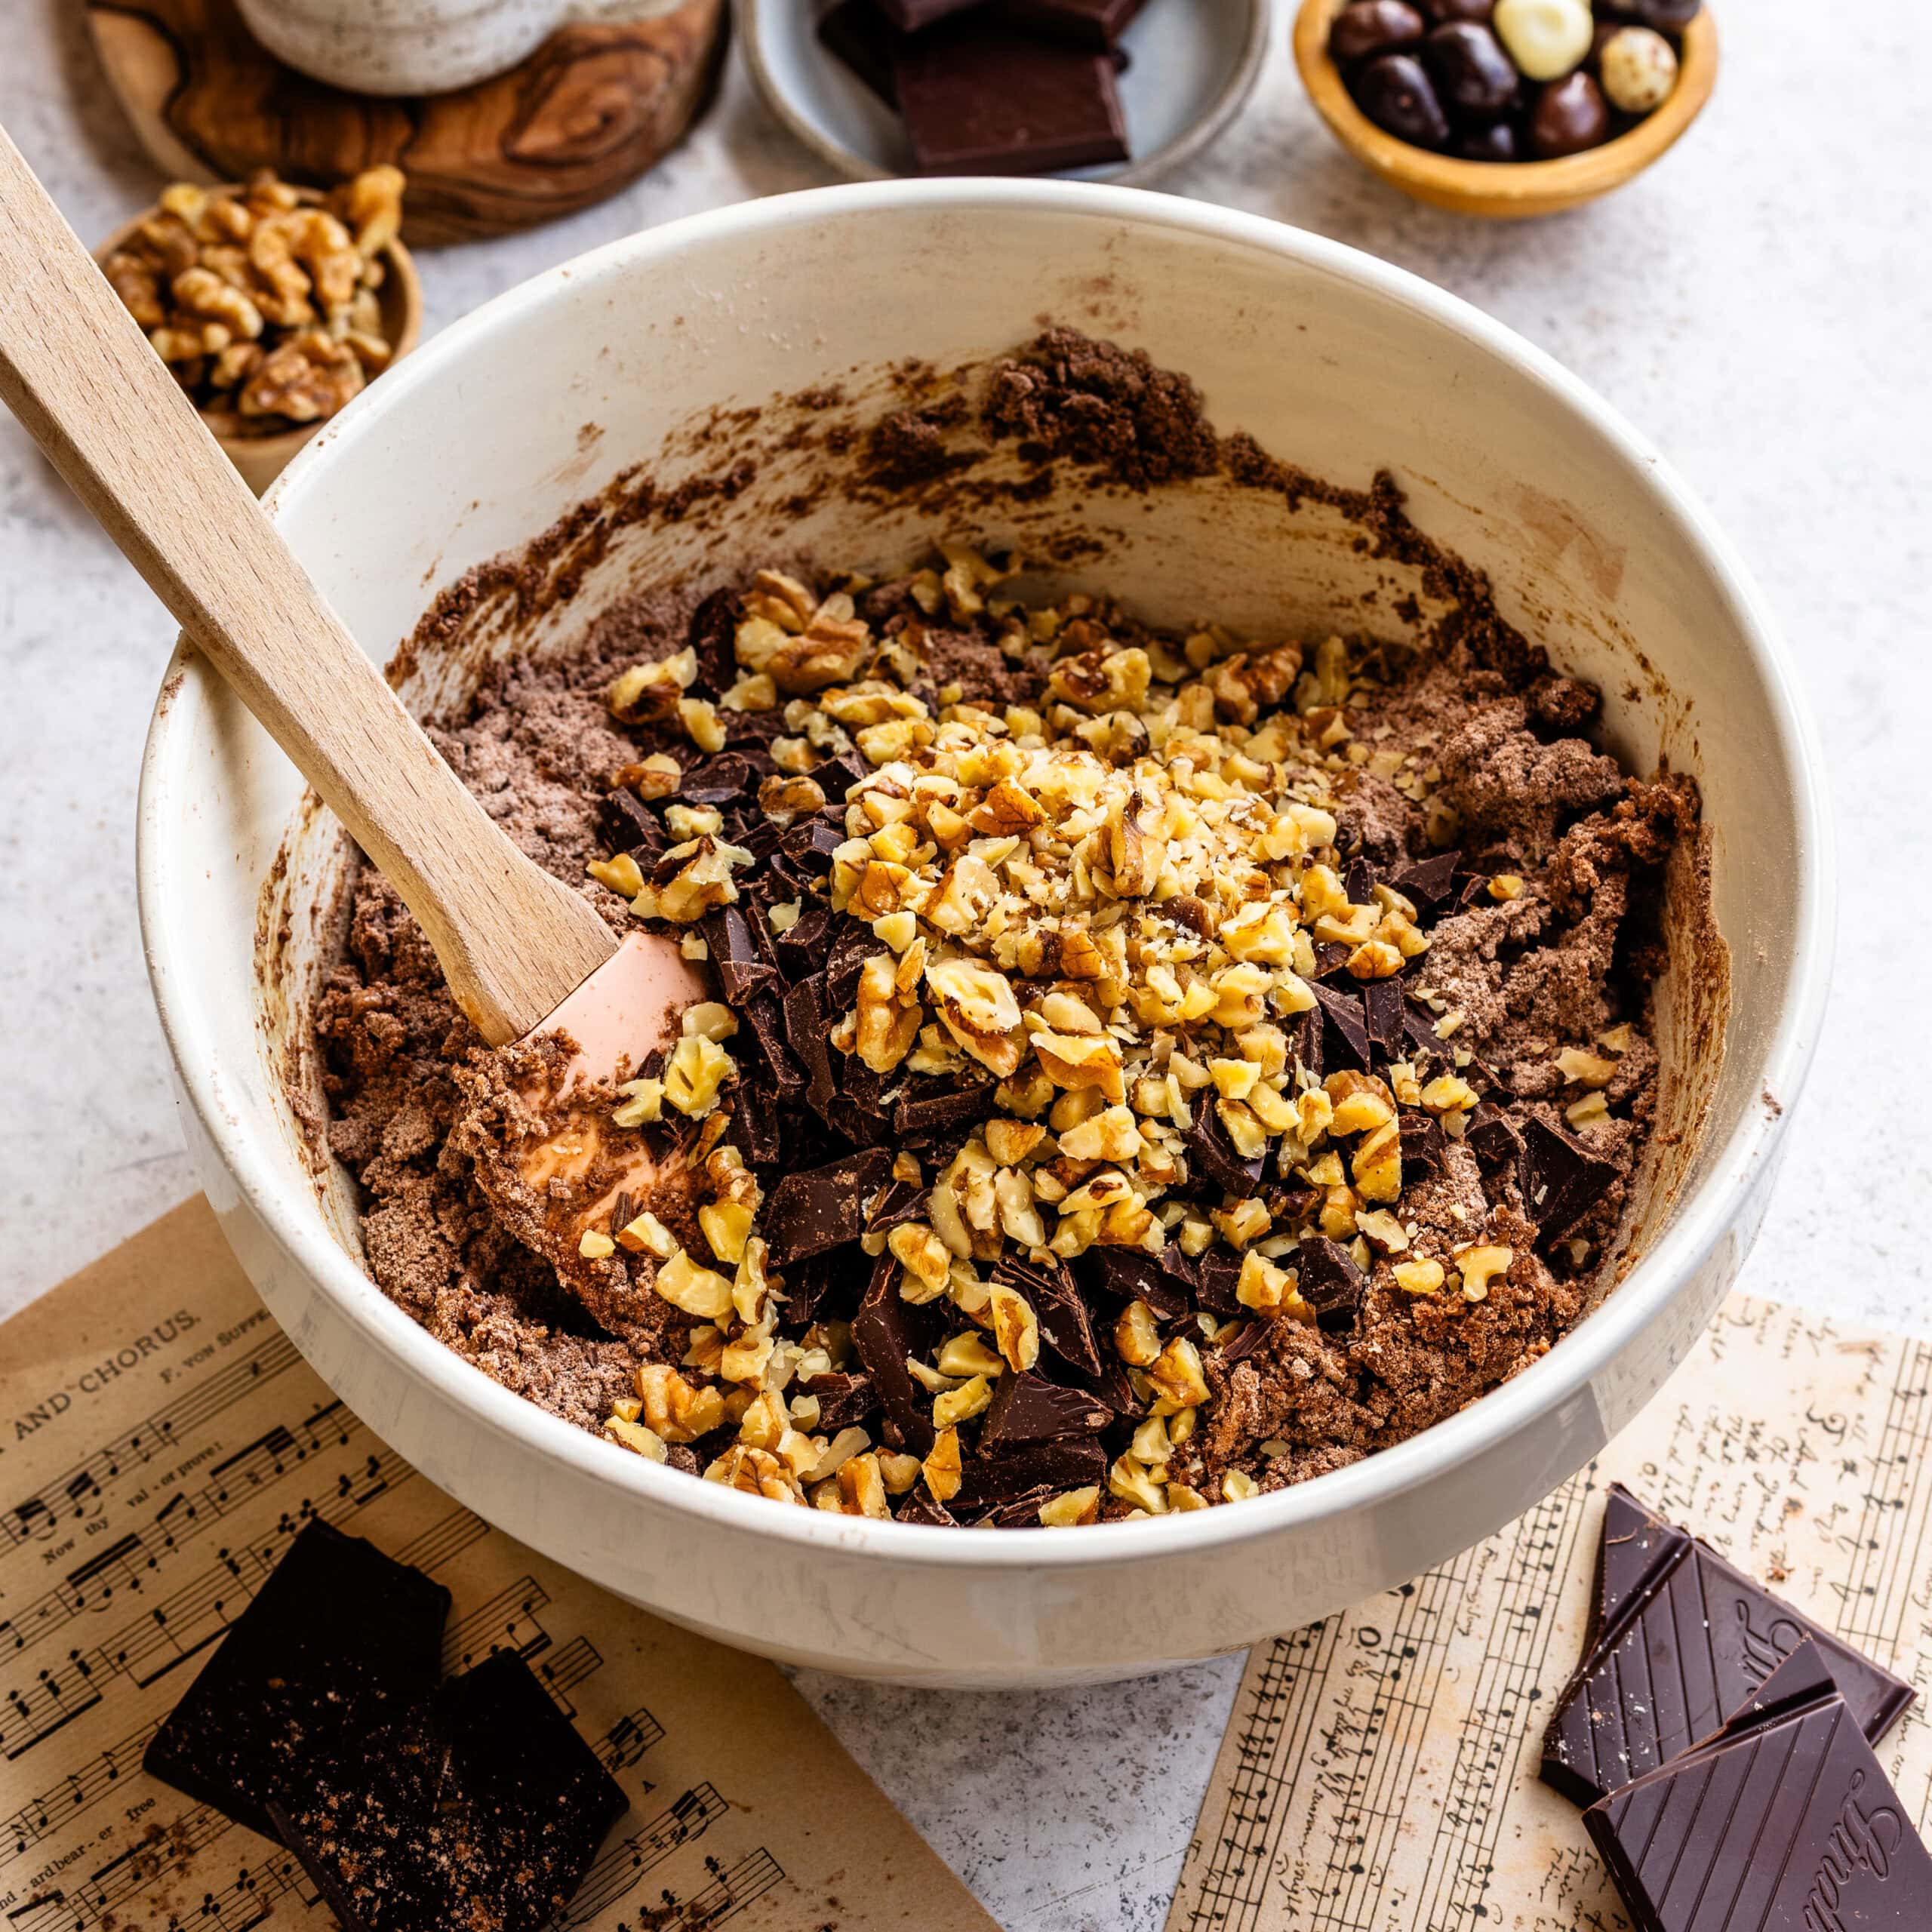
Add the chocolate and walnuts and fold them in. At this stage, the dough will look crumbly and slightly dry, which is exactly what you want.
Step 6: Start shaping
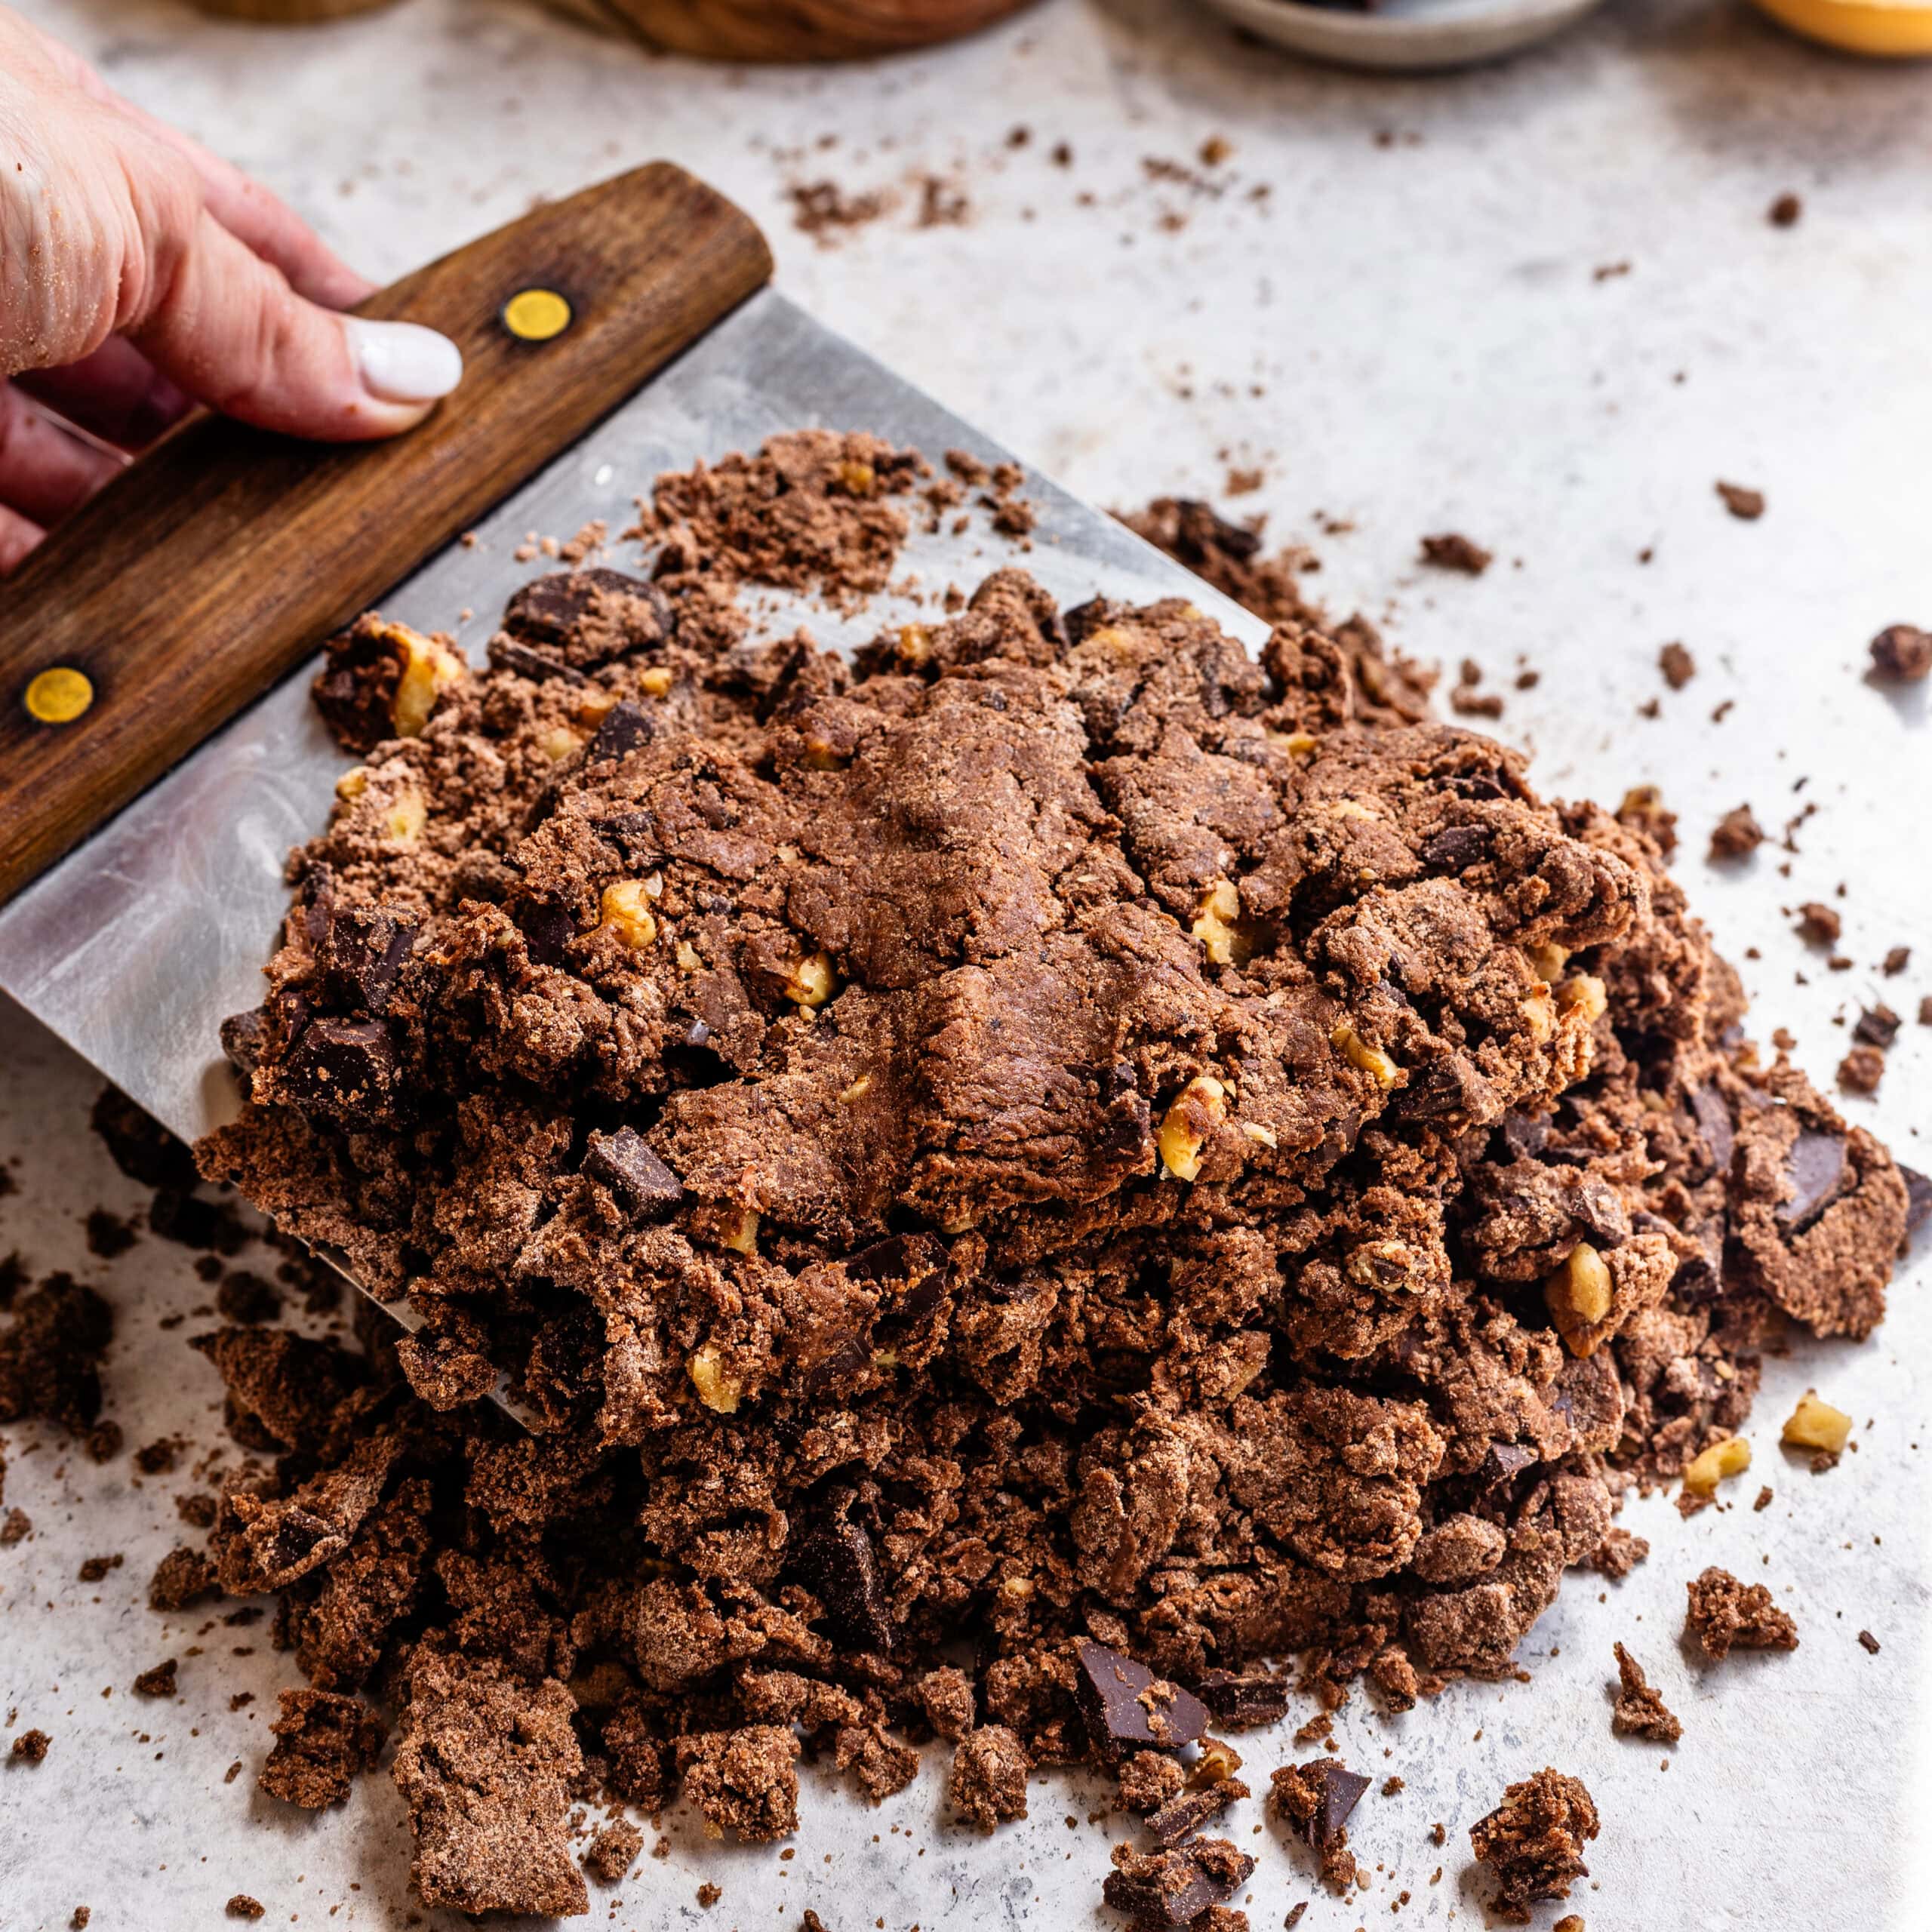
Turn the dough out onto the counter. Pat it into a rough mound, then slice it in half with a knife or bench scraper. Stack one half on top of the other and press it down again.
Repeat this pat-and-fold process several times until the dough comes together and no dry flour remains. This technique helps create tender layers without overmixing. Don’t worry, sometimes this part takes practice. Resist the urge to add more liquid!
Step 7: Final shaping and optional chilling
Shape the dough into an 8-inch circle about 1 inch thick. Cut the dough into 8 wedges. You can cut them into other shapes, but this is how I prefer them. Make sure you leave them somewhat close together so they do not overbake and get dry.
If I have time, I like to chill the shaped scones in the refrigerator for 15 minutes. This helps them hold their shape and bake taller.
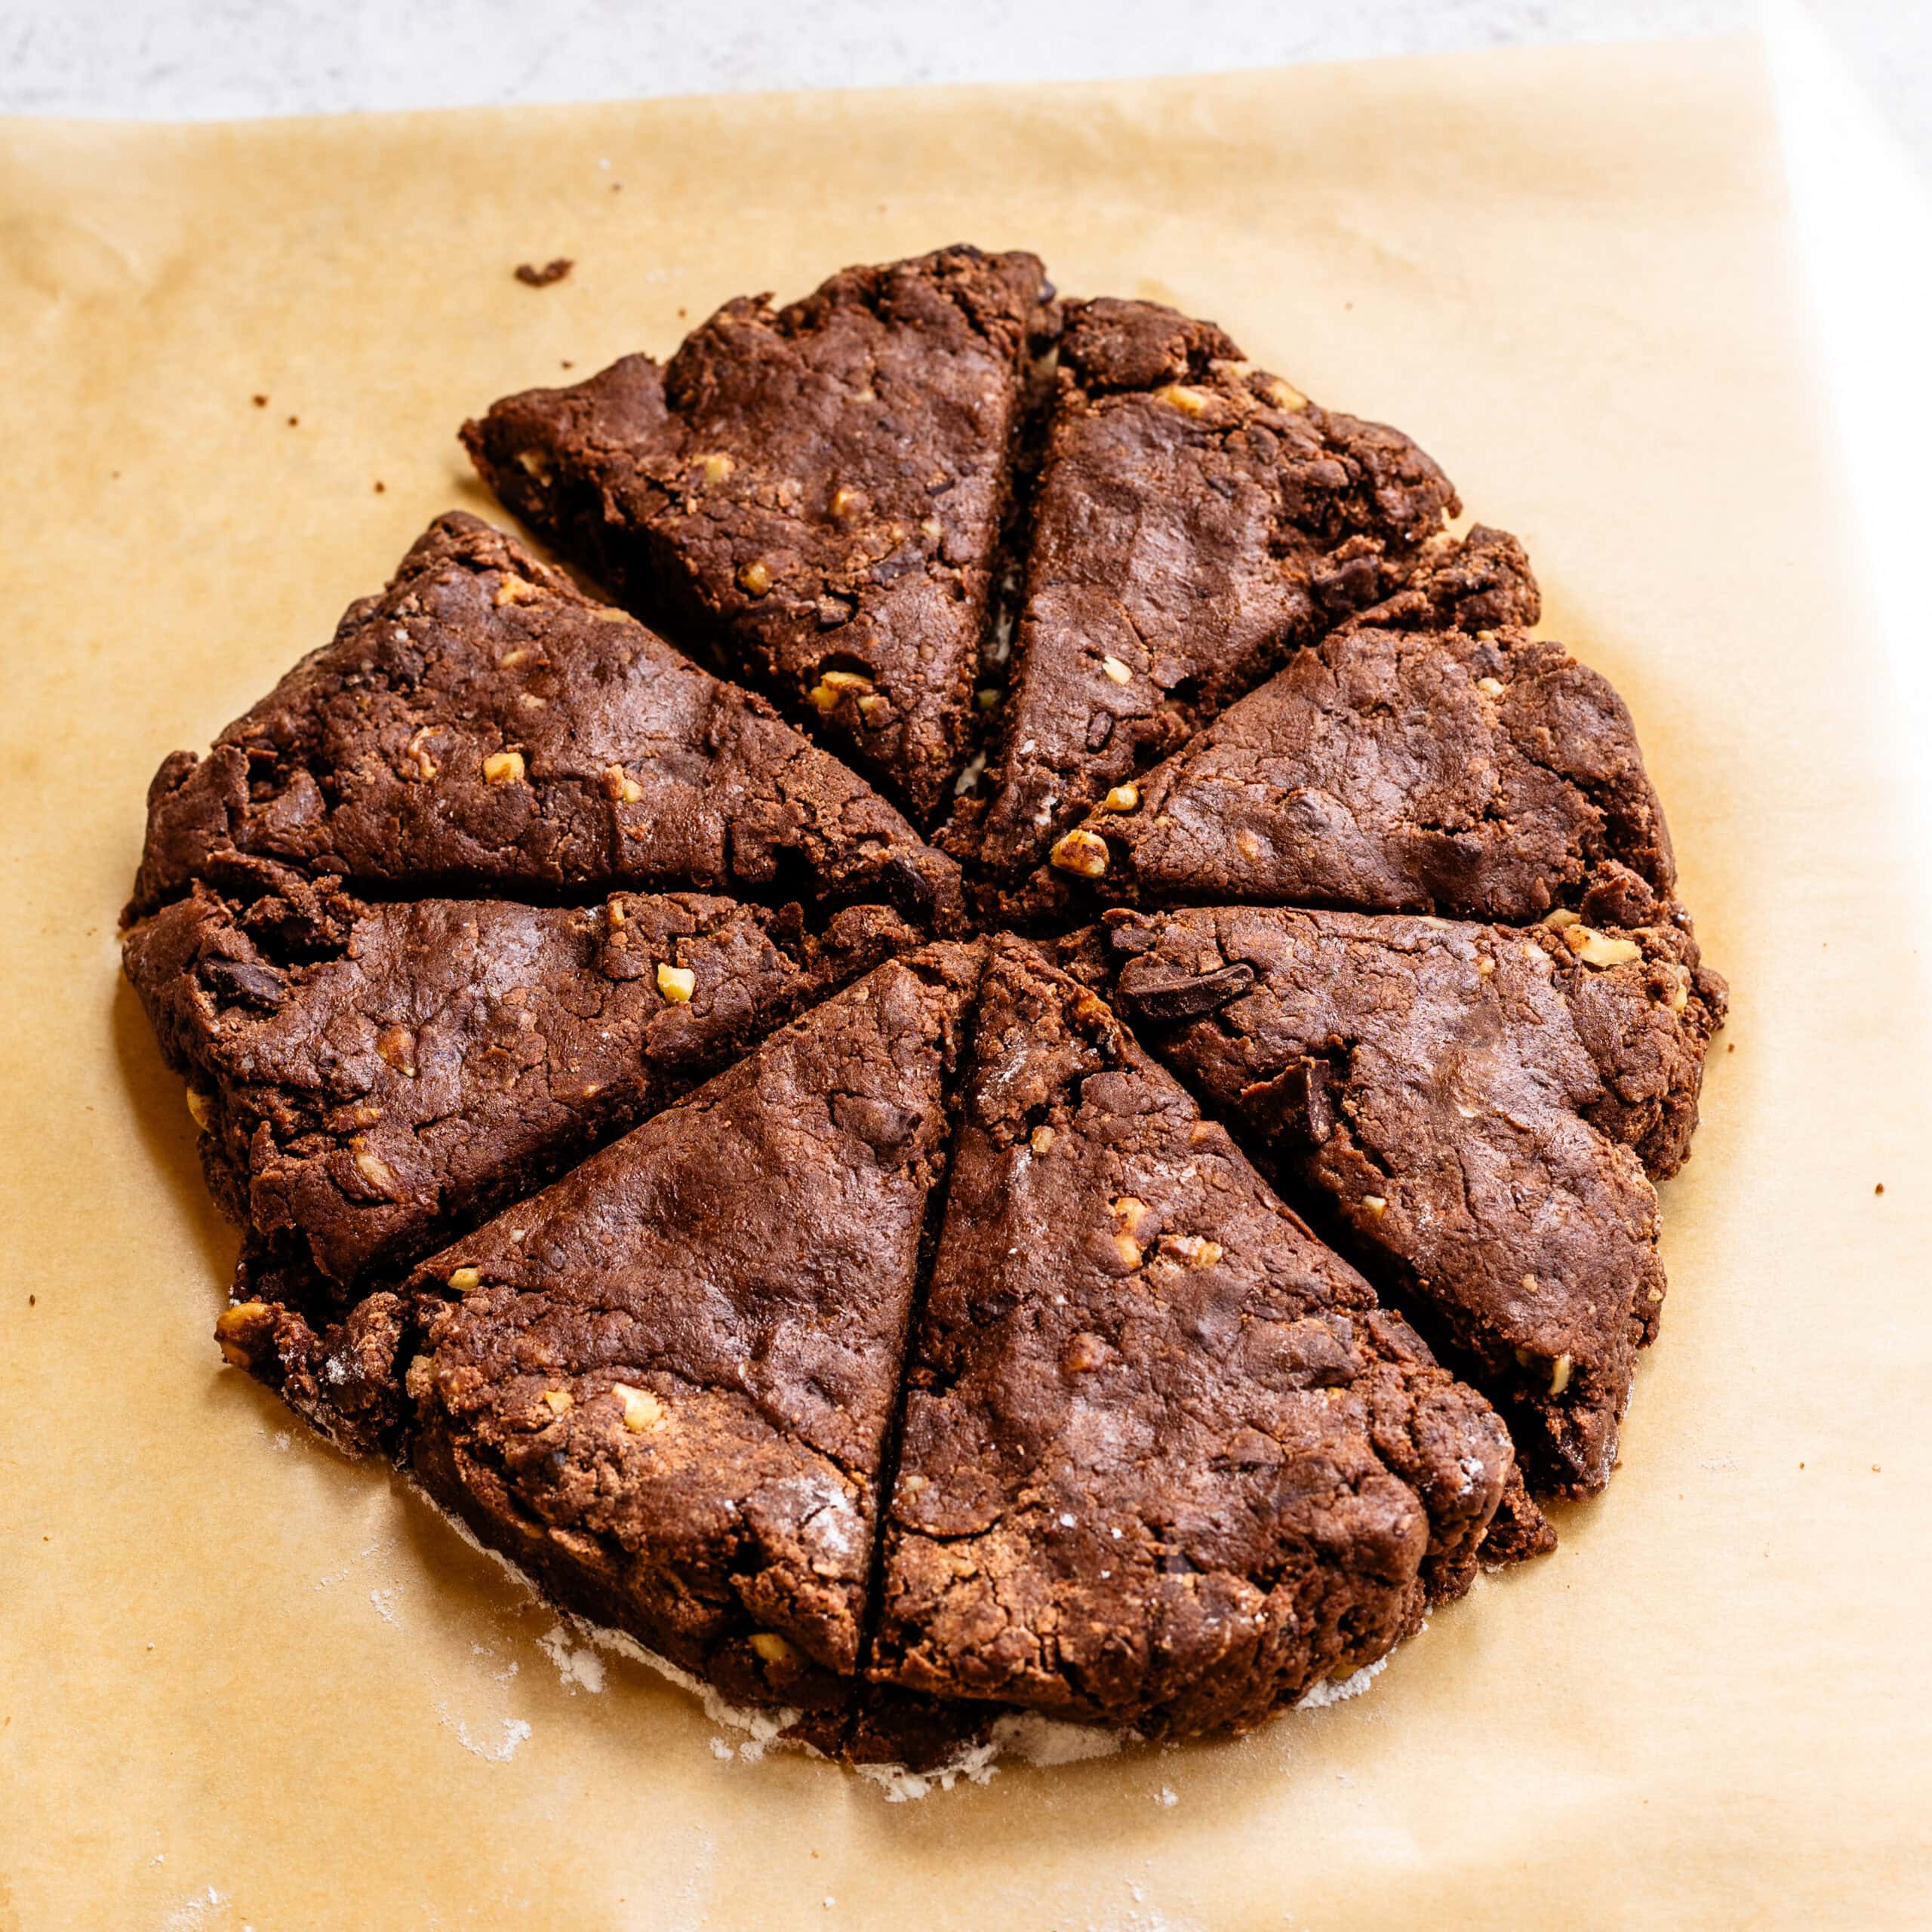
Step 8: Bake
I bake the scones for 16–20 minutes, until the edges look set and the tops no longer appear wet. Avoid overbaking. If scones turn out dry, it’s almost always because they were baked too long.
Let them cool while you prep the glaze.
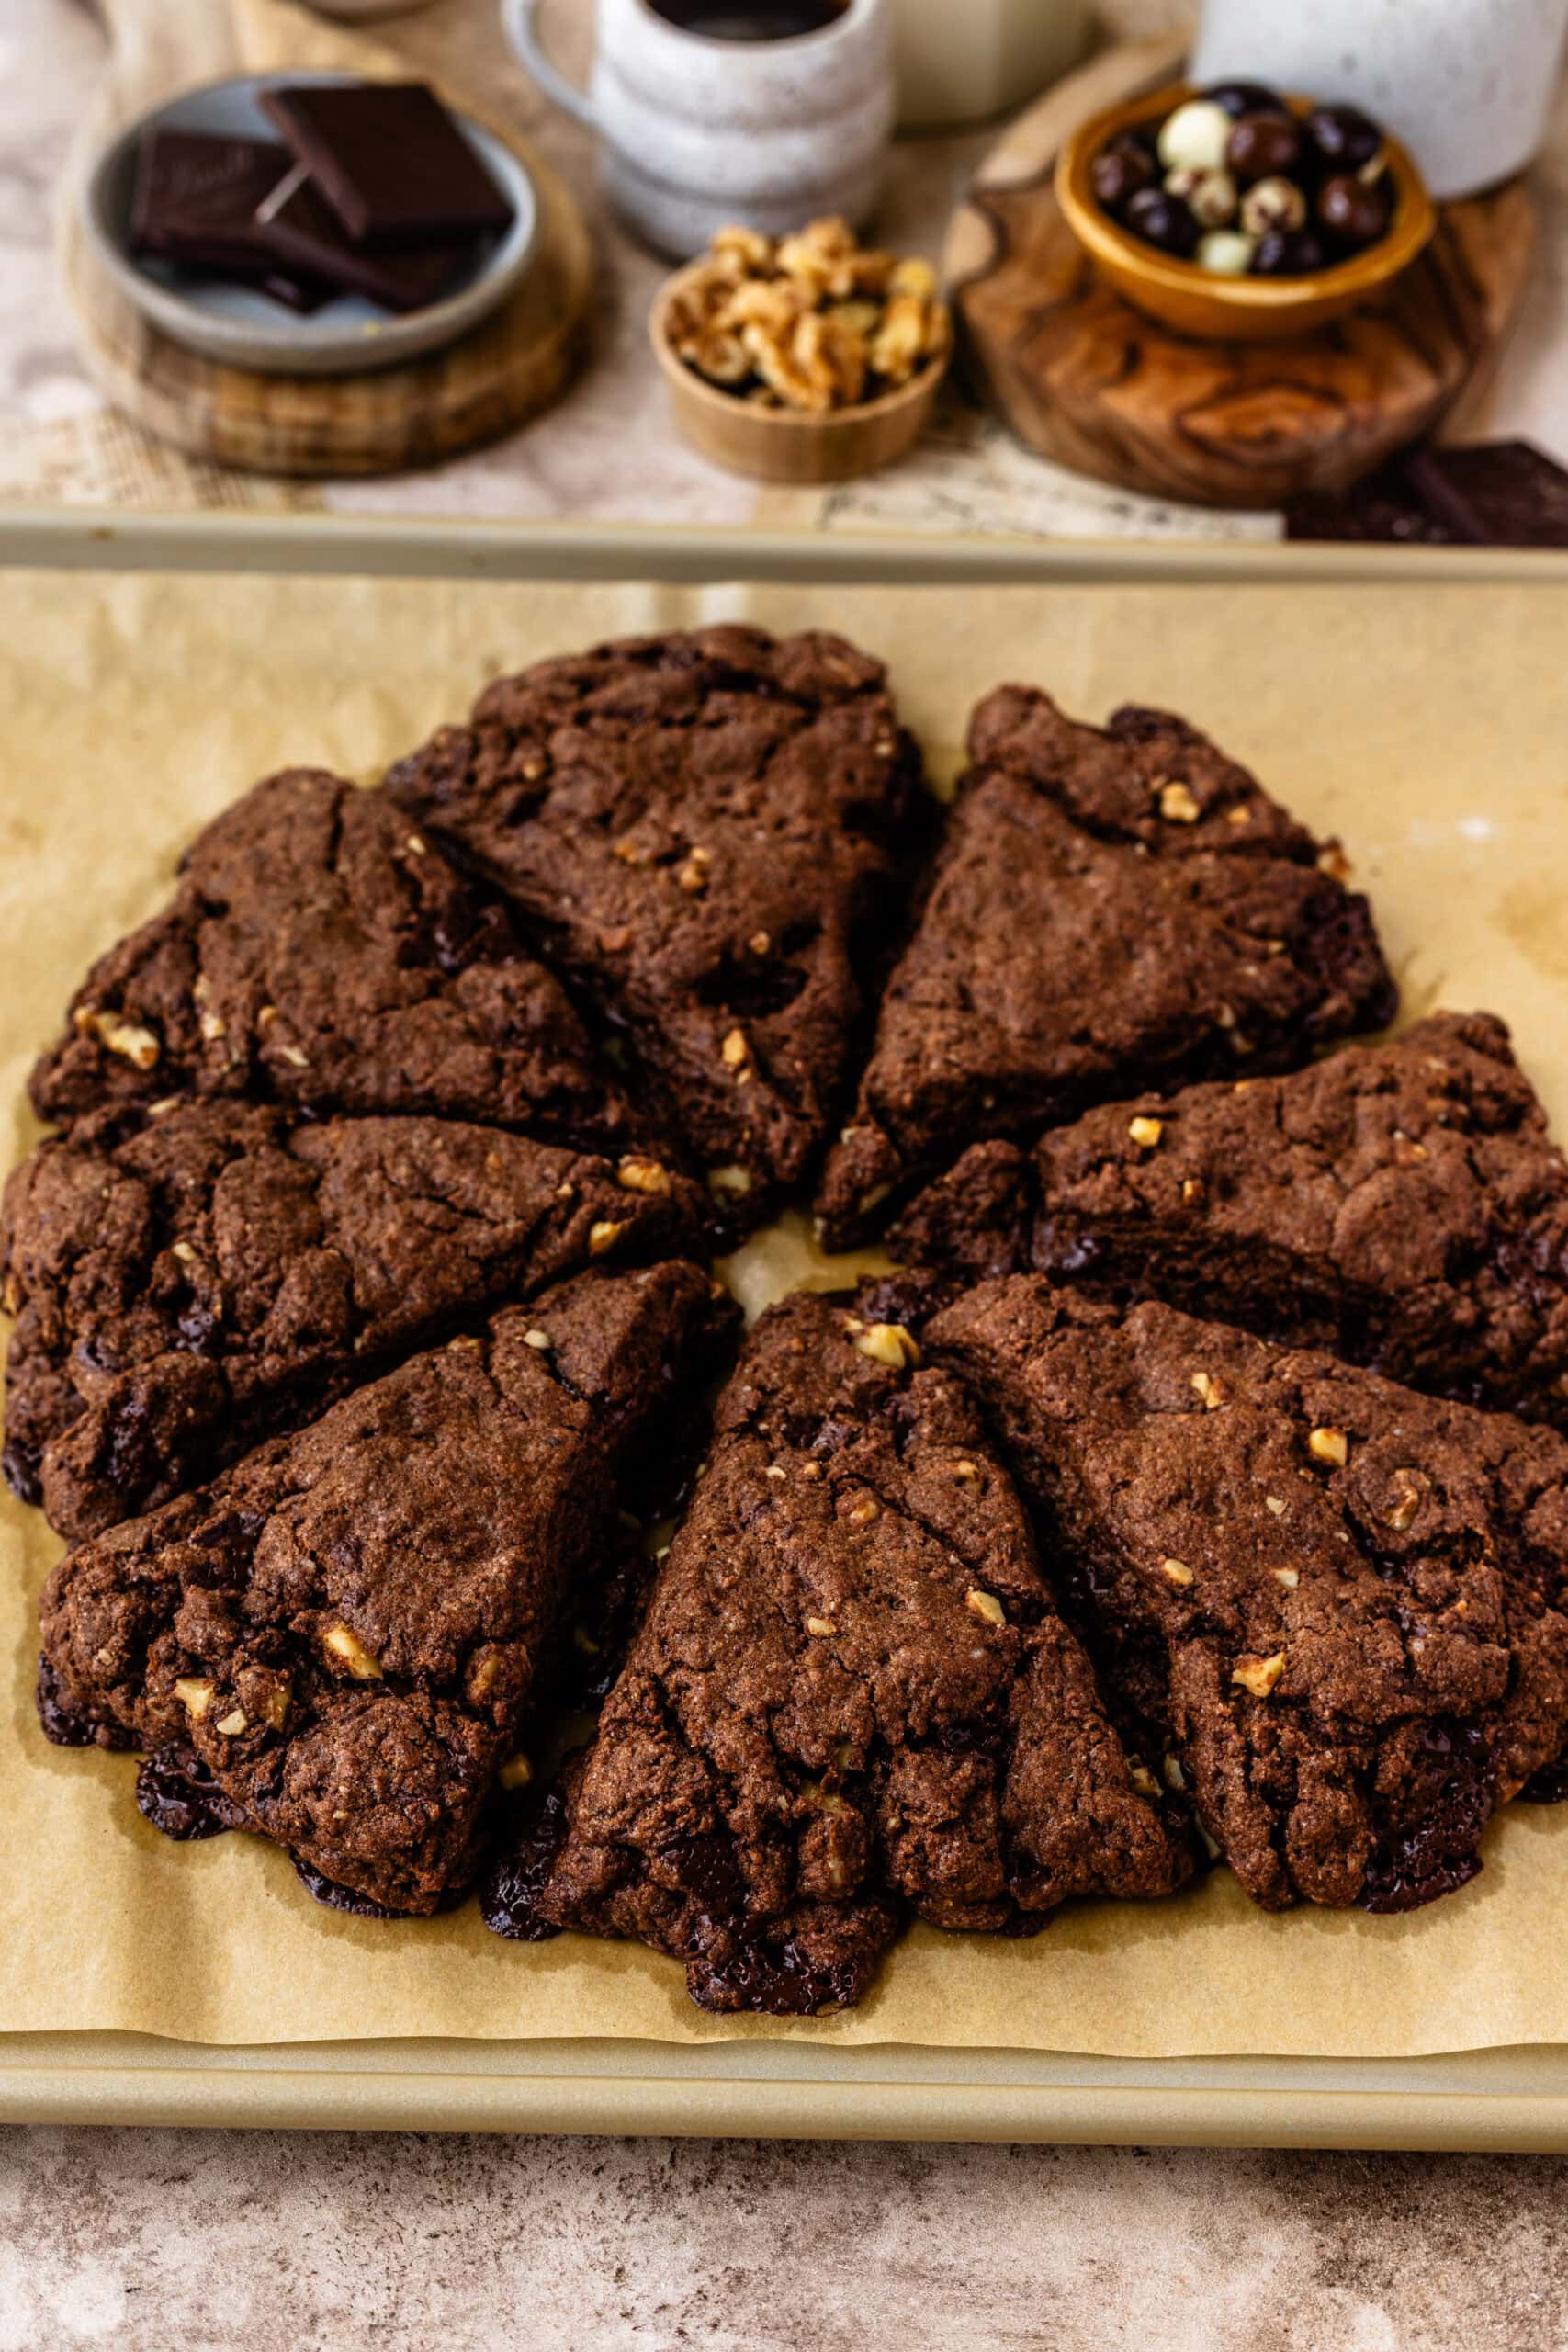
Step 9: Make the espresso ganache glaze
I usually make the glaze right when the scones come out of the oven, so it has time to cool to the perfect consistency.
Place the chopped chocolate in a bowl. Heat the heavy cream until hot, then pour it over the chocolate along with the espresso powder. Let it sit for a minute, then whisk until smooth.
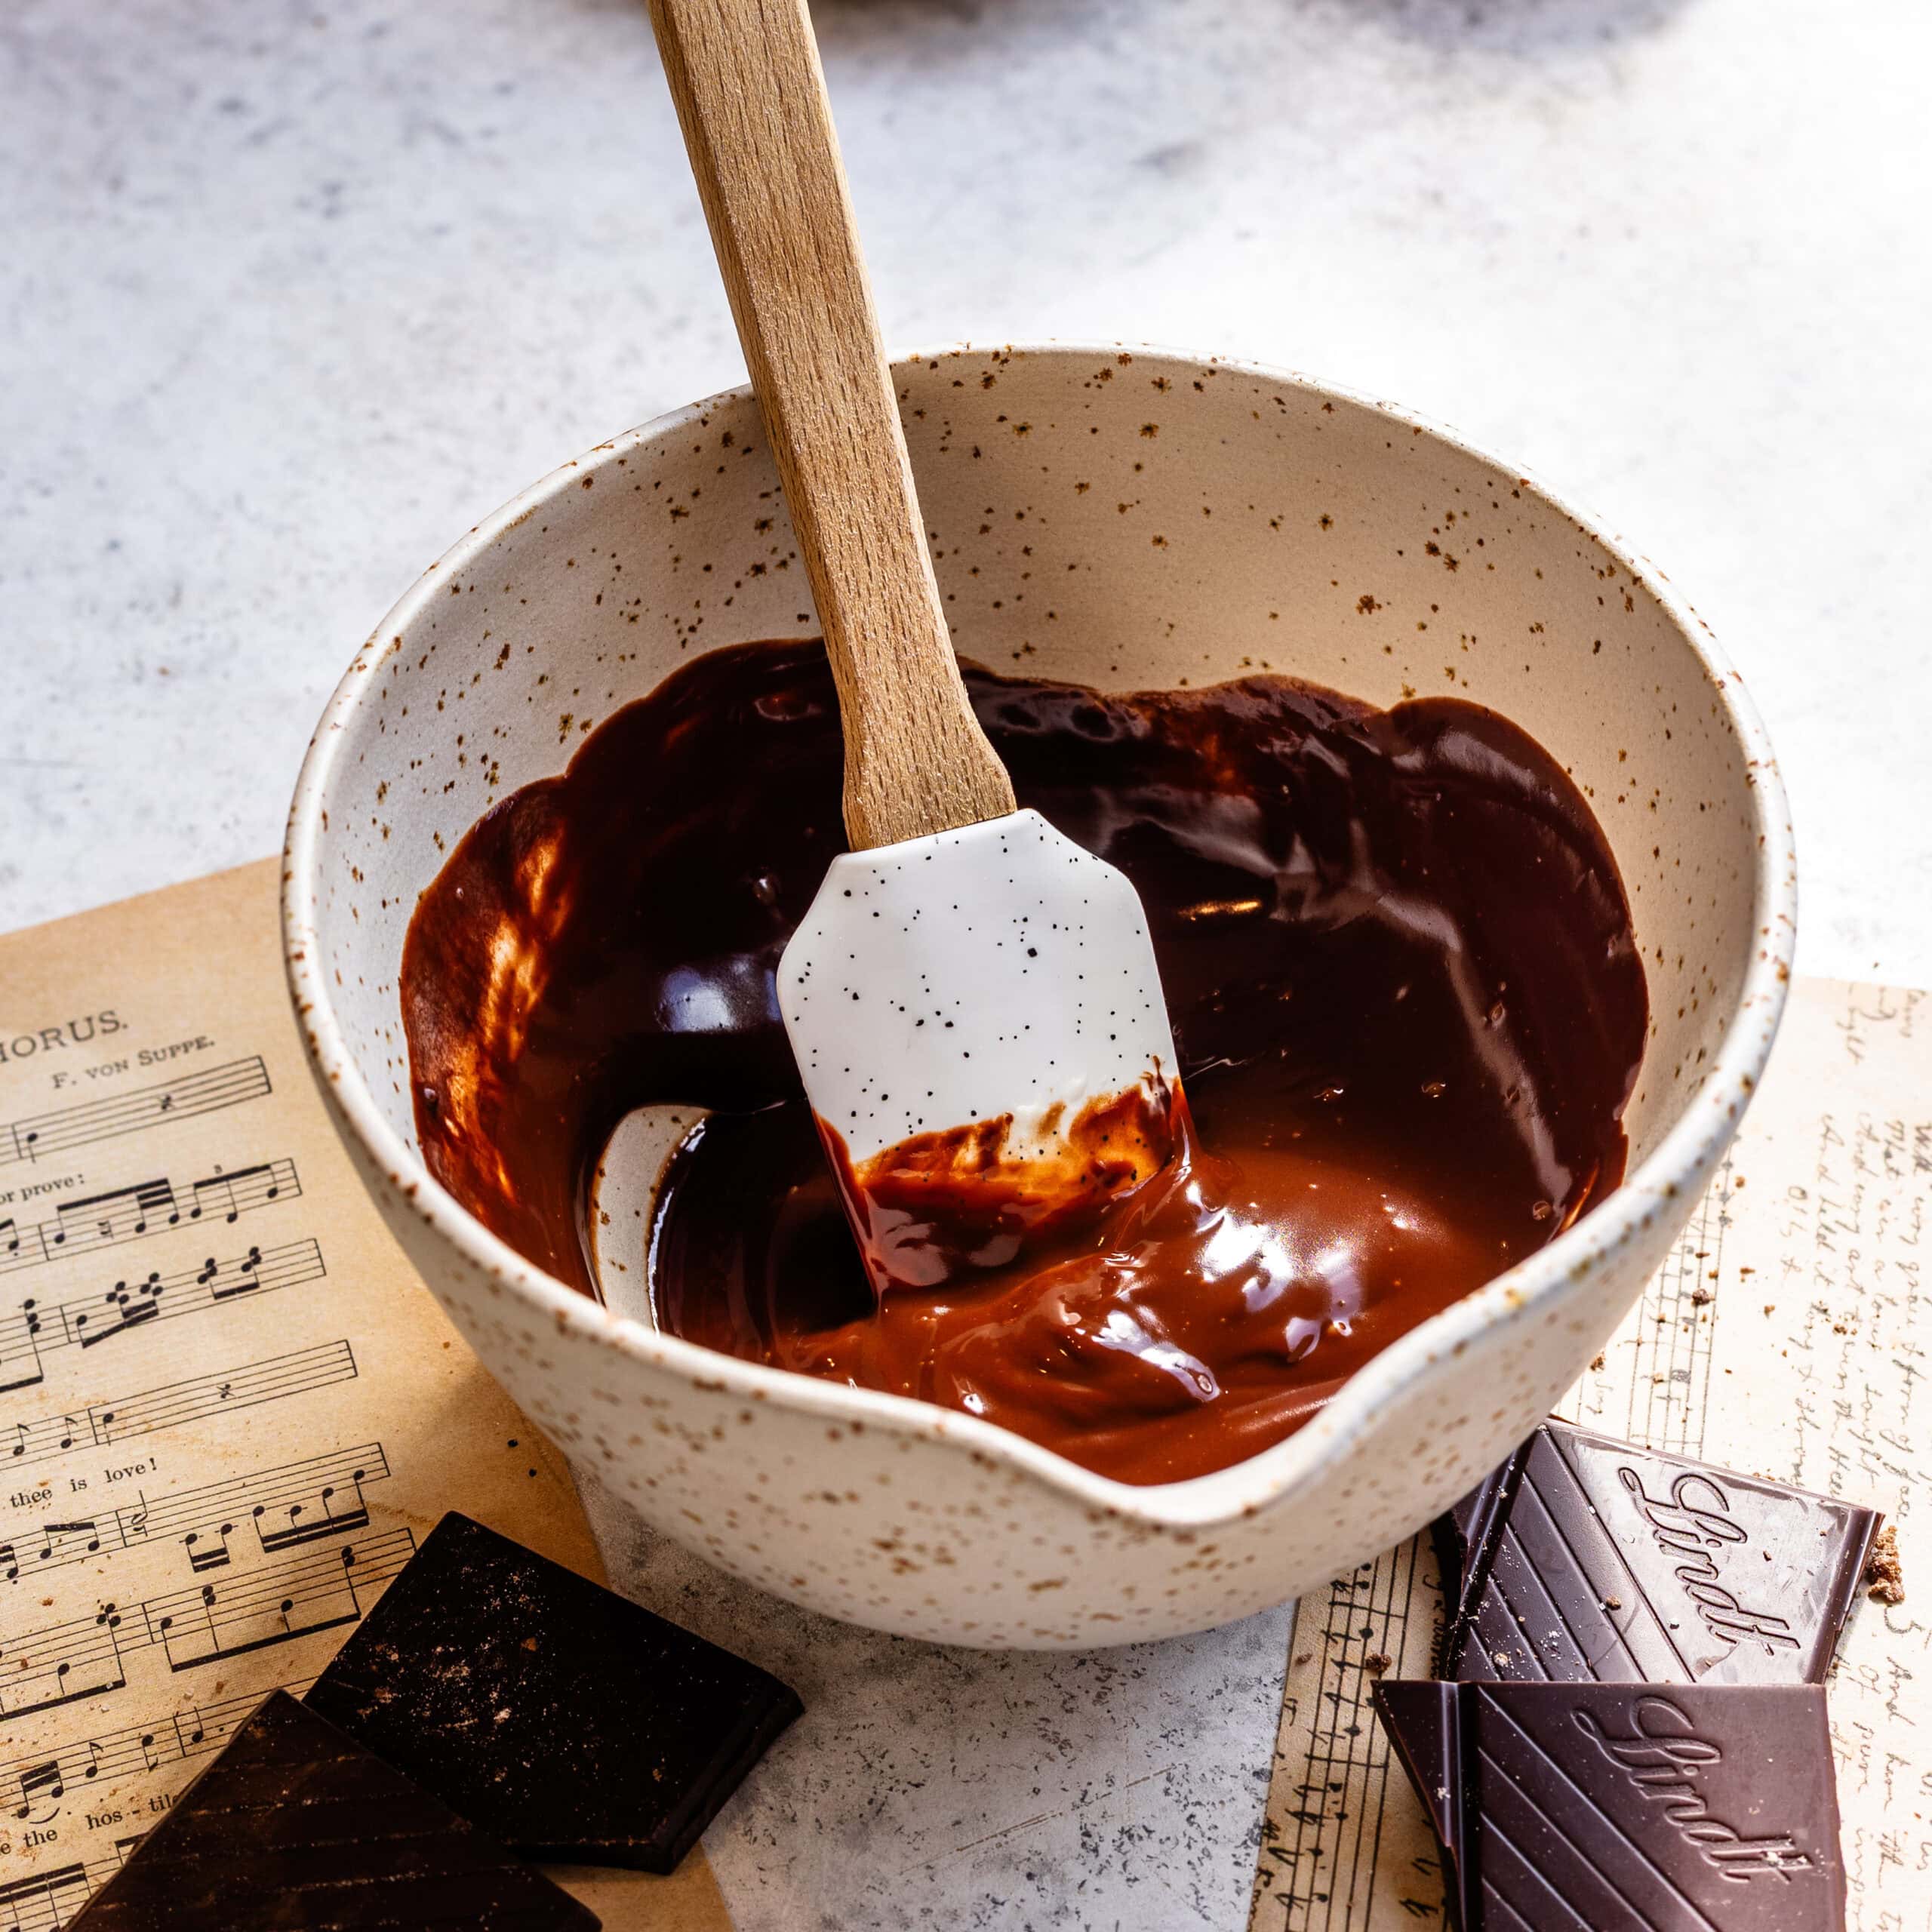
Step 10: Drizzle and serve!
After the scones have cooled for 10–15 minutes, drizzle the ganache over the top. Voila!
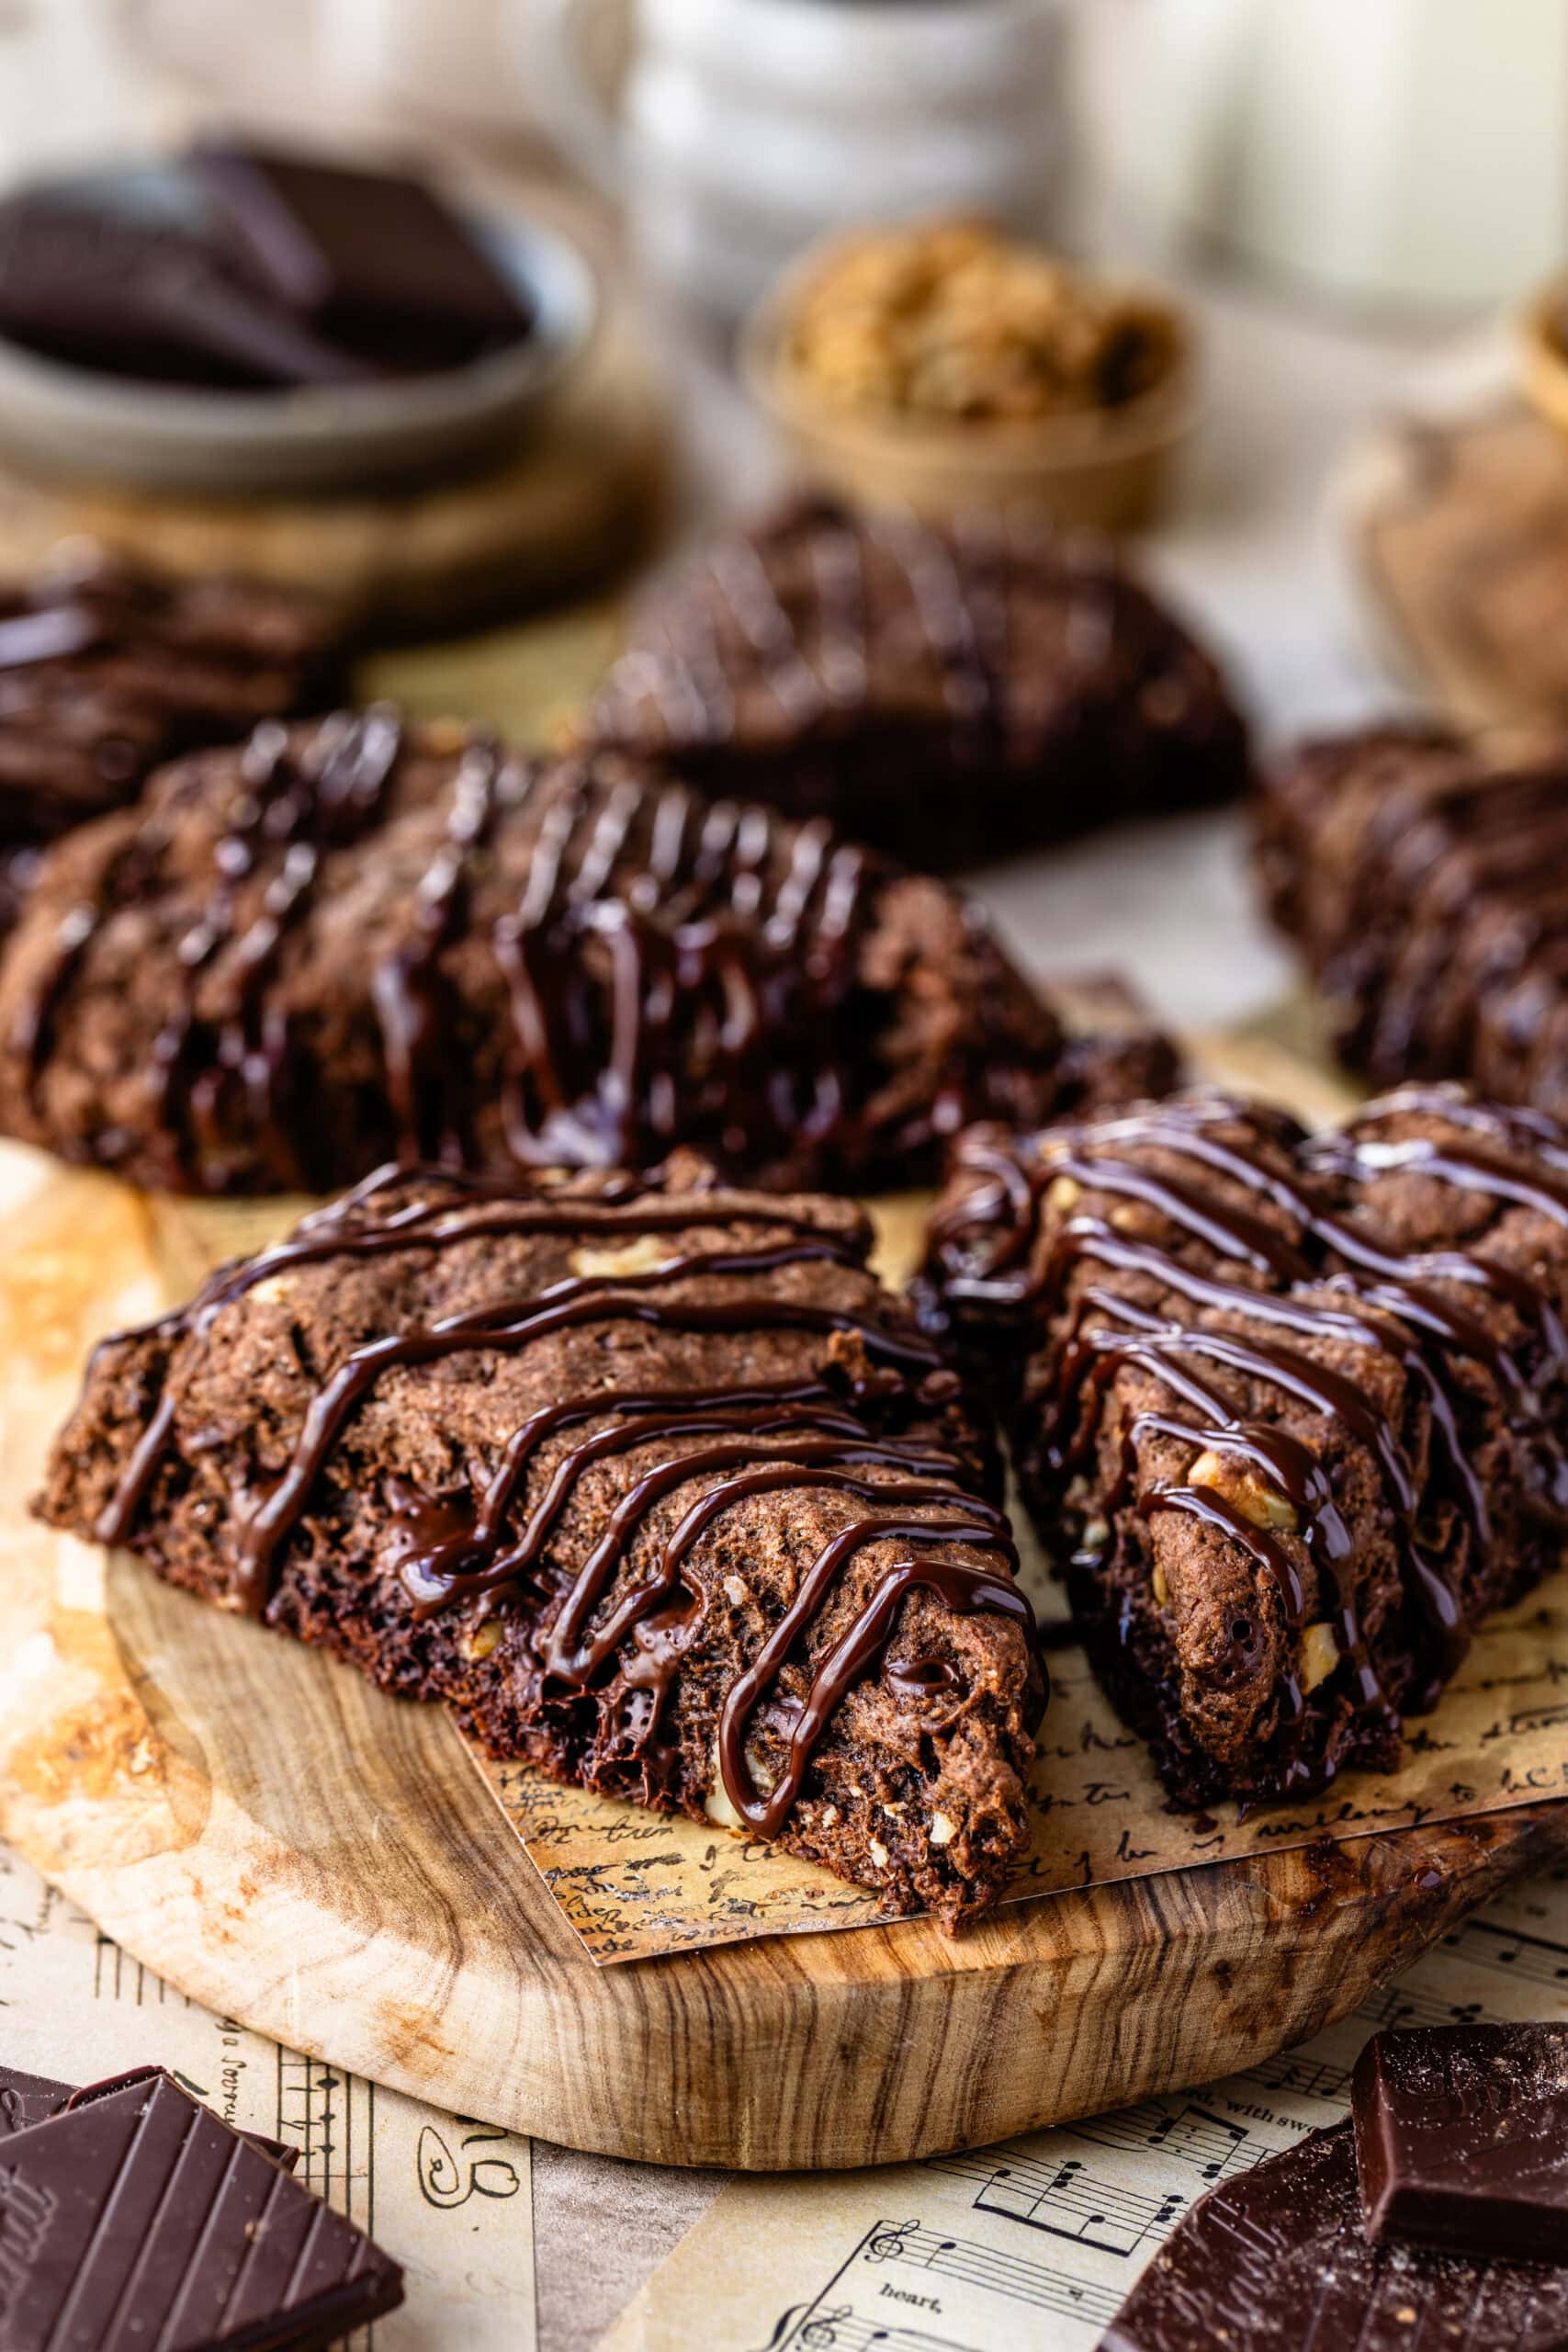
Storage & Freezing
Scones freeze extremely well, which is something I learned while working at a bakery.
If you want to freeze them, I like to place the scones in ziplock bags in the freezer. Whenever you’re ready to serve them, thaw them at room temperature for 30–60 minutes, or in the fridge overnight.
I prefer freezing the scones without the glaze, because the glaze can smudge during freezing and thawing.
You can also freeze the unbaked scones. Simply freeze the cut wedges until solid, transfer them to a freezer bag, and bake straight from frozen, adding a couple of extra minutes to the baking time.
Expert Tips
A few things make a big difference with scones.
- Keep the butter very cold: Cold butter is what gives scones their flaky texture.
- Don’t overwork the dough: I rely on the pat-and-fold method to bring the dough together without overmixing.
- Watch the baking time carefully: This step matters more than it looks. Even a couple extra minutes in the oven can dry out a scone.
- Chill if your kitchen is warm: If the dough feels soft or sticky, chilling the shaped wedges helps them bake taller.
Variations
Once you make these, there are a few easy ways to adjust them.
- Skip the walnuts if you prefer a nut-free version.
- Replace the walnuts with toasted hazelnuts for a slightly different flavor.
- Add orange zest to the dough for a subtle chocolate-orange twist.
- Swap the ganache for a simple espresso glaze if you want something lighter.
FAQ
Yes, and they freeze very well. I recommend freezing them without the glaze and adding it after thawing.
This usually happens when they’re overbaked. The tops should look set, but the interior should still be soft.
Yes. The scones will still be delicious without them, though I personally love the texture they add.
Yes. Bake the frozen scones at 400°F, adding about 2–4 minutes to the baking time.
More Recipes You Might Like
If you enjoy these espresso chocolate scones, you might also like a few other coffee-friendly treats. My Espresso Chocolate and Peanutbutter Macarons are another great option, along with my Tiramisu, for a more grand dessert. Other recipes that go great with a cup of coffee include my Chocolate Chip Muffins or simple Coffee Cake.
If you make these
If you make these Espresso Chocolate Scones, I’d love to see them. Leave a comment or rating below, and if you share them on Instagram, be sure to tag me so I can see your version.
Espresso Chocolate Scones with Walnuts

Ingredients
- 2 cups all-purpose flour (250g)
- ⅓ cup unsweetened cocoa powder
- 1 tbsp espresso powder
- ½ cup granulated sugar (100g)
- 2 tsp baking powder
- ½ tsp baking soda
- ½ teaspoon salt
- ½ cup unsalted butter very cold (8 tablespoons)
- 1 large egg
- ½ cup heavy cream 120ml
- 1 tsp vanilla extract
- ¾ cup semi-sweet chocolate chips or chopped chocolate (130g)
- ½ cup chopped walnuts optional
Espresso Ganache Glaze
- ⅔ cup chopped dark or semi-sweet chocolate chips
- ¼ cup heavy cream
- ¼ tsp espresso powder
Instructions
- Preheat oven to 400°F (200°C); 375°F (190°C) for convection oven. Line a baking sheet with parchment.
- In a large bowl, whisk the flour, cocoa powder, sugar, baking powder, baking soda, salt, and espresso powder.
- Add the cold butter cubes and cut in using a pastry cutter, a fork, or your fingertips until the mixture resembles coarse crumbs, like sand. Set aside.
- In a separate bowl, whisk the cream, the egg, and the vanilla.
- Pour the wet ingredients over the dry. Stir with a spatula until almost entirely combined. Add the chocolate chops and the walnuts. Fold until the dough comes together. It might still be very crumbly and seemingly dry. It’s okay.
- Turn it over onto the counter. Pat the dough down. Using a knife or a bench scraper, slice the dough in half, place one half over the other. Pat it down again, repeat this until the dough comes together and no dry pieces of flour remain. This is called “pat and fold” and it’s a way to incorporate the dough without over mixi-g it, and also helps give the dough some flaky layers.
- Once the dough comes together, pat it into a 1-inch thick circle (about 8 inches wide) and cut into 8 wedges.
- Optional: Chill the scones for 15 minutes before baking. This makes them taller, less spread out.
- Bake the scones in the preheated oven for 16-20 minutes, until edges are set and tops no longer look wet. Do not overbake. If the scones turn out dry, it’s probably due to overbaking.
- Using a sharp knife, cut the dough disk into 8 wedges, like a pizza. Carefully and with floured hands, transfer each scone to a baking sheet lined with a silicon mat or lightly greased parchment paper.
- Cool slightly before glazing.
Chocolate Glaze
- Make this as soon as the scones come out of the oven. It will give it enough time to be at the perfect dripping consistency to pour over the scones. Otherwise, make it 15 minutes before serving. You can also make the glaze ahead, keep it in the fridge and let it come to room temperature, or microwave for 5 to 10 second intervals to make the glaze soft.
- Pour the glaze over the scones once they’ve cooled for about 10 to 15 minutes.

I made these scones for my daughter while she was visiting. Oh my goodness! They were perfection. I’m not a big chocolate lover and these weren’t over the top chocolatey. They were flavorful and not overly sweet. The texture was exactly what I want in a scone, not too dry, almost biscuity, but moist without being gooey. So delicious!
Thank you so much, Rebecca! I’m so happy you and your daughter enjoyed the scones. I really appreciate you taking the time to leave such a thoughtful review!
Made these and they were phenomenal!
That makes my day! 🥰 I’m so happy you loved them. Thank you so much for trying the recipe and for coming back to let me know!
Can these be baked then frozen before glazing? Bring to room temperature before serving?
Thanks!!
yes certainly!
We made them, they were very good and we will make them again, but I believe the recipe does not tell you when to add the espresso powder. I put it in with the dry ingredients. Is that right?
yes that’s correct. Ill fix it.
is there a way to sub the espresso powder?
you can simply leave it out if you dont want to add it.
Very tasty! I ended up using 1 2/3 c flour based on other scone recipes, and even then the dough was very stiff so I added 2 more T of cream. I also used semi-sweet chocolate chips.
Absolutely great deep chocolate flavor! I am planning on giving these (frozen with instructions for baking) for Christmas so I did a test batch and froze it overnight right after I cut it. They taste so great but I honestly didn’t get any kind of rise out of them. I followed your pat and fold method and only did it 3-4 times then shaped and cut. Any suggestions?
Thanks, your recipe is in my recipe box now!
That’s super lovely that you’re doing that for your friends!! Anyway, to get a good rise, you should place them very close together before baking, this way they will expand upward instead of outward.
When do the chocolate chips get added to the scones???
On step 6, sorry I had forgotten to add it, so I just fixed it.
Thank you!! This recipe made scones that remind me of my favorite ones from a bakery! Finally! All the care & detail on the preparation definitely pays off and makes a lovely scone.
Awe that is so lovely to hear!!!
Hey! Can you help me incorporate some sourdough starter into this?
Ohhh I think it would have to be a completely different recipe. I would have to actually make it to find out. I can add it to my list and try sometime next month. I will report back.
Just like Julie, my dough was WAY too wet. It was just slightly stickier than brownie batter 🙁 I followed the recipe to the letter and they just didn’t turn out. I am a baker by trade so this was such a bummer! Any suggestion?
I apologize! I am making this tomorrow to try and fix it!
Hello, I’ve fixed the recipe! Thank you!
This is my first recipe I have tried of yours. There is no mention on when to add the walnuts and chocolate pieces. Is the amount of flour correct? Mine was so wet I could not fold- I had to add much more flour- I would say it was at least a half to 3/4 of a cup more. Your other scone recipe called for 2 1/2 cups of flour= most I’ve done are at least 2 cups. The flavor is delicious– I just think the recipe needs to be checked – or let me know what why you think it turned out more like a fudge consistency than it should.
Hi Julie I will definitely re-check the recipe!!!
Sorry about that!!
I do like my scone dough on the wet side, but it shouldn’t be fudgy!
I will check this recipe. Back then I didnt use to put the measurements in grams and that really can make a difference. So I will go back to this recipe and take a look at it.
Thank you!
Hello Julie, I have fixed the recipe, I reduced the heavy cream, and added more flour. I made it twice to be sure and making it a third time this upcoming week, and coming out with a video and new pictures. So sorry the recipe was wrong before. Thanks for your patience and for pointing it out to me.
Thank you so much Camila! I can’t wait to try them again! I love all your recipes and videos! The make me so happy and inspired!!