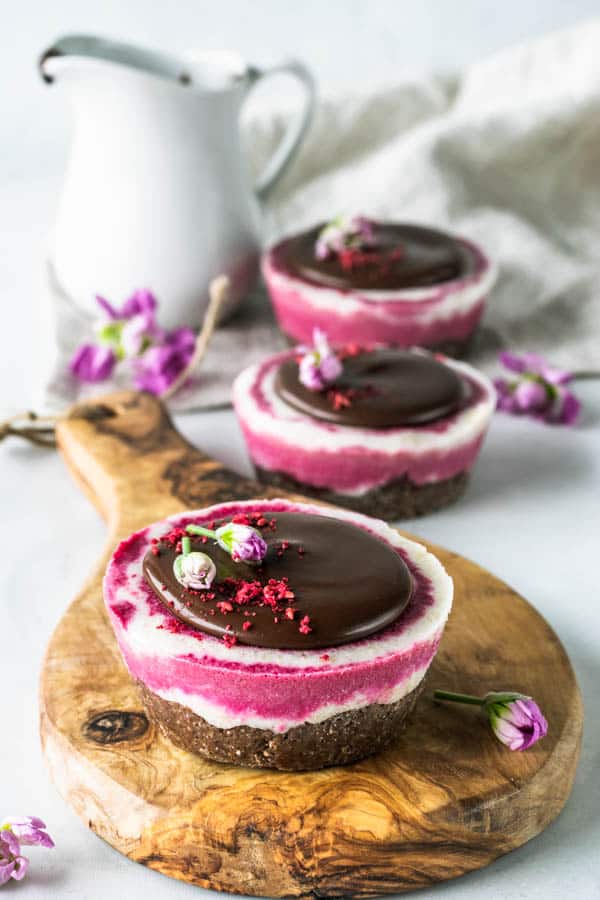
Vegan Beet Cheesecake
Hello friends! Let’s make this Vegan Beet Cheesecake recipe today! These mini vegan cheesecakes are also paleo, gluten-free, and absolutely delicious! And I am using beet crystals to make them!
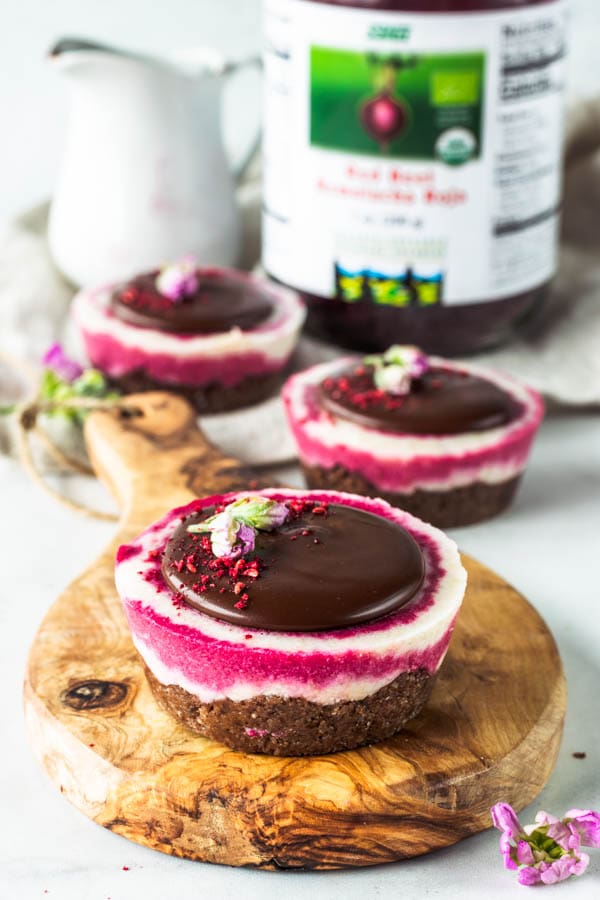
I have been reading all about the amazing benefits that consuming these beet crystals can have in our health.
So basically, besides all of the minerals (calcium, iron, magnesium, copper, phosphorous, manganese and potassium) and vitamins (A, B1, B2, B6, C, and folate) containing in the beet crystals, these are awesome for people who work out a lot.
This post may contain affiliate links. I earn a commission from qualified purchases. Please read our Privacy policy here.
I work out 7 days a week between yoga, running, and body pump, so finding out about these crystals has been a game changer. They help our bodies respond to increased demands for oxygen and energy to fuel performance, and recover from sweat-induced electrolyte loss. YAY!
I am mostly adding them to smoothies, but of course I had to make a dessert recipe with them, so that’s how this recipe for Vegan Beet Cheesecake was born!
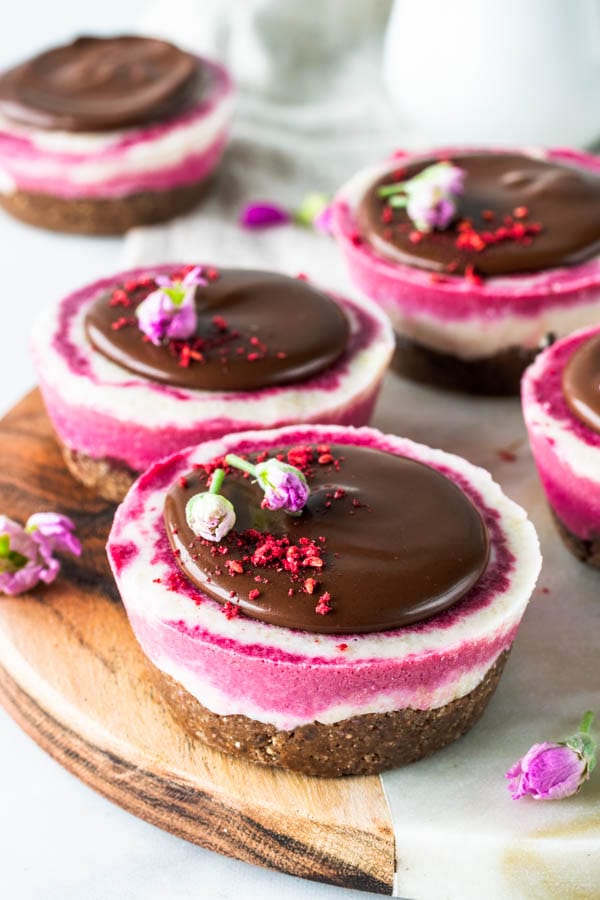
I am totally in love with this color too! If you are after any recipes with beet crystals, stay tuned, because I am for sure going to make more beet crystal recipes for the blog!
Are you a fan of vegan cheesecake? Ok, I understand that this shouldn’t actually be called cheesecake, because, ahm, there’s no CHEESE in it.
But for the sake of organization, and making sure my recipes are found by readers that are using search engines, I have to use this term. I would much rather call them Cashewcakes, instead.
Anyway, I am sure I already talked about this in my other vegan cheesecake cashewcake posts. Maybe someday we won’t be saying things like vegan cheesecake, or vegan chicken. Maybe…
Very similar to this Vegan Beet Cheesecake recipe, I have this other enchanting mini vegan cheesecake recipe, my Matcha Vegan Cheesecake.
But wait, it doesn’t end there. I have other vegan cheesecake recipes for you.
Make sure to check them out!
Also check out my other Vegan Desserts recipes.
- Raspberry Vegan Bars
- Vegan German Chocolate Cake
- Vegan Salted Caramel Macarons
- Banana Cashew Vegan Cake (with caramel frosting)
- Chocolate Mousse Vegan Cupcakes
- Vegan Cookie Dough Bars
- Vegan Peanut Butter Tarts
Ps. besides the Vegan Salted Caramel Macarons, all of the above are also Paleo.
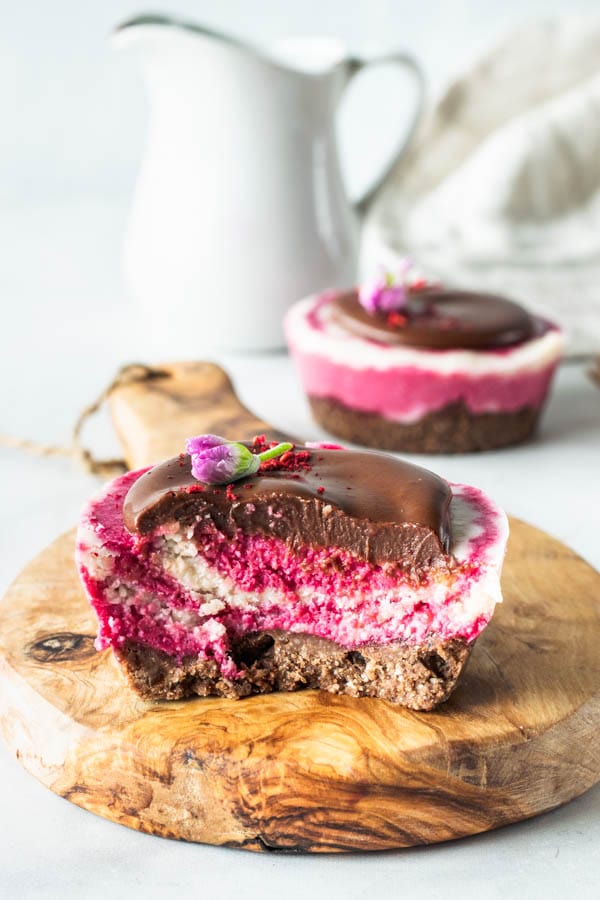
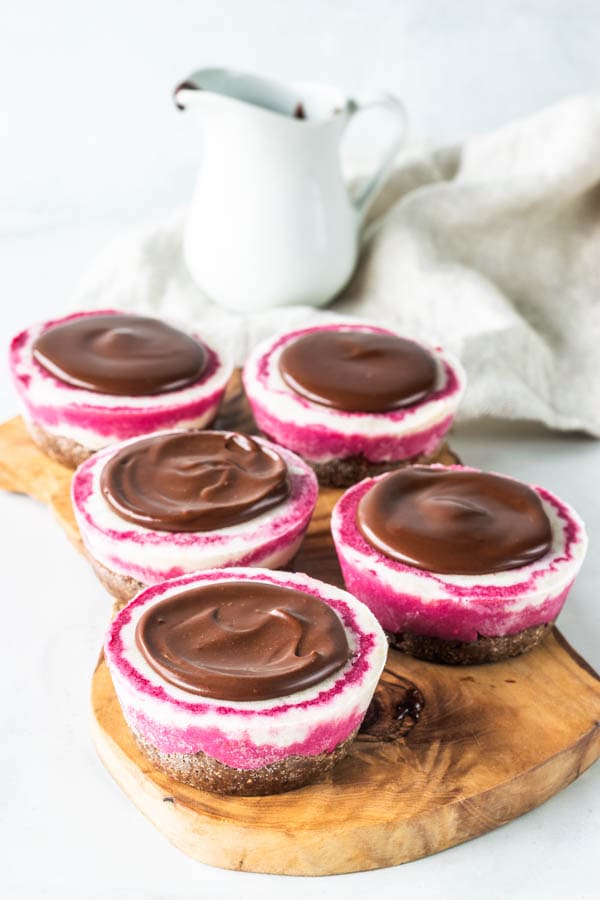
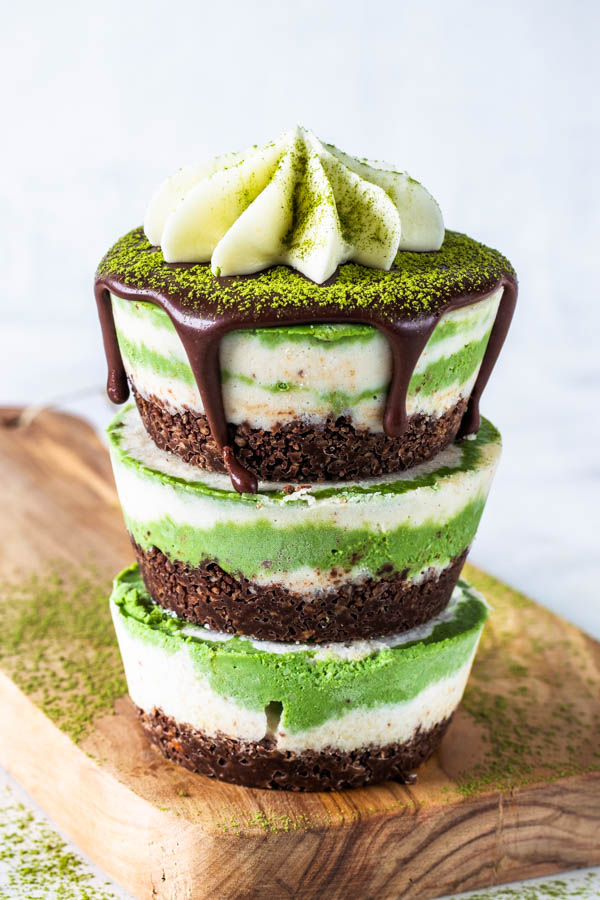
Check out that creamy texture!! So yummy!
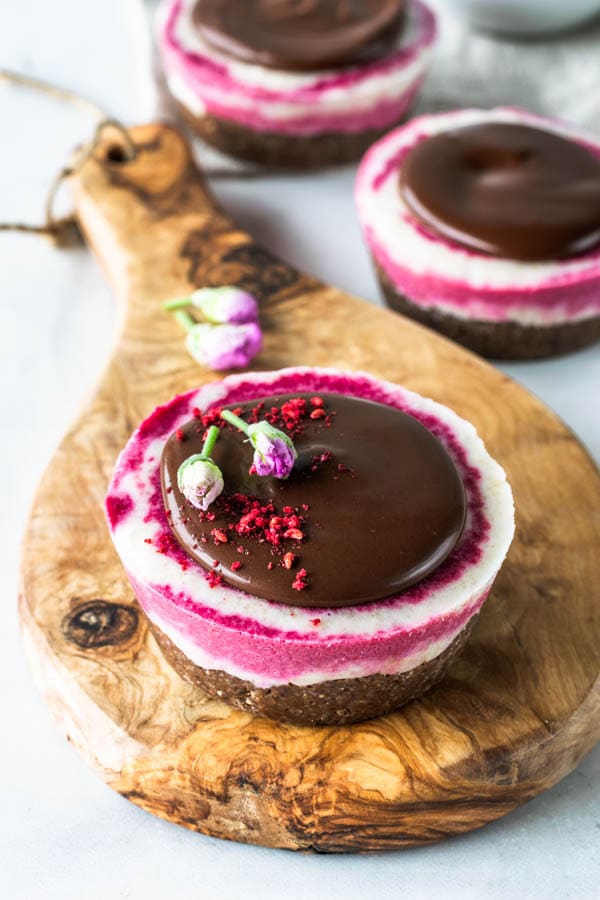
Making this marbled effect is actually really easy.
We start these mini vegan cheesecakes hours before we actually make them. That’s because you must soak your cashews in water, to make them soft. The longer you soak them, the creamier the cheesecake will be.
Once you are ready to make the Vegan Beet Cheesecakes, simply place all ingredients for the crust in the food processor.
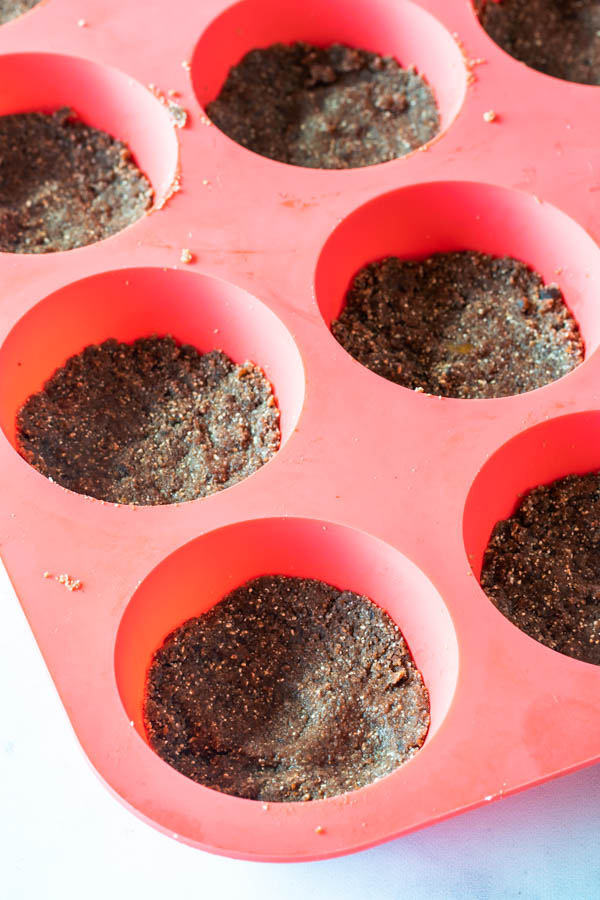
Then, once ready, press the crust on the bottom of a silicone cupcake pan.
This is the one I use:

![]()
The reason why you want to use a silicone pan is to make it easy to remove the mini vegan cheesecakes out of the pan after they have set.
You may use a large 9″ cheesecake pan for this, just make sure to line the sides with parchment paper, for easy removal of the cake later.
After pressing the crust down on the bottom of the pan, place the pan in the freezer while you make the vegan cheesecake batter.
Make the batter, and separate it into two bowls.
Then add the beet crystals to half of the batter, and process in the food processor until incorporated.
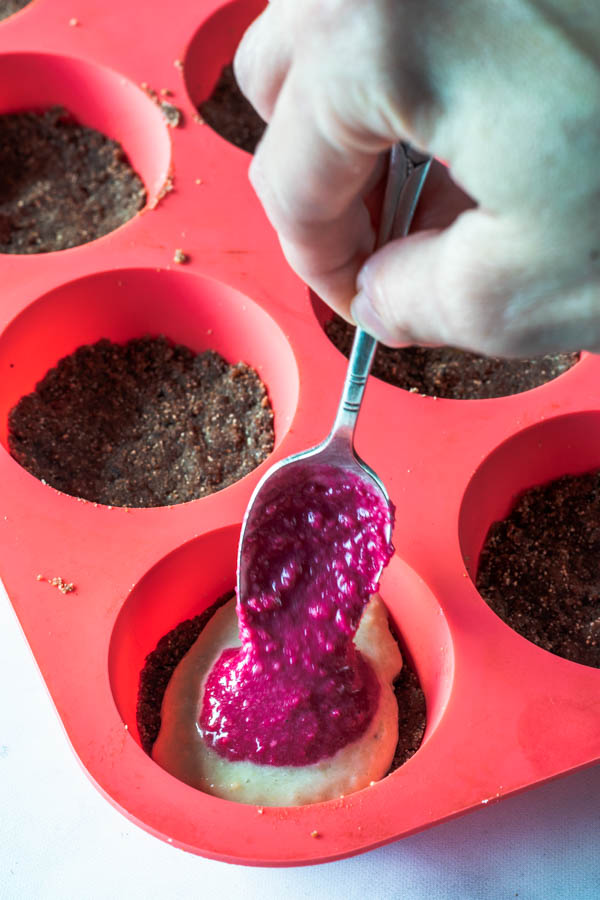
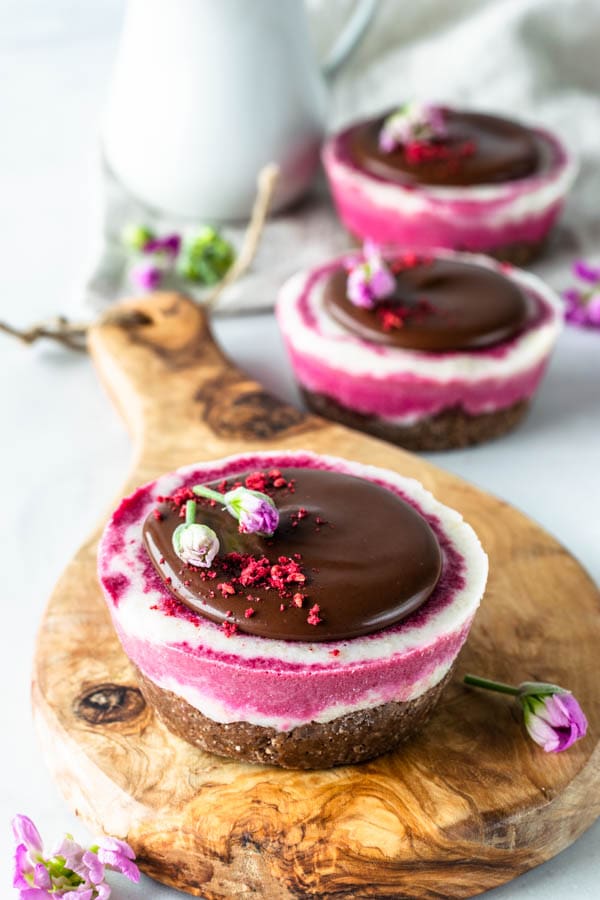
Start by pouring some of the batter that’s not colored with the beet crystals over the crust.

And then, right on top of it, in the middle, pour some of the beet colored batter.
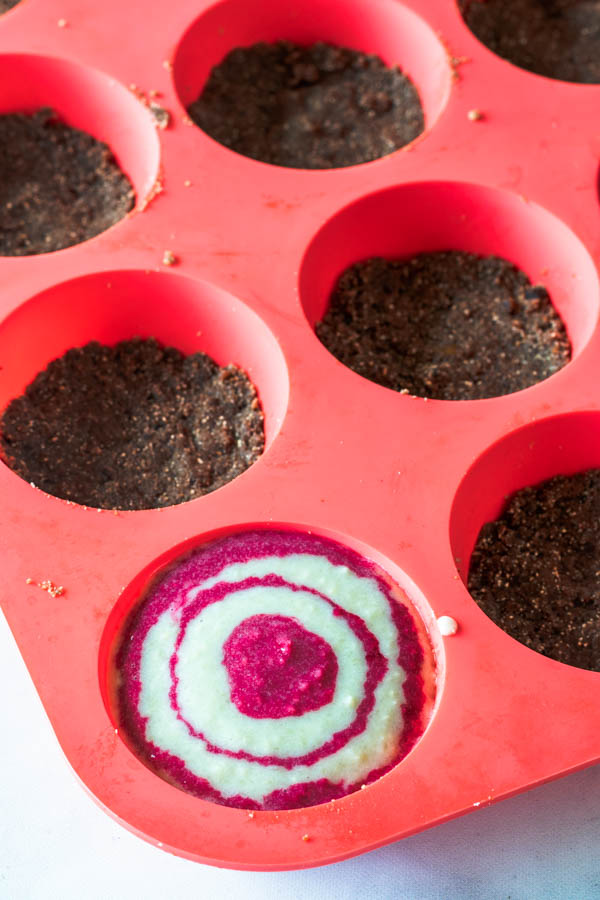
Repeat this, alternating the batters, until you fill up the cupcake tin.
After that, you should put this pan in the freezer to let the batter set overnight before removing from the mold.
And then, you should be ready to pour the ganache on top.
Make sure the ganache is at room temperature when you pour it over the mini vegan cheesecake.
The best way to serve these, is to let them sit at room temperature for a few minutes before doing so. This way, the cheesecakes will be softer and creamy.
The Vegan Beet Cheesecake can be kept in the fridge for up to 4 days, or in the freezer for up to 1 week.

I hope you enjoyed today’s recipe. I am in love with vegan and paleo desserts, and this one checks all the boxes for me, specially because it’s such a feel-good recipe, with the addition of the beet crystals, and the fact that there’s no refined sugar, no dairy in it.
Vegan Beet Cheesecake
Ingredients
Crust
- 1/2 cup medjool dates 8 dates
- 1 1/2 cup almond flour
- 2 tablespoons cocoa powder
- 1-2 tablespoons coconut oil melted
Beet Crystal Cheesecake
- 1/2 cup coconut oil melted
- 1/2 cup full-fat coconut milk
- 1/4 cup lemon juice freshly squeezed
- 1/2 cup maple syrup
- 2 cups raw cashews
- 1 teaspoon vanilla extract
- 1 tablespoon beet crystals
Vegan Ganache
- 1/2 cup chocolate chips 87.5 grams 3 oz
- 1/2 cup full-fat coconut cream
Instructions
Crust
- Place dates, almond flour, cocoa powder, and 1 tablespoon of coconut oil in a food processor. Process until you form a dough that you can easily clump up between your fingers. If the dough is too dry, add a bit more coconut oil, and process again until the dough comes together when you pinch it between your fingers.
- Press some dough down the bottom of each cupcake pan cavity. I recommend using a silicone cupcake pan, to make it easy to remove the mini cheesecakes later. You could also use a large cheesecake pan and simply press the whole dough of the crust on the bottom of the pan.
- Place cupcake pan with the dough in the freezer while you prepare the filling.
Beet Crystals Cheesecake
- Start the night before, or a few hours prior, by soaking the cashews.
- If starting the night before, simply soak the cashews in some room temperature water and let them sit on the counter soaking overnight.
- If starting a few hours before, soak cashews in hot water for at least 1 hour.
- Drain cashews.
- Place all ingredients except for the beet crystals in a food processor.
- Process for a few minutes. I like my cheesecake very creamy so I process mine for about 4 minutes. It will depend on how powerful your food processor is.
- You might want to scrape the bowl of the food processor in between blending.
- Now, divide the cheesecake batter in two.
- Set one half aside.
- Leave the other half of the batter in the food processor and add the beet crystals to it. Process until combined.
To assemble
- Spoon some of the white cheesecake batter on the bottom of the crust.
- Right on top of it, in the middle, spoon some of the red beet crystals cheesecake batter.
- Now repeat, alternating colors until you reach the top of the pan. You can use the pictures in the post above as reference.
- Place in the freezer overnight.
Ganache
- To make the ganache, simply heat the coconut milk until almost a boil.
- Pour over chocolate chips. Stir until everything is melted.
- If necessary, place it in the microwave at 5 second intervals until all the chocolate is melted, and the ganache is smooth.
- If ganache is grainy and separating, you can add a teaspoon of coconut oil to it, to try to smooth it out.
- Let ganache come to room temperature before spooning or piping over cheesecakes.
Storage
- Cheesecakes will keep well in the freezer for up to 1 week.
- Let them sit on the counter for a few minutes before serving, so they have a chance to soften up.
Cheesecake maravilhoso, a combinação das cores e a apresentação fantásticas!!!!!!
I just went back to the gym after a few months off and now I have a serious crick in the neck. Maybe these beet crystals can help me?!! Seriously though, these cheesecakes are just beautiful. I love that colour, so eyecatching and that little puddle of chocolate on top. Yum
haha i bet they would help!! Thanks Marie!!
That was by far my favorite cashew cheesecake! Wow. Thank you so so much for sharing this. It has inspired me to play around with different kinds of cashew based cheesecakes!
I am so happy you liked it!!!