Oven Dulce de Leche
Oven Dulce de Leche is usually the method people gravitate toward when they don’t want to cook condensed milk in the can. It’s simple, hands-off, and doesn’t require a pressure cooker or slow cooker.
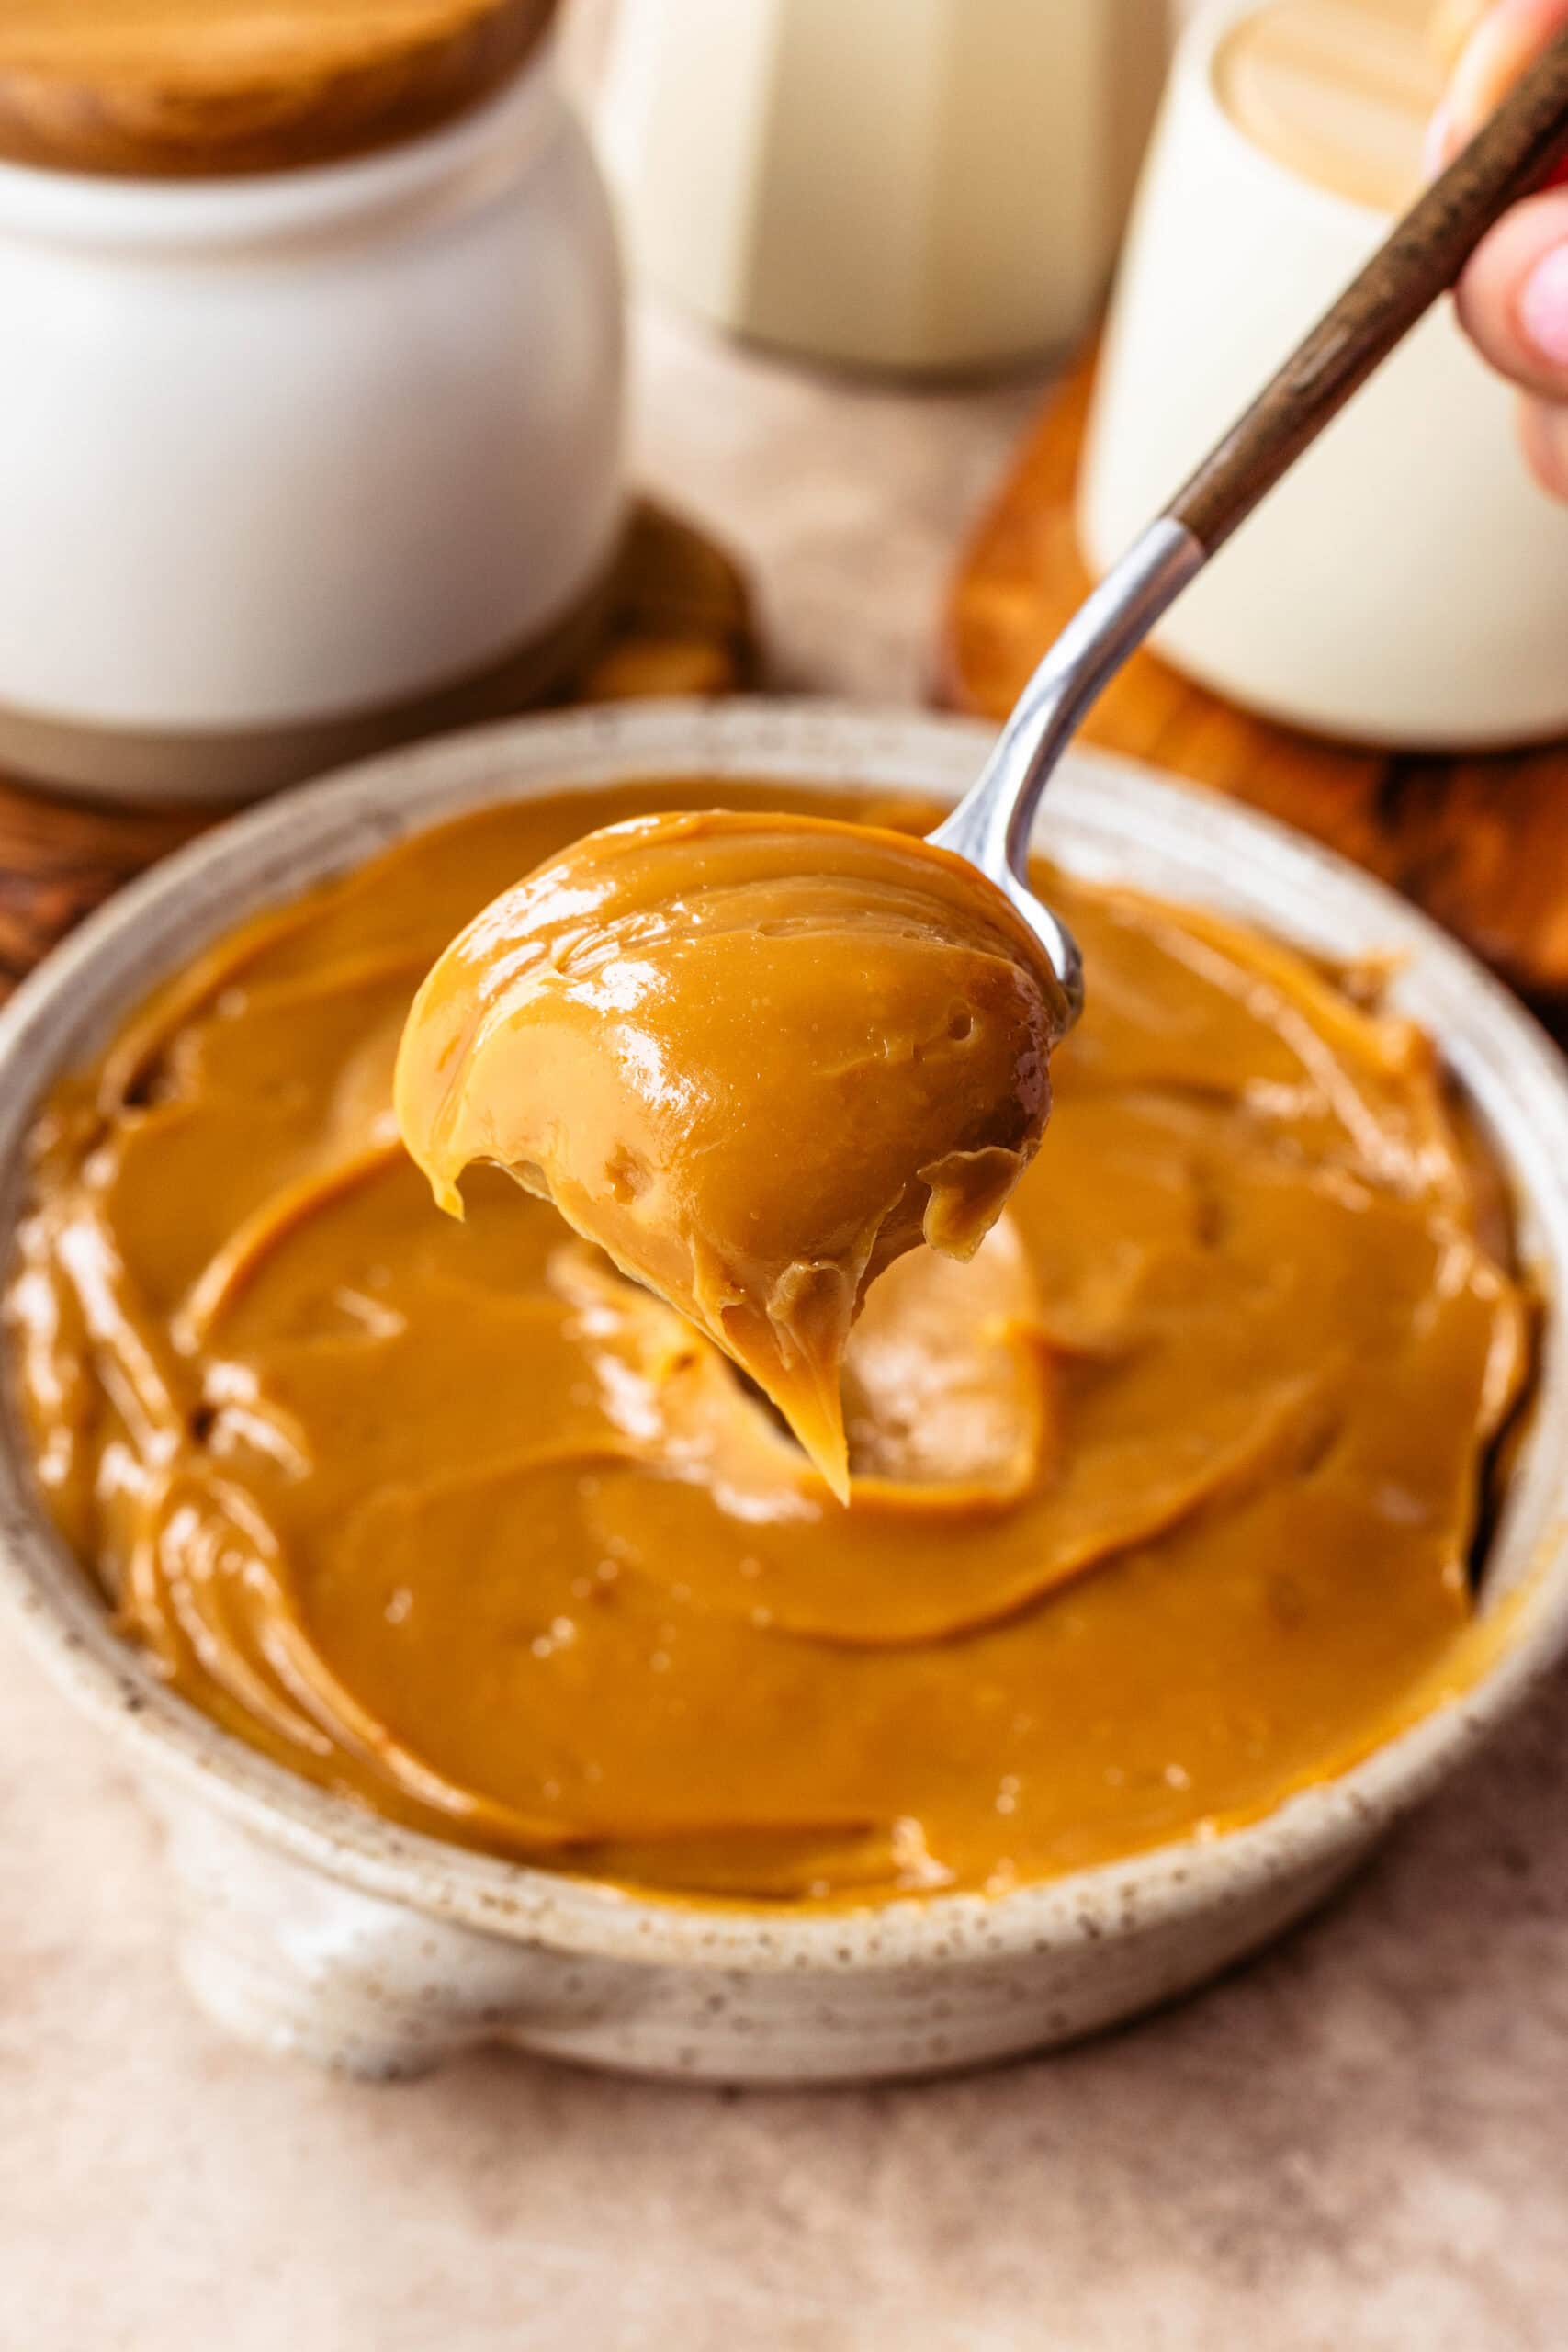
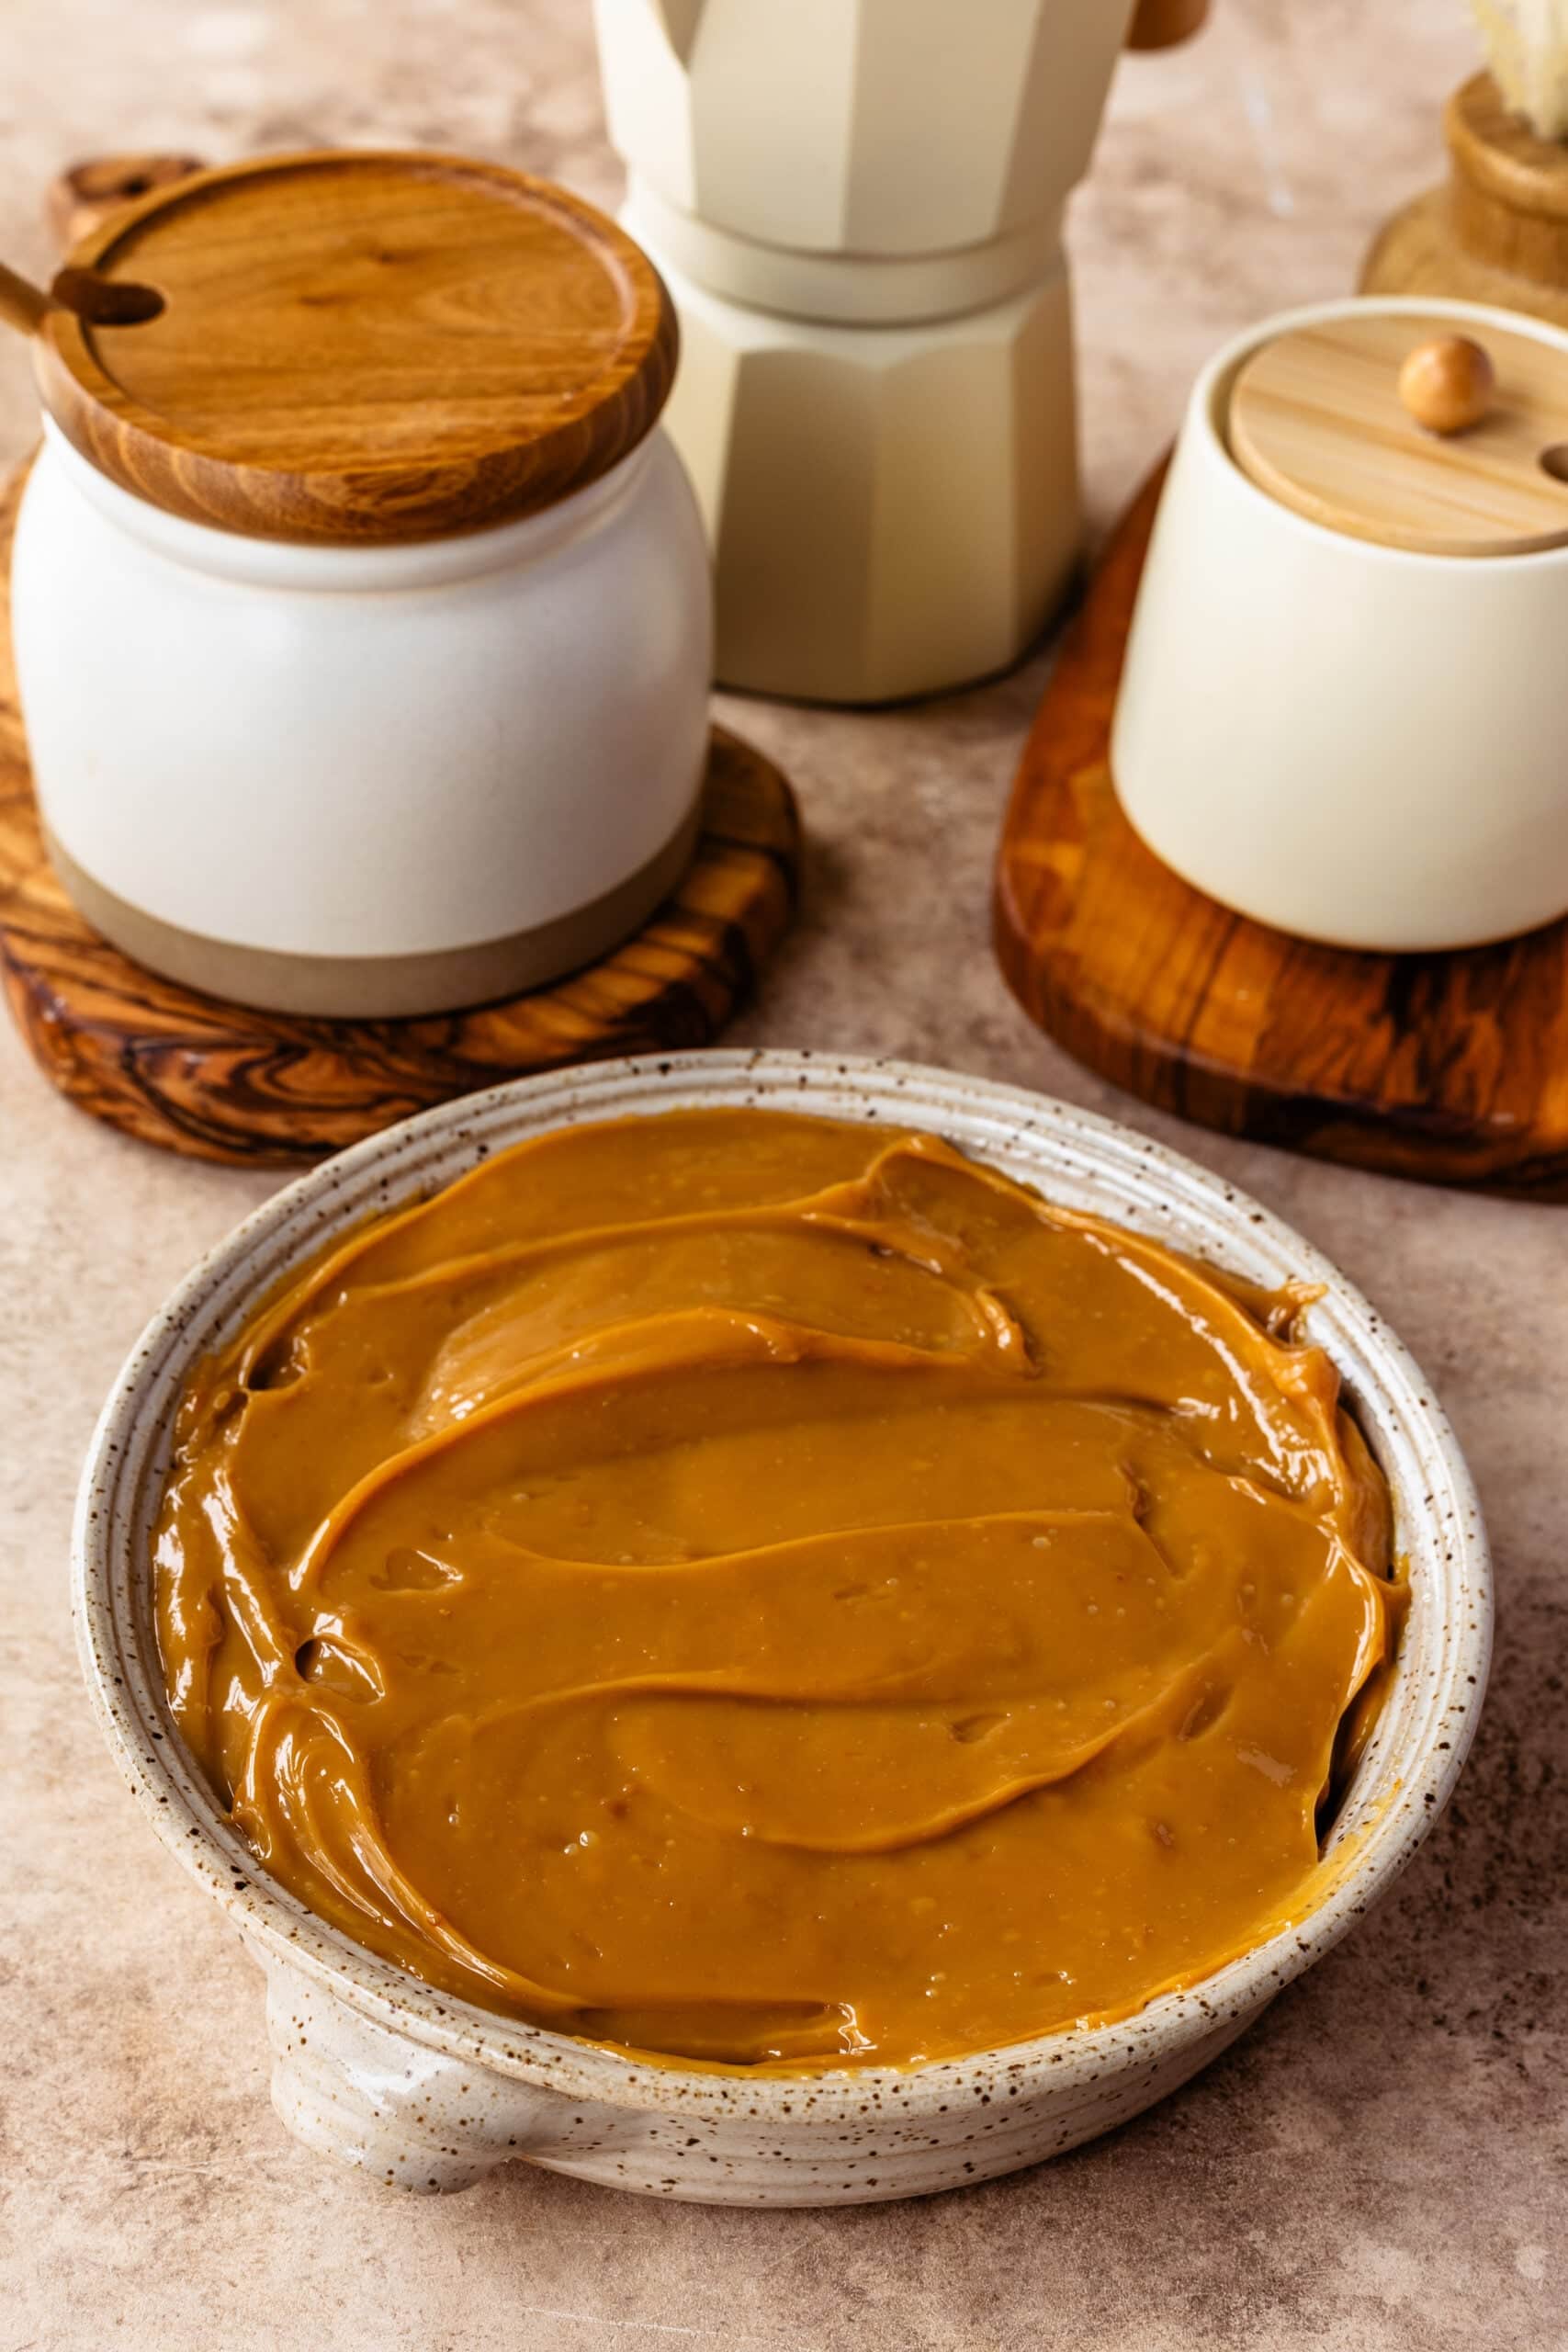
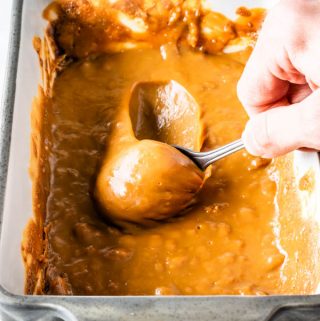
That said, after testing all the methods many times over the years, I do think the oven version has a slightly different texture than the others. It tends to be less smooth and a bit more rustic, which can actually be great depending on how you plan to use it. It’s also extremely delicious and reminds me of brigadeiros. I especially like this version for cheesecakes, trifles, spooning over ice cream, or eating straight from the fridge.
A Few Things to Know About the Oven Method
Unlike the Instant Pot or stovetop methods, the oven version cooks the condensed milk uncovered from the can itself, inside a water bath.
This post may contain affiliate links. I earn a commission from qualified purchases. Please read our Privacy policy here.
The water bath is important because it helps the condensed milk cook gently and reduces scorching around the edges.
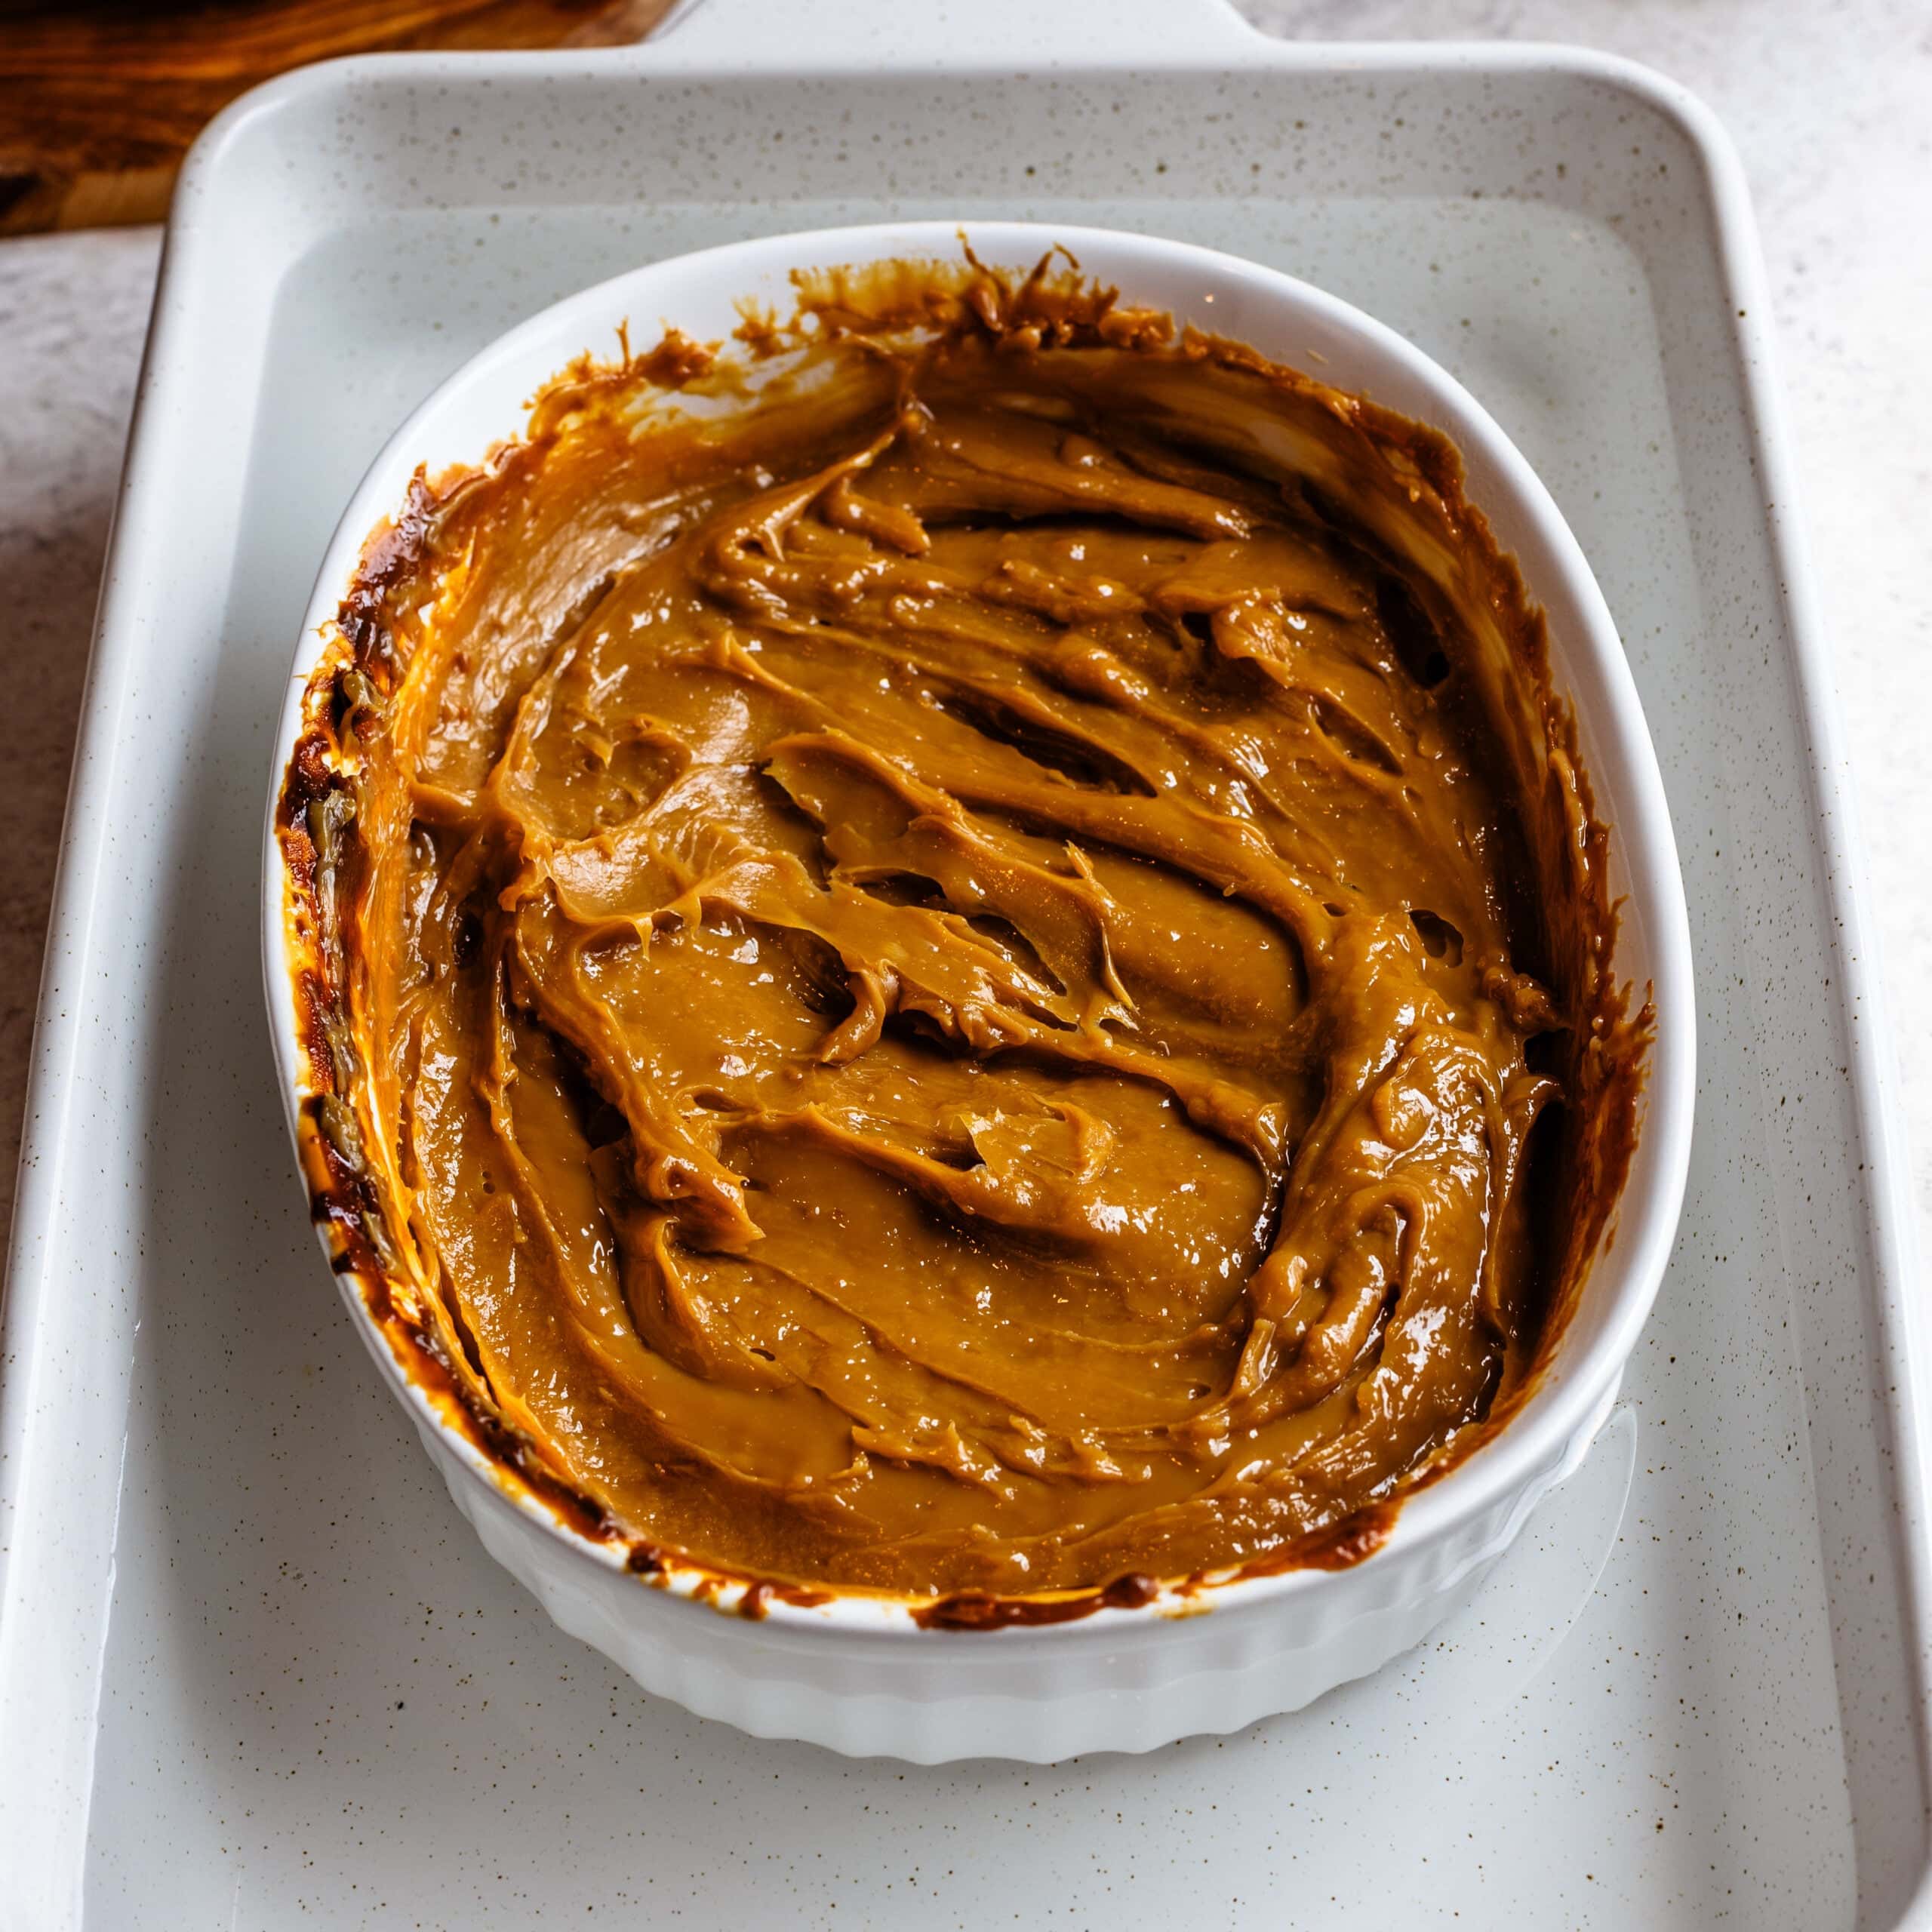
I’ve found that oven dulce de leche tends to develop more caramelized bits around the sides of the pan, even when stirred occasionally. Personally, I don’t mind that texture at all, but if you want an ultra smooth dulce de leche for piping or frosting, the Instant Pot version usually works better for me.
Why I Like This Method
Here’s why a lot of people prefer this version:
- No cooking the condensed milk inside the can
- Very little active work
- Easy to make larger batches
- Rich caramelized flavor
- No special equipment needed
I also like that you can visually monitor the color as it bakes.
What You Need
You only need a few things:
- Sweetened condensed milk
- A loaf pan or small baking dish
- A larger baking pan for the water bath
- Foil
I usually use a loaf pan because it keeps the condensed milk fairly deep, which helps it bake more evenly.
Also, make sure to stir the mixture every so often, to ensure even browning of the condensed milk, and to prevent the milk from scorching on the sides of the pan.
How to Make Oven Dulce de Leche
The full recipe card is below, but here’s exactly how I make it.
Step 1: Preheat the Oven
Preheat your oven to 350ºF. I highly recommend using an oven thermometer if your oven tends to run hot because excessive heat can scorch the edges pretty quickly.
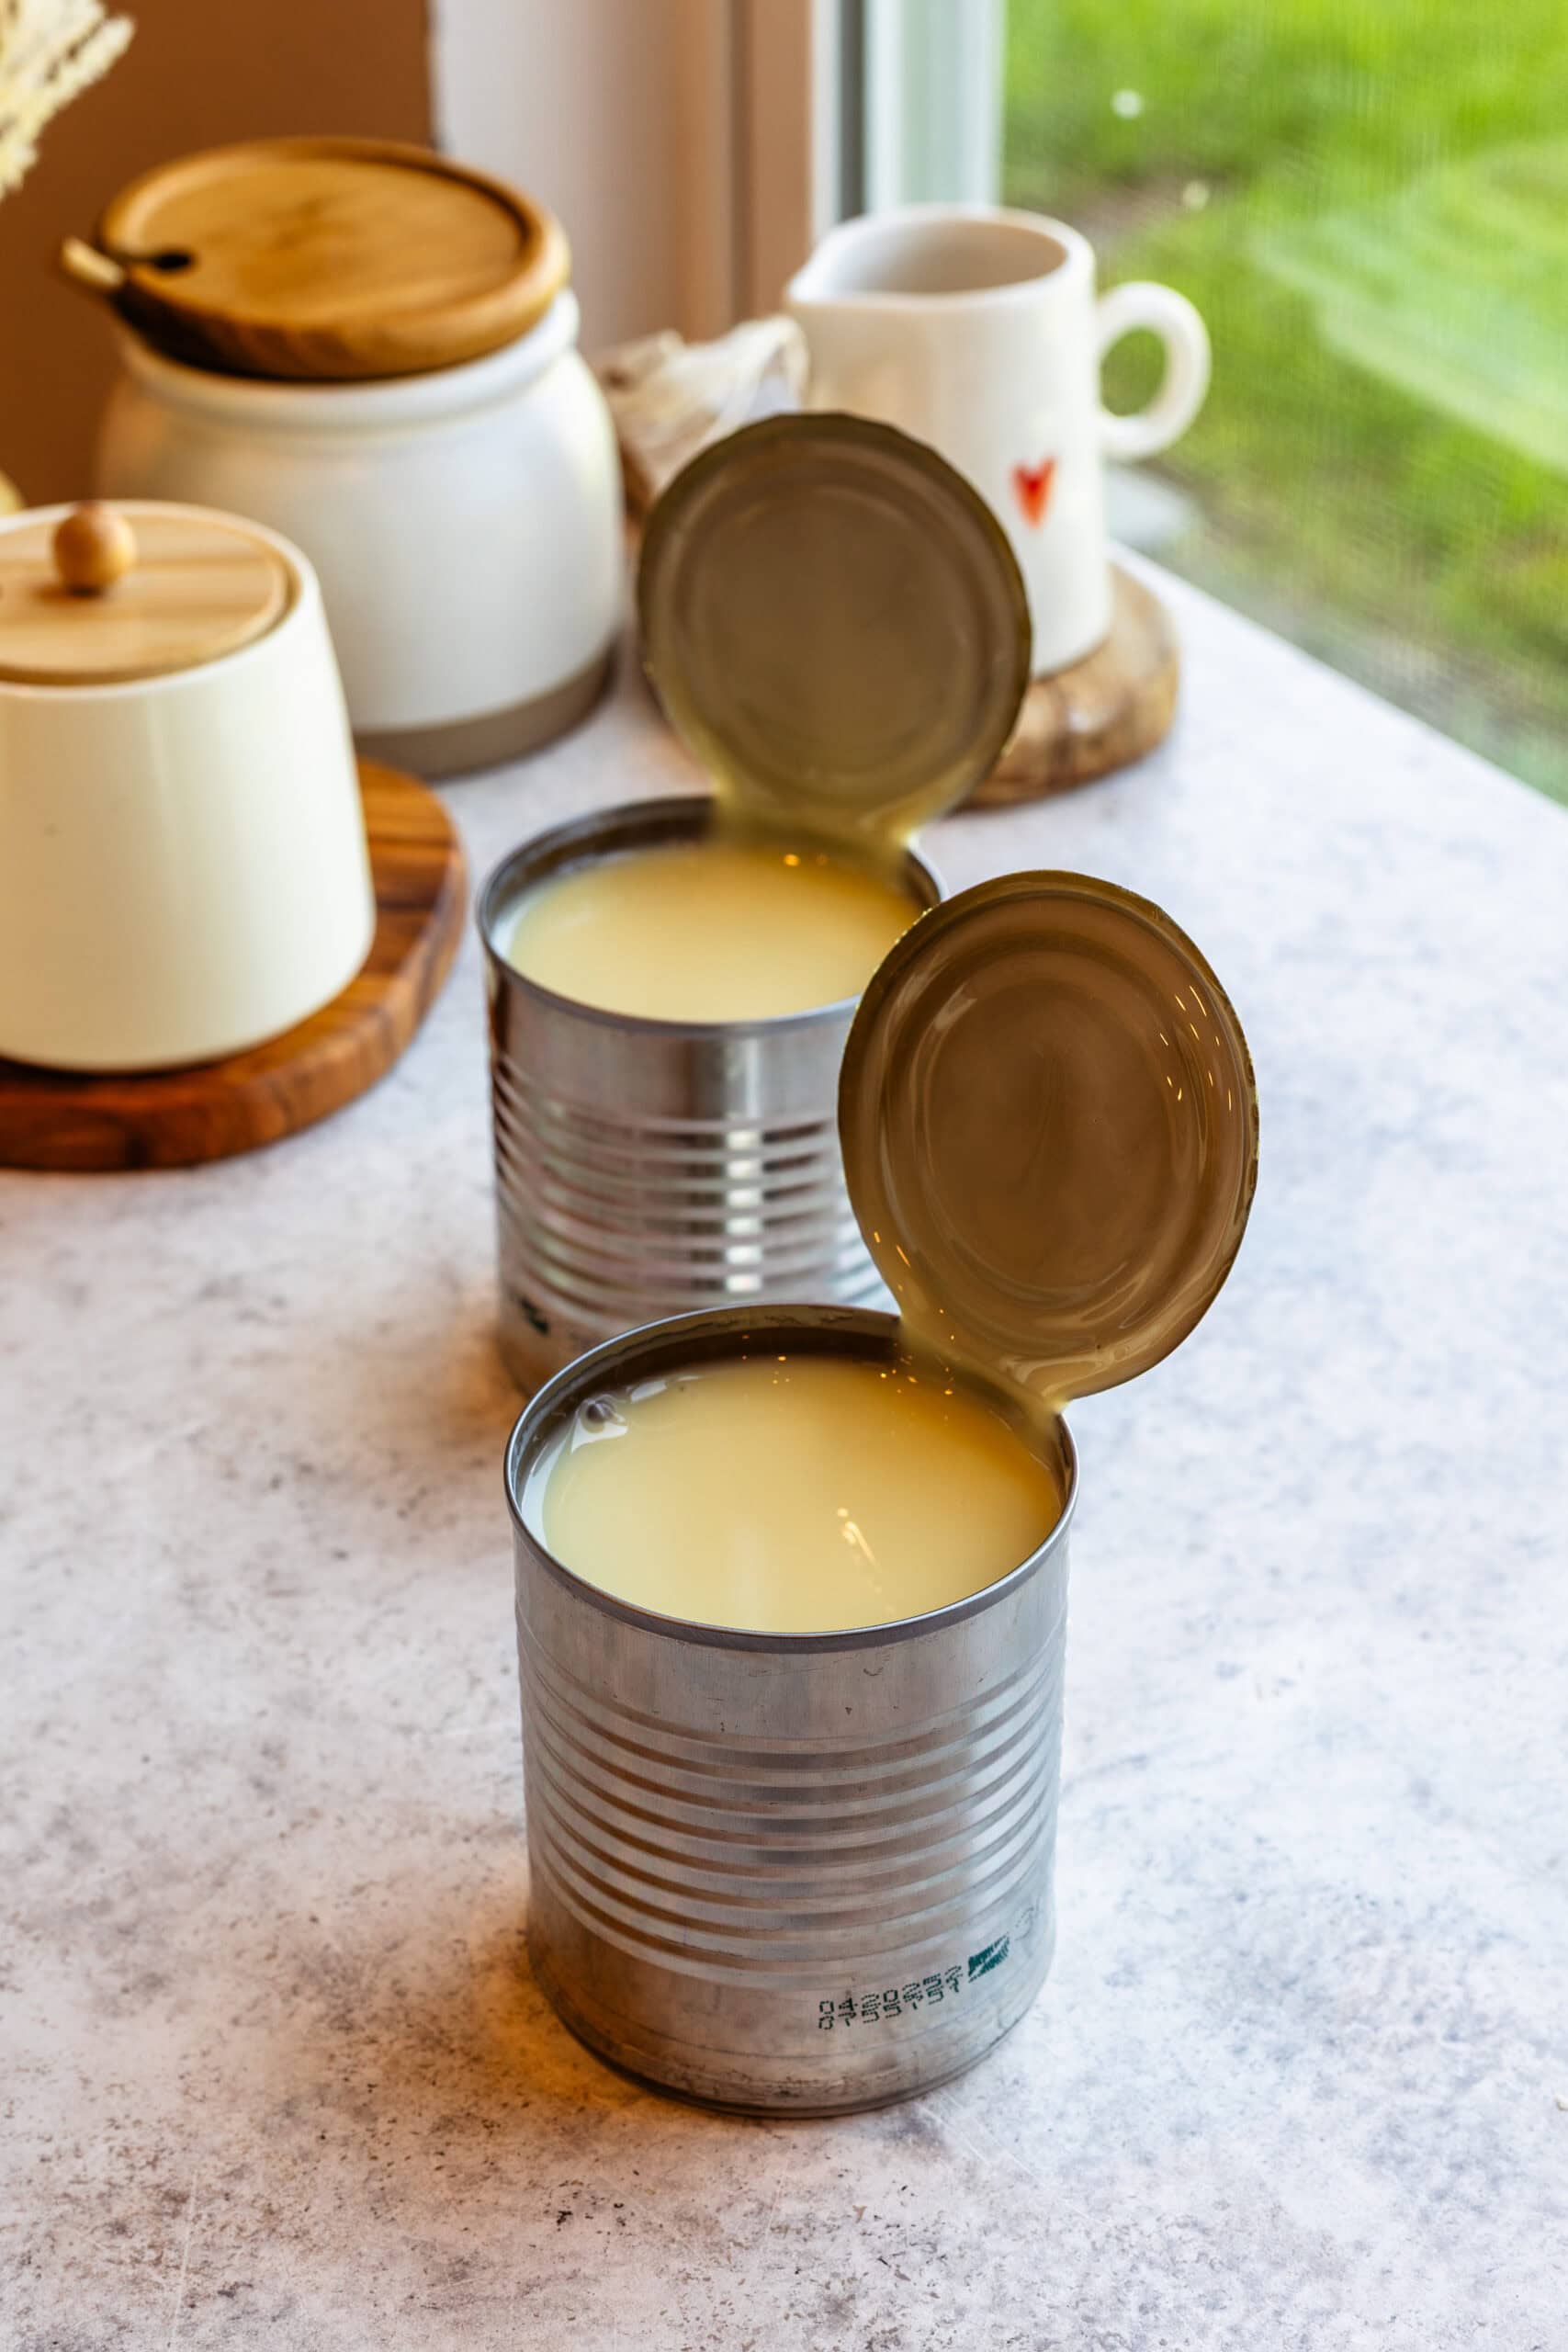
Step 2: Add the Condensed Milk to a Pan
Open the can of sweetened condensed milk and pour it into a loaf pan or small baking dish.
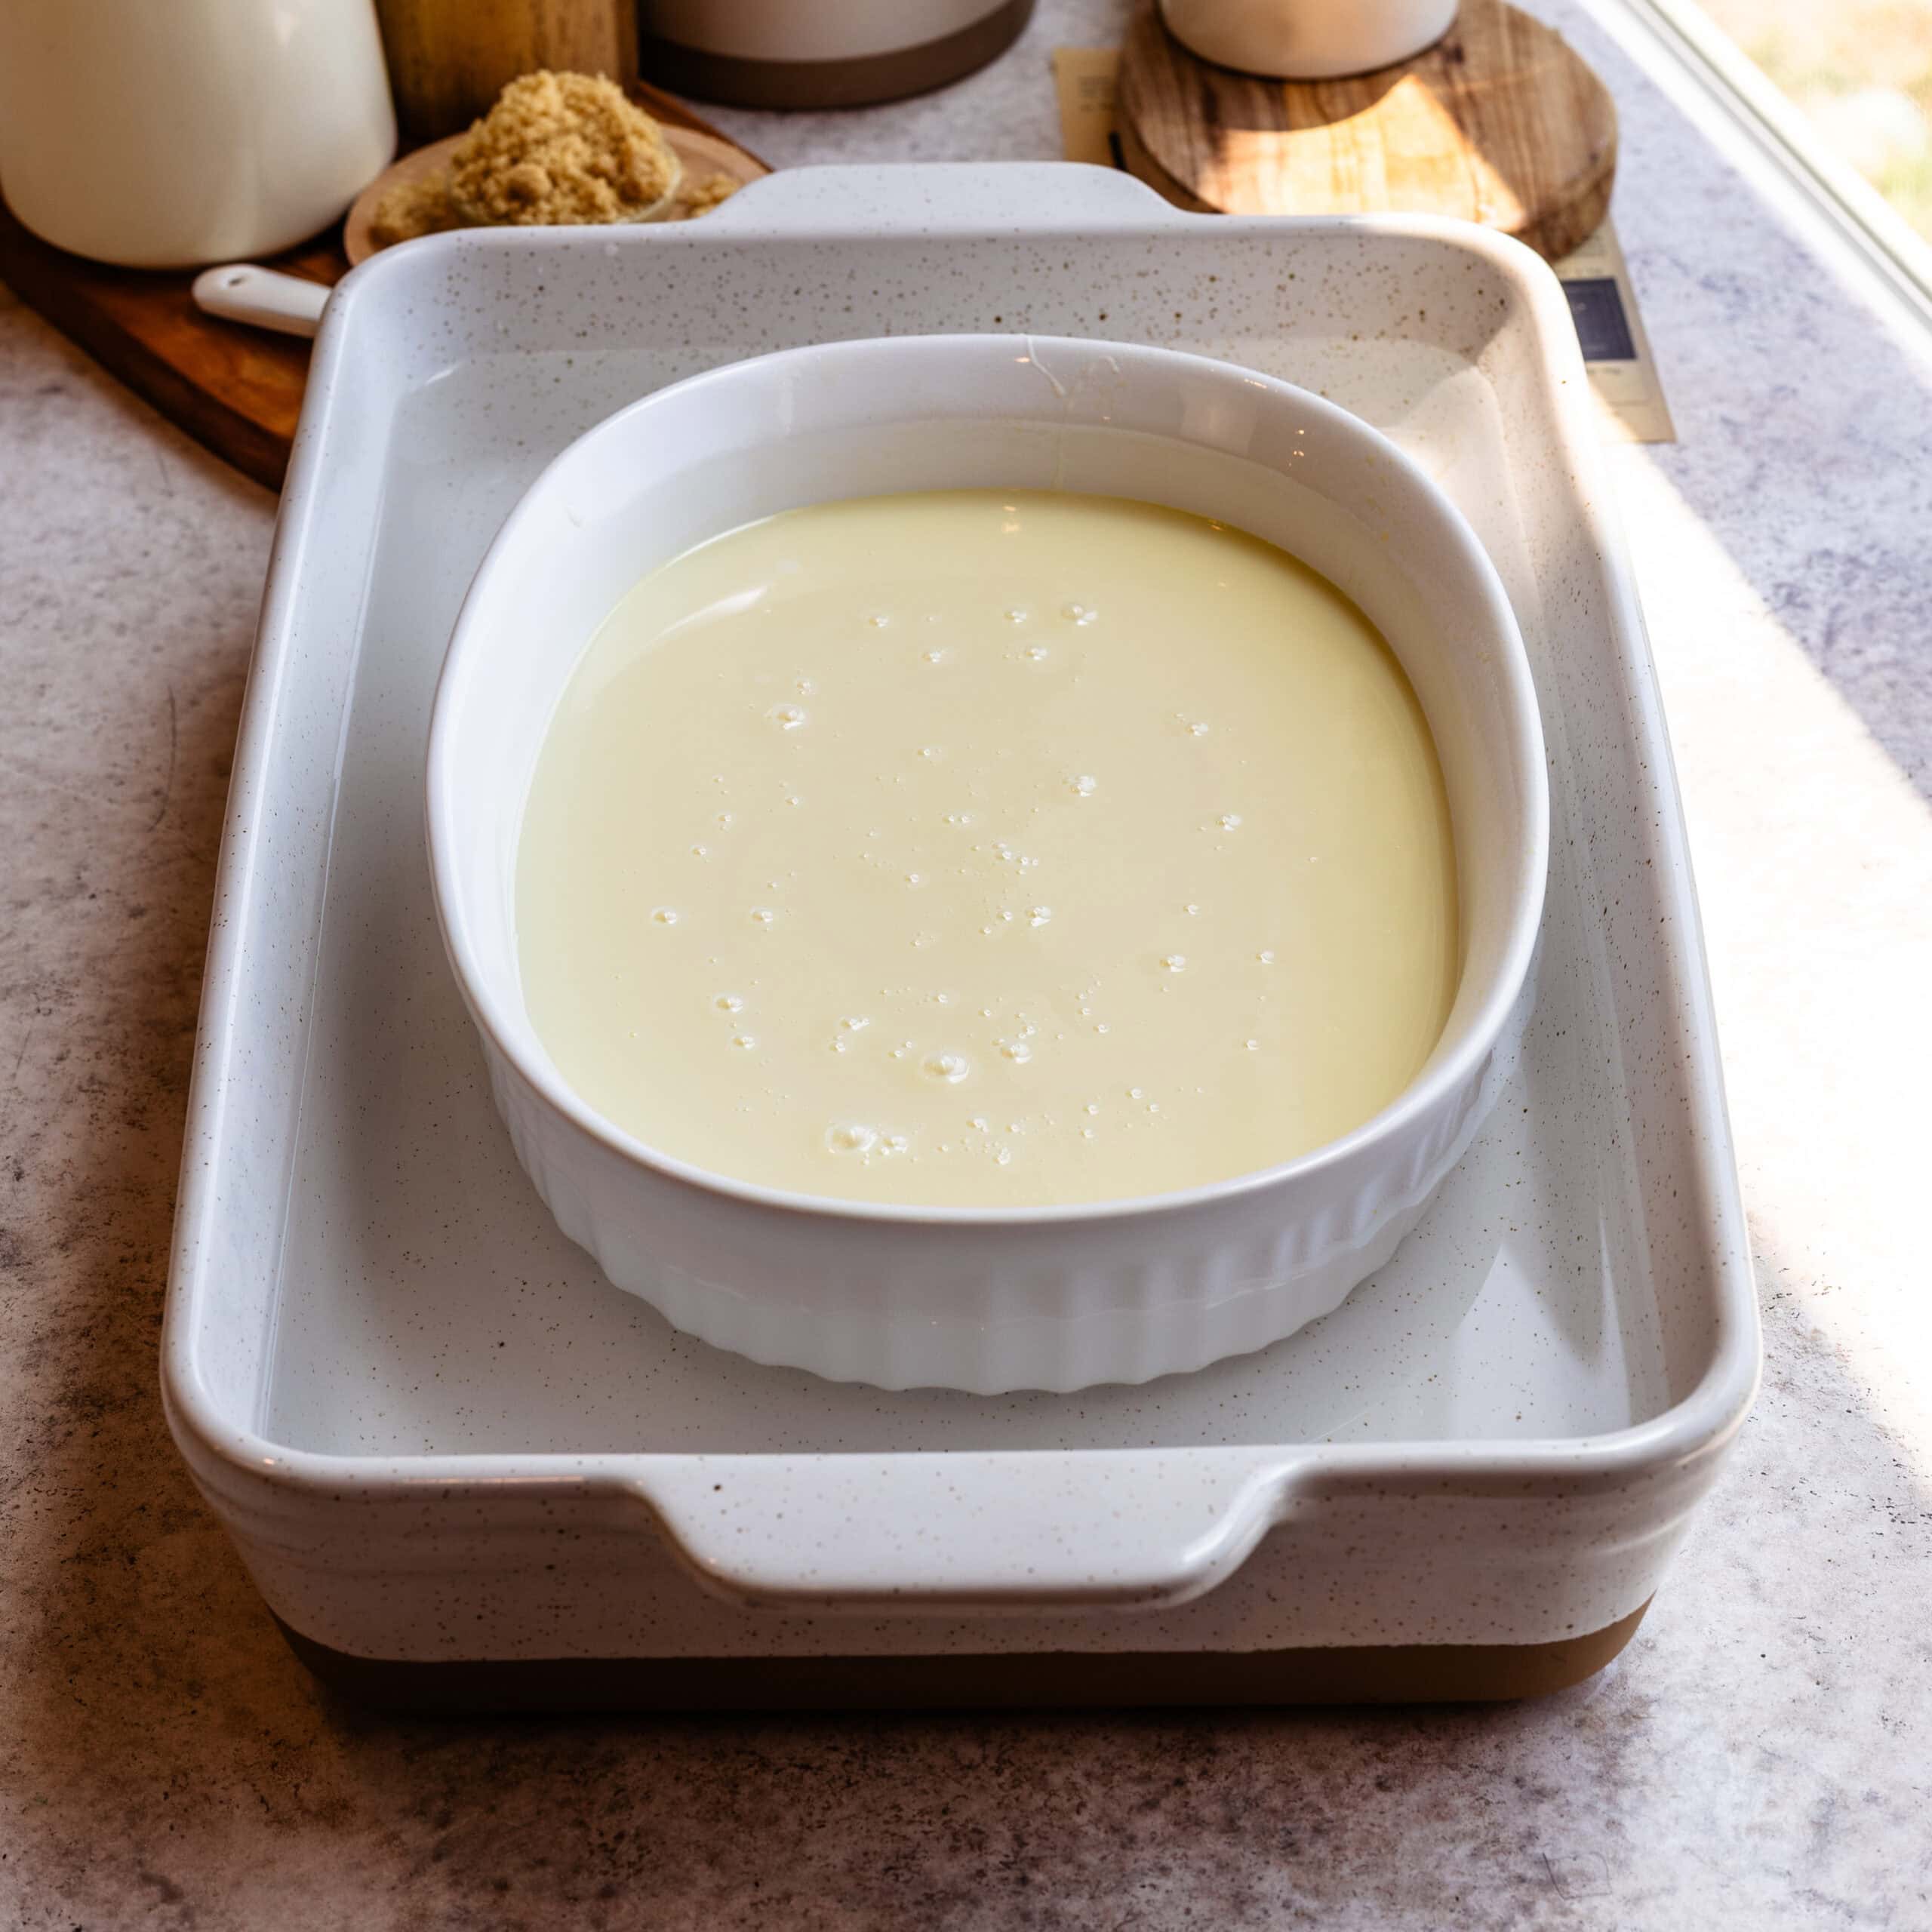
Step 3: Prepare the Water Bath
Place the loaf pan inside a larger baking pan.
Pour hot water into the larger pan until it reaches about the same level as the condensed milk.
The water bath keeps the dulce de leche from cooking too aggressively around the edges.
Step 4: Cover and Bake
Cover the loaf pan tightly with foil.
Bake for anywhere from 2 1/2 to 4 hours, depending on how dark and thick you want it.
I usually stir it a few times during baking to help the caramelization stay even and to minimize lumps.
Step 5: Cool Completely
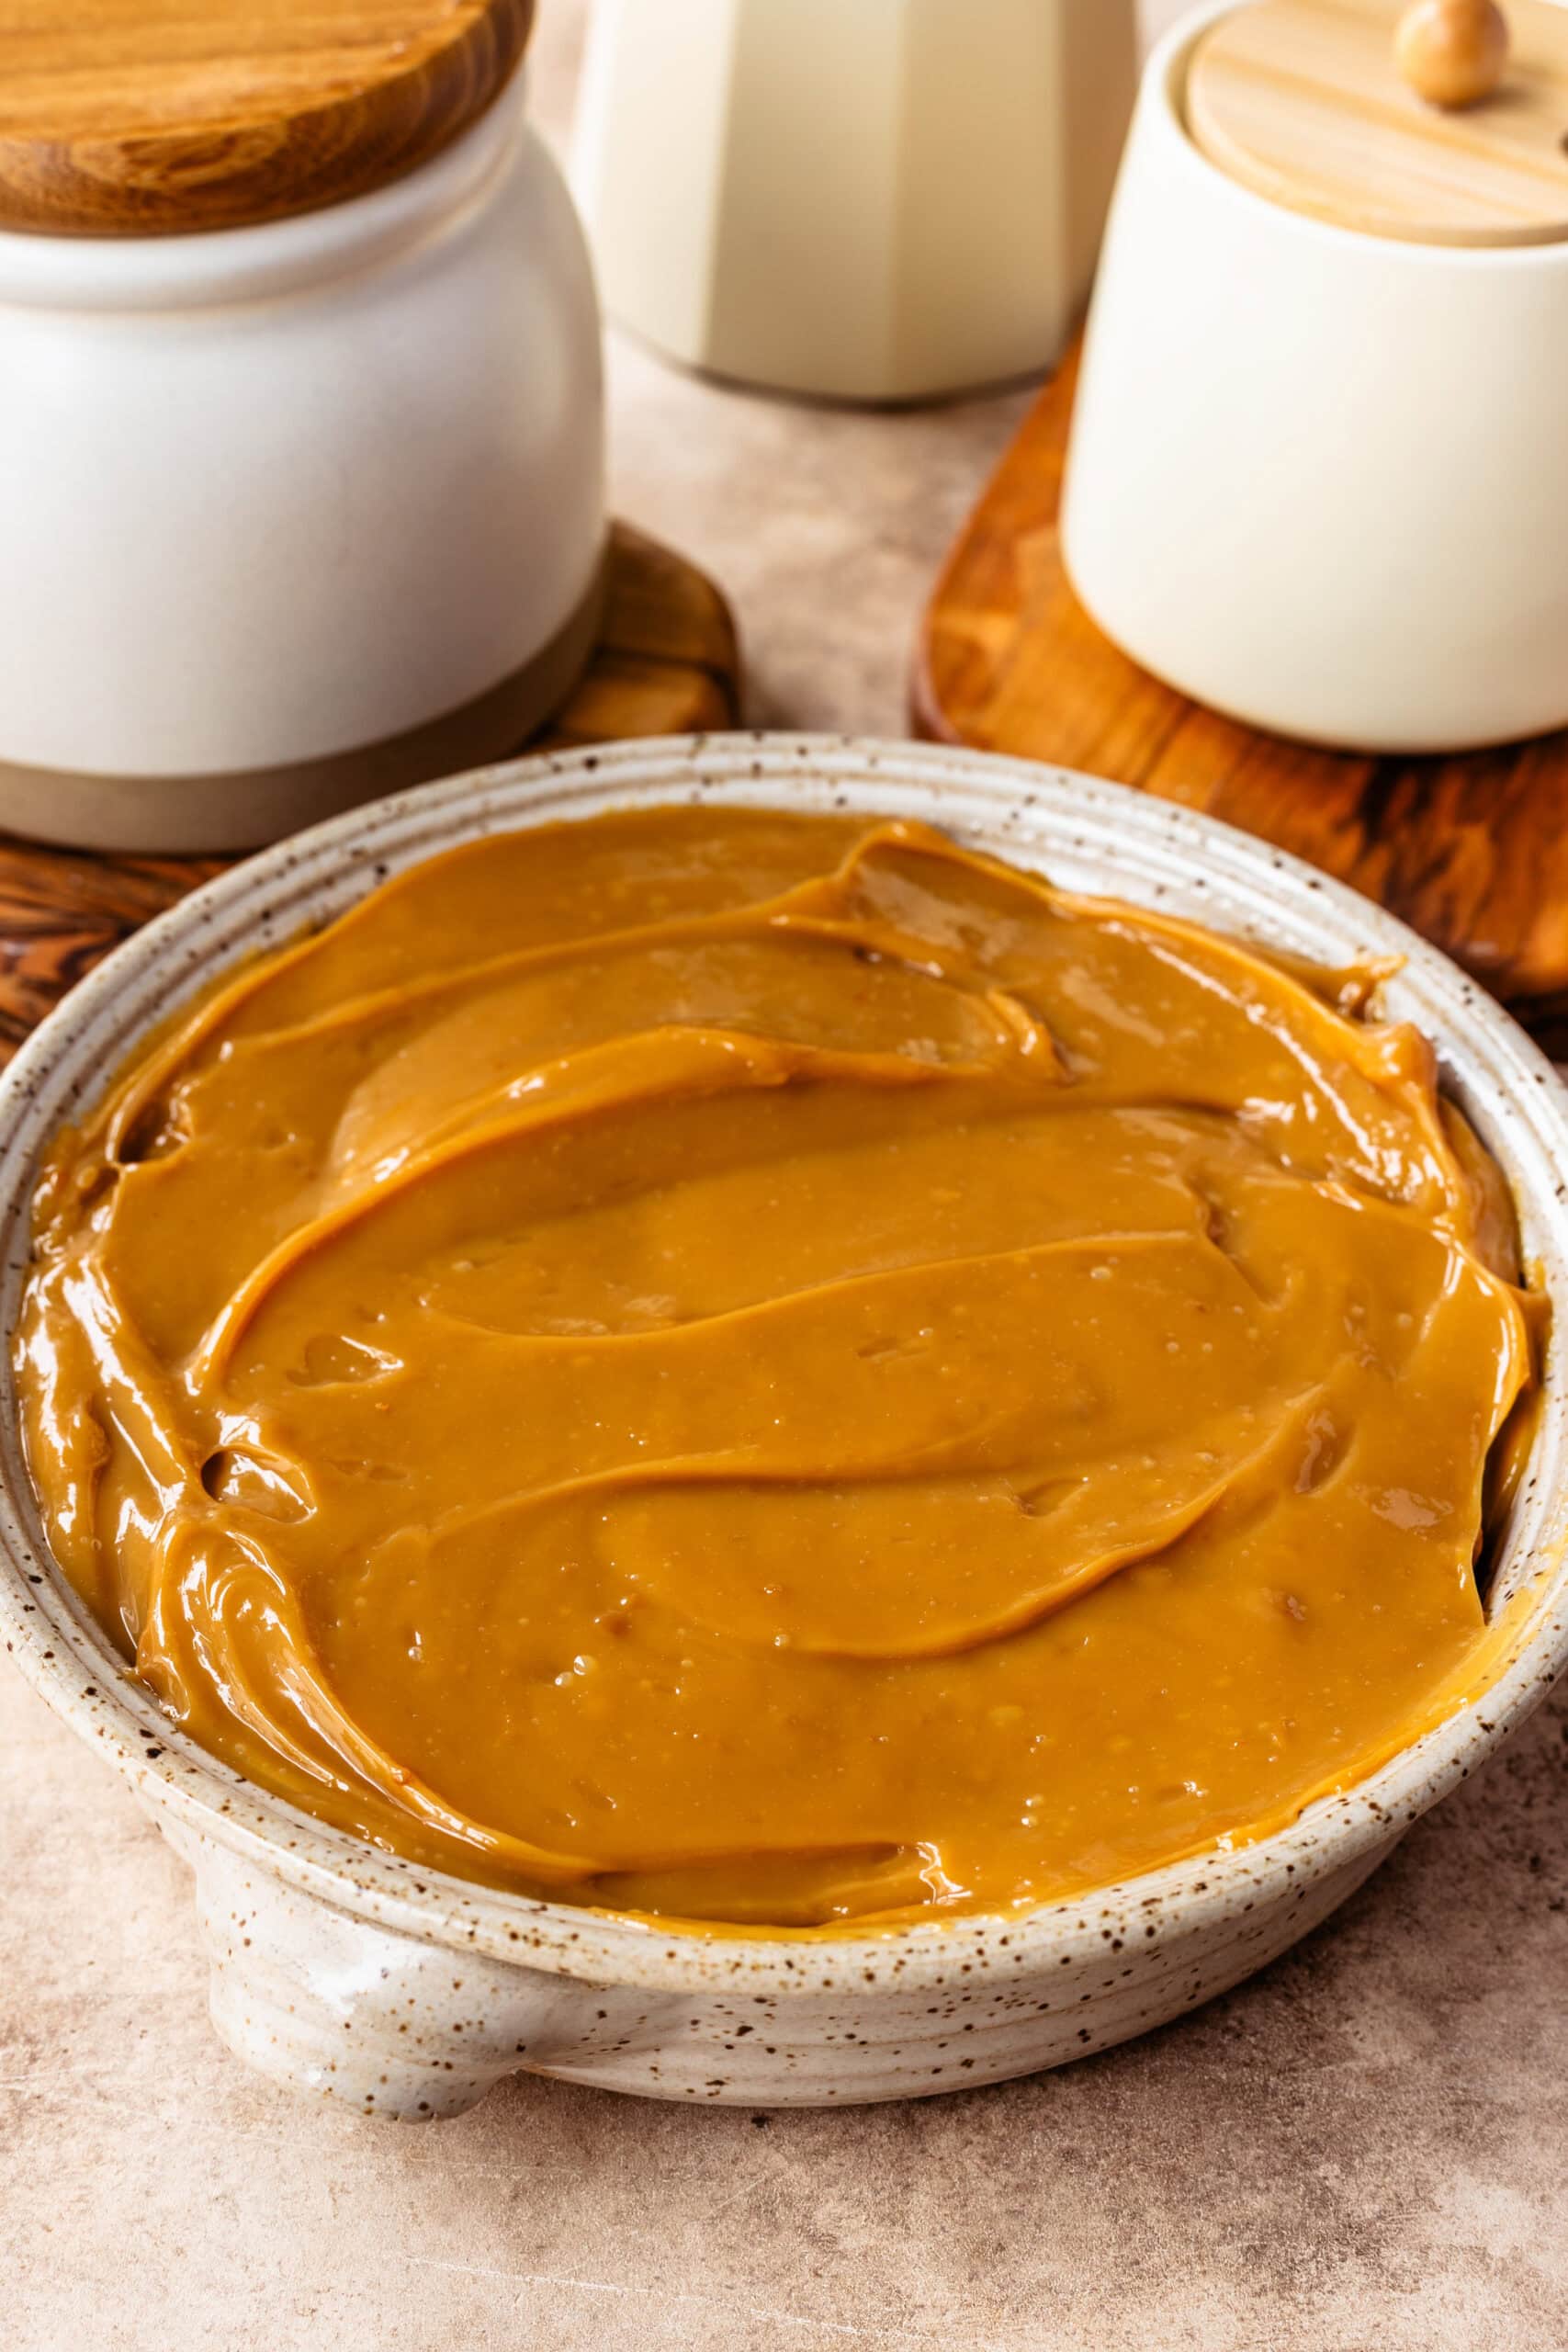
Once the dulce de leche reaches the color and consistency you want, remove it from the oven and let it cool completely before using.
It thickens considerably as it cools and even more once refrigerated.
Texture & Timing Notes
This method gives a slightly different texture than the other dulce de leche methods.
2 1/2 Hours
- Lighter in color and looser in texture.
- Good for drizzling over cheesecake, pancakes, waffles, or ice cream.
3 Hours
- Thicker and darker with a richer caramel flavor.
- This is usually the consistency I go for if I’m using it in cakes or trifles.
4 Hours
- Very thick and deeply caramelized.
At this stage, you’ll usually get more browned bits around the edges, which can make the dulce de leche slightly lumpy. Even after a long bake time, the oven method still doesn’t usually get quite thick enough for very clean piping work like macarons or tall cupcake swirls. For that reason, I personally prefer the Instant Pot or stovetop versions when I need a firmer dulce de leche that really holds its shape.
Important Tips
A few things I’ve learned after making this many times:
- Stir occasionally during baking
- Keep an eye on the water bath and replenish as needed
- Don’t scrape overly dark bits from the sides into the dulce de leche
- Let it cool fully before judging the consistency
One thing people often don’t realize is how much thicker dulce de leche becomes after chilling.
If Your Dulce de Leche Turns Out Lumpy
That’s honestly pretty normal with the oven method. If you want a smoother texture, you can:
- Blend it once cooled
- Pass it through a strainer while still warm
- Avoid scraping dark caramelized bits from the edges of the pan
I usually don’t bother unless I’m using it for frosting or piping.
Ways to Use Oven Dulce de Leche
I especially like this version for:
- Cheesecake – it would go so great on my Biscoff Cheesecake…
- Brownies – like my new Dulce de Leche Brownies!
- Ice cream topping – try it on top of my cookie dough ice cream
- Toast or my Cream Cheese Pound Cake
- Chocotorta – enough said!
- Brigadeiros – try mixing some in these pumpkin brigadeiros…
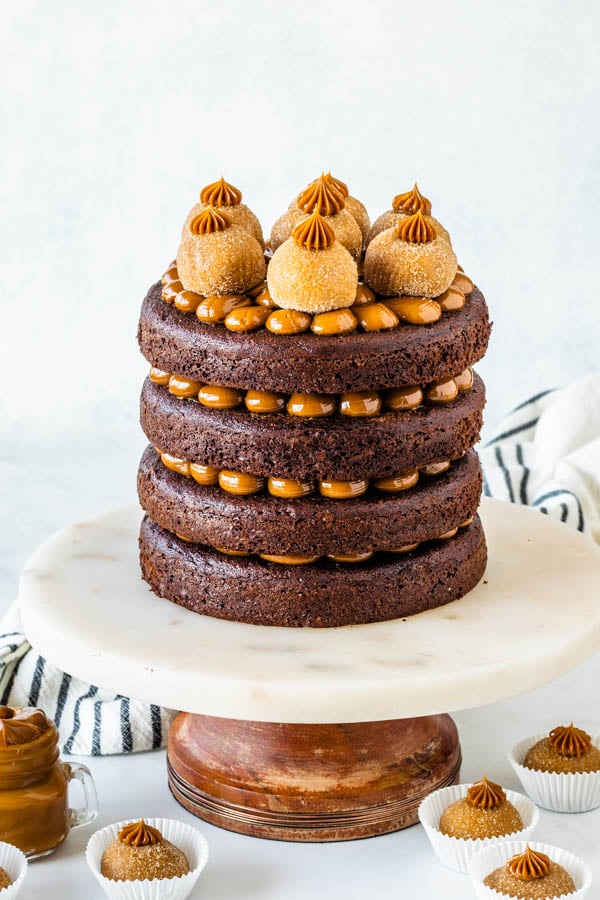
- In cakes like my Dulce de Leche Chocolate Cake, see the photo below!
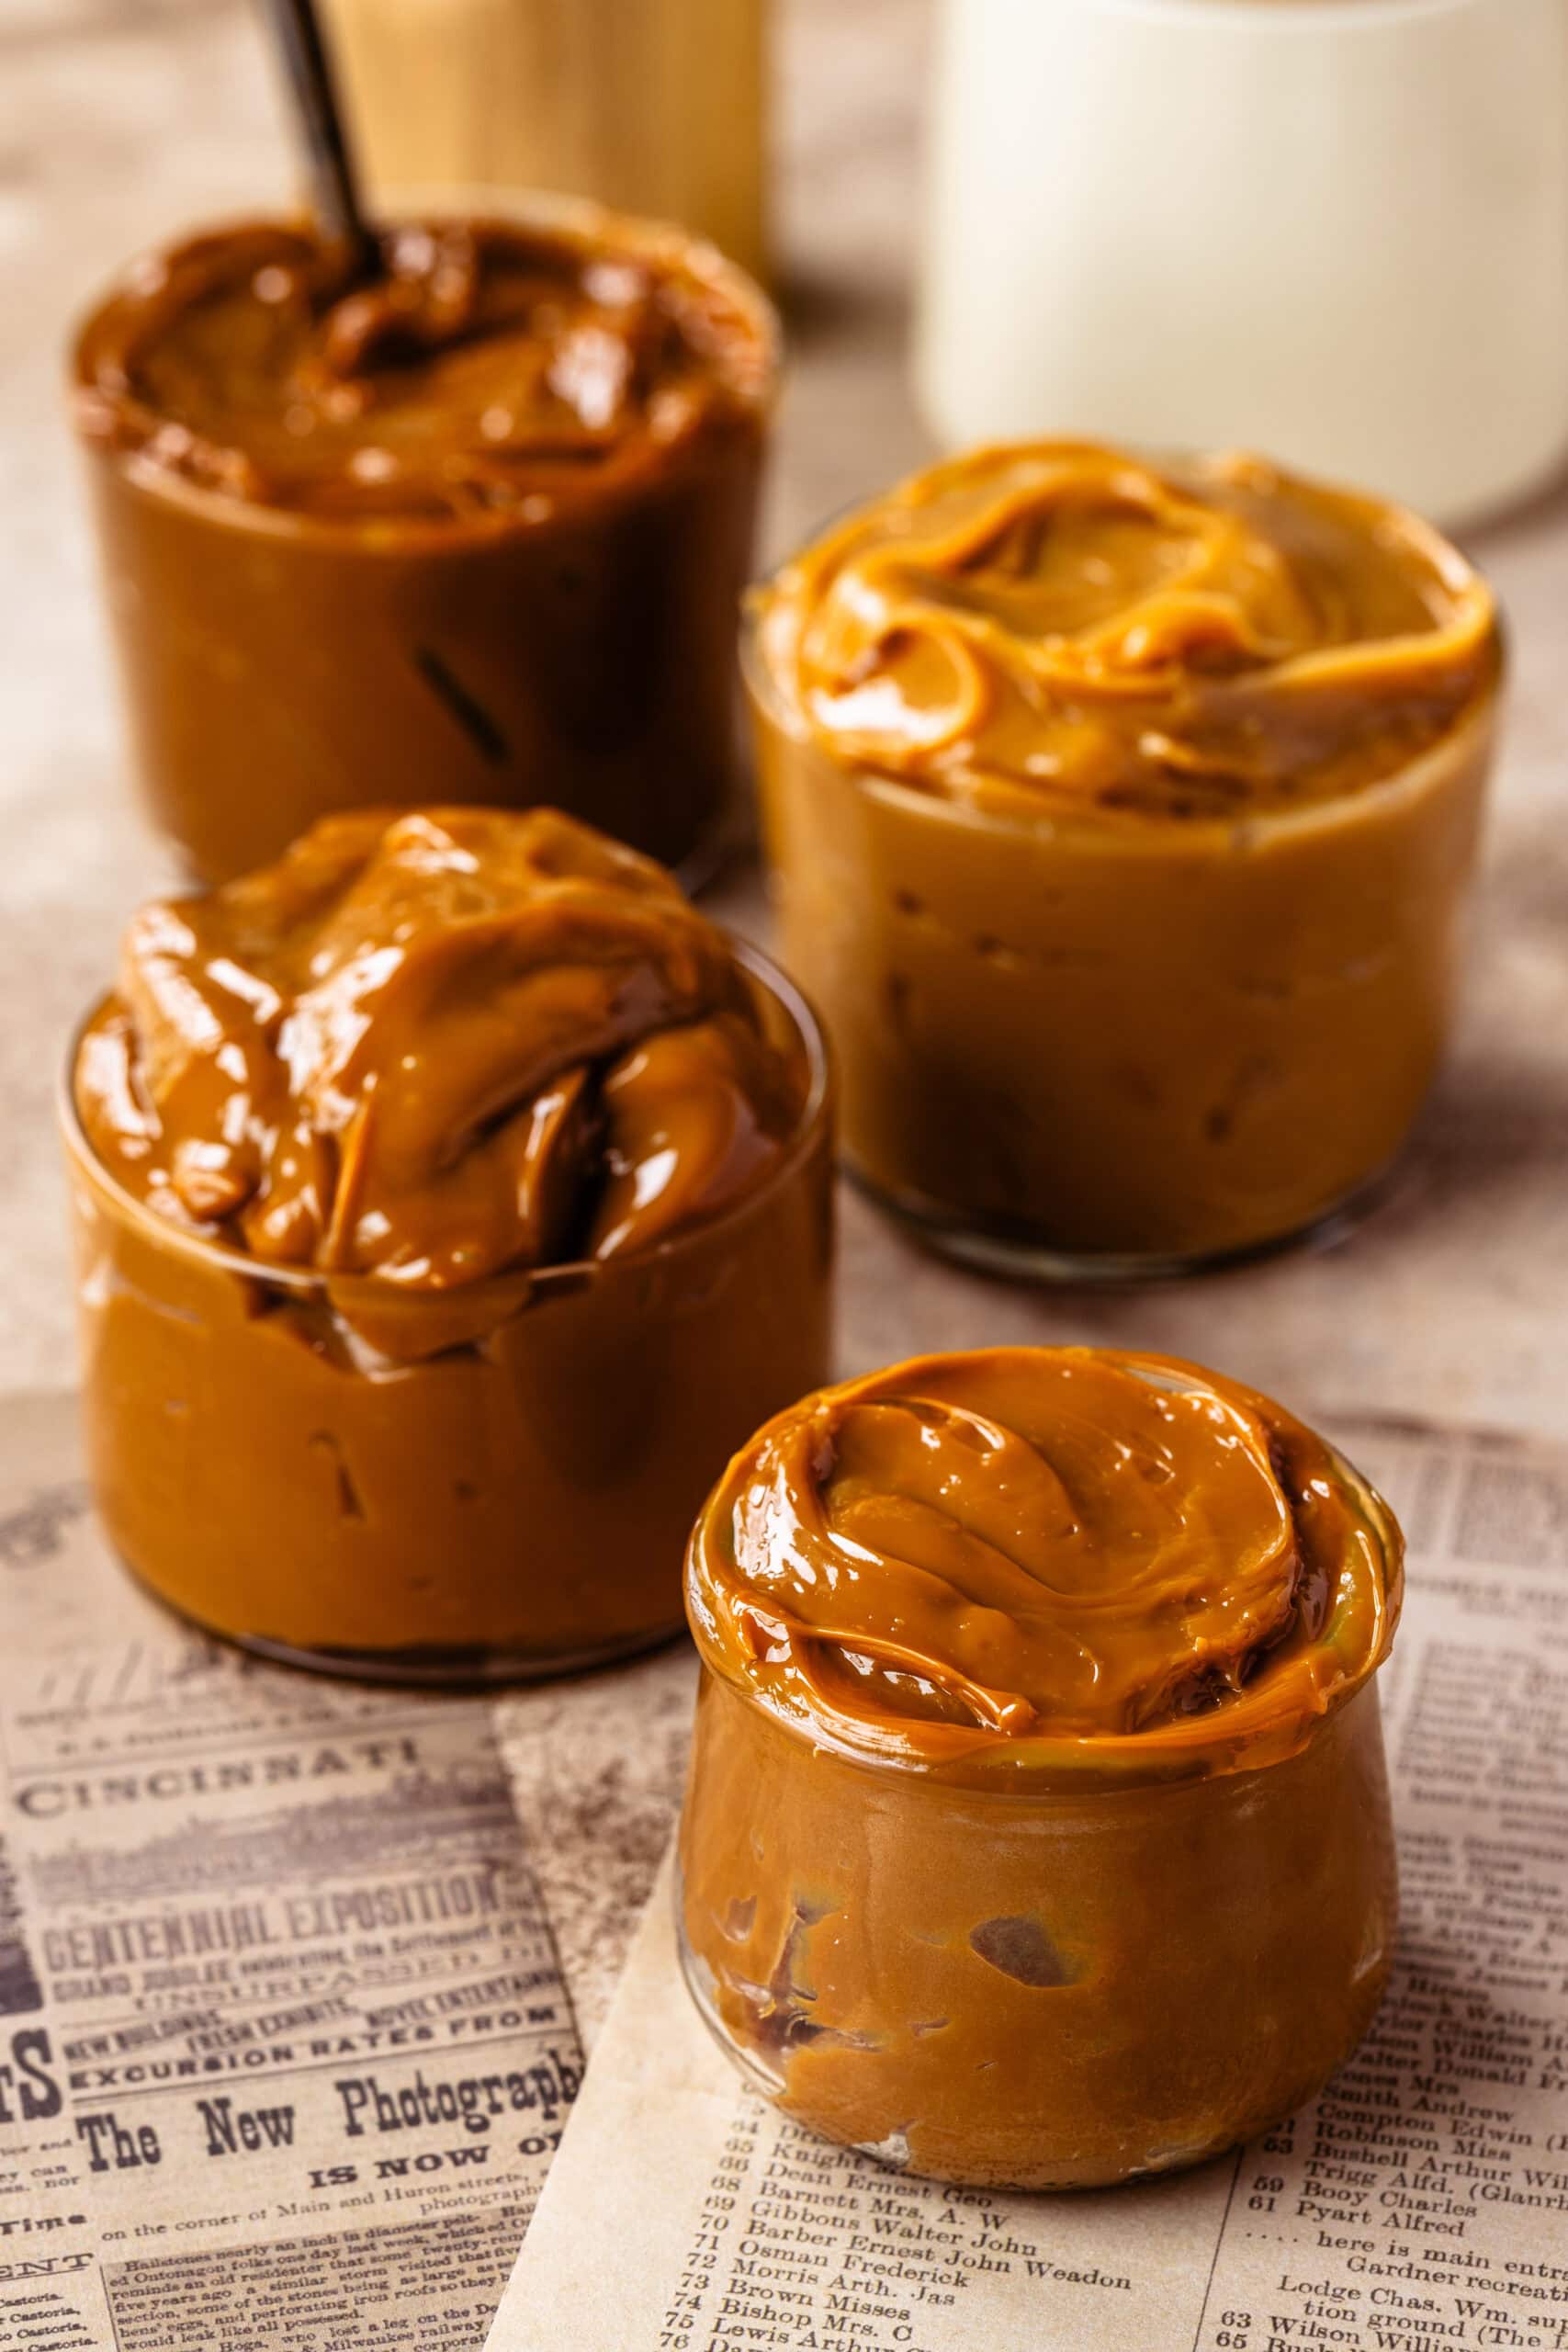
It’s also very good cold, straight from the fridge with sliced bananas or strawberries.
Storage
Store the dulce de leche in an airtight container in the refrigerator for up to 2 weeks.
It freezes very well for up to 2 months and stays scoopable straight from the freezer.
FAQ
The oven method naturally creates more caramelized bits around the edges. Stirring occasionally helps minimize this.
Yes. Just use a larger baking dish and expect the baking time to increase slightly.
For me, the Instant Pot version consistently gives the smoothest texture.
It likely needs more baking time. Keep in mind it will also thicken more after cooling and chilling.
More Dulce de Leche Recipes
If you liked this recipe, you might also enjoy my Instant Pot Dulce de Leche, Stove Top Dulce de Leche, or Dulce de Leche Buttercream. Each method gives a slightly different texture, which is honestly part of the fun of making dulce de leche at home.
If you make this recipe, feel free to leave a rating or tag me on Instagram so I can see it!
Oven Dulce de Leche
Equipment
- Loaf pan
- Large baking pan
- Foil
- Spatula
Ingredients
- 1-14. oz can sweetened condensed milk (396 grams)
Instructions
Oven Dulce de Leche
- Pre-heat the oven to 350ºF.
- Open the can of sweetened condensed milk. Pour the contents in a loaf pan or any smaller baking pan.
- Place the loaf pan inside a larger baking pan.
- Fill the baking pan with hot water until it is at the same level as the sweetened condensed milk, or higher, to form a water bath to prevent scorching.
- Cover the loaf pan with foil.
- Place in the pre-heated oven.
- Bake for the minimum of 2 and a half hours, up to 4 hours. The longer you bake, the thicker and darker it will be.
- Stir a few times during baking. Also, make sure to replenish the water from the water bath as it evaporates.
- Let it cool down completely before consuming and serving.
Storage
- Store covered, in the fridge for up to 15 days. Store packaged tightly in the freezer for 1 to 2 months.
I love this recipe and have used it many times for gifts. If you don’t mind corn syrup, I found stirring 1 tbsp 100% corn syrup for every 305ml condensada before popping it in the oven helps for even browning and makes for a thick but minimally lumpy dulce de leche without needing to stir at all when in the oven. I just check the water levels and it’s fine! The top is firmer though while the bottom is thick and runny. The top only scorches a little when the aluminum foil makes contact with the surface.
These are great tips!! Thank you so much for sharing!
This recipe saved the day! I attempted to make dulce de leche by the slow cooker method and it did not work so I followed this recipe, cooked for about 3 hours and voila! Exactly what I needed!
How often should you check the water levels and how often to stir? Every hour or every 15 minutes?
for the first 30 to 40 minutes you won’t have to check much, so I’d stir once after 30 minutes baking, check the water level. Then set a 15 to 20 min timer and check again. Then probably every 20 to 30 minutes you can give it a stir or replenish with water as needed.
Too much work. Just take the cans of sweeten condensed milk and boil them without the paper label. Store in pantry until ready to use.
Yeah it’s a little more work to avoid cans exploding. The method on this website is worth it. Unless you prefer Paul’s method of scraping it off your ceiling if you forget to check the water level.
Que receita maravilhosa!! Você sempre fazendo delícias!! 😋😋😋😋
Sensacional!!!!!