

Stove Top Dulce de Leche
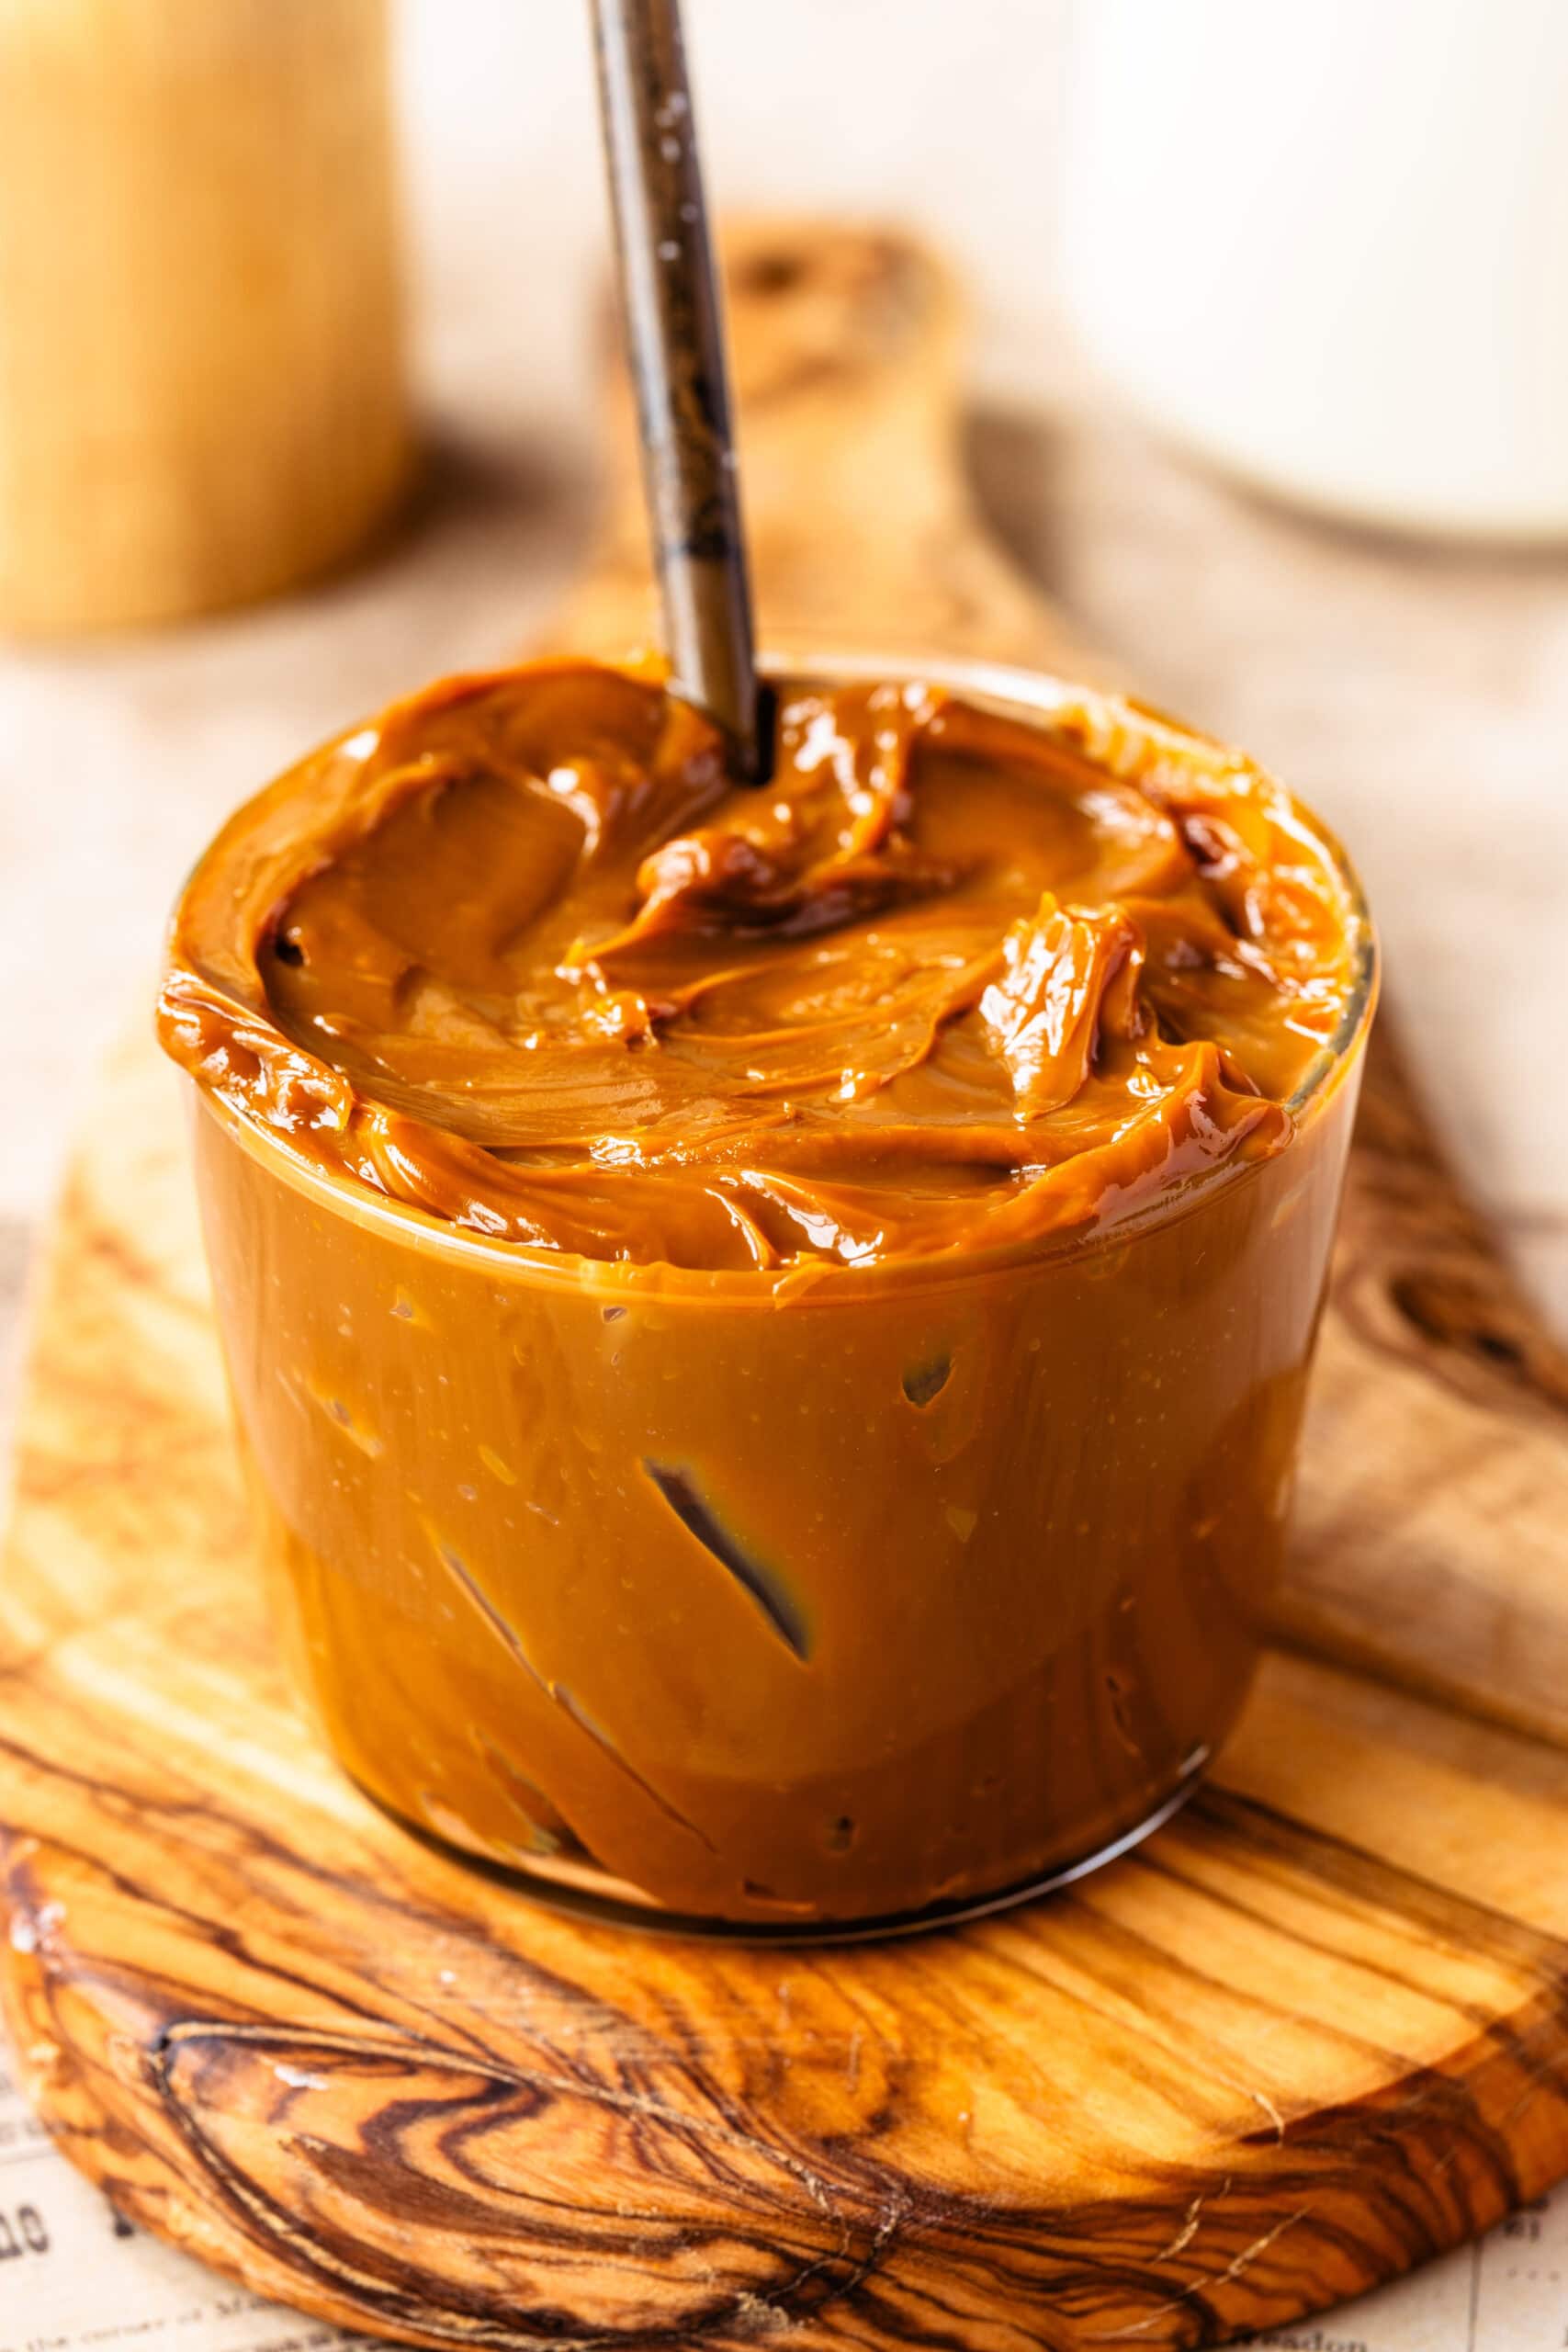
Before I started making Instant Pot Dulce de Leche, this stovetop version was the method I used most often. It takes longer and requires a bit more attention, but I still really like it because you have complete control over the color and texture. Depending on how long you cook it, you can make anything from a lighter, spoonable dulce de leche to a super thick one that’s perfect for macarons, cupcakes, and alfajores.
I know cooking condensed milk in the can makes some people nervous, so let’s quickly address that first.
I’ve been making dulce de leche this way for years. The important part is making sure the can stays fully submerged in water the entire time, using a can that isn’t dented or damaged, and allowing it to cool completely before opening.
This post may contain affiliate links. I earn a commission from qualified purchases. Please read our Privacy policy here.
If you don’t feel comfortable with this method, you can always make dulce de leche using the oven method instead. I also have a full Dulce de Leche guide if that will ease any concerns!
Why I Still Like the Stovetop Method
Each dulce de leche method gives slightly different results.
Here’s why I still come back to the stovetop version sometimes:
- You can control the texture very easily
- The longer cooking time develops a deeper caramel flavor
- It gets extremely thick if cooked longer
- Great for piping and fillings
- No special equipment needed
The main downside is that you do have to monitor the water level regularly.What You Need
You only need a few ingredients and tools:
- Sweetened condensed milk
- A large pot
- Water
I usually use Eagle Brand or La Lechera condensed milk.
How to Make Stove Top Dulce de Leche
The full recipe card is below, but here’s how I make it step-by-step.
And click here to read all about Dulce de Leche, and about more methods on how to make it, where to buy it, and some brand reviews!
Step 1: Remove the Label and Inspect the Can
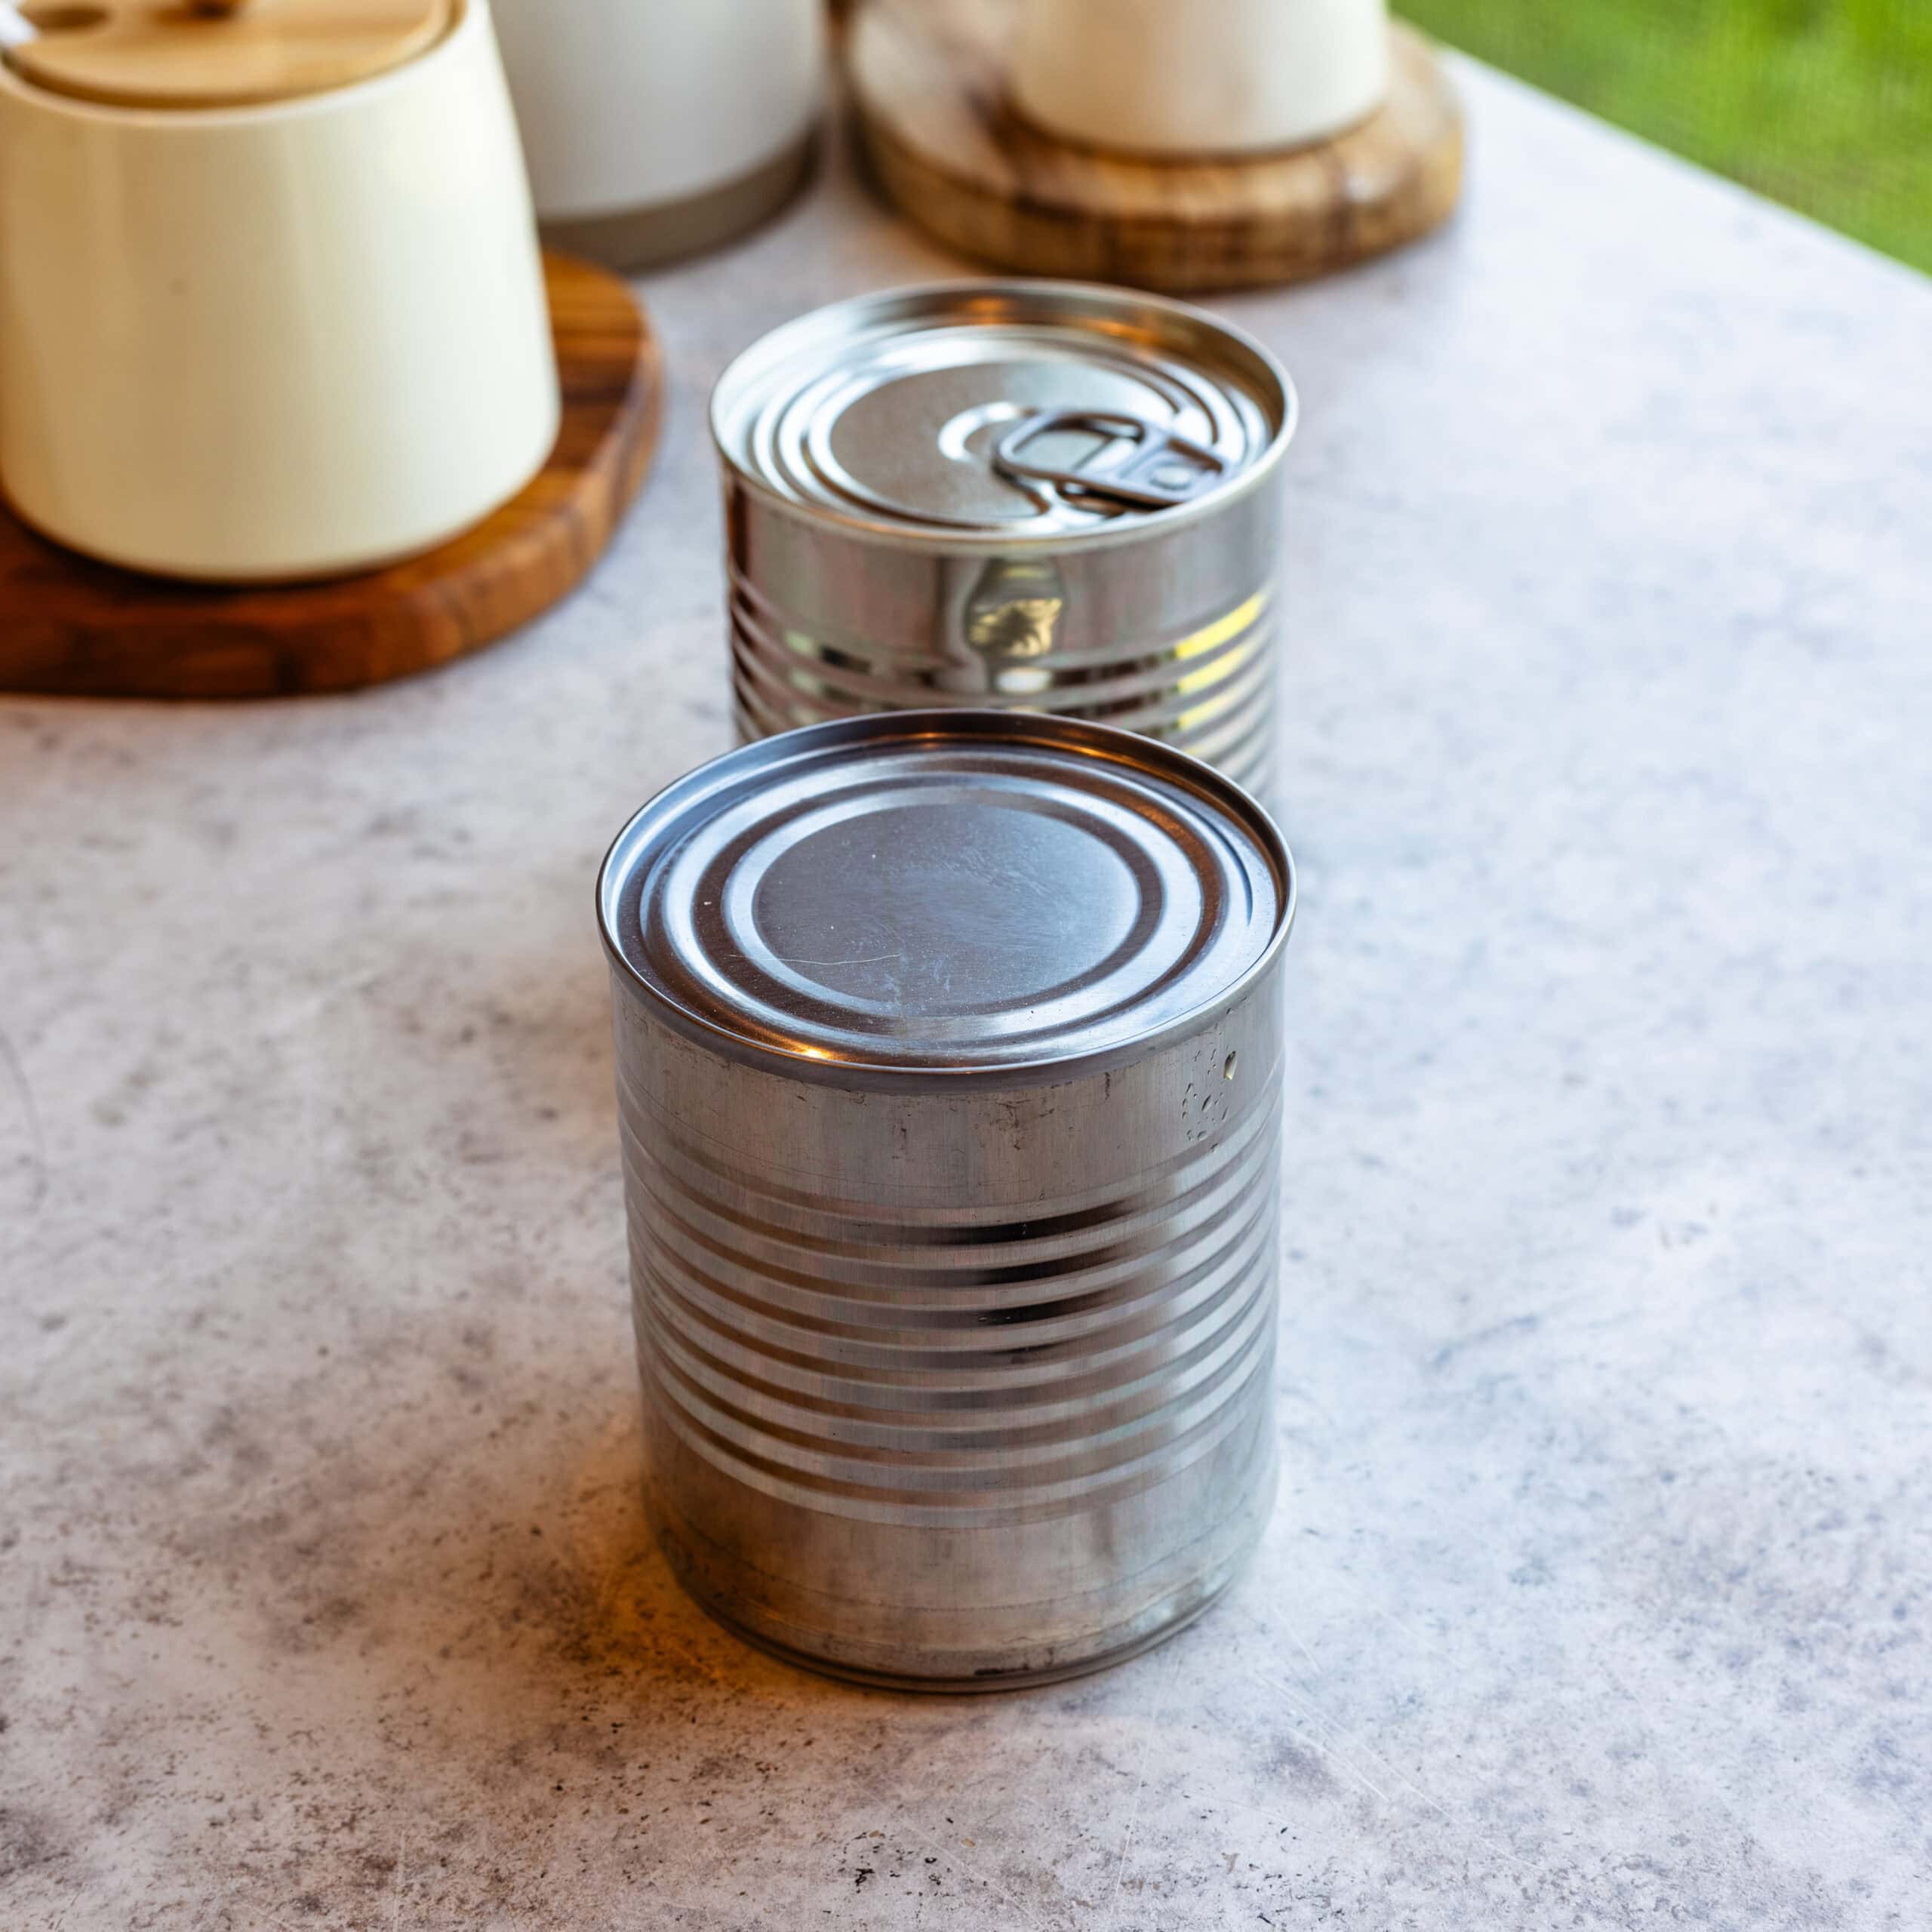
Remove the paper label from the can completely. Keep the can sealed.
I always check the can carefully before using it. If it’s dented or damaged, don’t use it for this method.
Step 2: Add Water
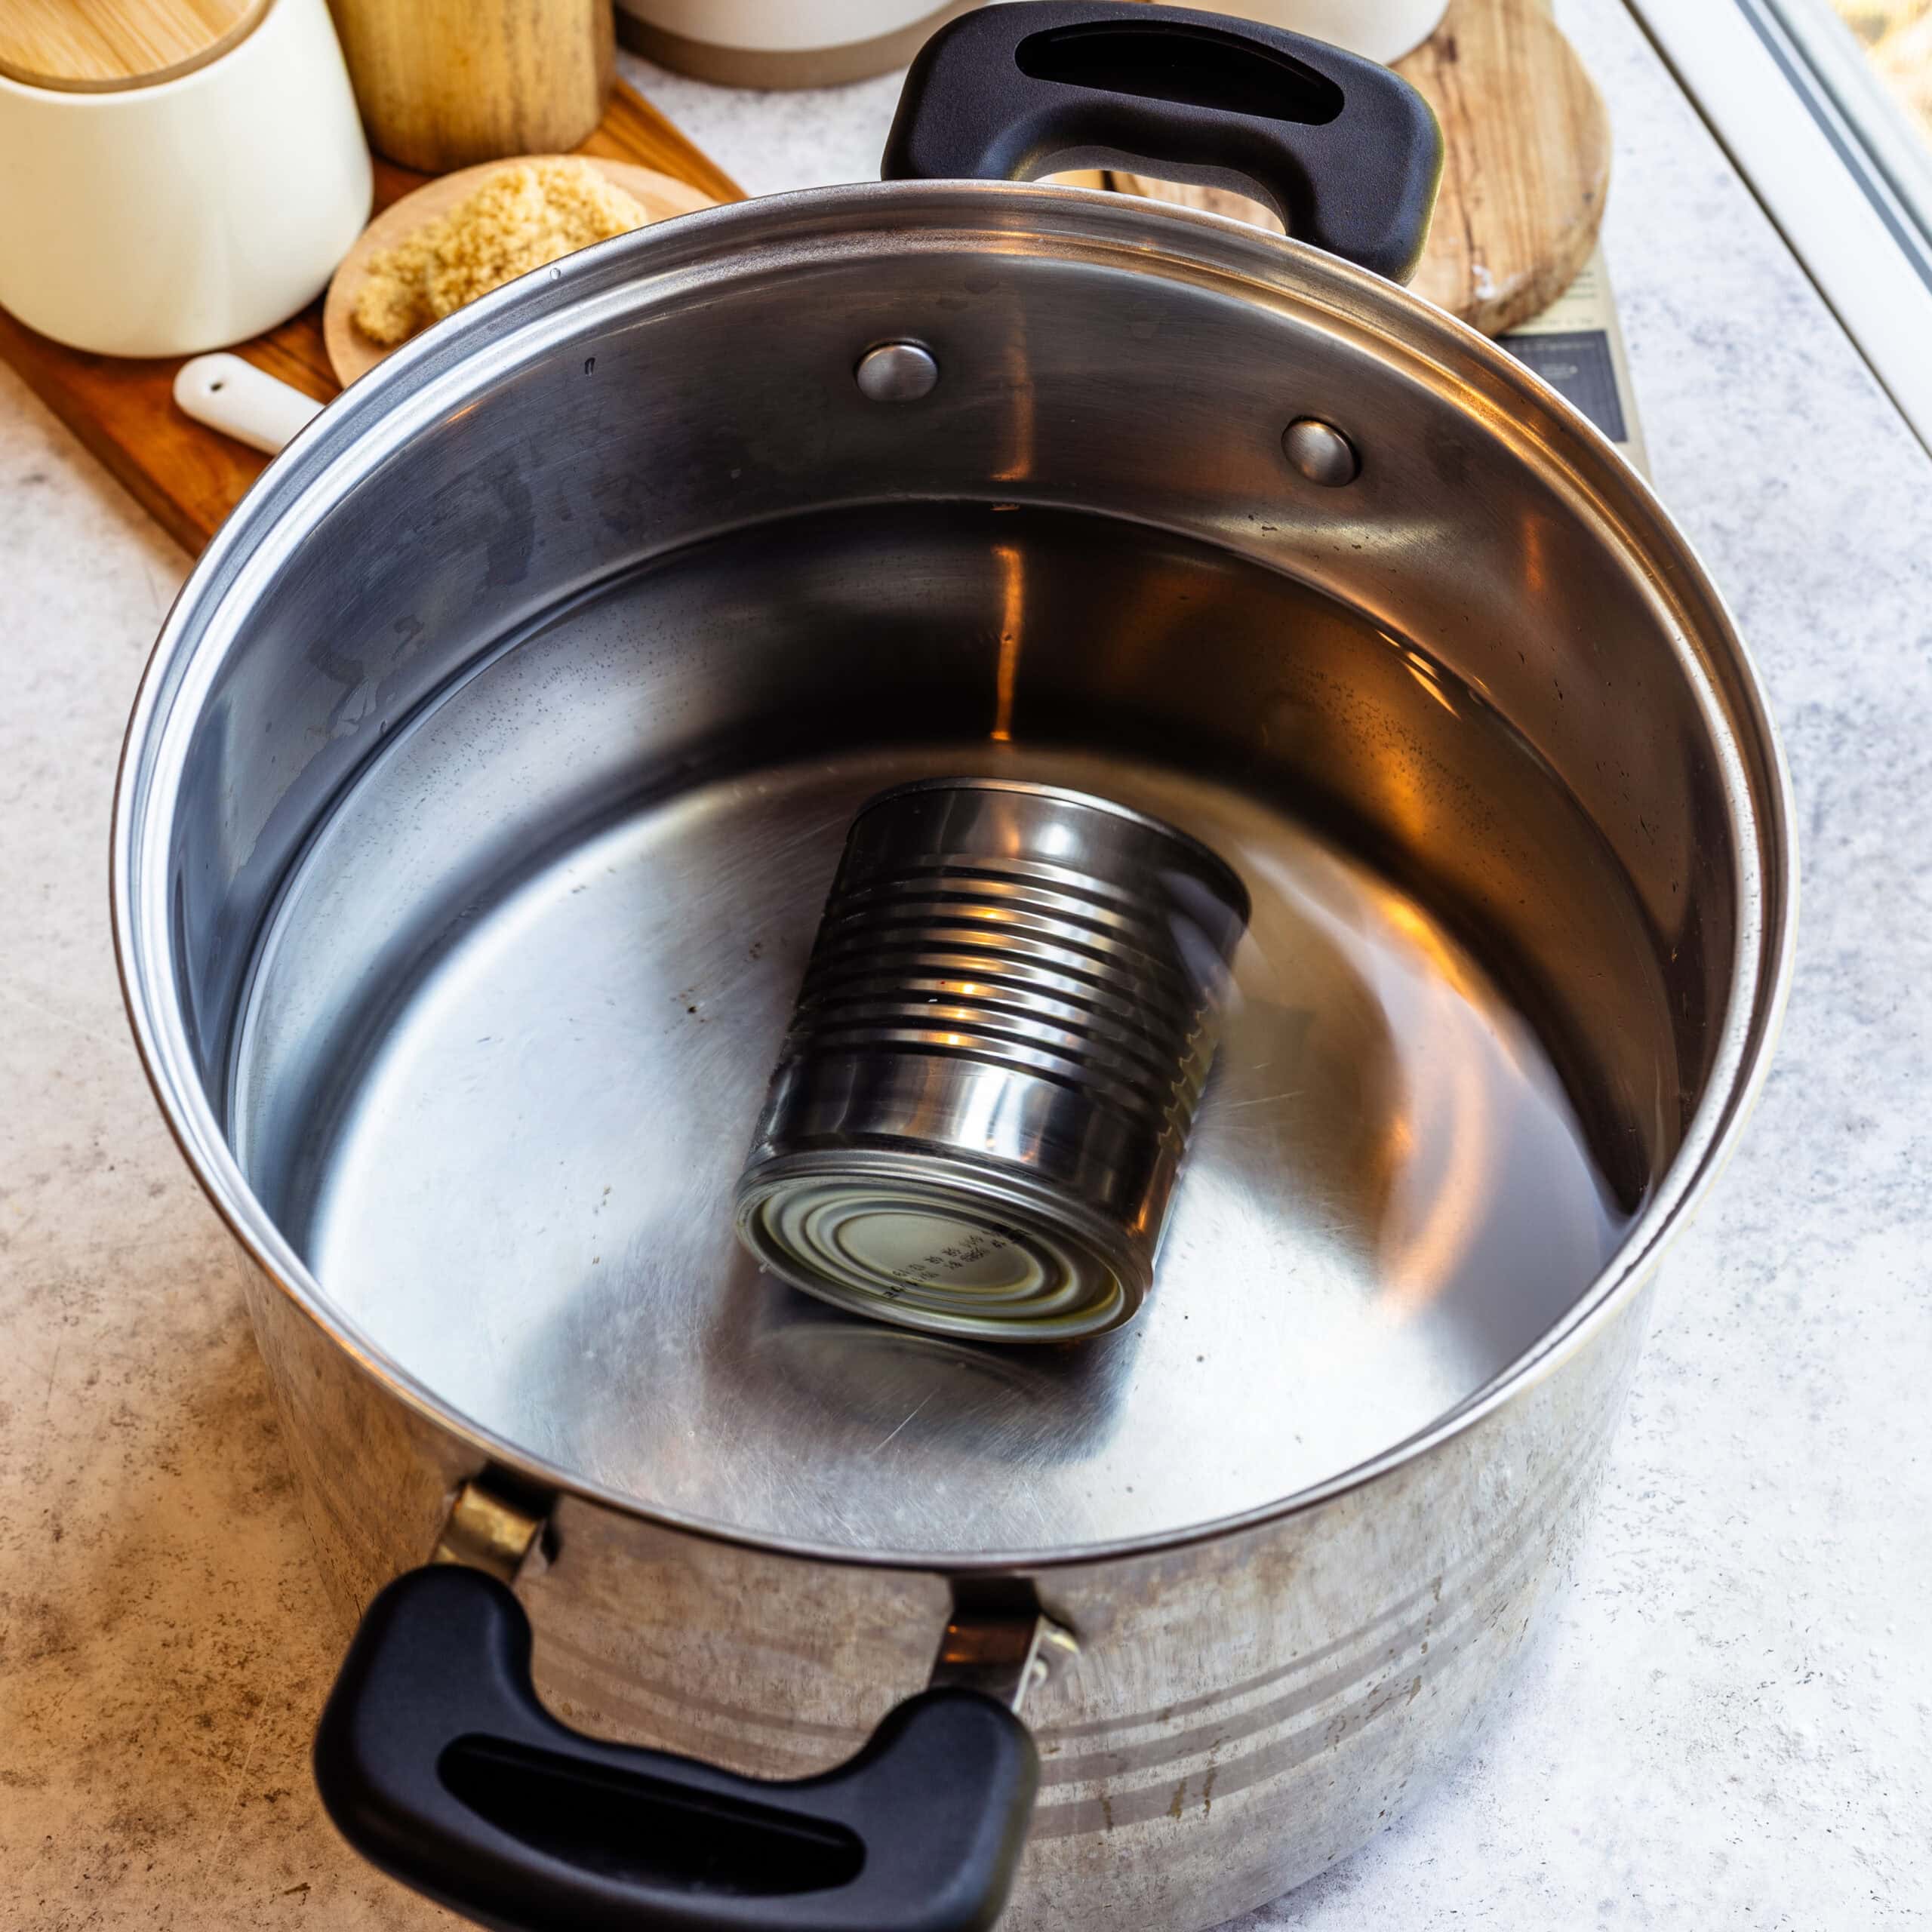
Place the can in a large pot and cover it with several inches of water.
The can needs to stay submerged the entire time it cooks.
Step 3: Simmer
Bring the water to a boil, then reduce the heat so it stays at a gentle simmer.
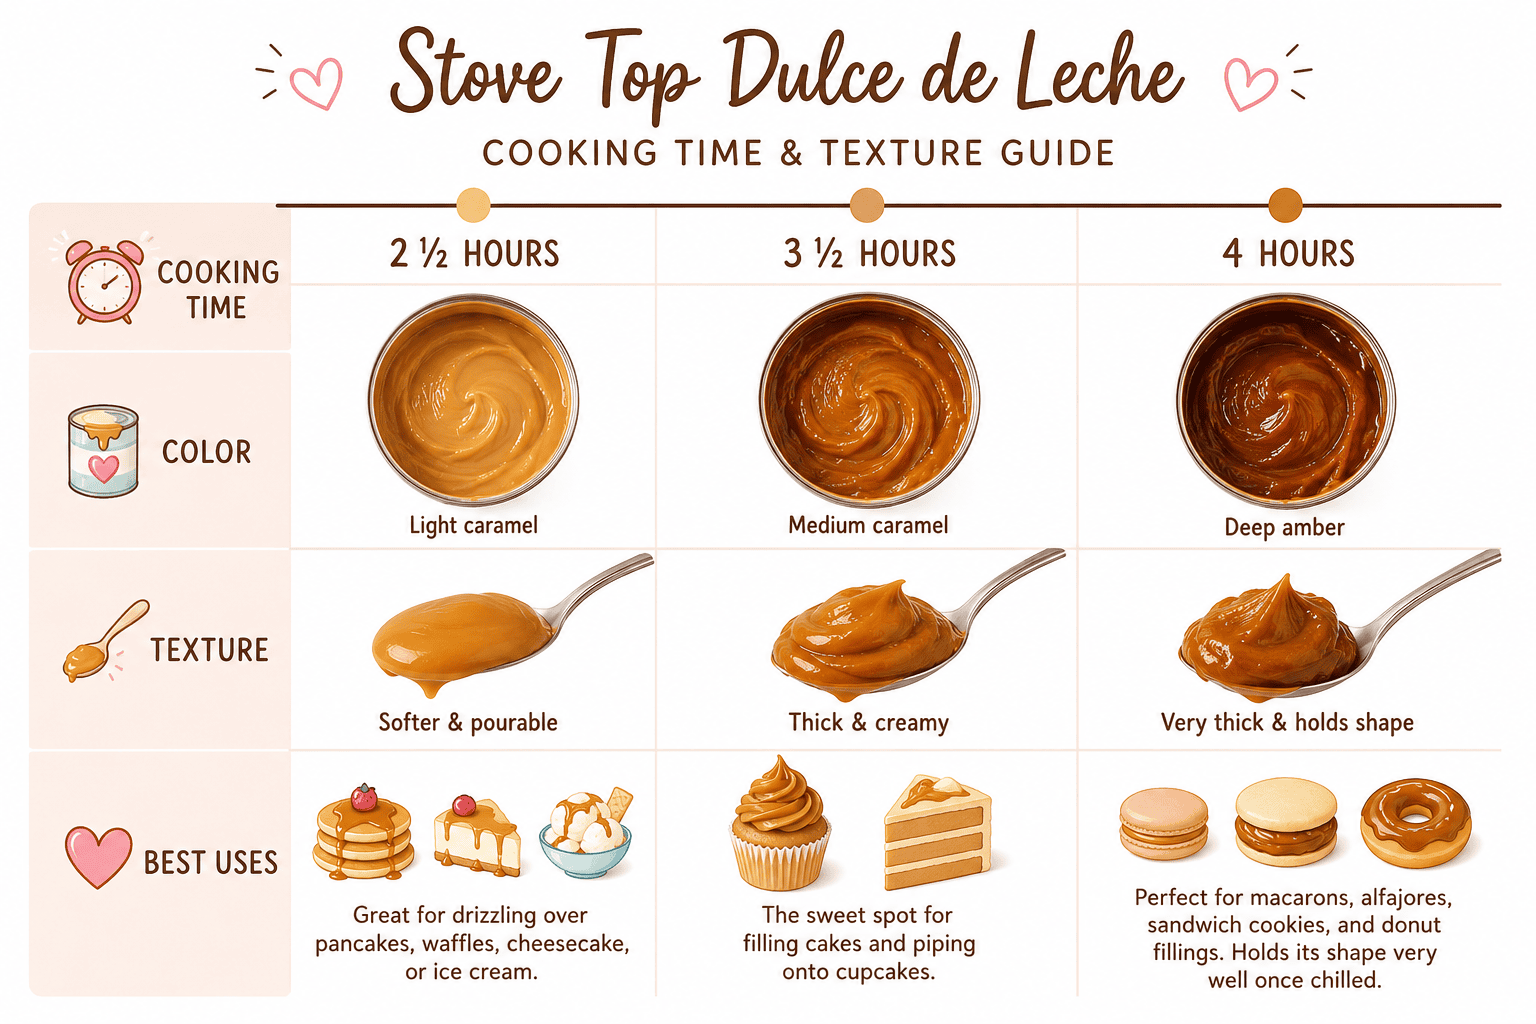
Cook for anywhere from 2 1/2 to 4 hours, depending on the texture you want.
I set a timer to check the water every 20 minutes or so and add more hot water if needed. See the guide below for exact timing.
Step 4: Cool Completely
After cooking, turn the heat off and let the can cool completely inside the water before opening.
I usually leave it alone for several hours. Never try to open the can while it’s still hot.
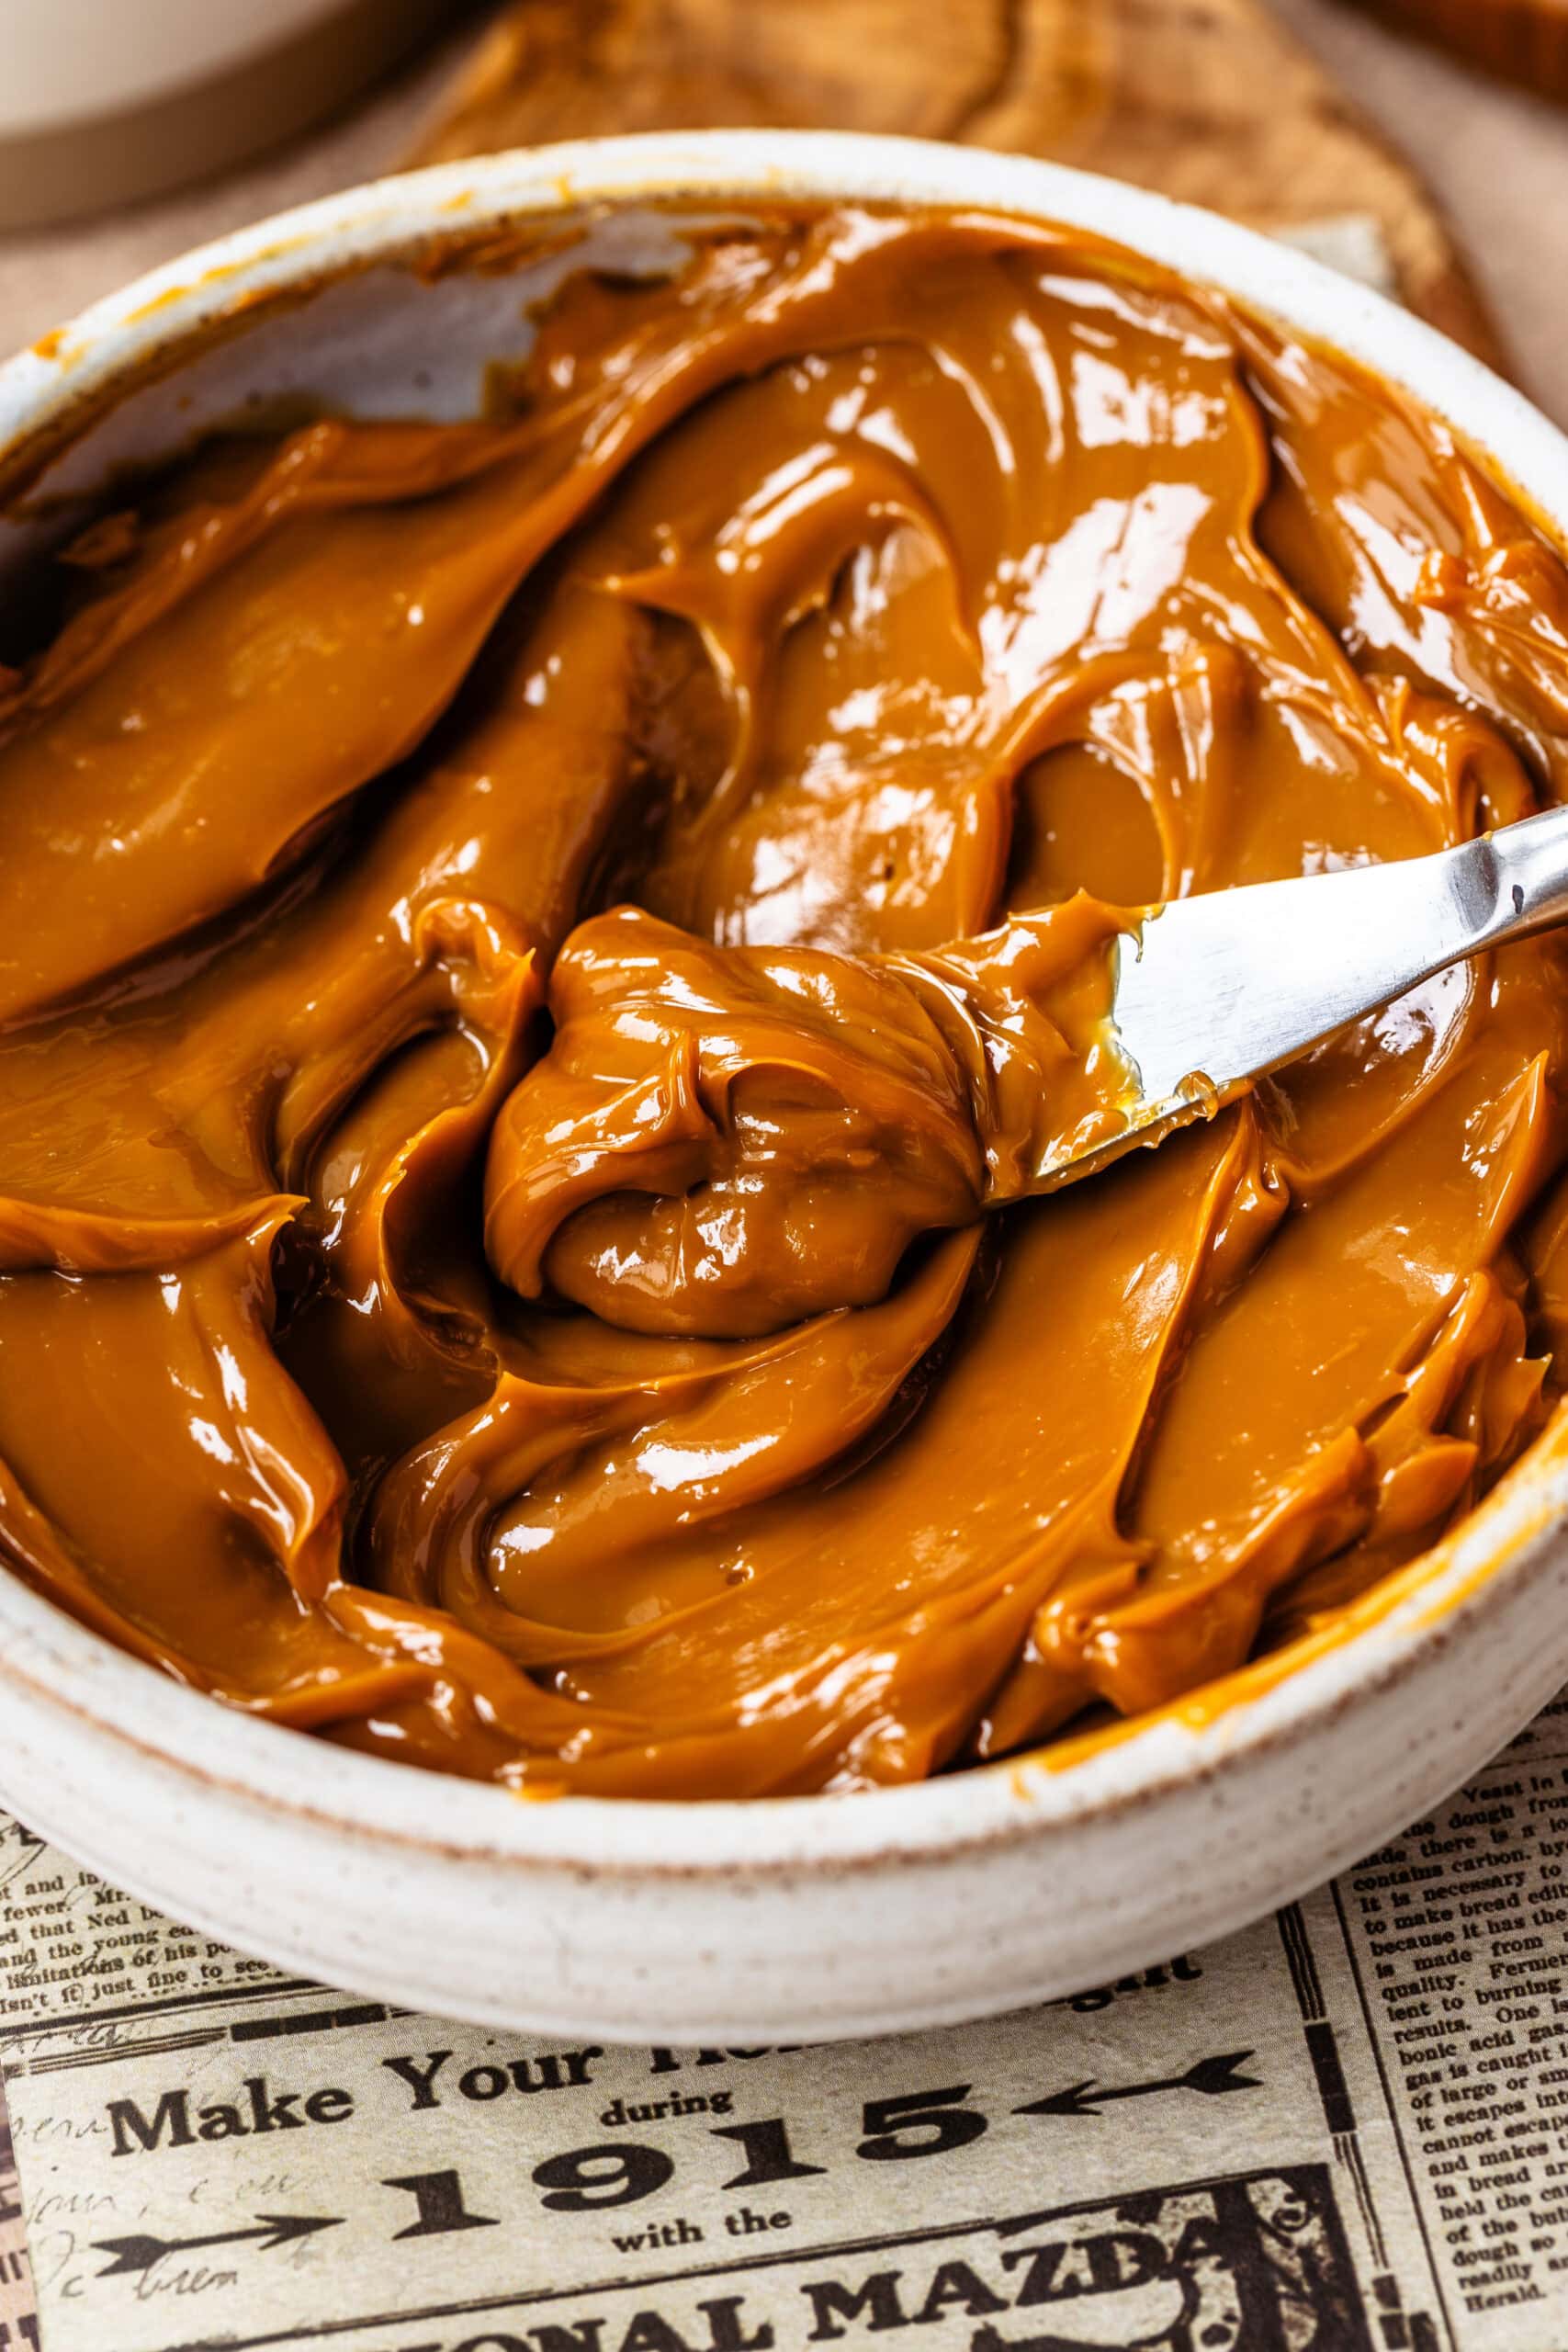
Cooking time and texture
Here’s a quick visual guide showing how the color and texture change depending on how long you cook the dulce de leche.
Important Tips
This recipe is simple, but these are the things I pay attention to:
- Keep the can submerged the entire time
- Check the water level regularly
- Use a gentle simmer, not an aggressive boil
- Let the can cool completely before opening
This is definitely the method that requires the most attention out of all the dulce de leche methods.
Ways to Use Dulce de Leche
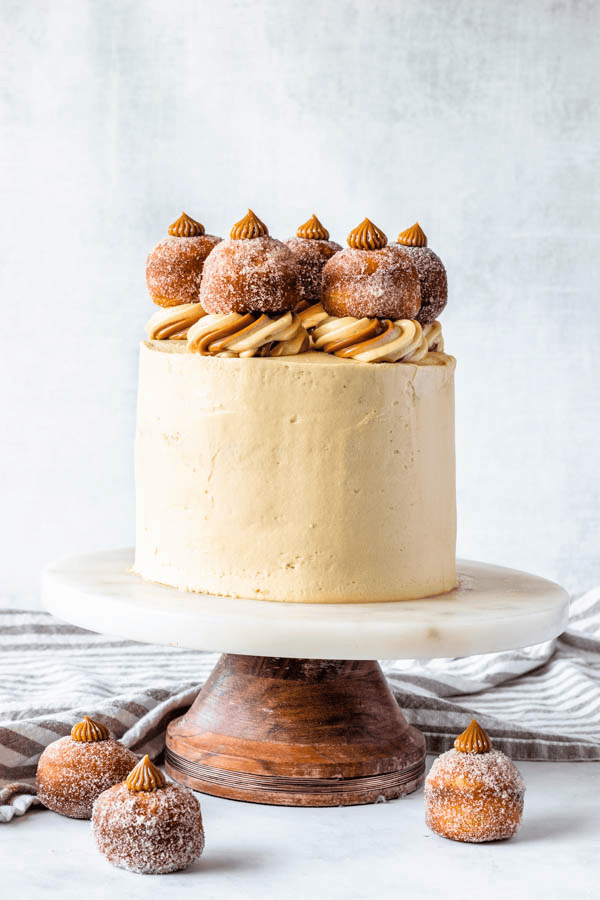
Some of my favorite ways to use dulce de leche are in layered cakes, cookies, pastries, and creamy desserts. It adds a rich caramel flavor and silky texture that works with everything from chocolate to fruit. Here are a few of the recipes and desserts I make with it most often:
- Alfajores – Classic South American sandwich cookies filled with dulce de leche and rolled in coconut or powdered sugar.
- Dulce de Leche Cake – Soft cake layers paired with dulce de leche frosting or filling for an ultra rich caramel dessert.
- Dulce de Leche Cheesecake – Swirled into cheesecake batter or layered on top for a creamy caramel flavor.
- Cupcakes – Perfect for filling vanilla or chocolate cupcakes and pairing with buttercream frosting.
- Macaron Fillings – One of my favorite macaron fillings because it’s smooth, rich, and pairs beautifully with chocolate, coffee, banana, or cinnamon shells, or just make Dulce de Leche Macarons.
- Brownies – Swirled into brownie batter for pockets of gooey caramel throughout.
- Cookies – Great stuffed inside cookies or sandwiched between two buttery cookies.
- Donuts – A delicious filling for homemade brioche or cake donuts.
It’s also incredibly good straight from the fridge with sliced bananas or apples for an easy snack or dessert.
Storage
Store the dulce de leche in an airtight container in the refrigerator for up to 2 weeks.
It also freezes very well for up to 2 months and stays scoopable straight from the freezer.
FAQ
As long as the can is undamaged, fully submerged in water, and cooled completely before opening, this method is generally considered safe.
It likely needs more cooking time. The longer it cooks, the thicker and darker it becomes.
Yes, as long as the pot is large enough and the cans stay covered with water the entire time.
The stovetop and Instant Pot methods both get very thick, especially with longer cook times.
More Dulce de Leche Recipes
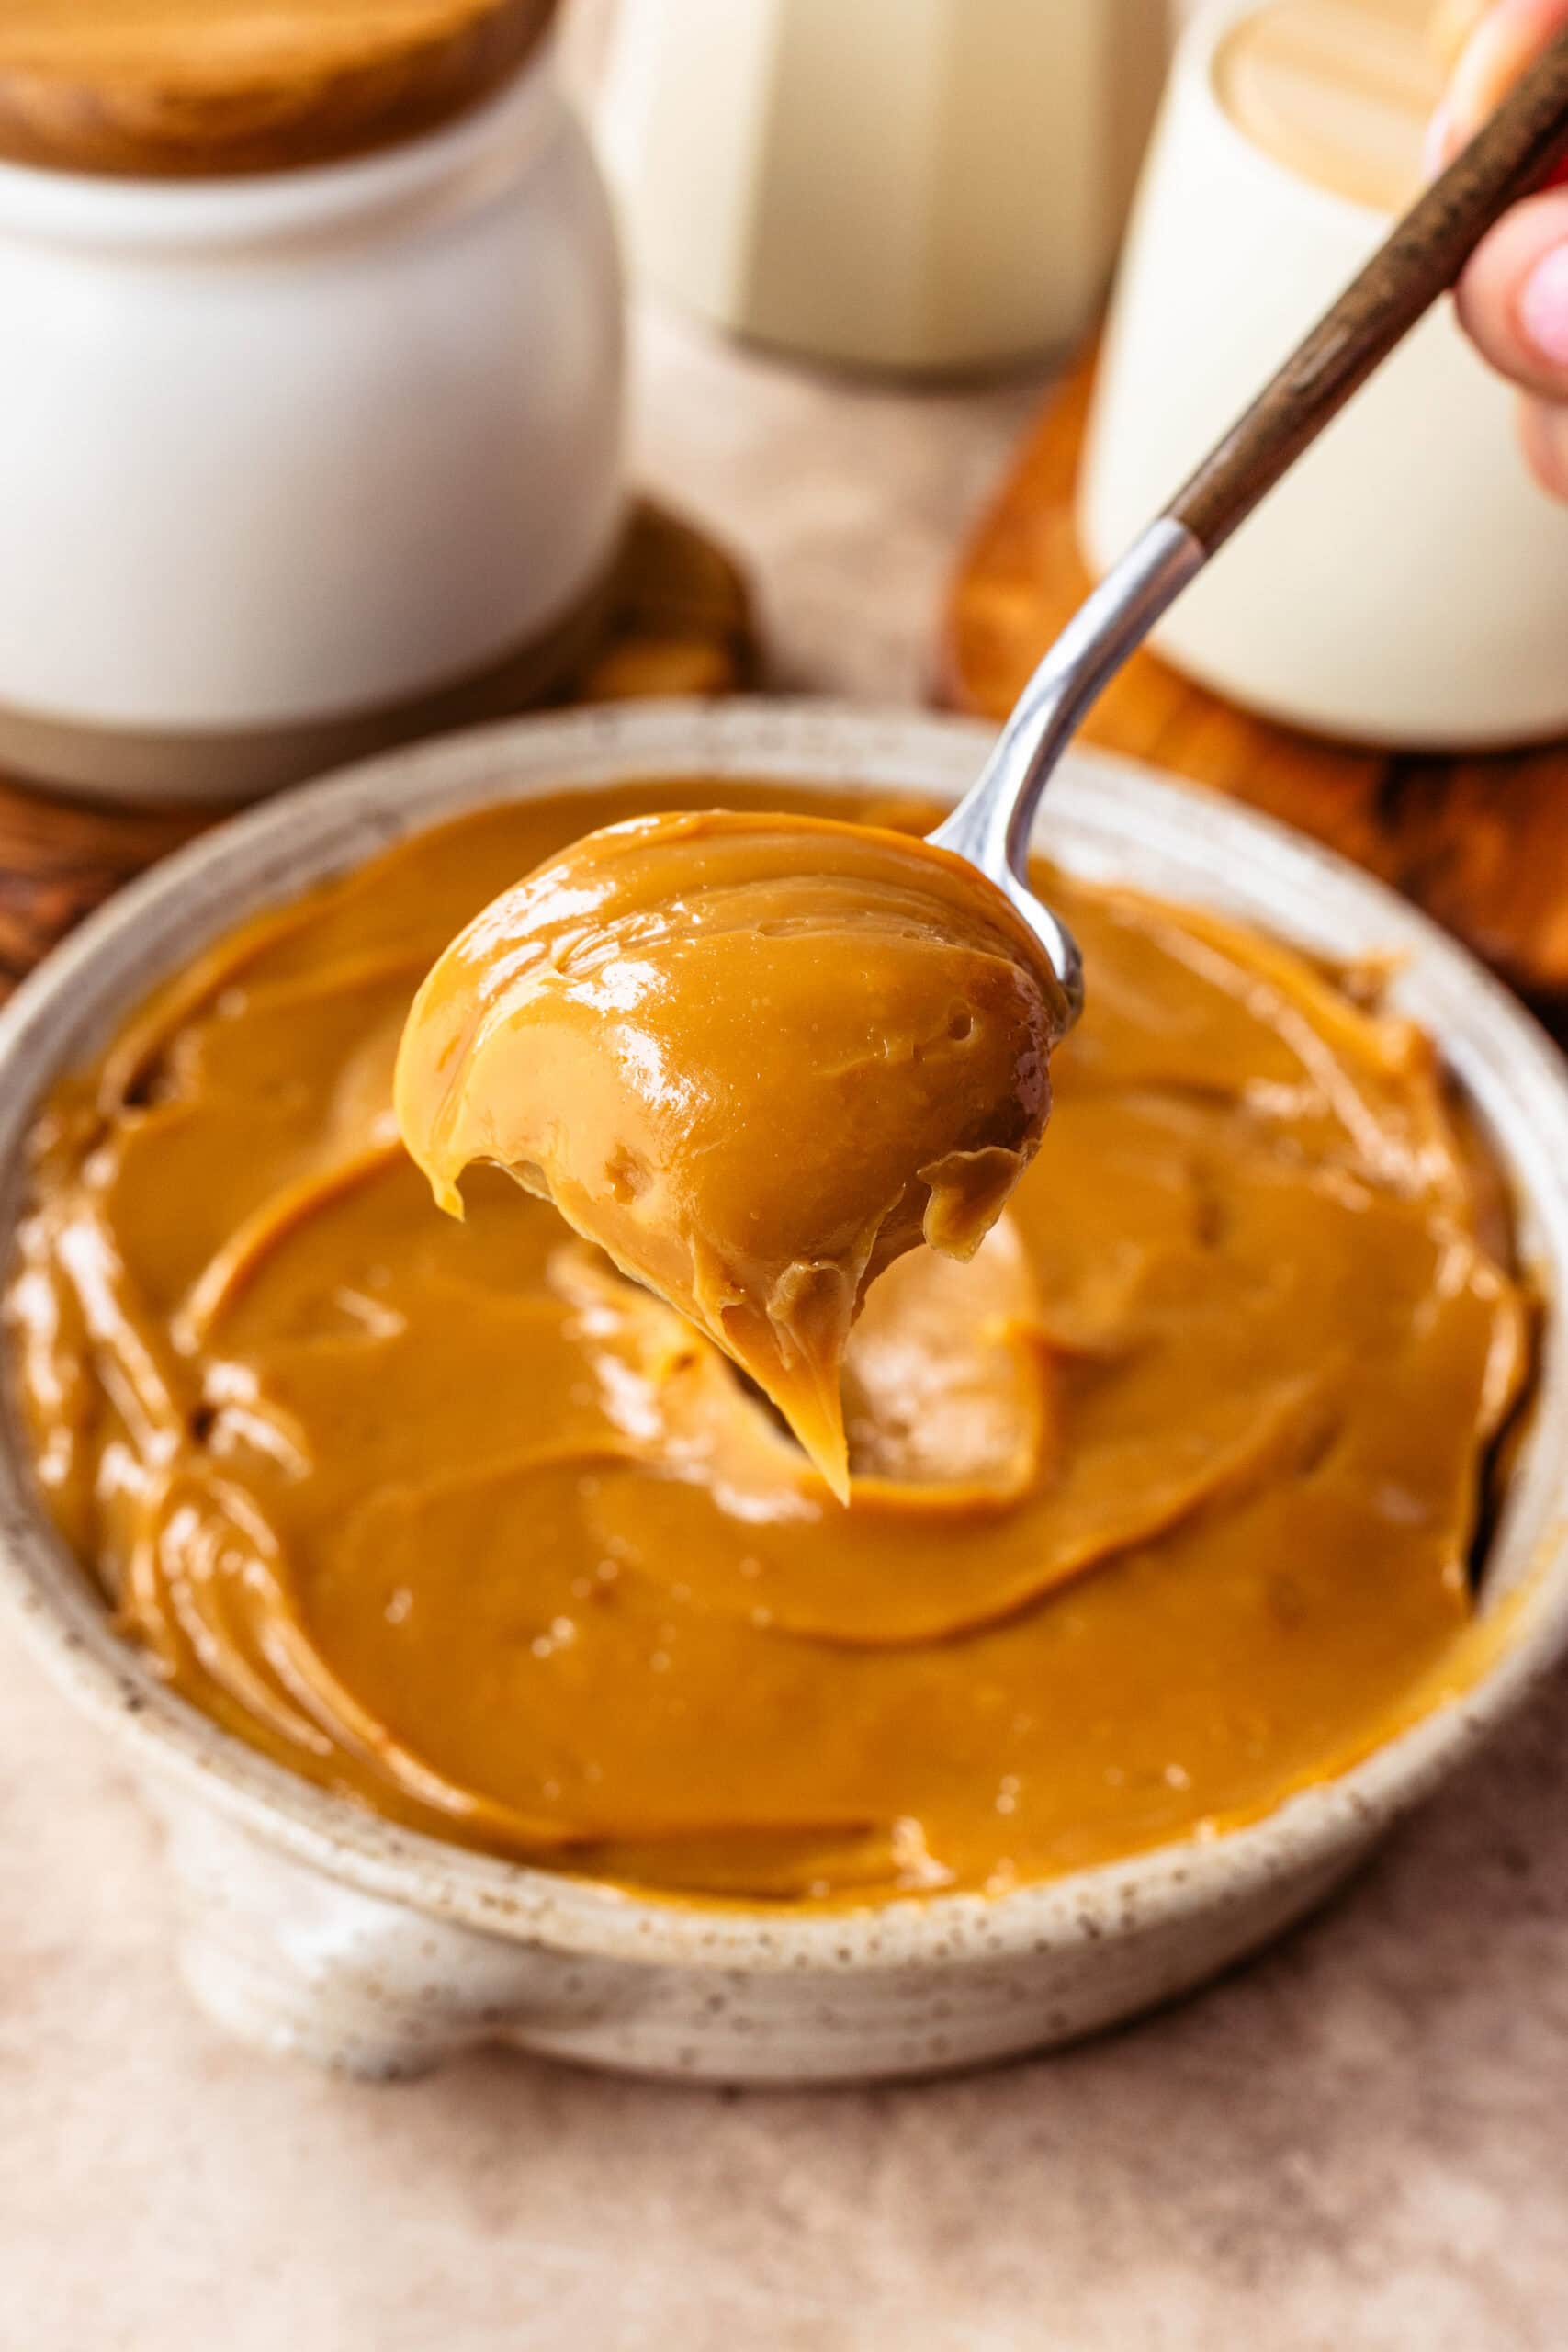
If you liked this method, you should also try my Instant Pot Dulce de Leche or Slow Cooker Dulce de Leche. I use dulce de leche constantly for fillings and frostings because it adds so much flavor with barely any extra work.
If you make this recipe, feel free to leave a rating or tag me on Instagram so I can see it!
Stove Top Dulce de Leche

Ingredients
Stove Top Dulce de Leche
- 1 14 oz. can sweetened condensed milk 396 grams
Instructions
Stove Top Dulce de Leche
- Remove the label of the can. Keep the can sealed.
- Inspect the can to ensure it doesn’t have any dents.
- Place the sealed can in large pot, filled up with water, making sure the can is covered by a few inches at least.
- Bring to a boil, reduce the heat, and let the water simmer for 2.5 hours to 4 hours.
- Check on it constantly to make sure the water level isn't below the can, and that the can is submerged several inches.
- Set a timer to check on the water every 20 minutes!
- After the desired cooking time, turn the heat off. For a lighter, more runny dulce de leche, cook for 2.5 hours, for a dulce de leche that’s easy to pipe, fill cookies, and will be able to hold its shape, cook for 3.5 to 4 hours.
- Let the can cool down all the way in the water before removing and opening, which may take a few hours.
Storage
- Store dulce de leche covered, in the fridge for up to 15 days. Store packaged tightly in the freezer for 1 to 2 months.

When simmering the can of sweetened condensed milk for 3-4 hours to make caramel should I keep a lid on the pot to reduce water evaporation or leave it open to the air?
I don’t keep the lid on. I keep the lid off and check every so often to replenish the water that evaporates. I set a timer so I don’t forget to check.
Thank you!
Bonjour, si l’on a la possibilité de faire cuire plusieurs boîtes de lait en même temps, peut-on garder les boîtes fermées sans les ouvrir si oui pendant combien de temps?
Merci pour votre réponse (ça me tente beaucoup d’essayer)
Joyeuses Pâques à vous
yes I’ve made up to 3 cans at a time.
Mam I’ve tried many ways to get answer from you but unable to get. Pls mam if u can give the replacement or substitute for eggs in the recipes it will mean a-lot for me. I don’t eat eggs n don’t make recipes of eggs too. I want to make soo many of ur recipes of cupcakes but unable to make. Reply awaiting. Thanks a lot Regards
Sapna.
I am sorry I really recommend you look for vegan recipes, it’s not easy to just substitute eggs in recipes, several other elements go into play, each recipe works differently, it’s not one simple substitution. I recommend you look for already vegan recipes without eggs in them.
Google egg replacement for recipes
Que delicioso!!!!!