Chocolate Mug Cake
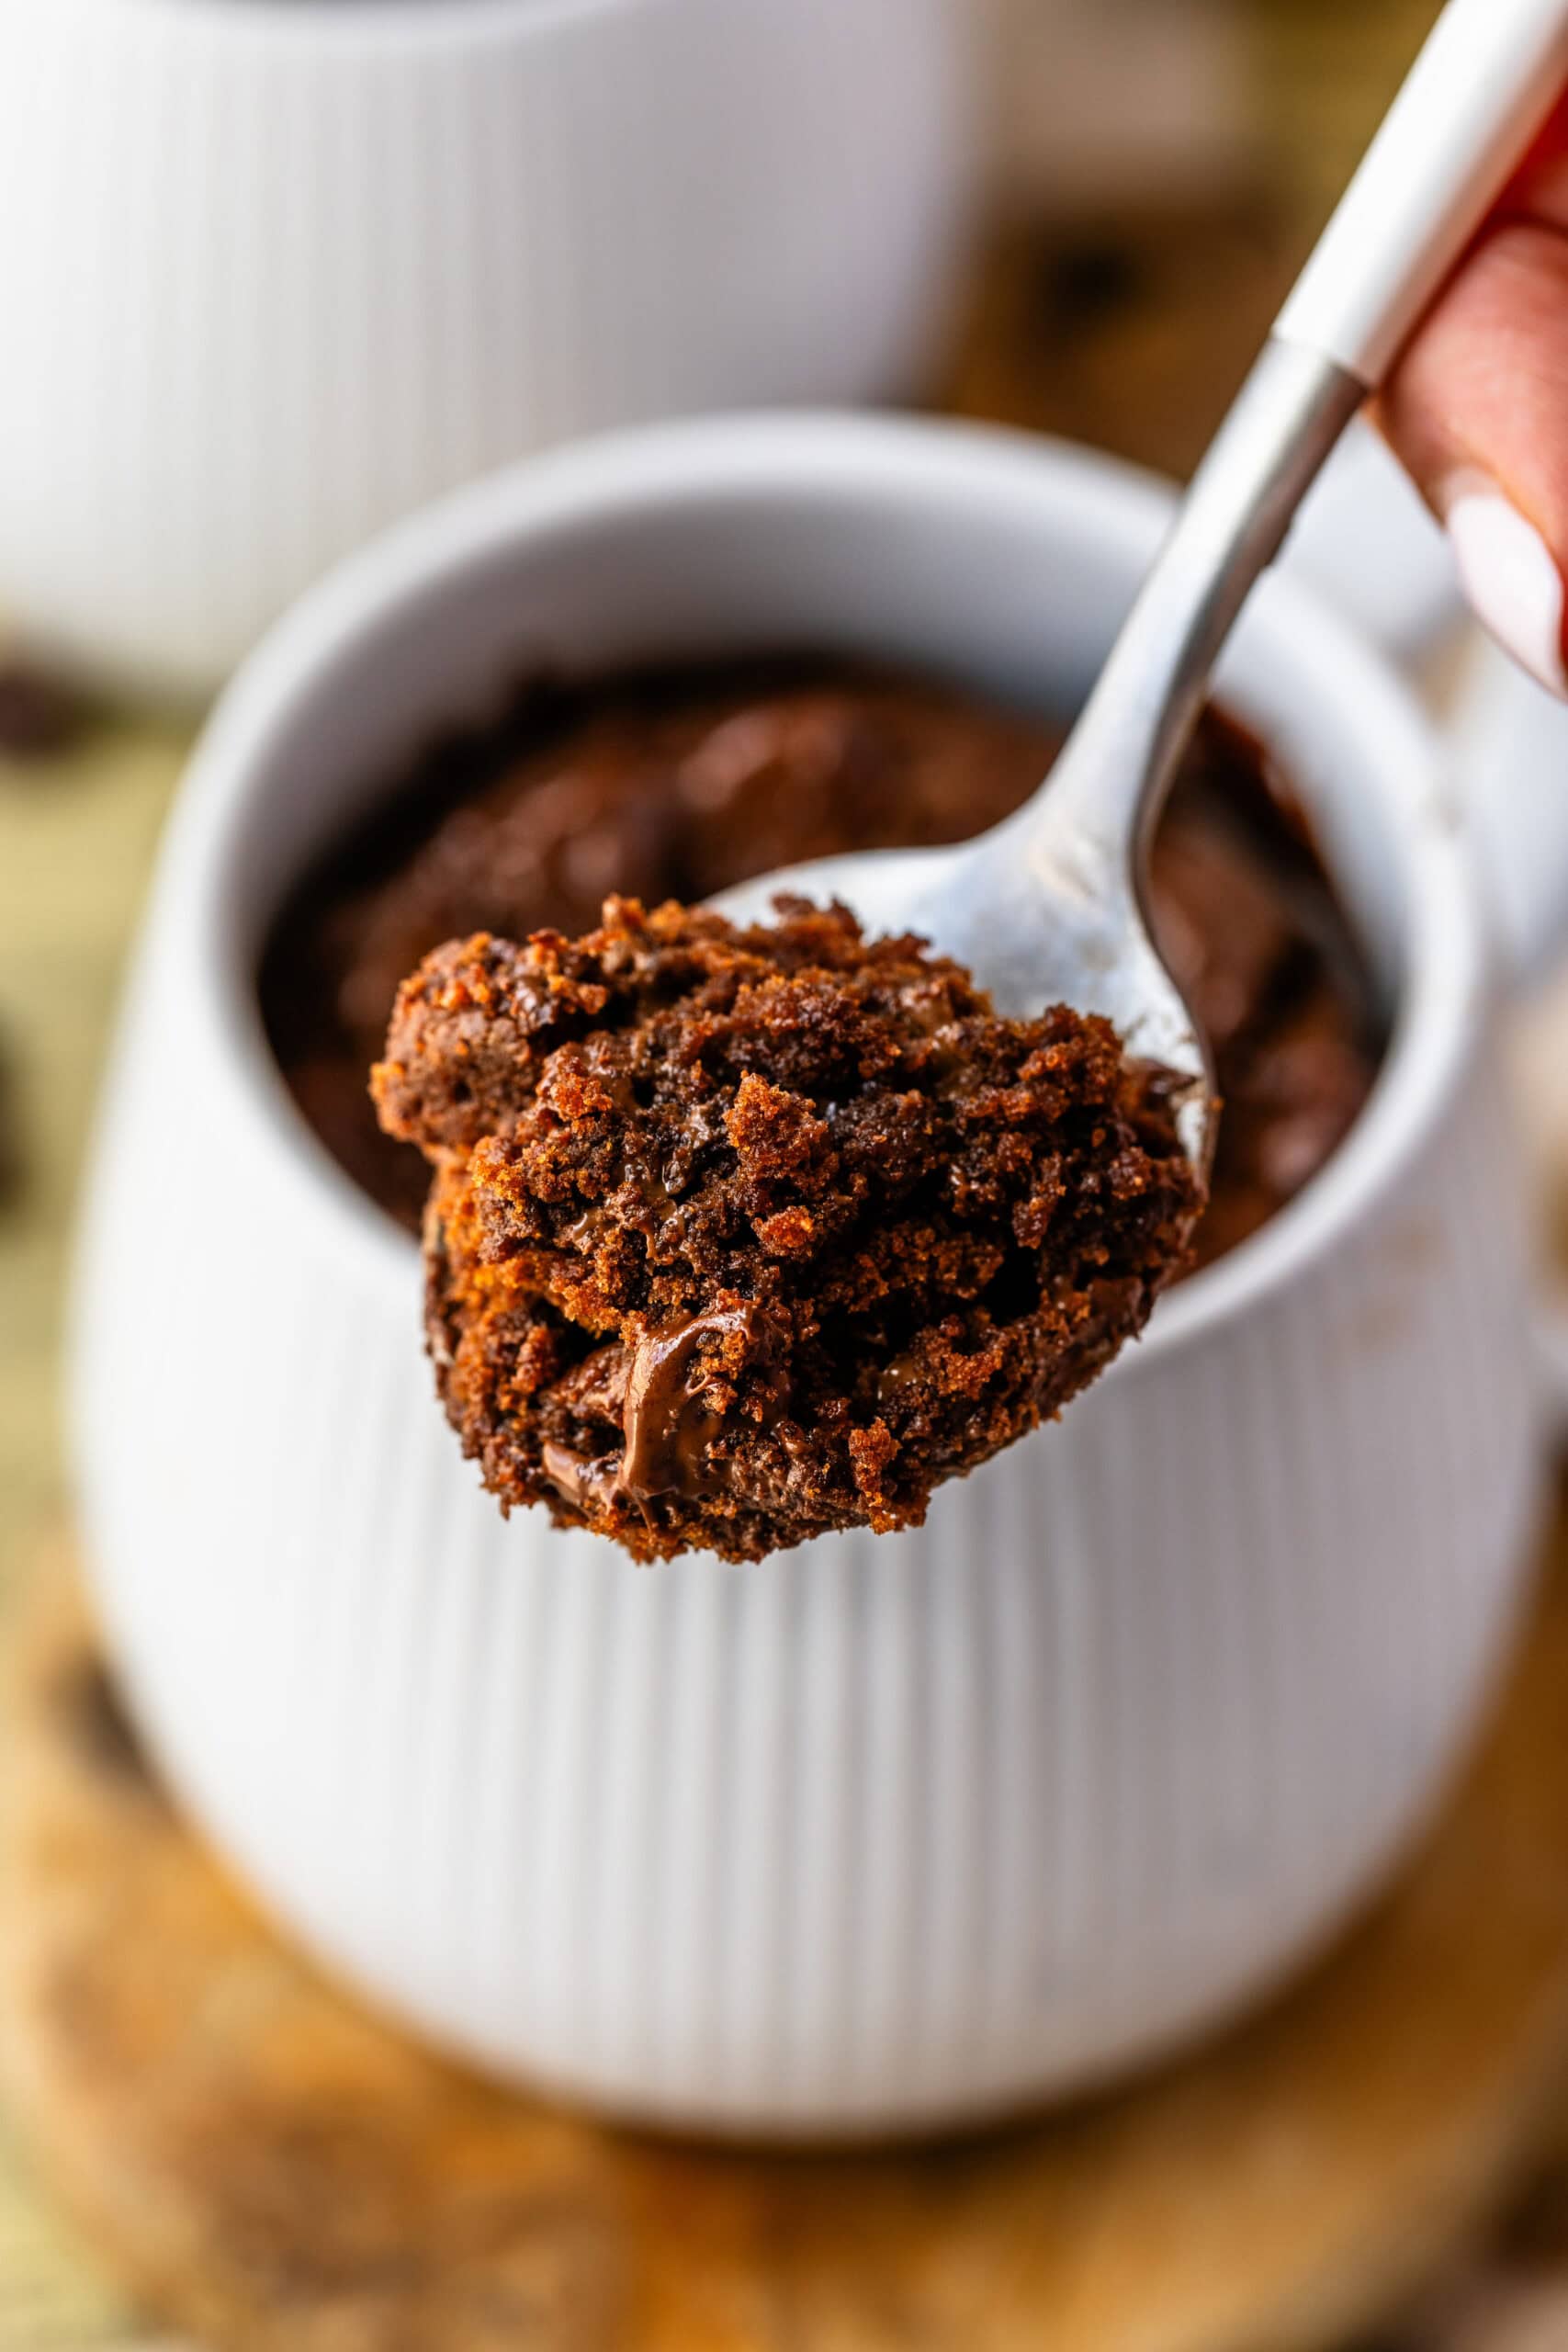
Hello friends! Craving something sweet but don’t want to spend hours in the kitchen? This Chocolate Mug Cake is the perfect solution! It’s a rich, fudgy, and moist cake that’s ready in just a few minutes, making it ideal for satisfying those late-night chocolate cravings.
Made with simple pantry staples, this microwave-friendly dessert is customizable with various mix-ins, like peanut butter or Nutella, for an extra decadent treat.
Whether you’re looking for a quick dessert for one or a cozy treat to enjoy with a cup of coffee, this warm chocolate cake in a mug will become your go-to recipe in no time.
This post may contain affiliate links. I earn a commission from qualified purchases. Please read our Privacy policy here.
Best Chocolate Mug Cake
In this post, I’ll guide you through each step of making this easy Chocolate Mug Cake. You’ll find detailed instructions and helpful tips below to ensure you get a delicious dessert every time!
Plus, the beauty of this recipe is that it requires no eggs, keeping the texture extra soft and allowing the chocolate flavor to shine through.
ou can whip it up in any microwave-safe mug, and it’s the perfect recipe for beginners or anyone needing a quick dessert fix. With just a few minutes of prep and cook time, you’ll have a warm, gooey chocolate cake that’s perfect for satisfying your sweet tooth without the mess of traditional baking. So grab your favorite mug, and let’s dive into the ultimate single-serving chocolate delight that’s sure to become a staple in your dessert rotation!
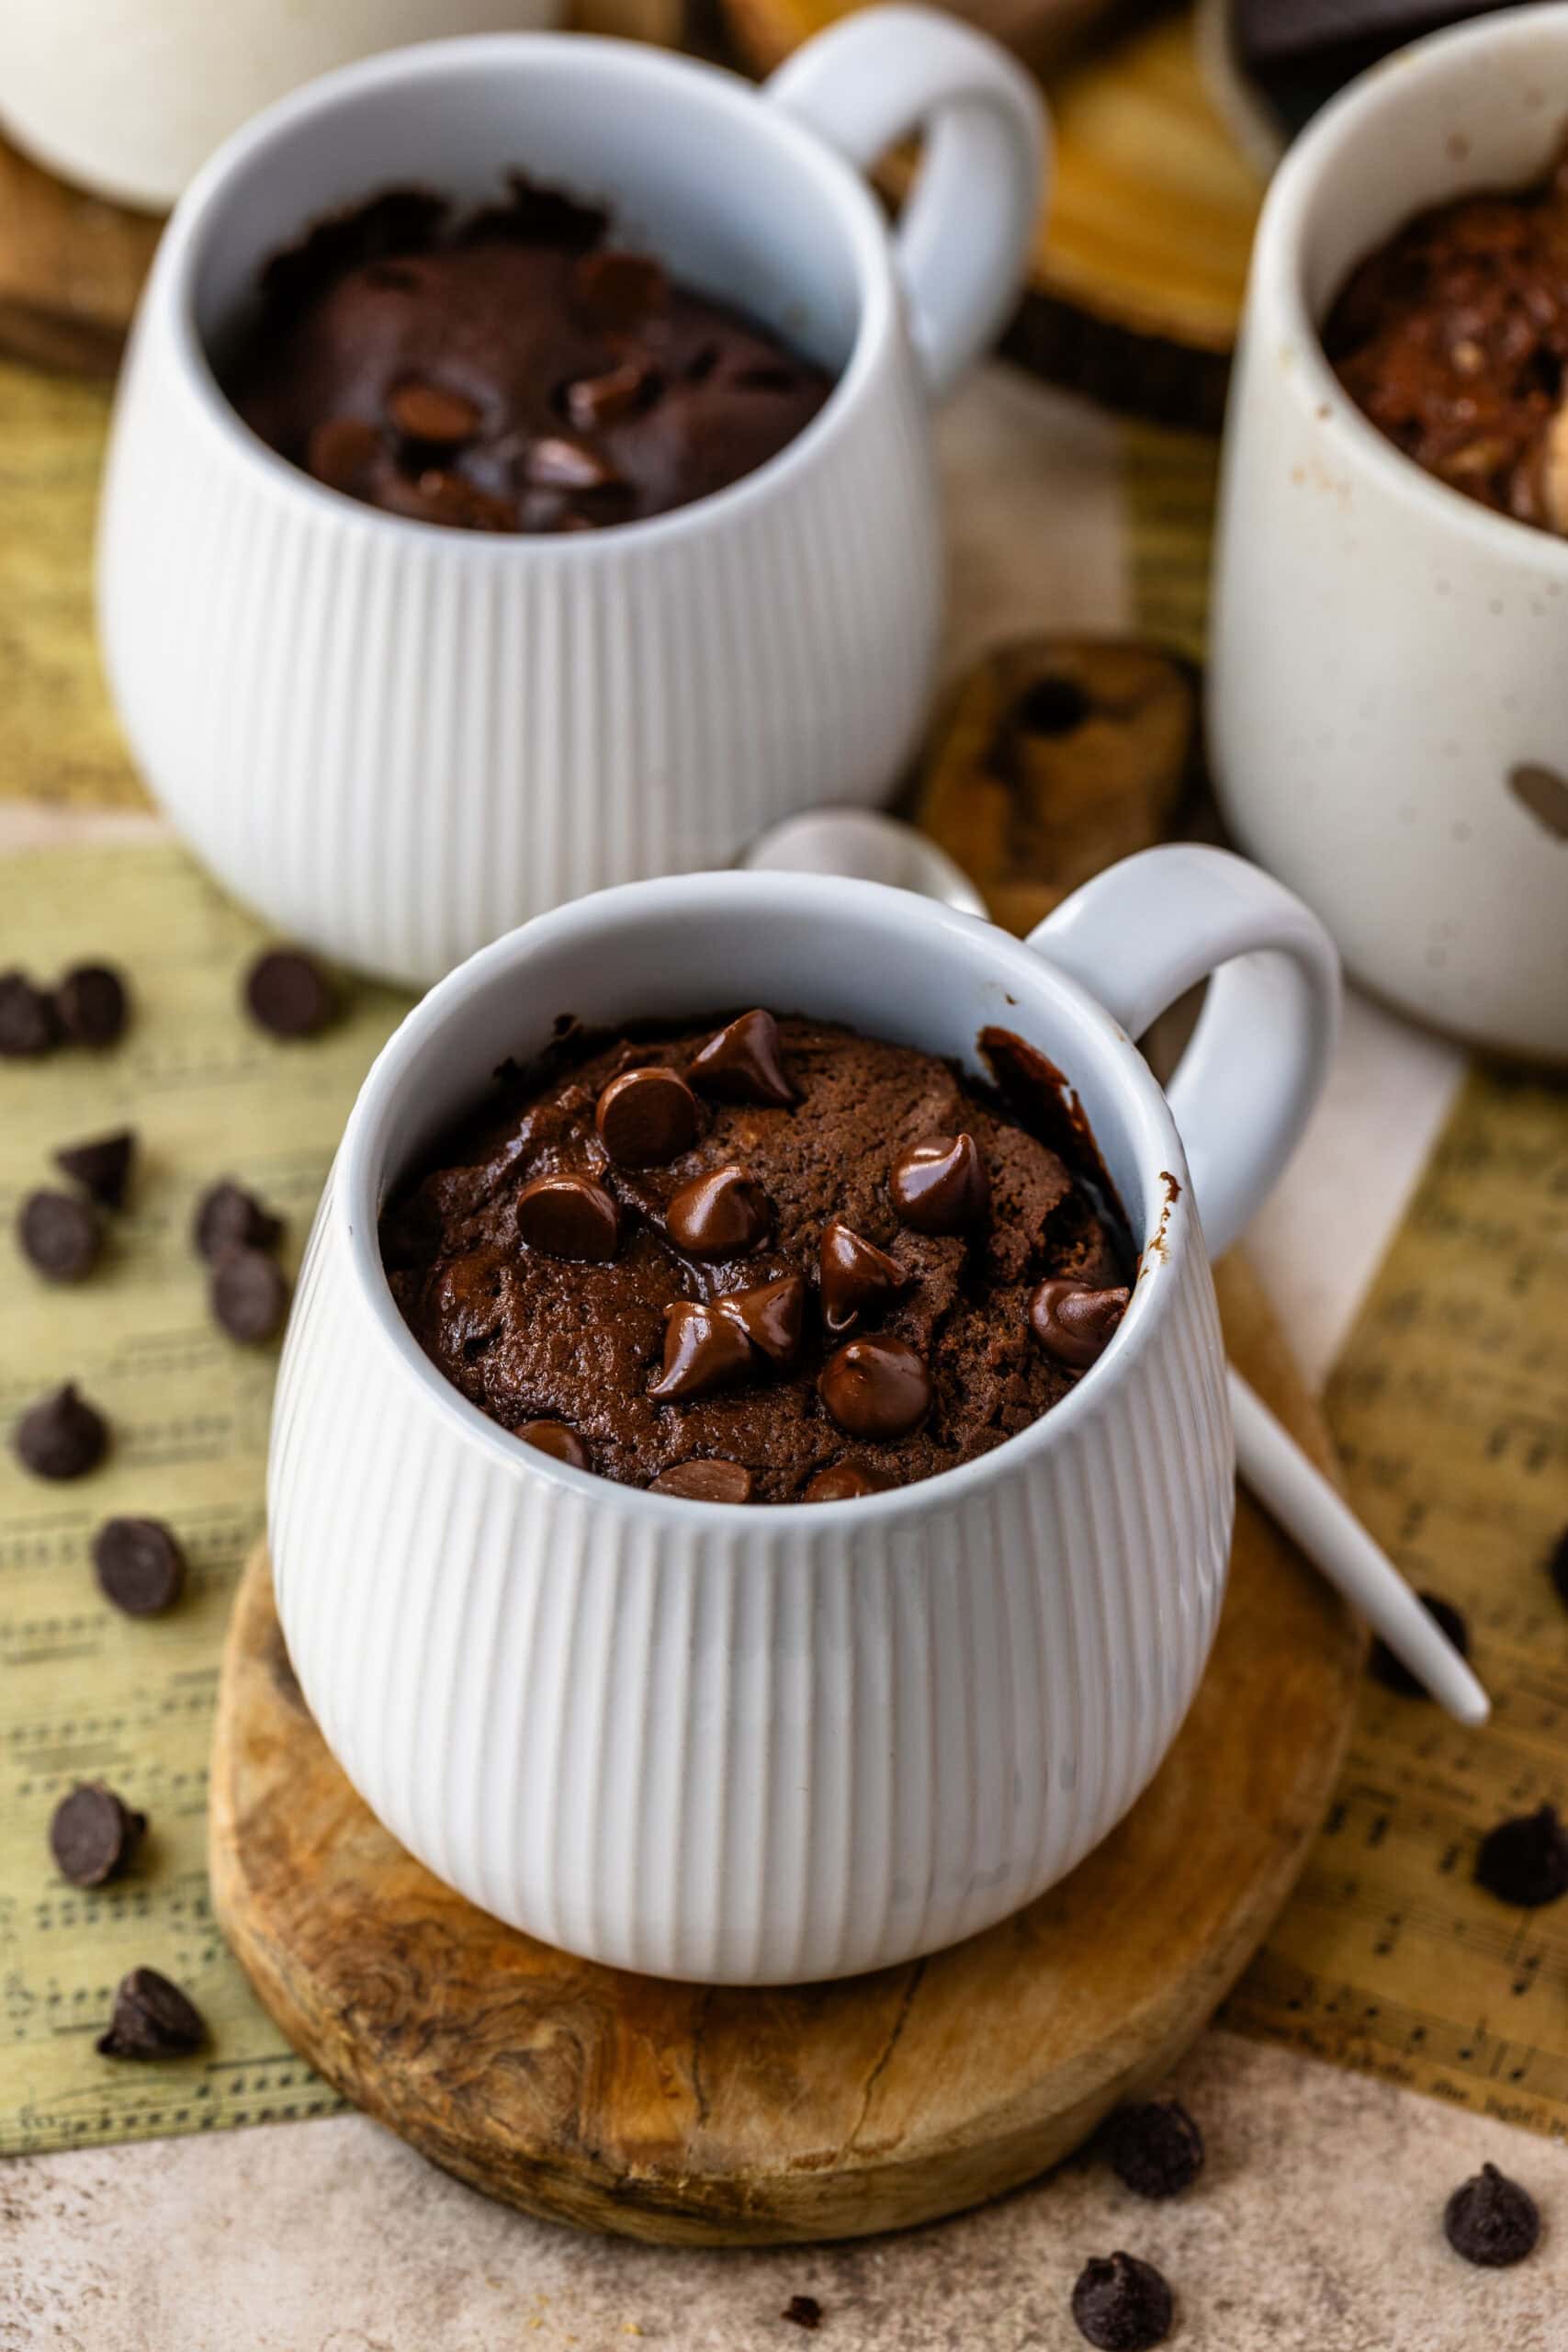
You can put the recipe together in a bowl, and then transfer to the mug. Or you can already make the recipe in the mug you’ll cook it in.
Mixing the ingredients directly in the mug you’re going to serve has the benefit of convenience and less cleanup. Since you’re not using an extra bowl, that means one less dish to wash, which makes it ideal for a quick, fuss-free dessert.
However, there can be a couple of benefits to mixing the ingredients in a separate bowl. For example if you want to make a double batch, then divide between two mugs to cook dessert for two. Another benefit can be that achieving a smoother, more evenly mixed batter, especially if you’re using thicker mix-ins like peanut butter or Nutella, or if you want to thoroughly incorporate dry ingredients like cocoa powder.
Easy Recipe for Chocolate Mug Cake
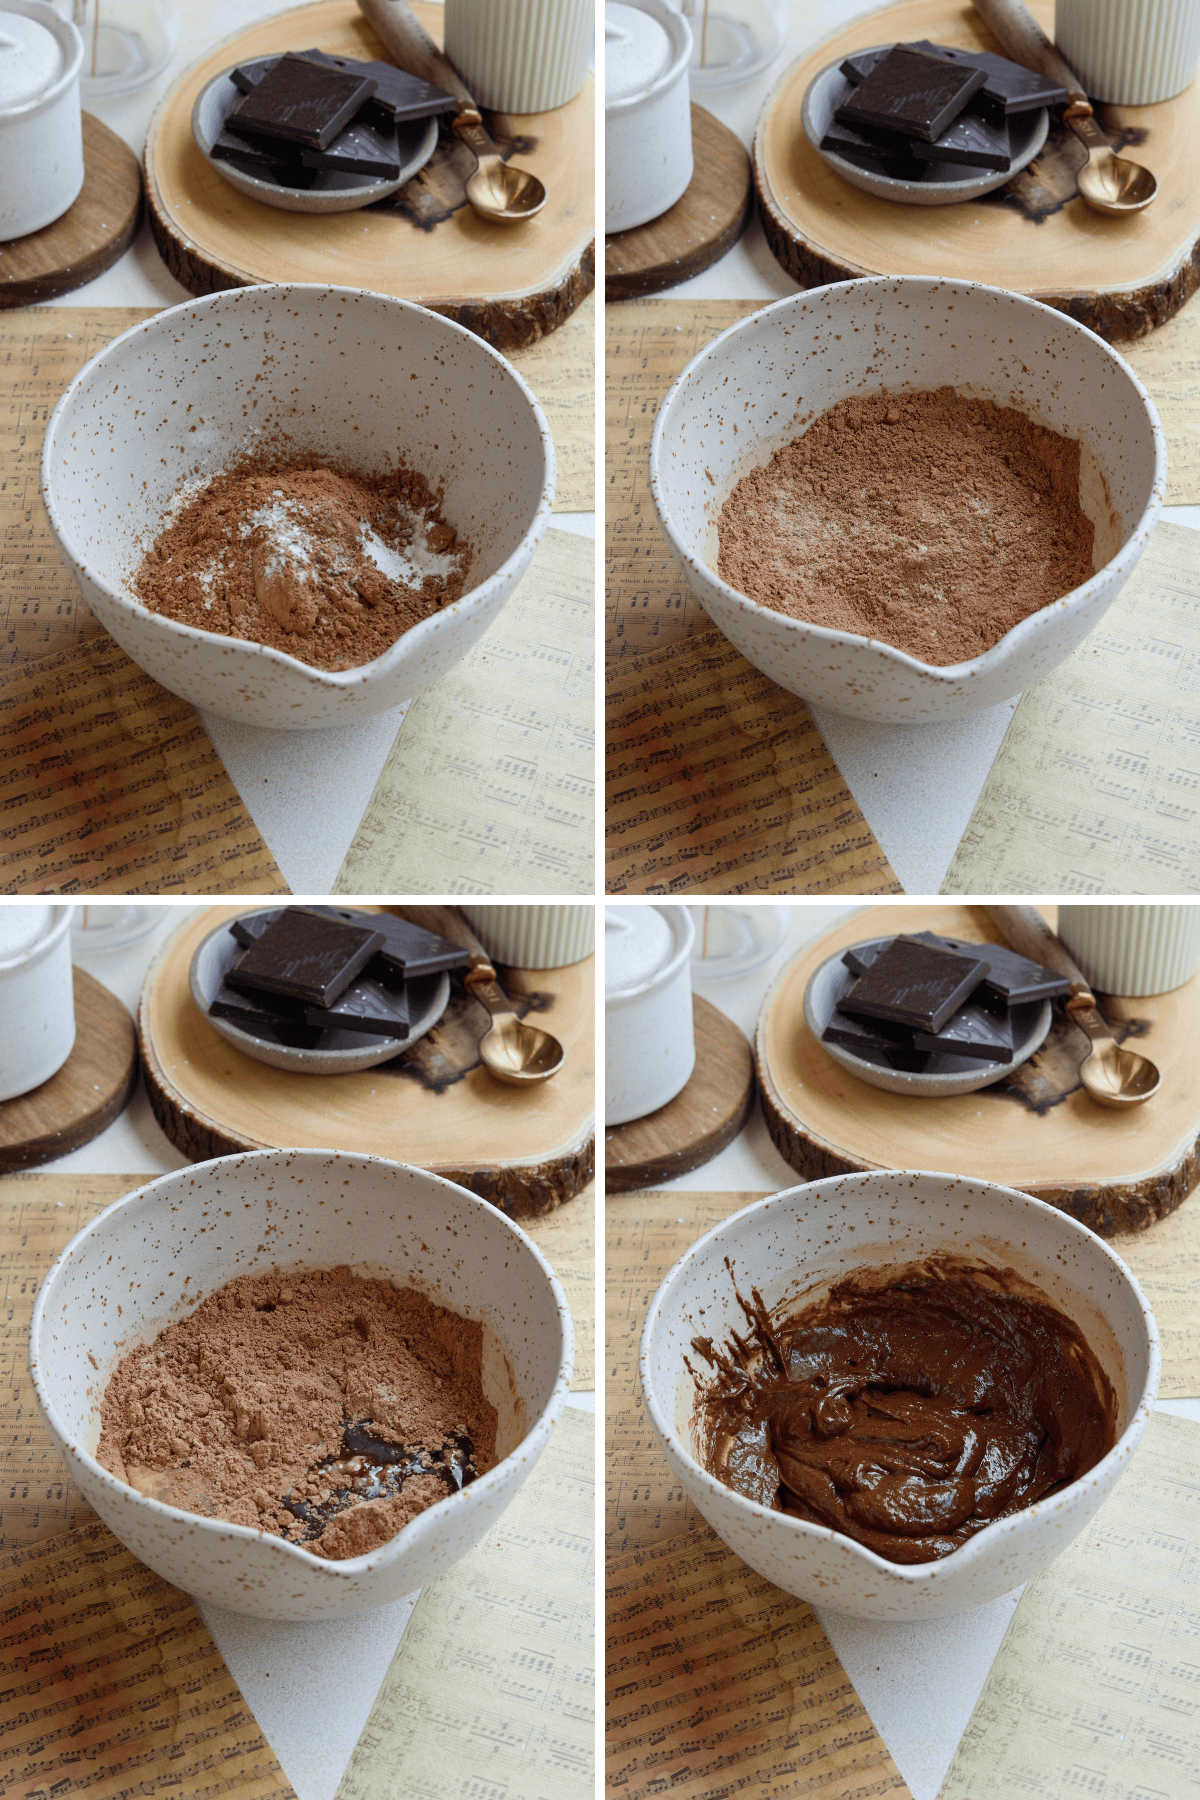
In a microwave-safe mug (or in a small bowl), add the all-purpose flour, white sugar, unsweetened cocoa powder, baking powder, and salt. Stir the ingredients together until fully combined.
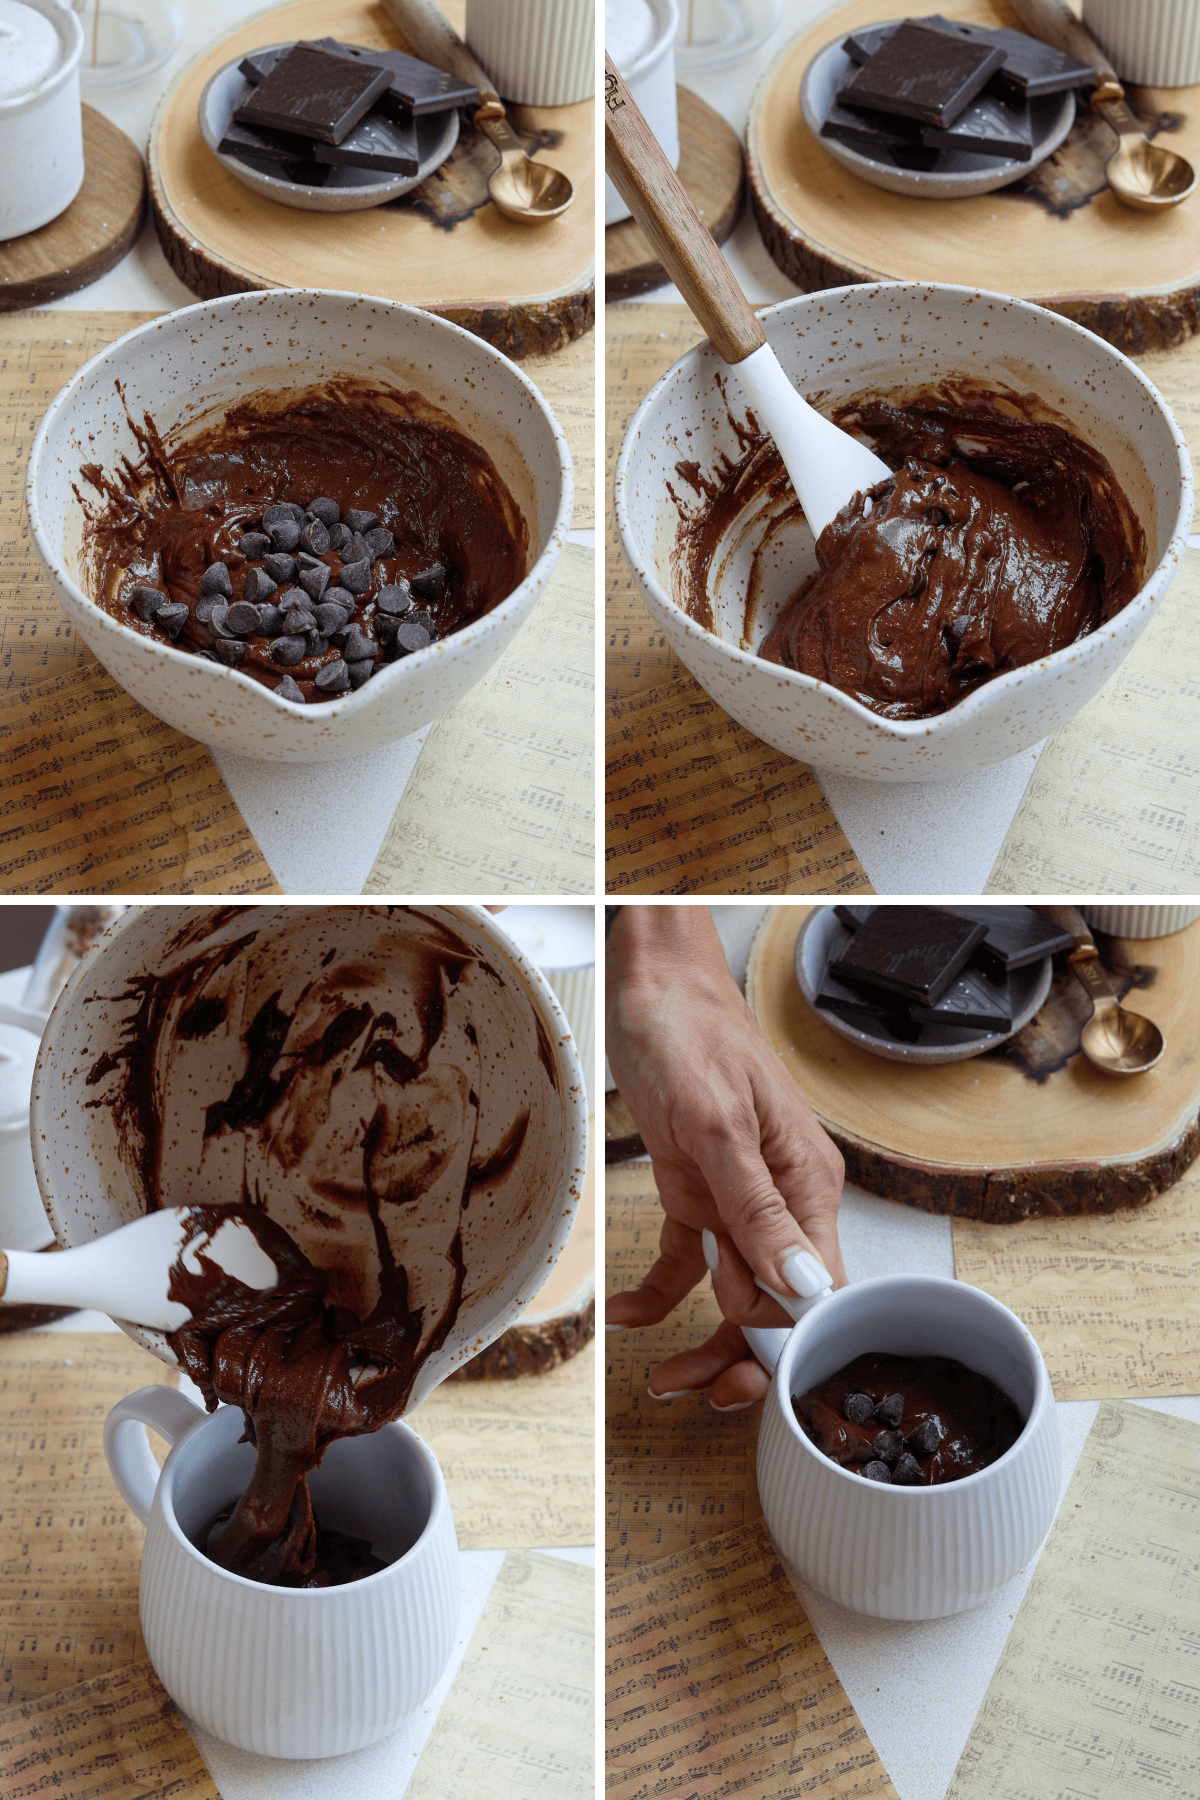
Pour in the vegetable oil, milk, pure vanilla extract. Whisk the mixture until you get a smooth cake batter. For an extra chocolatey kick, mix in 1 tablespoon of mini chocolate chips.
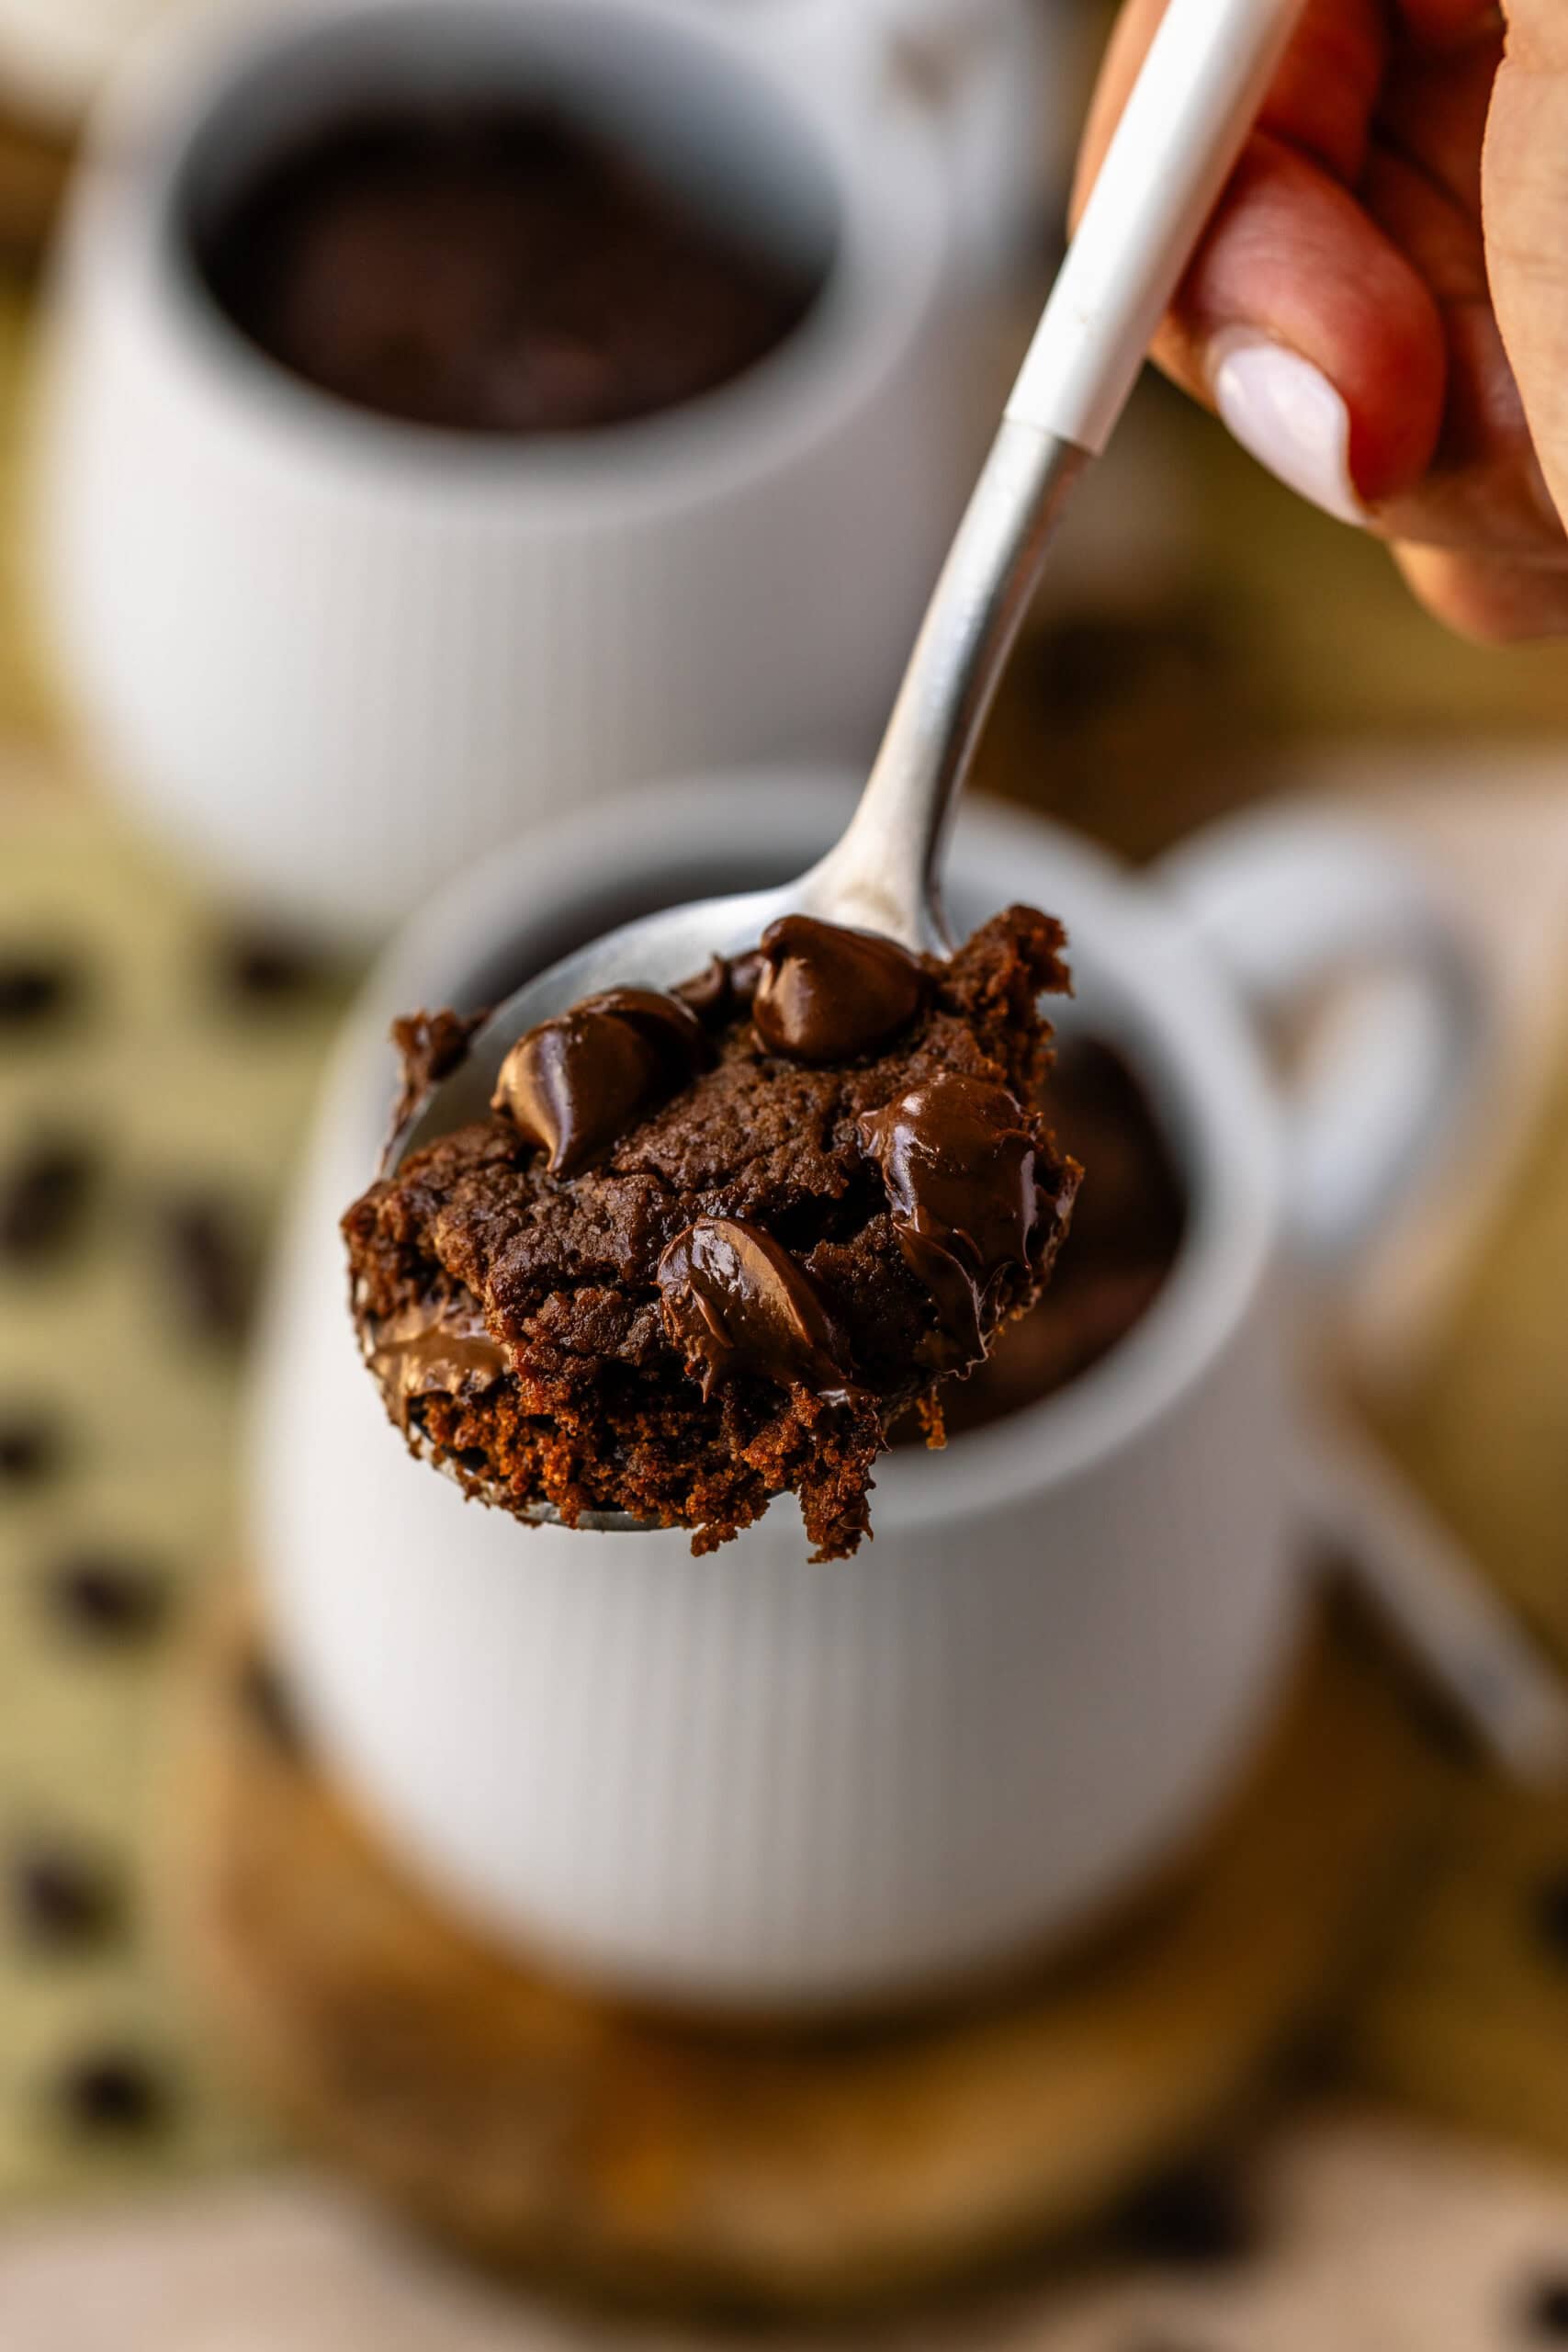
Cooking The Mug Cake
If you made the recipe in a separate bowl, transfer to the mug. You can lightly grease the mug with oil if desired.
Microwave the mug cake for 60 seconds. You will see your mug cake rise. Let it sit in the microwave for an additional minute with the door closed to allow the cake to set. If it’s still undercooked in the center, microwave it for an extra 15 seconds, as cooking times can vary depending on your microwave.
Oven Cooking
If you don’t have a microwave, or if you wish to make the recipe in the oven instead, here’s what to do: bake in the oven at 350ºF in a greased oven-safe ramekin for 15 minutes. In this case, it’s best to make the batter in a bowl, then pour into the greased container before baking.

Optional Add-Ins
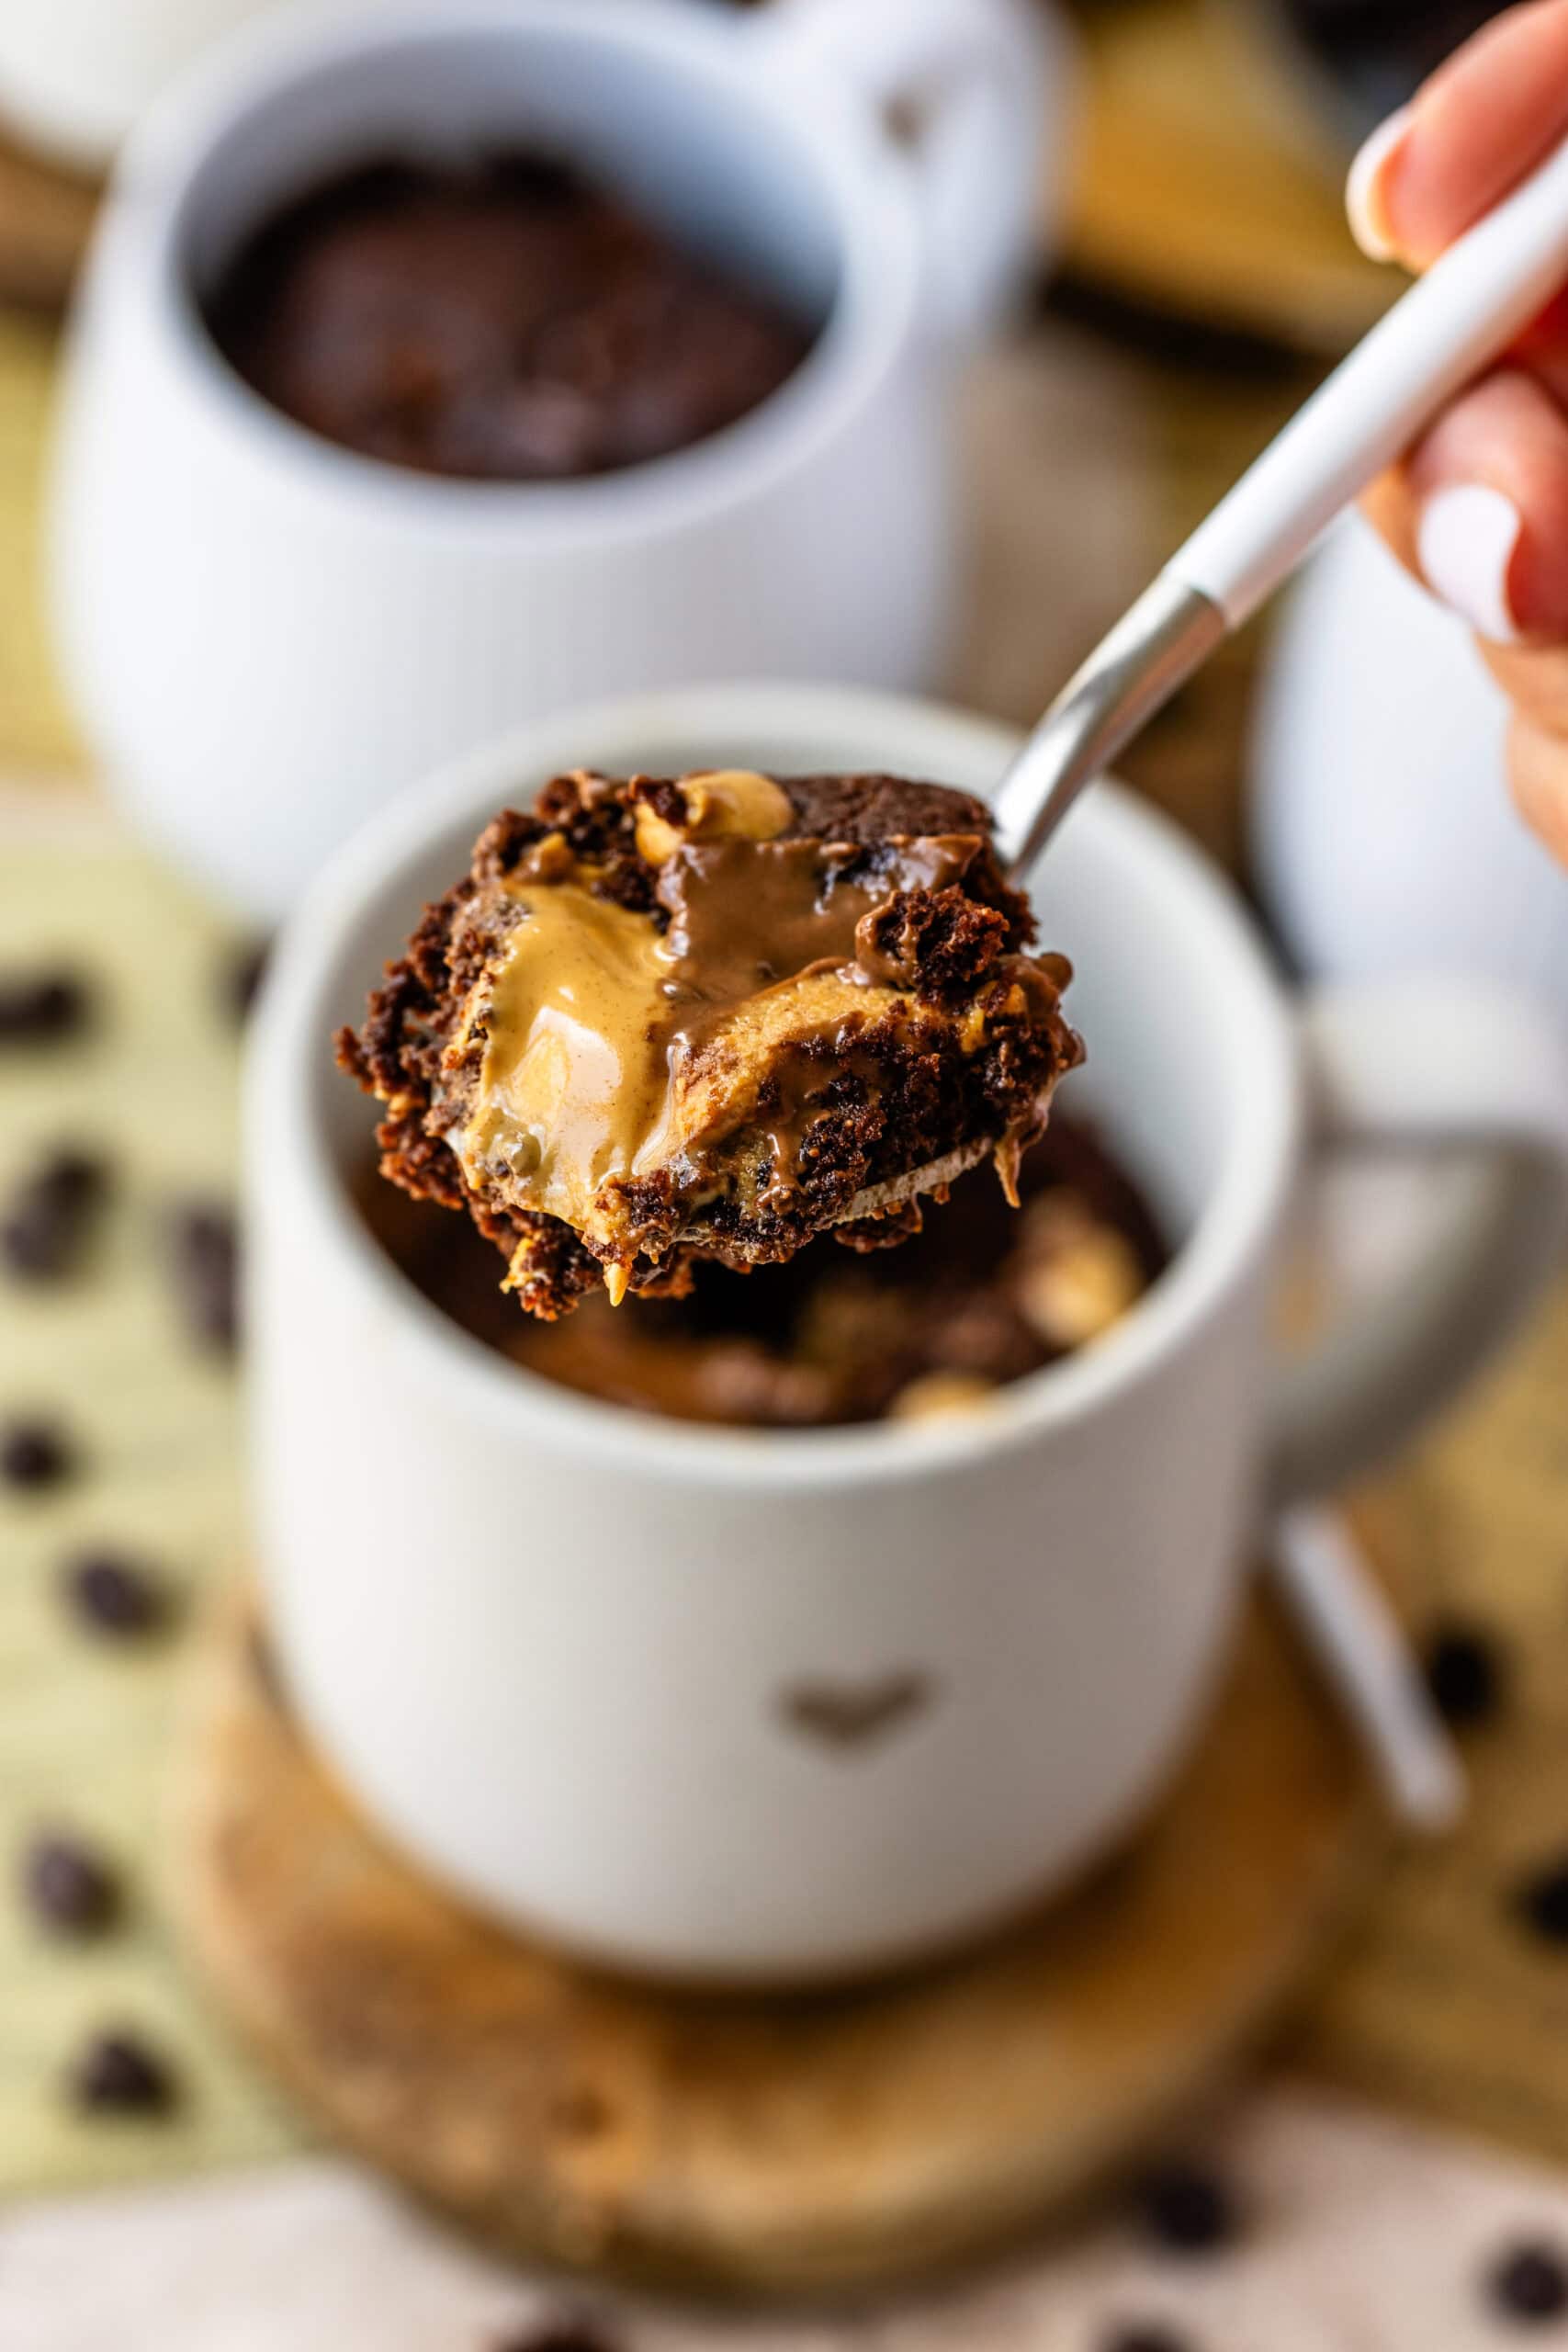
For an extra treat, place 1 tablespoon of peanut butter, Biscoff butter, or Nutella in the center of the batter before microwaving. You can also sprinkle in chopped nuts, white chocolate chips, peanut butter chips, or chopped peanut butter cups for added texture and flavor.
In the example below, I have added some peanut butter chips to the batter, then when assembling the mug cake, I placed half of the batter in the mug, topped with a spoonful of peanut butter. Then, poured the remaining batter on top, topped with more peanut butter chips and peanut butter cups, and microwaved for about 60 seconds.

Storage
This Chocolate Mug Cake is best enjoyed fresh, but if you have any leftovers, cover the mug tightly with plastic wrap and store it in the fridge for up to 1 day. Reheat in the microwave for about 10 seconds to enjoy it warm again.

Tips & Tricks
- Cooking Time: Since all microwaves are different, keep an eye on the cake while it cooks. If the center is still gooey after the initial 60 seconds, microwave in 10 to 15-second intervals until fully set.
- Remove from Mug: If you prefer to remove the cake from the mug before serving, grease the mug with oil spray beforehand or make the batter in a separate bowl, then pour it into the greased mug.
- Oven-Baked Option: If you don’t have a microwave, you can bake the mug cake at 350ºF in a greased oven-safe ramekin for 15 minutes.
- Sugar Substitutions: To adjust the sweetness level, you can use 1 tablespoon of honey or 2 teaspoons of stevia sweetener instead of sugar. For a less sweet version, reduce the sugar to 1 1/2 tablespoons.
- Dairy-Free / Vegan Version: You can substitute the milk with any plant-based milk of your choice to make this recipe dairy-free. Try using soy milk, oat milk, coconut milk, or almond milk to find your favorite!
- Oil Substitutions: This recipe works well using any type of neutral oil. I like using coconut oil as well!
Why You’ll Love This Chocolate Mug Cake
This mug cake is not only quick and easy, but it’s also completely customizable and rich in chocolate flavor! Whether you love chocolate on its own or prefer adding a little something extra, you can make this dessert your own in just a few minutes. It’s perfect for any occasion when you have a chocolate craving and need a single-serving dessert fast.
Chocolate Mug Cake Variations
- Peanut Butter Chocolate: Add a swirl of peanut butter to the batter for a rich, nutty twist.
- Nutella Dream: Drop a spoonful of Nutella in the center before cooking for a gooey, chocolate-filled center.
- Crunchy Delight: Add chopped walnuts or pecans to the batter for some added crunch.
- White Chocolate Raspberry: Mix in white chocolate chips and a few fresh raspberries for a fruity contrast to the rich chocolate.
- Salted Caramel: Drizzle caramel sauce over the top and sprinkle with a pinch of salt for an indulgent finish.
- Serve with Vanilla Ice Cream: Add a large scoop of your favorite ice cream straight into the mug for a truly decadent treat!
Clearly you’re a chocolate lover, so you’ll love these other recipes!
- Chocolate Cheesecake
- Chocolate Cake with Peanut Butter Frosting
- Chocolate Bomb
- Chocolate Birthday Cake
- Chocolate Tres Leches Cake
I’d love checking my inbox to see you all testing my recipes so I want to hear how your mug cake turned out! Share your photos and feedback on Instagram or Facebook, and let me know your favorite mix-ins and variations.
Chocolate Mug Cake
Ingredients
- 3 tbsp all-purpose flour 24 grams
- 2 1/2 tbsp granulated sugar 32 grams
- 1 tbsp cocoa powder 5 grams
- 1/4 tsp baking powder
- 1/8 tsp salt
- 2 tbsp vegetable oil
- 3 tbsp milk
- 1/4 tsp vanilla extract
- 1 tbsp mini chocolate chips
Optional Add Ins
- 1 tbsp peanut butter Biscoff butter, or Nutella
- chopped nuts, white chocolate chips, peanut butter chips, chopped peanut butter cups
Instructions
- Add the flour, sugar, cocoa powder, baking powder, and salt to a mug. Stir to combine.
- Pour in the oil, milk, vanilla, chocolate chips, and stir until a smooth batter forms.
- Optional: You can place one tablespoon of peanut butter, Biscoff, or Nutella in the center of the batter and cover with a bit of batter before cooking the cake.
- Cook in the microwave for 60 seconds. Let it set in the microwave for 1 minute with the door closed.
- If the cake is still raw in the center microwave for another 15 seconds, since all microwaves work different.