Peanut Butter Chocolate Cake
Today I bring to you our 7th and last recipe of Peanut Butter Week. Peanut Butter Chocolate Cake for the win!
It starts with cake and ends with cake! Just as it should!
We started the week with a recipe for a PB&J Cake. And we are ending it with a Peanut Butter Chocolate Cake.
This post may contain affiliate links. I earn a commission from qualified purchases. Please read our Privacy policy here.
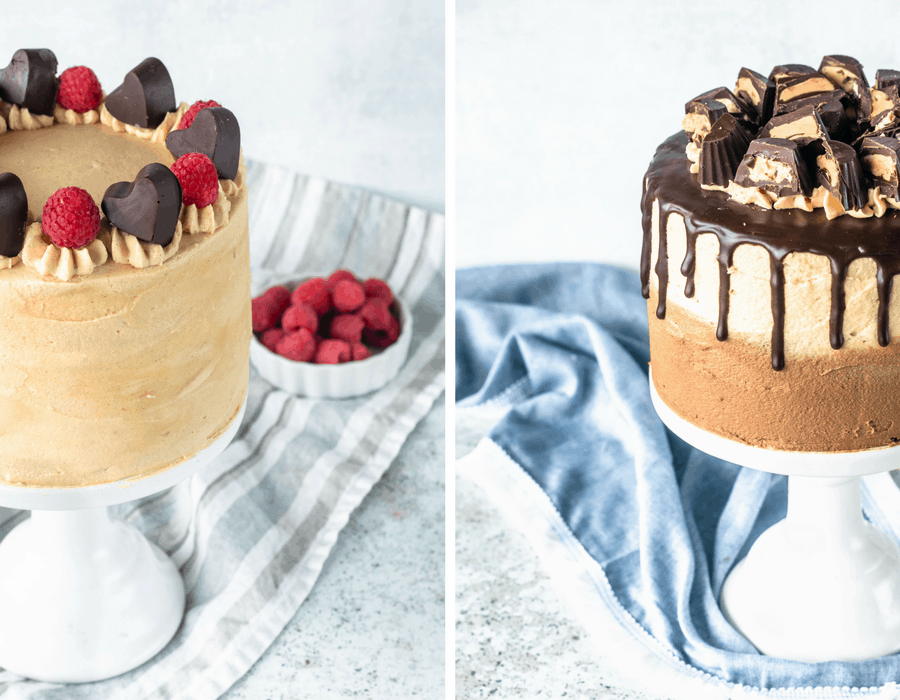
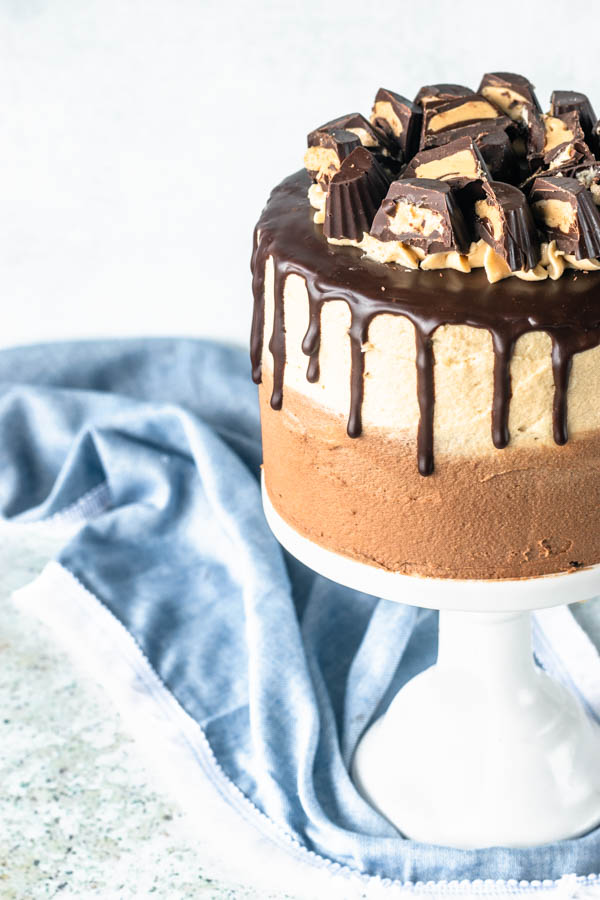
Chocolate Cake. Peanut Butter Cream Cheese Frosting. Topped with Ganache and homemade Peanut Butter Cups.
It had to be cake. If you know me at all, you’d understand. Cake is my favorite thing to make!
Before we talk about this Peanut Butter Chocolate cake, let’s go over everything and see what we had going on for this themed week.
Like I said, we started with the PB&J Cake.
On Day 2, we featured Vegan Tofu Tacos with Peanut Sauce. Veggies and crispy tofu piled on homemade tortillas, topped with delicious Peanut Sauce
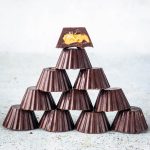
On Day 3, it was all about the Peanut Butter Cups, the same ones you see on top of today’s cake.
Day 4, I made a Peanut Butter Chocolate Spread, and made toasts with my homemade Challah, and also an Elvis Presley Sandwich.
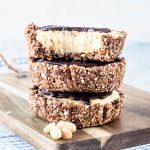
On Day 5, it was the turn for these Vegan Peanut Butter Tarts to shine. Topped with vegan ganache and sea salt flakes.
Day 6, finally, we had my favorite, the Peanut Butter Matcha Smoothie! Two layers of creamy deliciousness!


I had a lot of fun doing this themed week!
Now, I’m just trying to think about what the next theme is going to be!
I chose Peanut Butter for this one because I really love Peanut Butter.
It’s just peanuts. I shelled them and peeled them. Then, I roasted them and finely ground them into this paste.
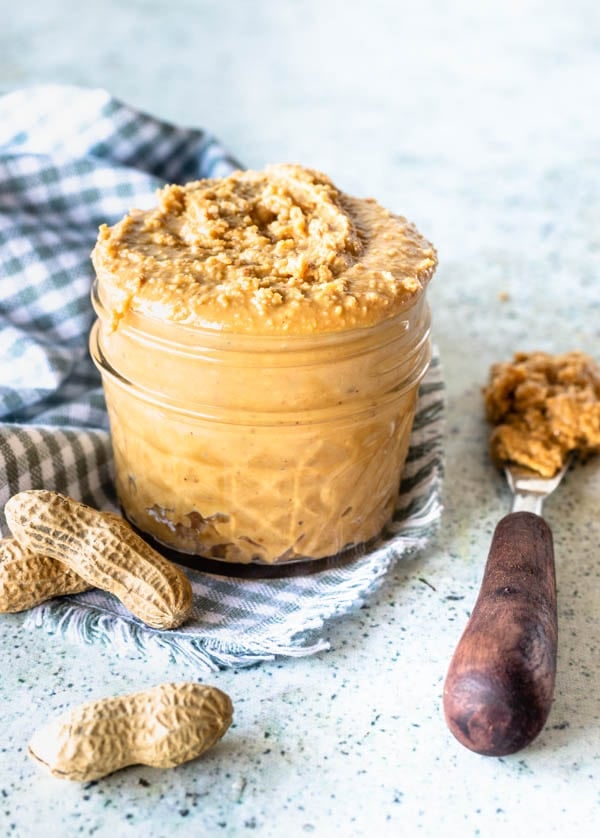
Natural. Nothing added. No added sugar, or unpronounceable ingredients!
Simple as can be!
I used it to create all these beautiful recipes! From tacos, to cakes and vegan recipes!
I did make a couple extra recipes that the pictures didn’t work out so well. This Peanut Butter Ice Cream was one of them.
I kept debating if I should make a post for this recipe or not. But I decided not to. The recipe worked out and it was as delicious as can be. I put some chopped peanut butter cups in it, some peanut butter chunks, some fudge chunks as well. But I wasn’t too content with the pictures, which is why I am just posting it here.
Now, let’s talk about the Peanut Butter Chocolate Cake!
This Peanut Butter Chocolate Cake is blissful indulgence. Delicious, rich and decadent! The cake itself is very moist and has a deep chocolatey flavor. The frosting has a much desired tanginess provided by the cream cheese. The dark chocolate ganache on top brings sweet, tangy and decadent together in this beautiful creation!
A few tips for this cake:
- Adding Coffee
The recipe for the cake calls for coffee. If you don’t want to add coffee, that’s fine. You can either add some espresso powder (1 tsp) with the dry ingredients, and boiling water instead of coffee. If you’d like to skip it altogether, don’t add the espresso powder or coffee, and just add the boiling water at the end.
The reason why we add coffee to chocolate cakes, it’s because it provides such a rich and deep flavor to the cake! It enhances the chocolate flavor, leaving no coffee taste behind.
- Refrigerating the layers
After making the chocolate cake, make sure to wrap the cooled down layers of cake in plastic and place them in the fridge for a couple hours before decorating. This cake is very moist and fluffy, and working with the cold layers will be much easier. They will be firm and not so crumbly.
- Piping the ganache
I’ll want to make sure your ganache is at the right consistency to be piped. I usually test out one or two drops on the cake and see how they are dripping. They are supposed to drip slowly and stop before hitting the cake plate. You may place your ganache in the fridge for 10 minutes, give it a stir and test again from time to time. Just don’t let it get to hard in the fridge because then you’ll have to re-heat it.
Also, try not to use a spatula to spread the ganache on top of the cake. Because that will leave streaks and marks. If the ganache is at the right consistency, you won’t have to do that, because it will slowly spread out, smoothly.
- Ombre Frosting
I made the ombre frosting by adding some sifted cocoa powder to half of the frosting. If you try to use brown food coloring, that’s not going to work, most likely. Trust me, I know. Once I was making a wedding cake, and the bride wanted the cake brown. It was actually my sister-in-law’s wedding cake. She wanted a vanilla brown frosting. And I tried my best using food coloring to make the frosting brown. But that wasn’t happening. After a couple batches of Swiss Meringue Buttercream down the drain, I finally asked her if I could add a couple tablespoons of cocoa powder to the Buttercream. And that turned out beautiful!
- Peanut Butter Cups
You can use store bought, or make this recipe right here! Whatever you do, just chop some up, snack on a few chopped ones and place the remaining ones on top of the cake.
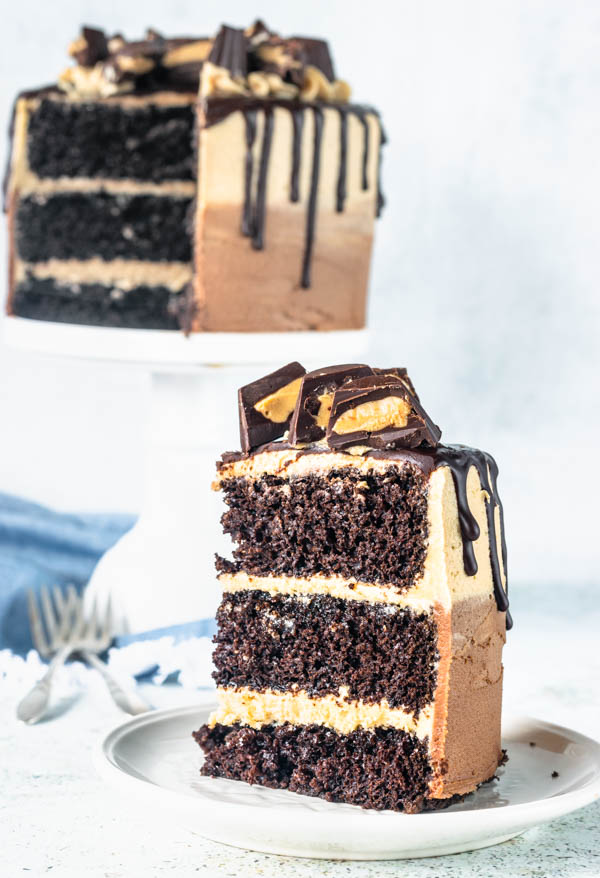
And now, to the final shot. I will leave you with this inside of the shot cake to finish Peanut Butter Week. It’s been a fun ride!
Peanut Butter Chocolate Cake
Ingredients
Peanut Butter Chocolate Cake
- 221 grams all-purpose flour 1 3/4 cups, 7.8 oz
- 62 grams unsweetened cocoa powder 1/2 cup, 2.1 oz
- 1 3/4 teaspoon baking powder
- 1 1/4 teaspoon baking soda
- 3/4 teaspoon fine sea salt
- 2 eggs
- 300 grams sugar 1 1/2 cups, 10.5 oz
- 80 grams canola oil 1/3 cup, 2.8 oz
- 180 grams milk 3/4 cup, 6.3 oz
- 2 teaspoons vanilla extract
- 180 grams hot brewed coffee 3/4 cup, 6.3 oz
Peanut butter frosting
- 8 oz cream cheese softened
- 4 oz butter softened (1 stick, 1/2 cup)
- 1 cup creamy peanut butter
- 3 cups powdered sugar sifted
- 2 teaspoons vanilla extract
Ganache
- 8 oz good quality semi dark or dark chocolate I used 70% Lindt
- 8 oz heavy cream
Instructions
Peanut Butter Chocolate Cake
- Notes: If you don’t want to use coffee, you can use boiling water. Just mix 1 teaspoon of espresso powder in with the dry ingredients or skip it all together.
- This recipe makes for 3-6” round cakes or 2-8” ones.
- Pre-heat oven to 350F.
- Butter pans and place a parchment paper circle in the bottom of pans. Butter parchment. Set aside.
- Sift together flour, cocoa powder, baking powder, baking soda, salt, and espresso powder, if using it instead of coffee. Set aside.
- Whisk eggs together in a large bowl for about 30 seconds.
- Add sugar and keep whisking for about 1 minute, until brightened in color.
- Add oil to the bowl. Whisk until combined.
- Add milk and vanilla extract.
- Pour dry ingredients over wet mixture.
- Fold with a spatula slowly, until ingredients are just combined.
- If you see big clumps of cocoa powder, you can use the whisk to try to smooth the batter out.
- Just make sure you don’t skip step number 5, which is sifting the ingredients in the beginning of the recipe.
- Once batter is incorporated, pour hot coffee in the bowl. Whisk until combined.
- Batter will be very thin and runny. It’s ok! Totally fine!
- Pour evenly onto baking pans.
- Bake in pre-heated oven for 20-30 min. Baking time will vary according to what size pan you are using. After the 20 minute mark, keep checking regularly, because you don’t want to burn your cakes or overbake them. Remove them from the oven once a toothpick comes our clean once inserted in the cake.
- Once you remove it from the oven, wait 10 minutes, flip cakes onto a cookie cooling rack and let cakes cool.
- Once cool, wrap each layer individually in plastic wrap and refrigerate until ready to use. I like to leave my layers in the fridge for quite a bit so they can firm up and make it easier to assemble and decorate the cake. Specially an oil based cake such as this one, which is a super moist and fluffy cake.
Peanut butter frosting
- Start by creaming 8 oz of cream cheese on medium speed with an electric mixer.
- Add butter and beat for another minute.
- Beat the cream cheese with the paddle attachment for about 45 seconds.
- Add peanut butter and mix on medium speed until combined.
- With the mixer on the lowest speed, start adding the sifted powdered sugar in one tablespoon at a time.
- Once all powdered sugar has been added and it’s incorporated, turn mixer to medium and cream for about 30 seconds.
- Add vanilla extract and mix until combined.
- If your frosting seems a bit stiff, add a teaspoon of milk at a time until you achieve desired consistency.
- If frosting seems too soft, add a little bit more powdered sugar. Just be aware that the consistency could be too soft also because your butter or cream cheese have softened too much (because it’s too hot in the room, or they’ve been out for too long, etc). In that case, cover the bowl with plastic wrap, insert it in the fridge for 5-10 minutes until butter or cream cheese have hardened a little bit. Then, proceed to cream frosting for a few more seconds before using.
Ganache
- Chop chocolate finely.
- Heat heavy cream until almost to a boil. Either in the microwave or in a small pot over medium heat.
- Pour hot heavy cream over chocolate. Let it sit for 30 seconds.
- Start stirring. Stir constantly until all chocolate is melted.
- If you notice little chocolate pieces that haven't melted, you can put your ganache in the microwave and microwave it in 10 second increments, stirring in between, until melted. Be careful not to overheat the chocolate. Chocolate hates being overheated.
- Once all chocolate pieces have melted, let ganache sit at room temperature until it's drippable consistency, which means not too runny and not too stiff.
To assemble:
- You will need about 1/2 cup of simple syrup.
- (to make simple syrup, simply boil equal parts of sugar and water together. Let it cool before using.)
- Place bottom layer on cake stand. Brush with simple syrup until cake is humid.
- Place some of the peanut butter frosting on top. Spread evenly. Top with another layer. Repeat everything, with the simple syrup and filling.
- Frost the cake on the outside. You can do a crumb coating before frosting the cake.
- A crumb coating is a very thin layer of frosting you spread on the cake to seal the crumbs in. After spreading a thin layer of frosting on the cake, use a spatula to even the frosting out.
- Place cake in the refrigerator for an hour or until the frosting on the outside is solid.
- Now proceed with frosting the cake with generous amounts of this delicious frosting.
- Place ganache in a piping bag and cut a small hole in the tip.
- Drizzle ganache around the edges of the cake, so this way it till drip beautifully. Also pour some ganache on top of the cake. If your ganache has the right consistency, you won't have to use a spatula to spread it. Worst case scenario, use a spatula to make sure the entire top of the cake is covered with ganache.
- That is not going to ruin the cake, but running a spatula over the ganache is going to leave marks, instead of a beautiful smooth ganache.
- Pipe the cake some peanut butter cream cheese frosting decorations on top of the cake and place chopped peanut butter cups on top.
Nutrition
Is there an additional recipe for the frosting on the bottom
So sorry about that, I don’t know why I didn’t include this in the instructions. I’ve divided the frosting between two bowls and then added a couple of tablespoons of cocoa powder to one of the bowls and mixed until incorporated and smooth.