

Dulce de Leche Ice Cream
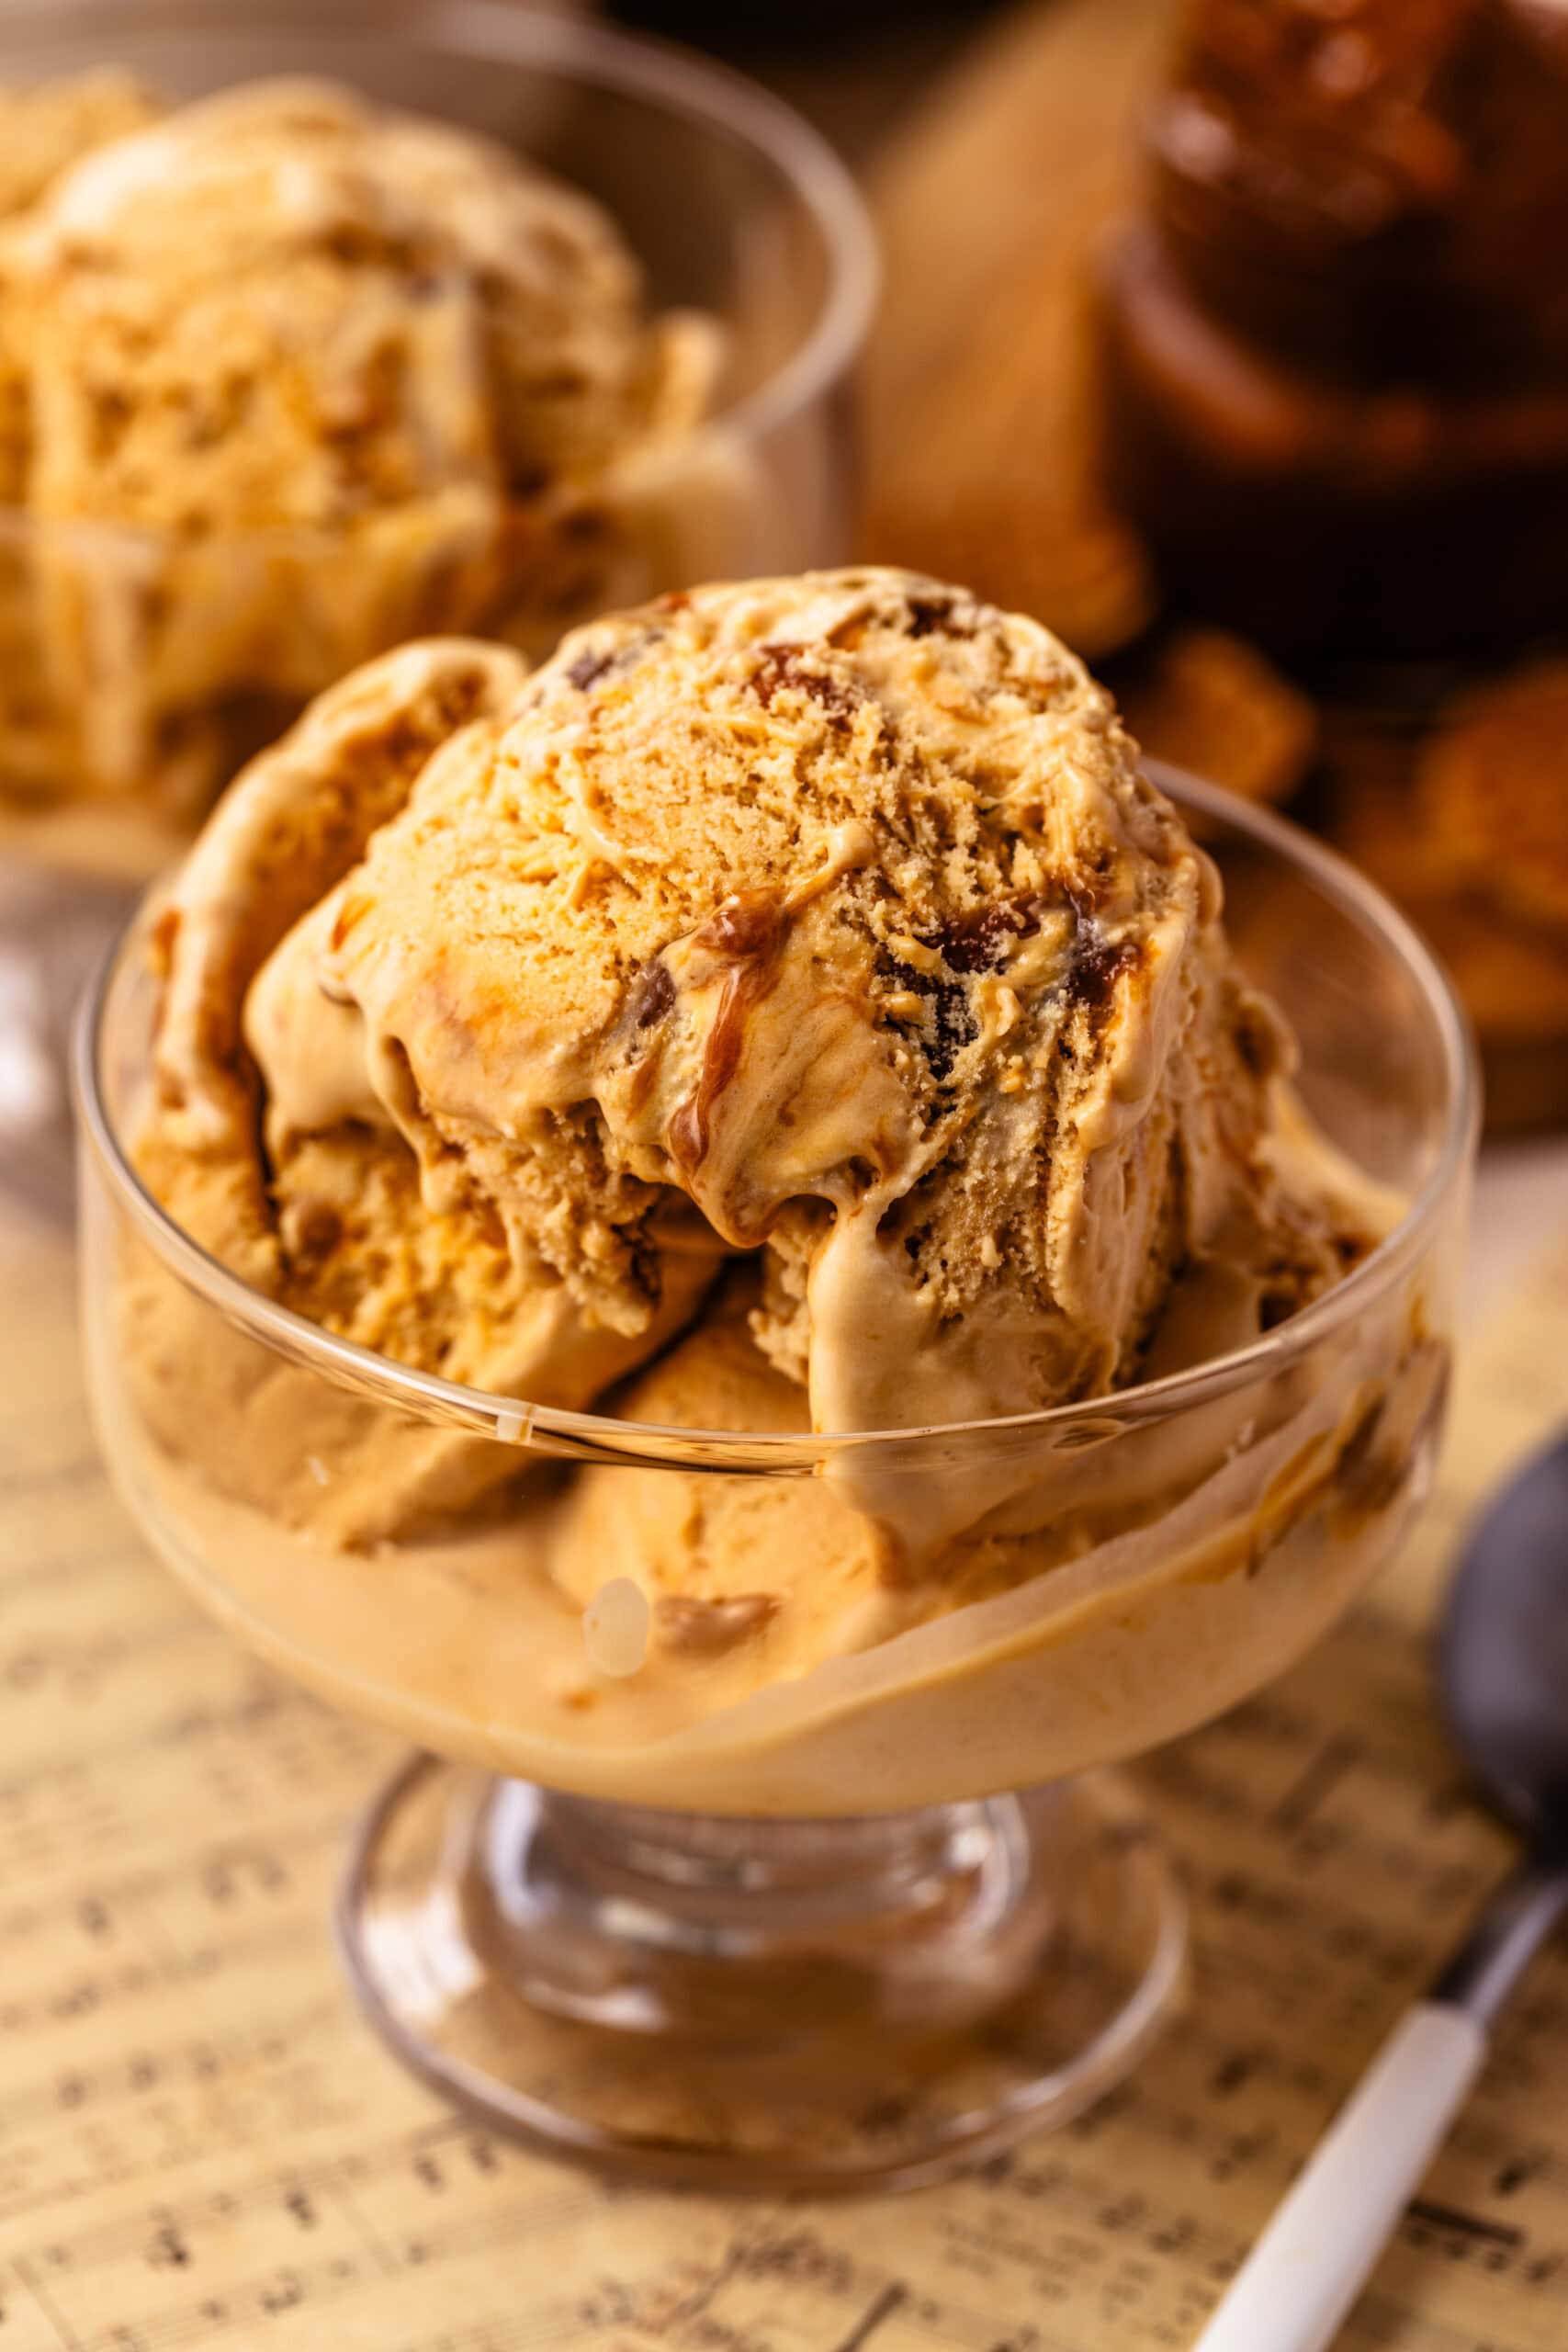
My favorite ice cream ever is Häagen-Dazs Dulce de Leche Ice Cream. I recently found an amazing Argentinian dulce de leche at the store, and with how hot it’s been this summer, I knew I had to turn it into ice cream. The results were even better than I expected—rich, creamy, and packed with ribbons of dulce de leche. I honestly loved every single bite.
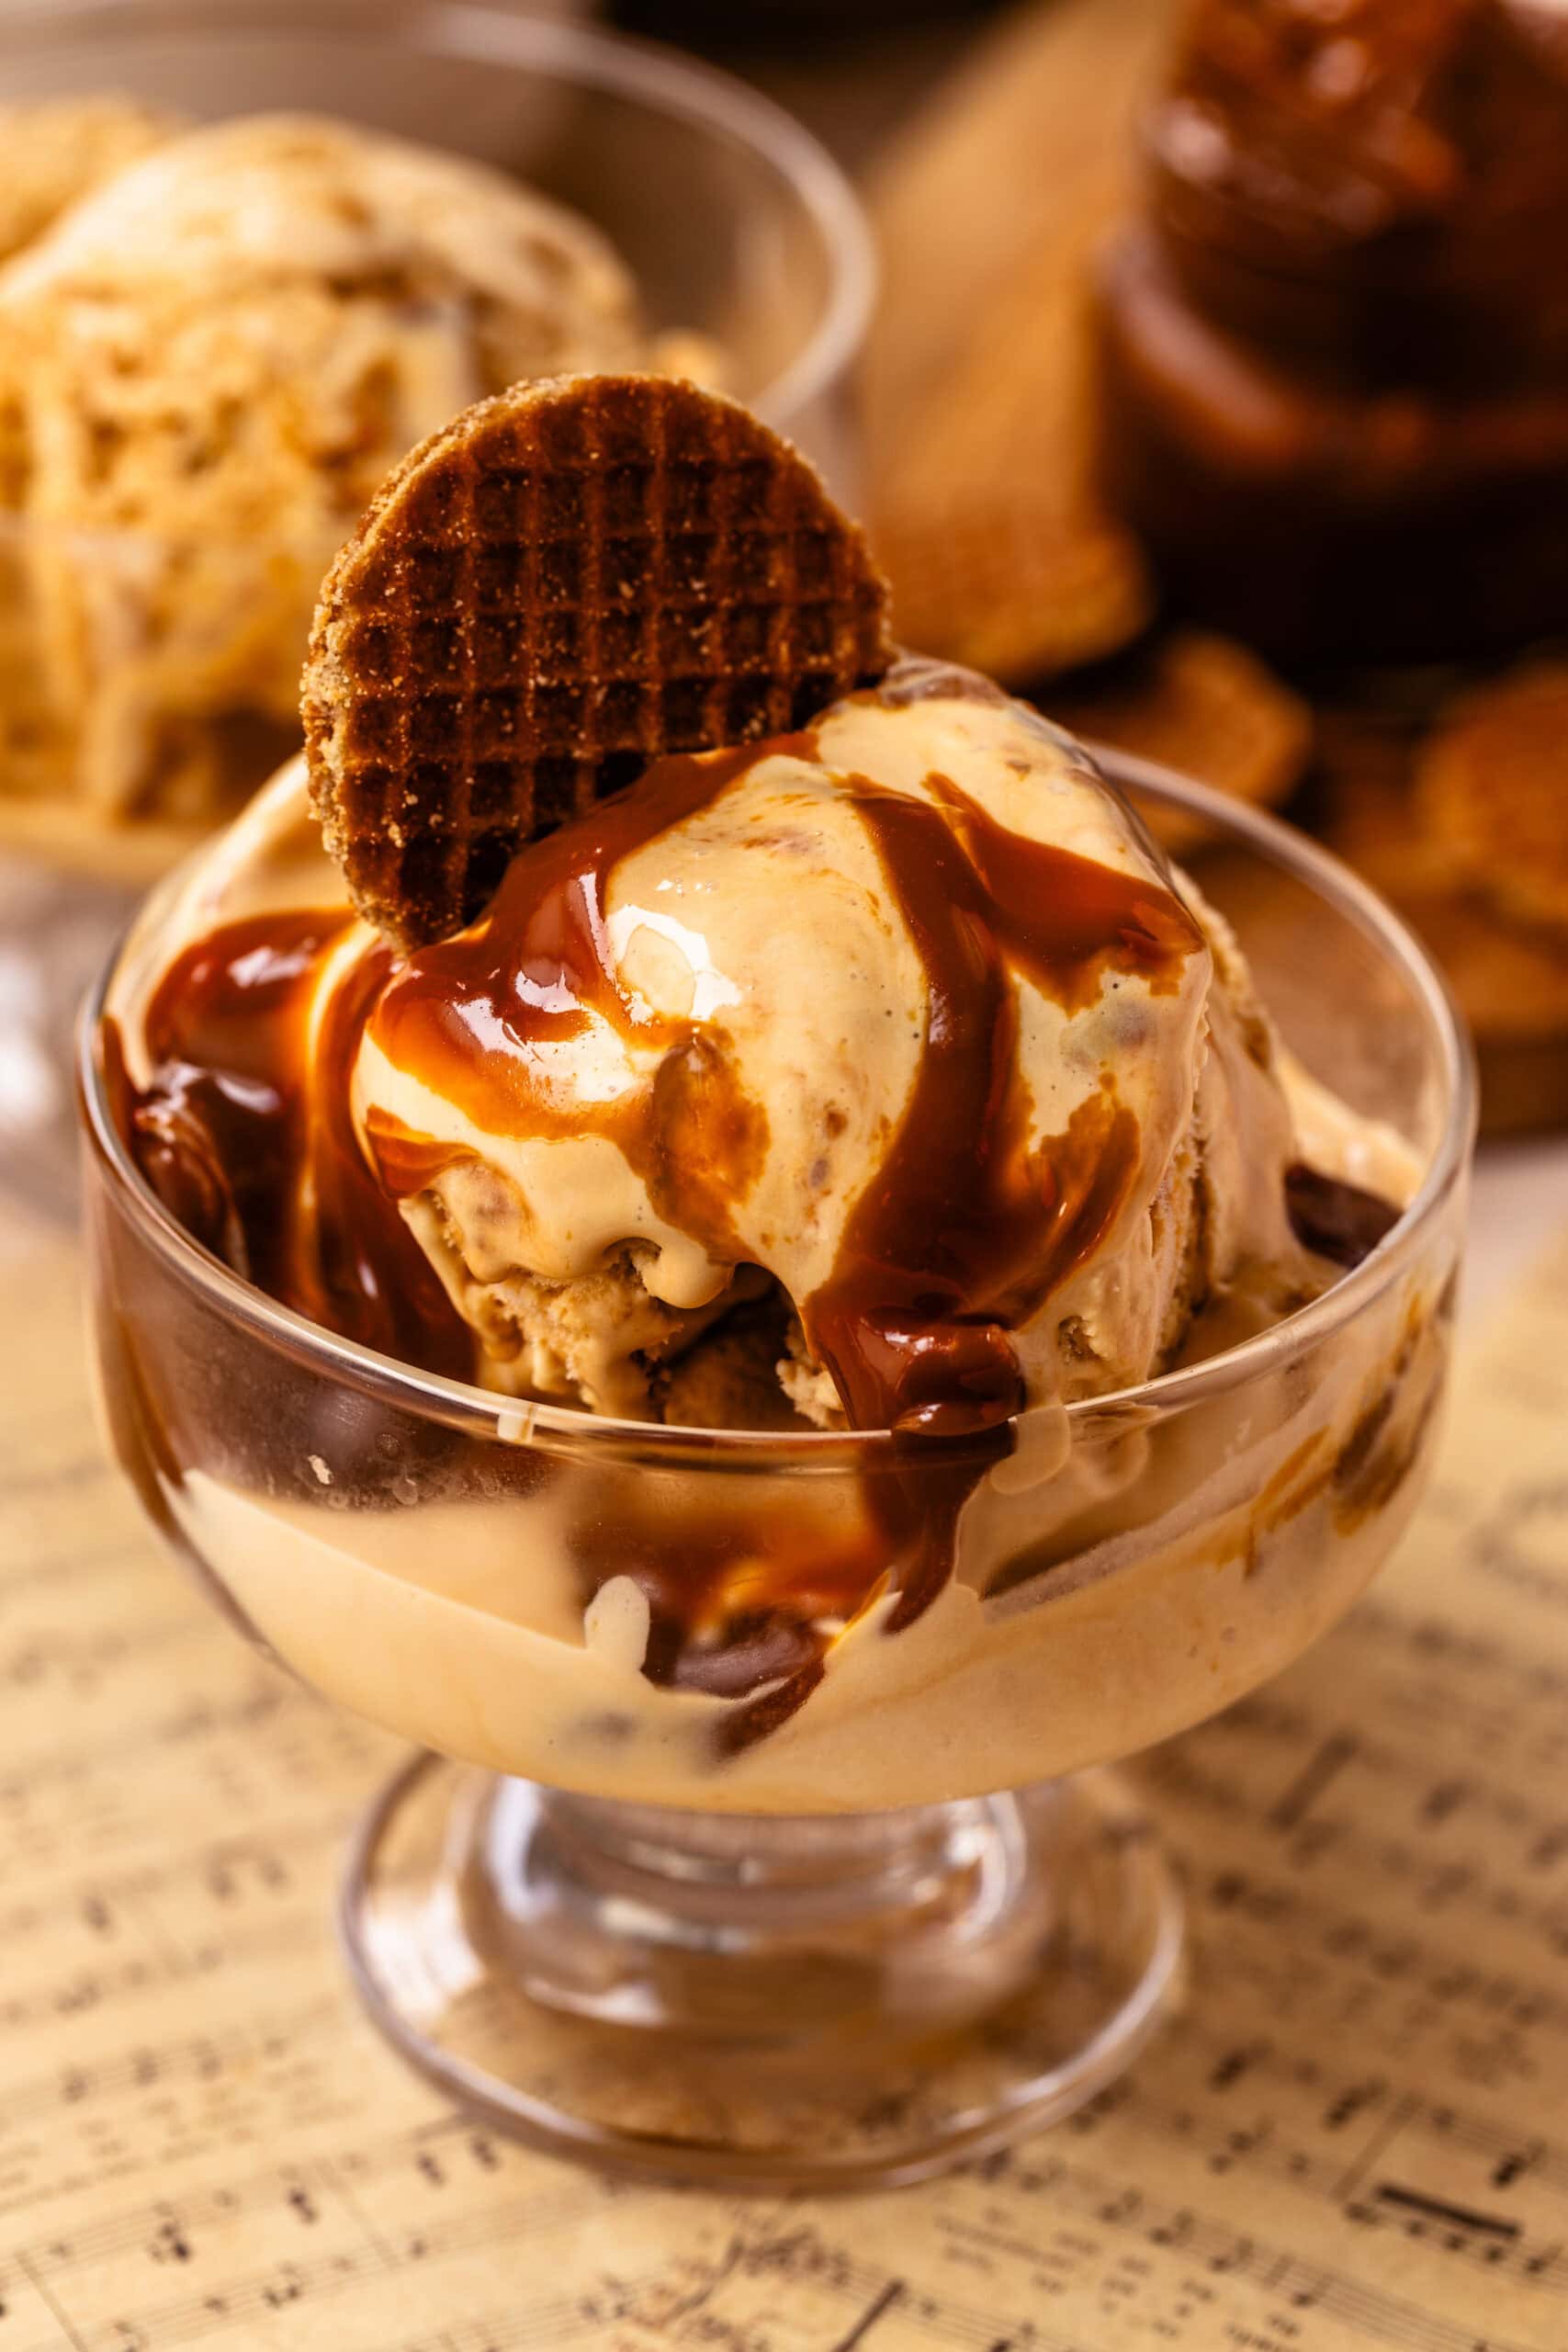
Making homemade ice cream might sound intimidating, but it’s actually much simpler than it seems. It really comes down to just a few steps: make a custard, chill it completely, and churn it. I’ll walk you through each step so you can make smooth, creamy dulce de leche ice cream right at home.
For this recipe, I used a store-bought dulce de leche, but I usually make my own. If you’re new to dulce de leche, I also have a complete Dulce de Leche Guide where I explain the different ways to make it, my favorite brands, and how I use it in baking.
This post may contain affiliate links. I earn a commission from qualified purchases. Please read our Privacy policy here.
Why I Love This Ice Cream
This recipe has everything I look for in homemade ice cream.
- Rich, creamy custard base with an incredibly smooth texture.
- Deep caramel flavor from real dulce de leche.
- Beautiful ribbons of dulce de leche swirled throughout every scoop.
- Uses simple pantry ingredients.
- Better than most store-bought dulce de leche ice cream.
- Perfect on its own or served with brownies, cake, or warm cookies.
- An excellent base for homemade ice cream cakes.
The Ingredients That Make This Ice Cream So Creamy
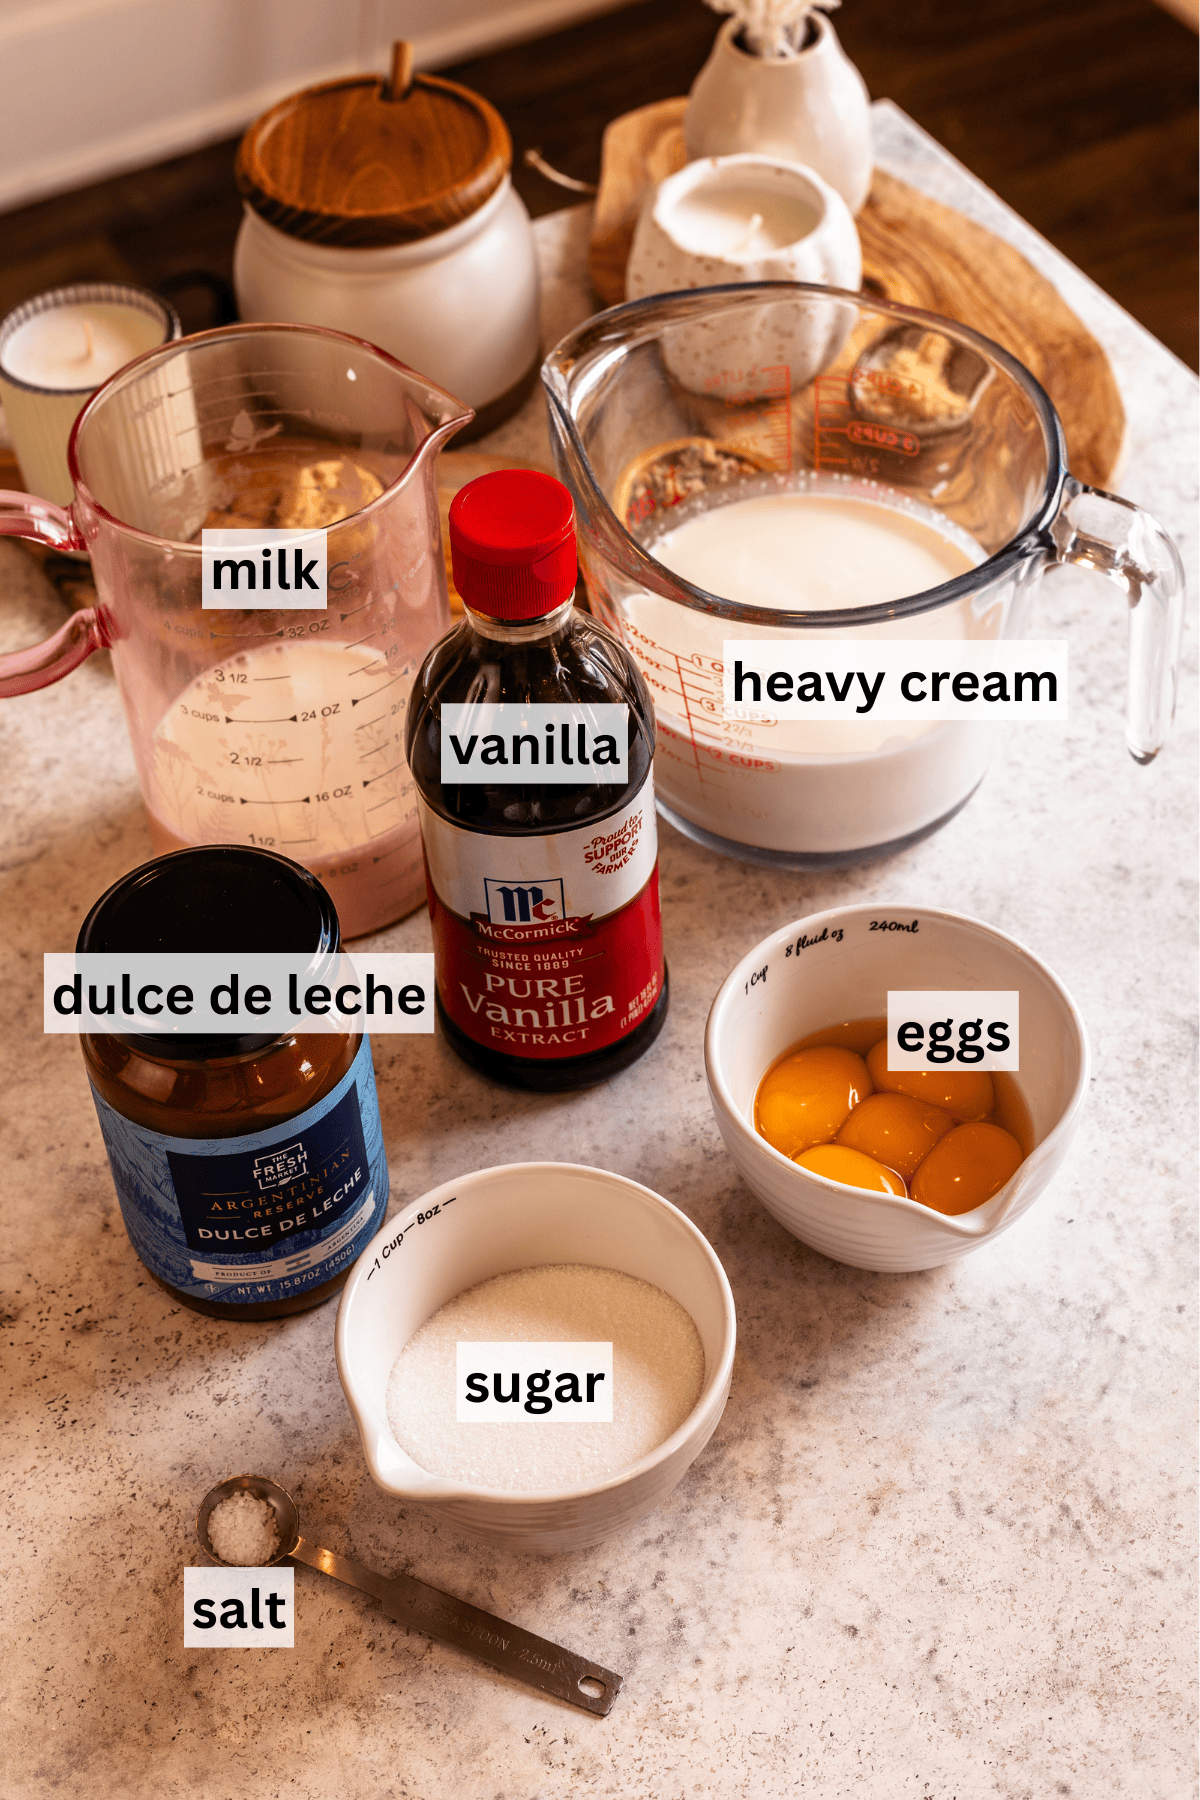
Homemade ice cream doesn’t require many ingredients, so each one plays an important role in creating a rich, scoopable texture.
Heavy Cream: I use heavy cream for richness and body. The higher fat content is what gives homemade ice cream that luxurious texture we all love.
Whole Milk: I balance the heavy cream with whole milk so the ice cream stays creamy without feeling too heavy. I don’t recommend using low-fat milk here because it won’t produce the same texture.
Egg Yolks: This recipe starts with a classic French custard base. Egg yolks naturally thicken the ice cream and create an incredibly silky texture that reminds me of premium ice cream shops. I’ve tested eggless ice creams before, but I almost always come back to custard-based recipes when I want the creamiest results.
Dulce de Leche: This is the star of the recipe, so I recommend using a dulce de leche you really enjoy eating by the spoonful. Half of it gets whisked directly into the custard, while the rest is added during the final moments of churning to create thick ribbons throughout the finished ice cream. If you’d like to make your own, my Instant Pot Dulce de Leche and Oven Dulce de Leche are both excellent options.
Sugar: There’s only a small amount of granulated sugar because the dulce de leche already contributes plenty of sweetness. The sugar also helps keep the finished ice cream softer and easier to scoop.
You’ll Need an Ice Cream Maker
You’ll need an ice cream maker for this recipe. I currently use the KitchenAid Ice Cream Maker Attachment, and it’s the one I recommend. Before switching to the KitchenAid attachment, I used a Cuisinart ice cream maker for years with great results.
I honestly think an ice cream maker is one of the most underrated kitchen appliances. Once you have one, you can make so much more than basic vanilla ice cream. I love experimenting with different flavors, adding homemade swirls and mix-ins, and using homemade ice cream to make desserts like my Chocolate Ice Cream Cake and Funfetti Ice Cream Cake. It’s one of those appliances that’s incredibly fun to pull out during the summer.
Why Make Your Own Ice Cream?
Making your own ice cream lets you control every ingredient and customize it exactly how you like it. You can use your favorite flavors, adjust the sweetness, add generous swirls and mix-ins, and enjoy a fresher, creamier ice cream than most store-bought versions. Once you make it from scratch, it’s hard to go back.
How to Make Dulce de Leche Ice Cream
The full recipe and measurements are in the recipe card below, but here is how I make the custard, churn the ice cream, and keep those dulce de leche ribbons intact.
Heat the Cream and Milk
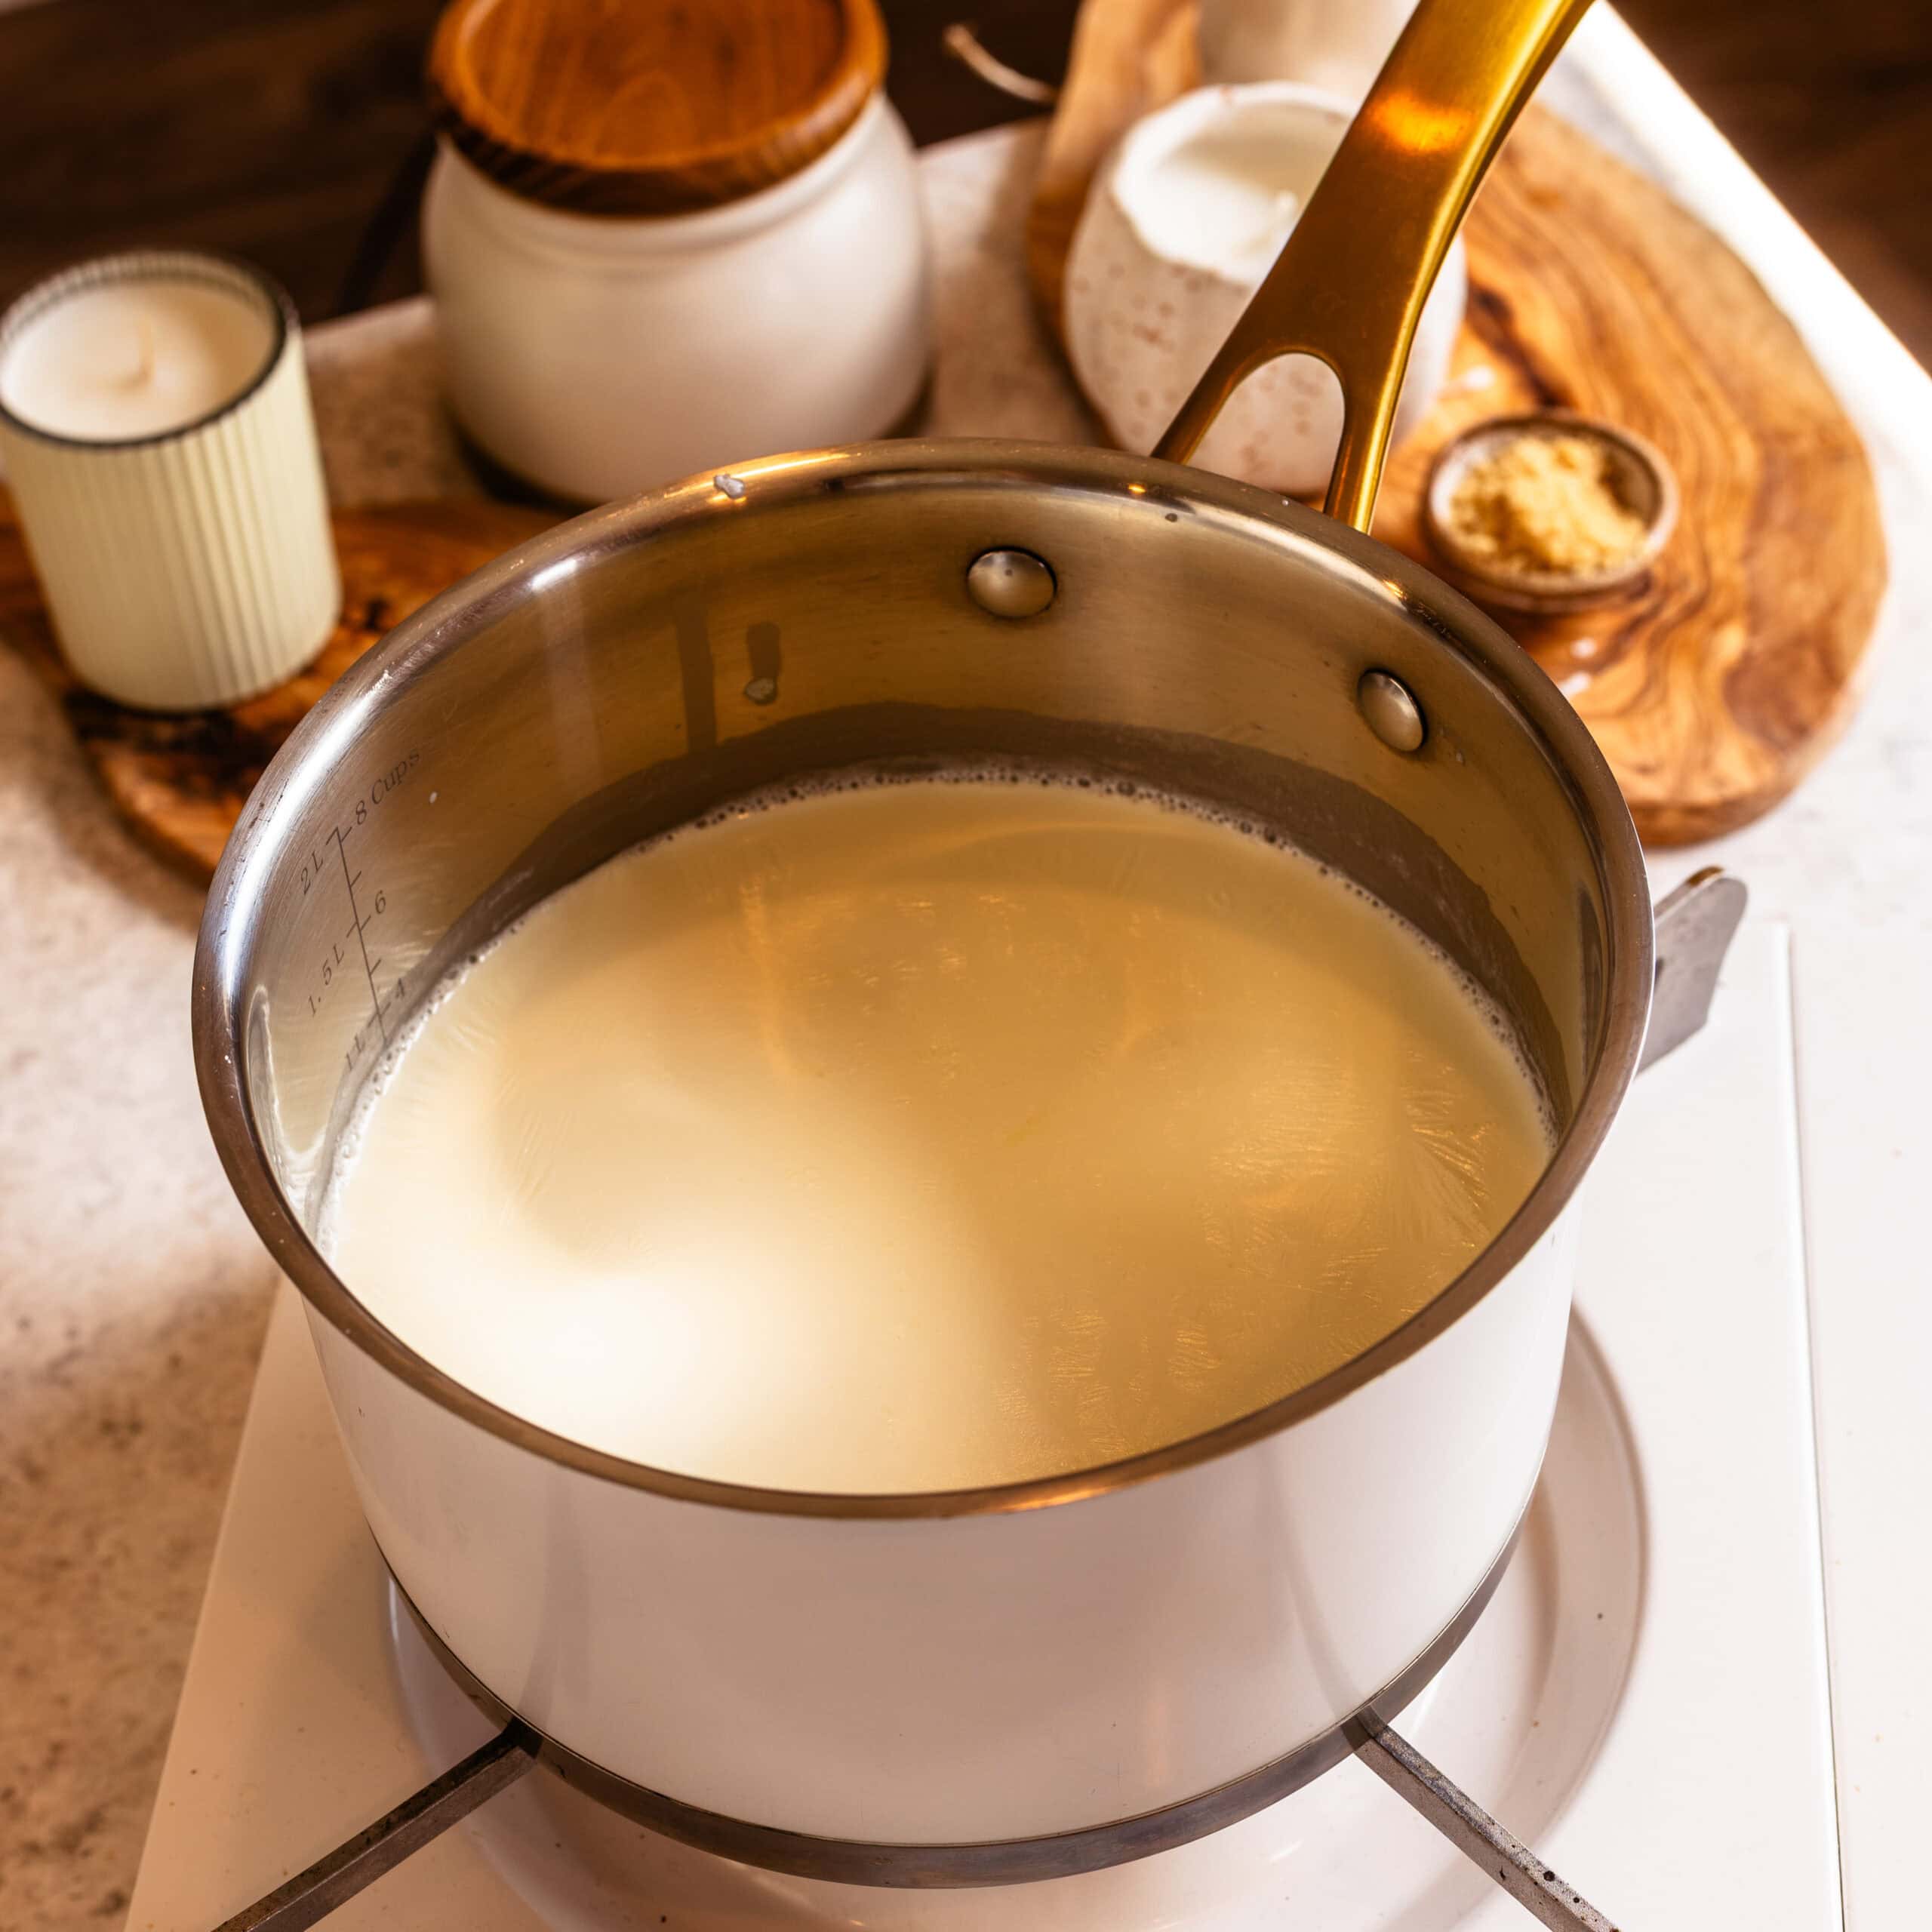
Add the heavy cream and whole milk to a medium saucepan. Heat over medium-low heat until the mixture is steaming and small bubbles begin to appear around the edges.
I don’t let the dairy come to a boil. It only needs to be hot enough to temper the eggs and dissolve the dulce de leche smoothly.
Whisk the Egg Yolks, Sugar, and Dulce de Leche
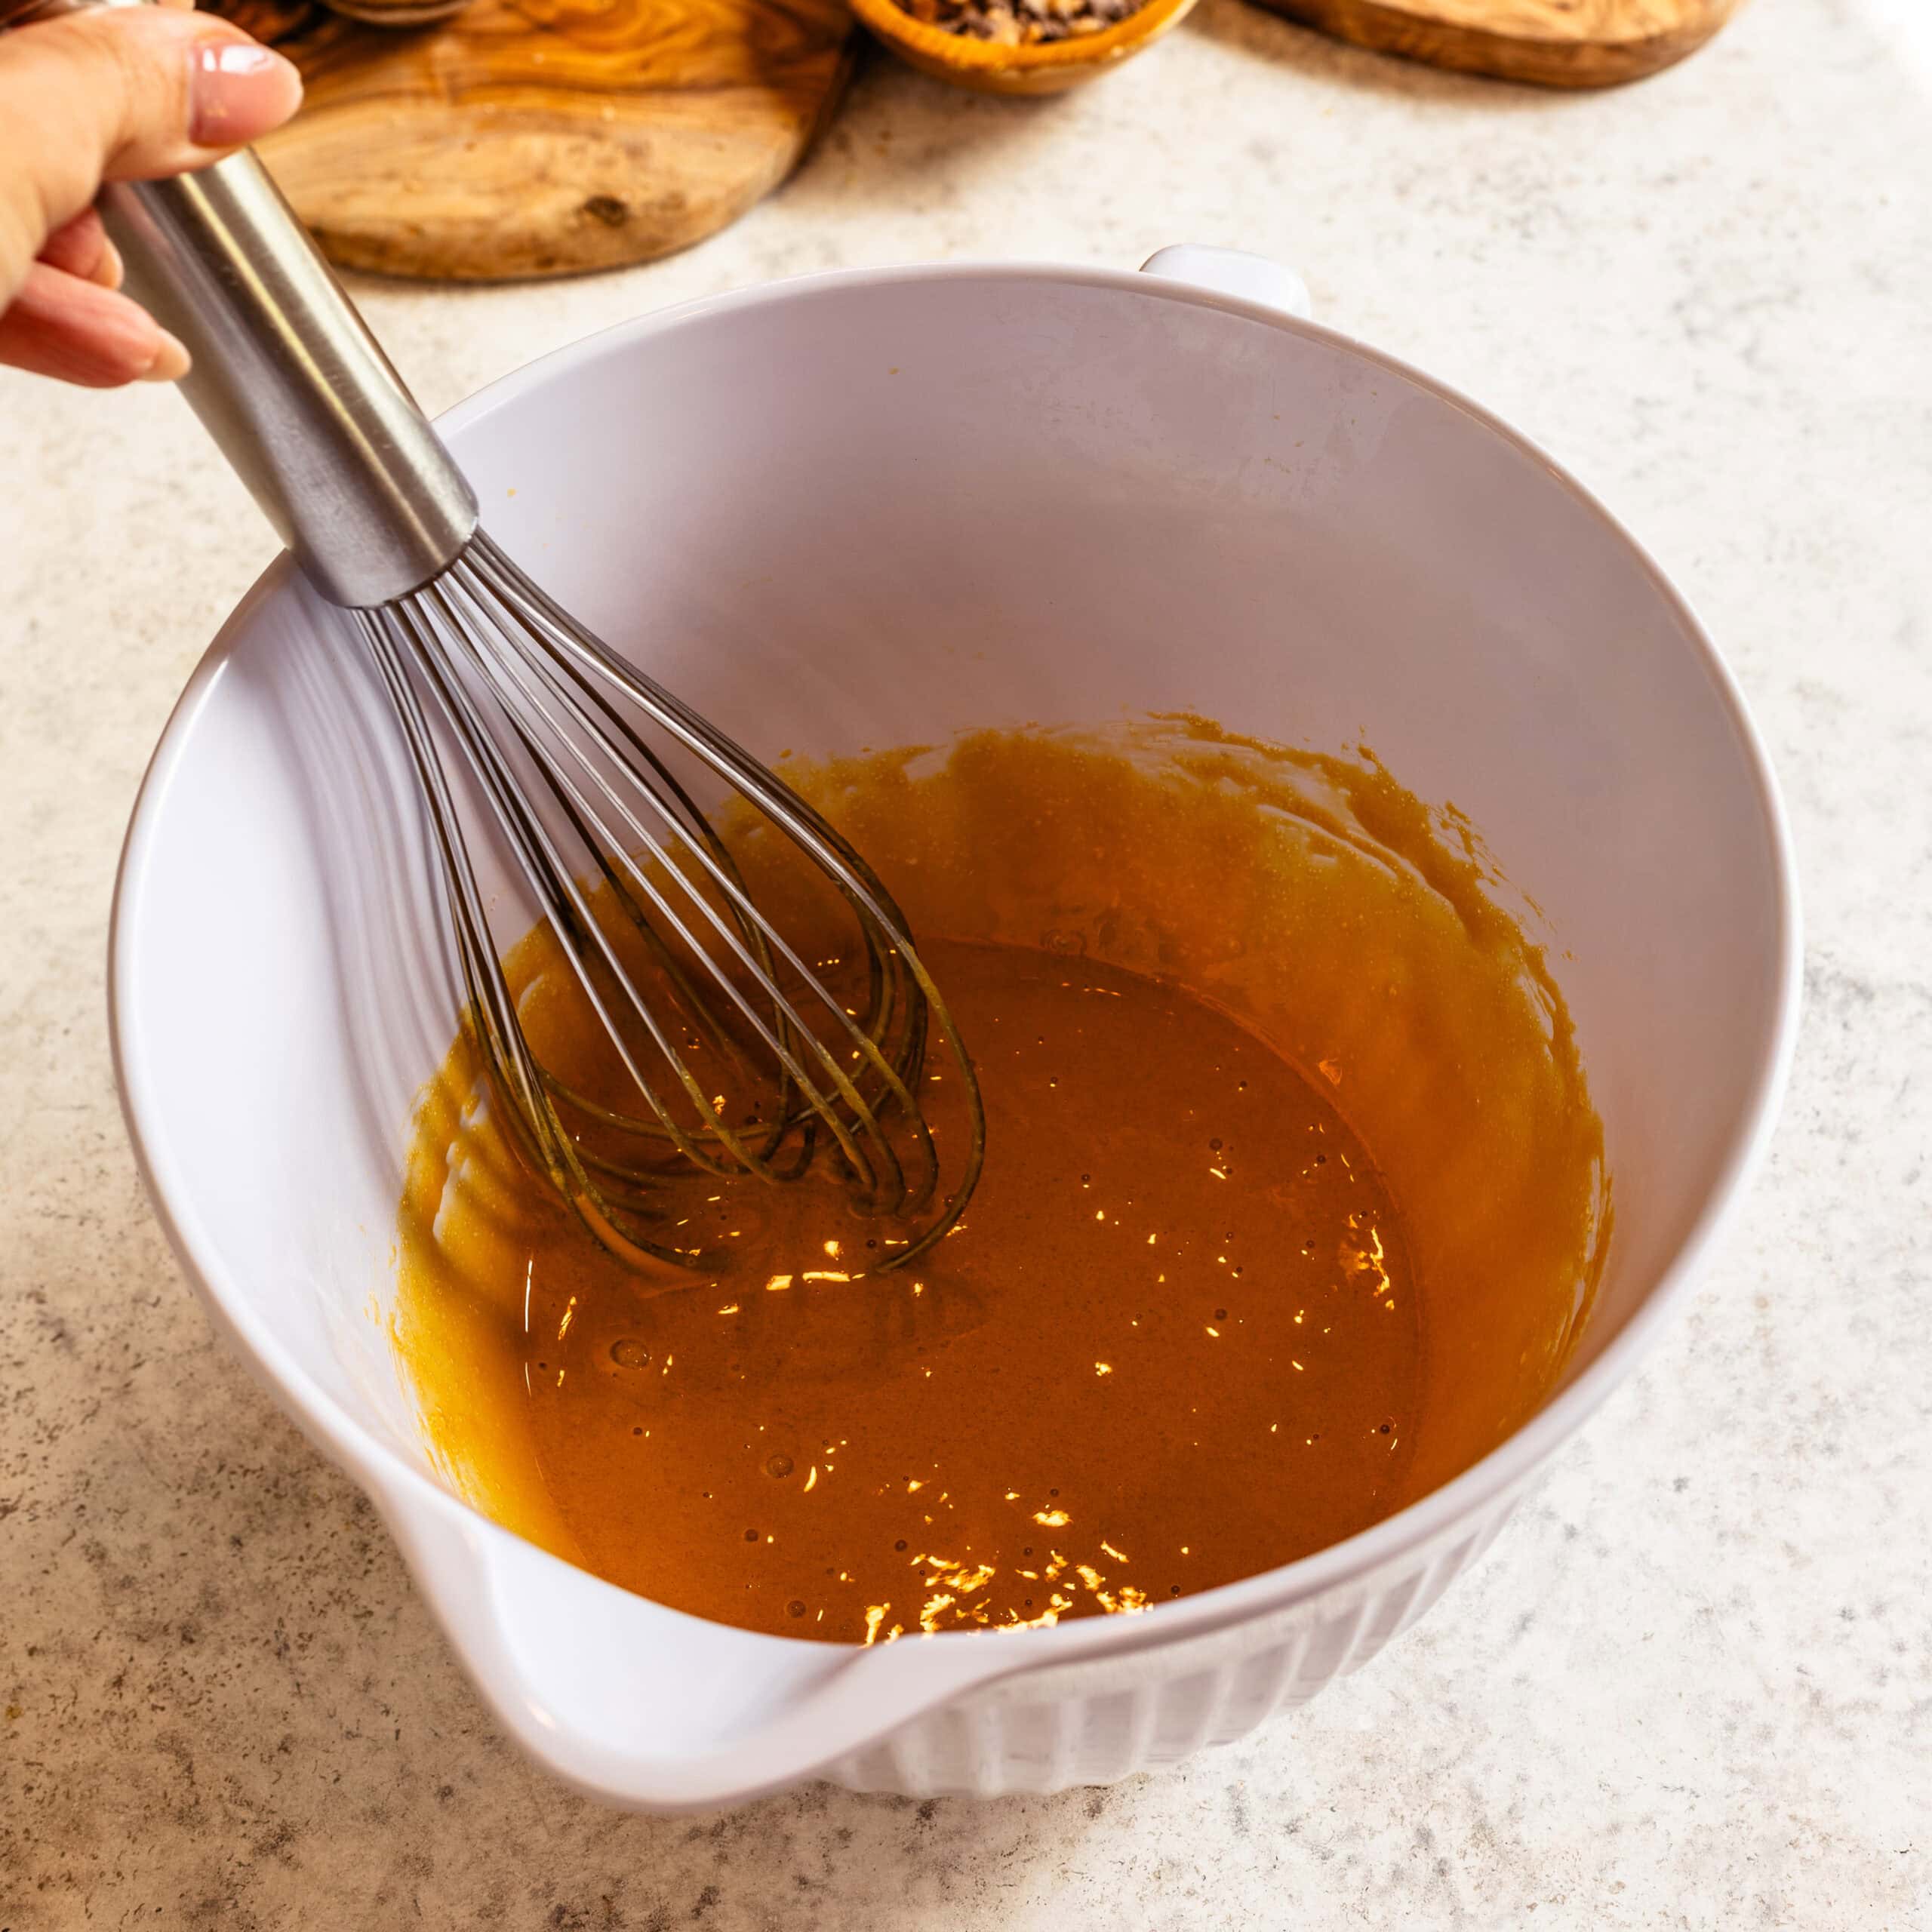
While the cream mixture heats, whisk the egg yolks and granulated sugar in a separate medium bowl until combined and slightly lighter in color.
Add ½ cup (160 grams) of dulce de leche and whisk until smooth. Reserve the remaining dulce de leche for swirling into the ice cream during the final stage of churning.
Temper the Egg Yolks
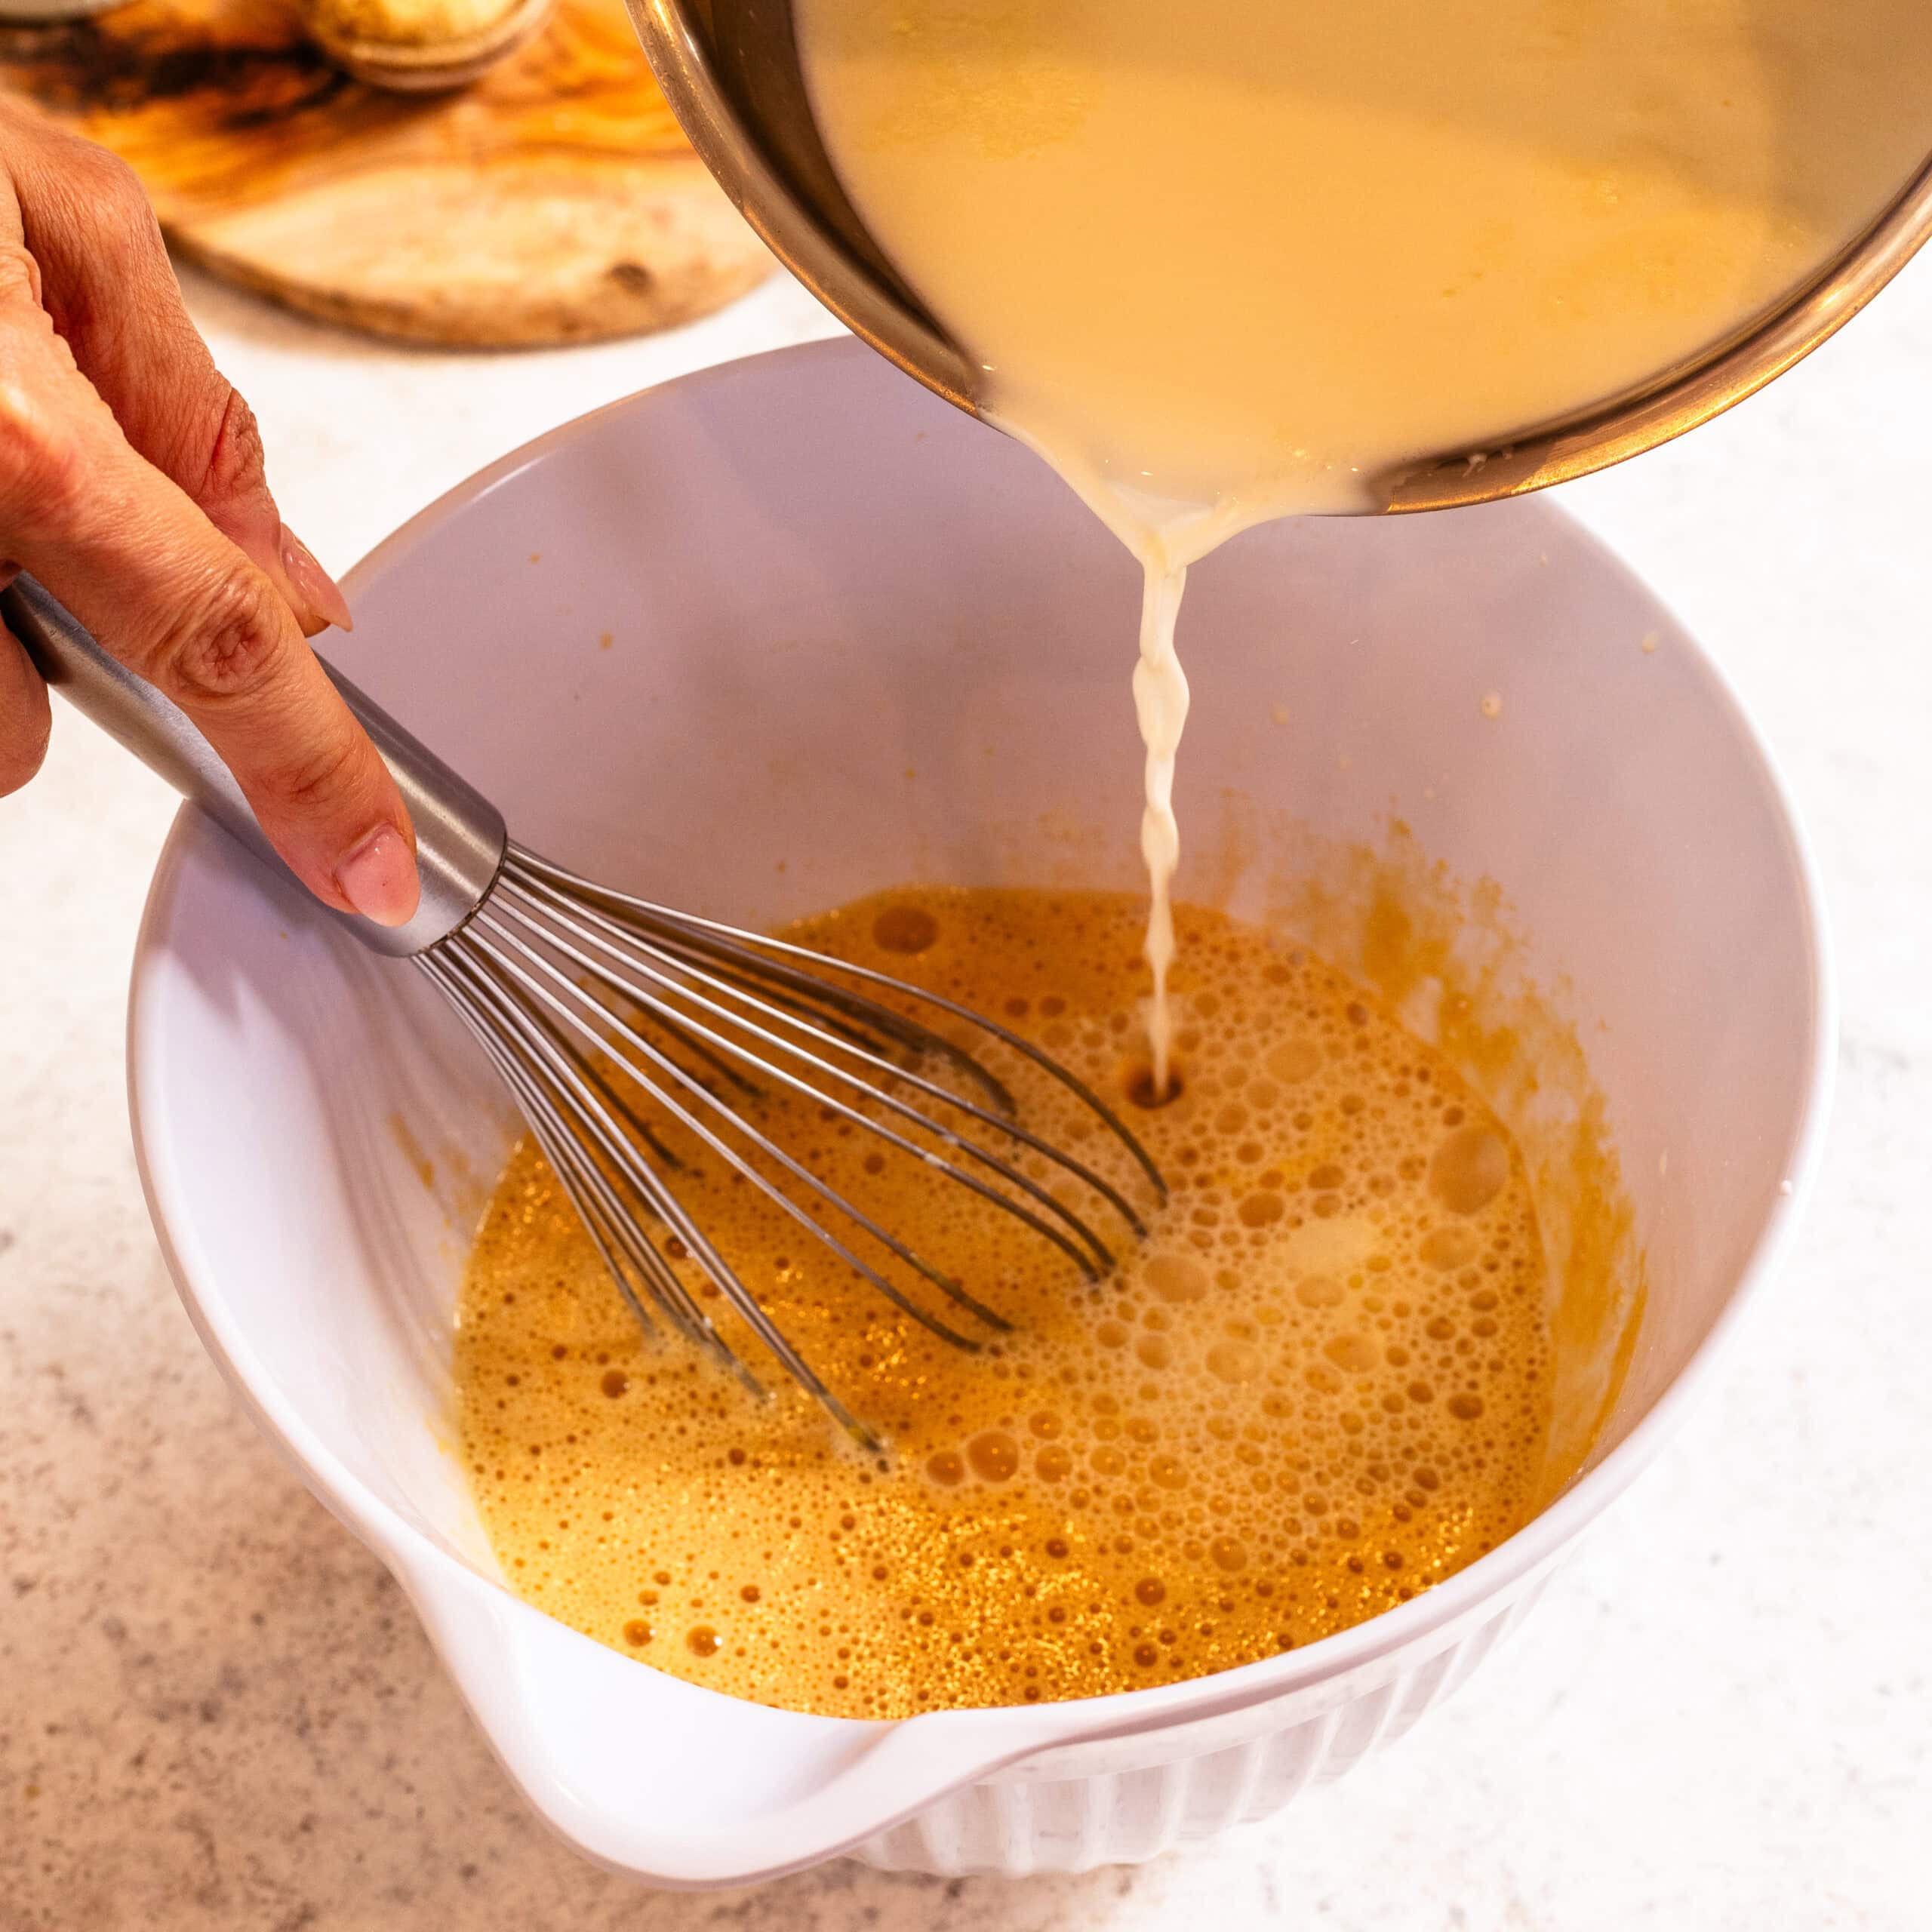
Slowly pour the hot cream mixture into the yolks while whisking constantly. I add about ¼ cup at a time at first, then pour more steadily once the yolks have warmed.
This gradual process matters because adding all the hot dairy at once can scramble the eggs. Keep whisking as you pour, so the temperature rises evenly.
Cook the Custard
Pour the mixture back into the saucepan through a fine-mesh sieve. This catches any small egg pieces and gives the finished ice cream a smoother texture.
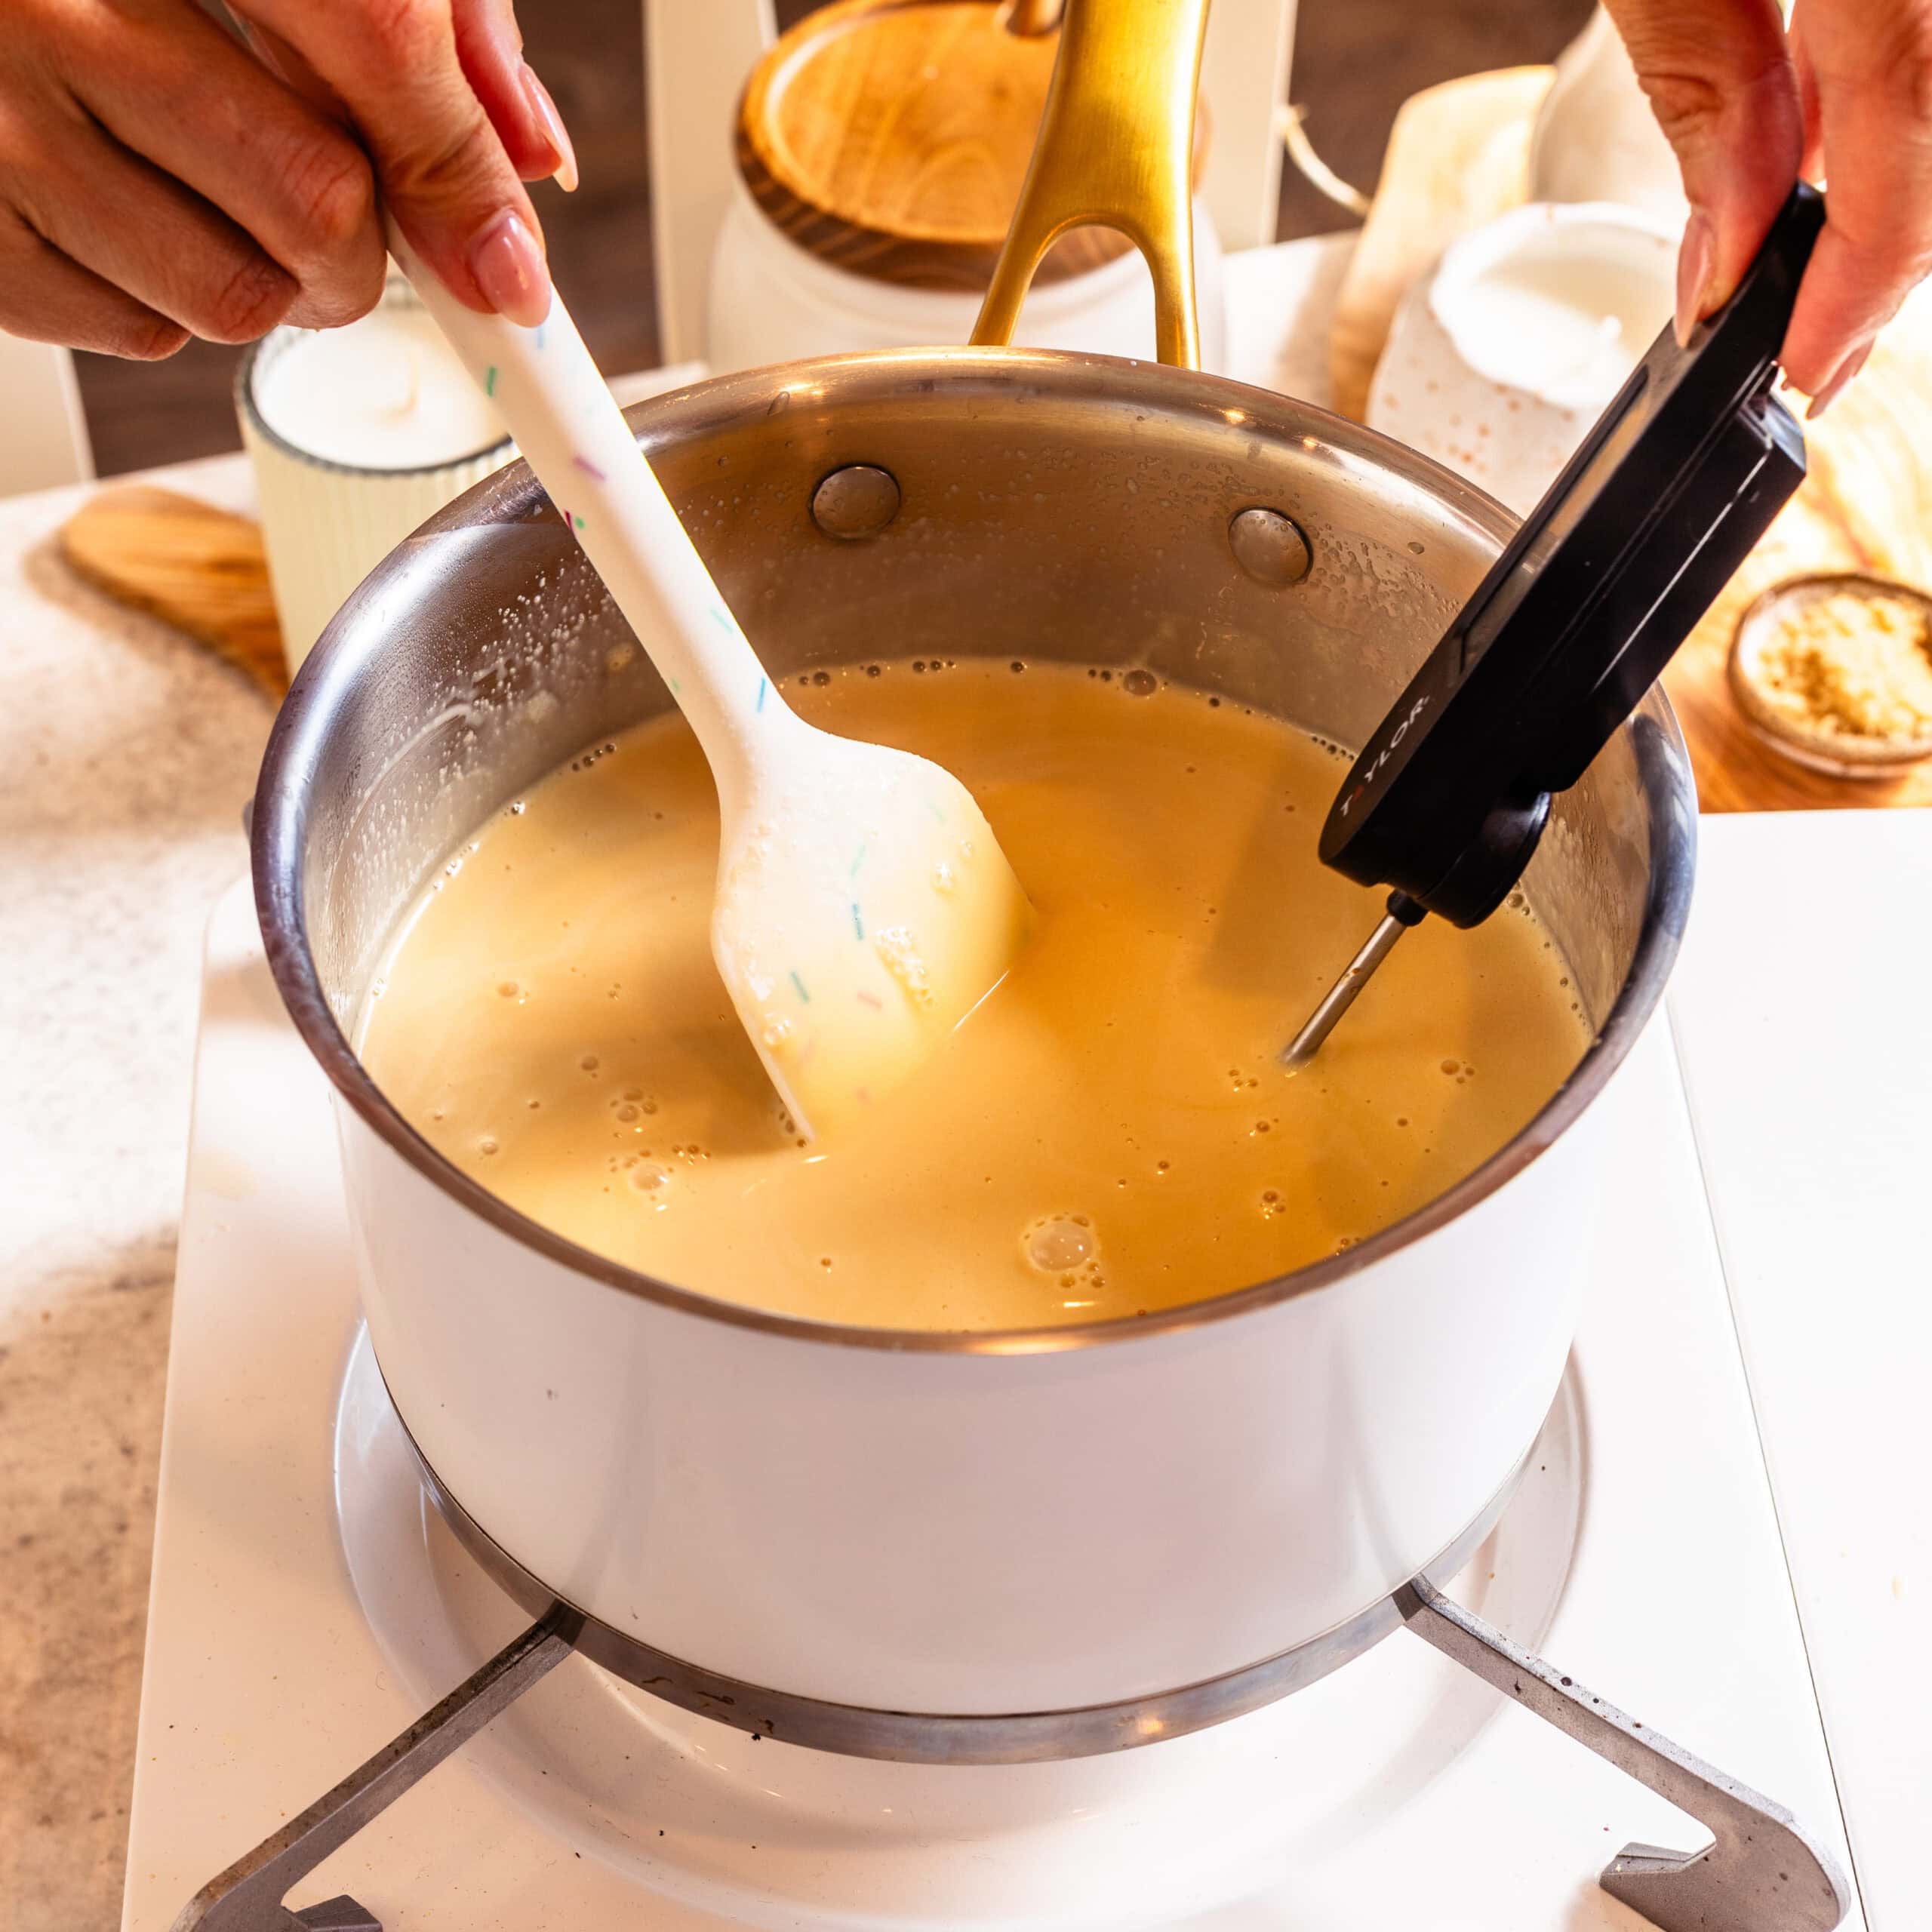
Cook over medium-low heat, stirring constantly with a silicone spatula. Make sure to scrape along the bottom and into the corners of the pan, where the custard tends to cook first.
The custard is ready when it reaches 170–175°F (77–79°C). It should also coat the back of the spatula, and a line drawn through it with your finger should remain visible.
Don’t let the custard boil, and don’t walk away from the pan. Once it begins to thicken, it can go from perfectly cooked to curdled quickly.
Add the Vanilla and Salt
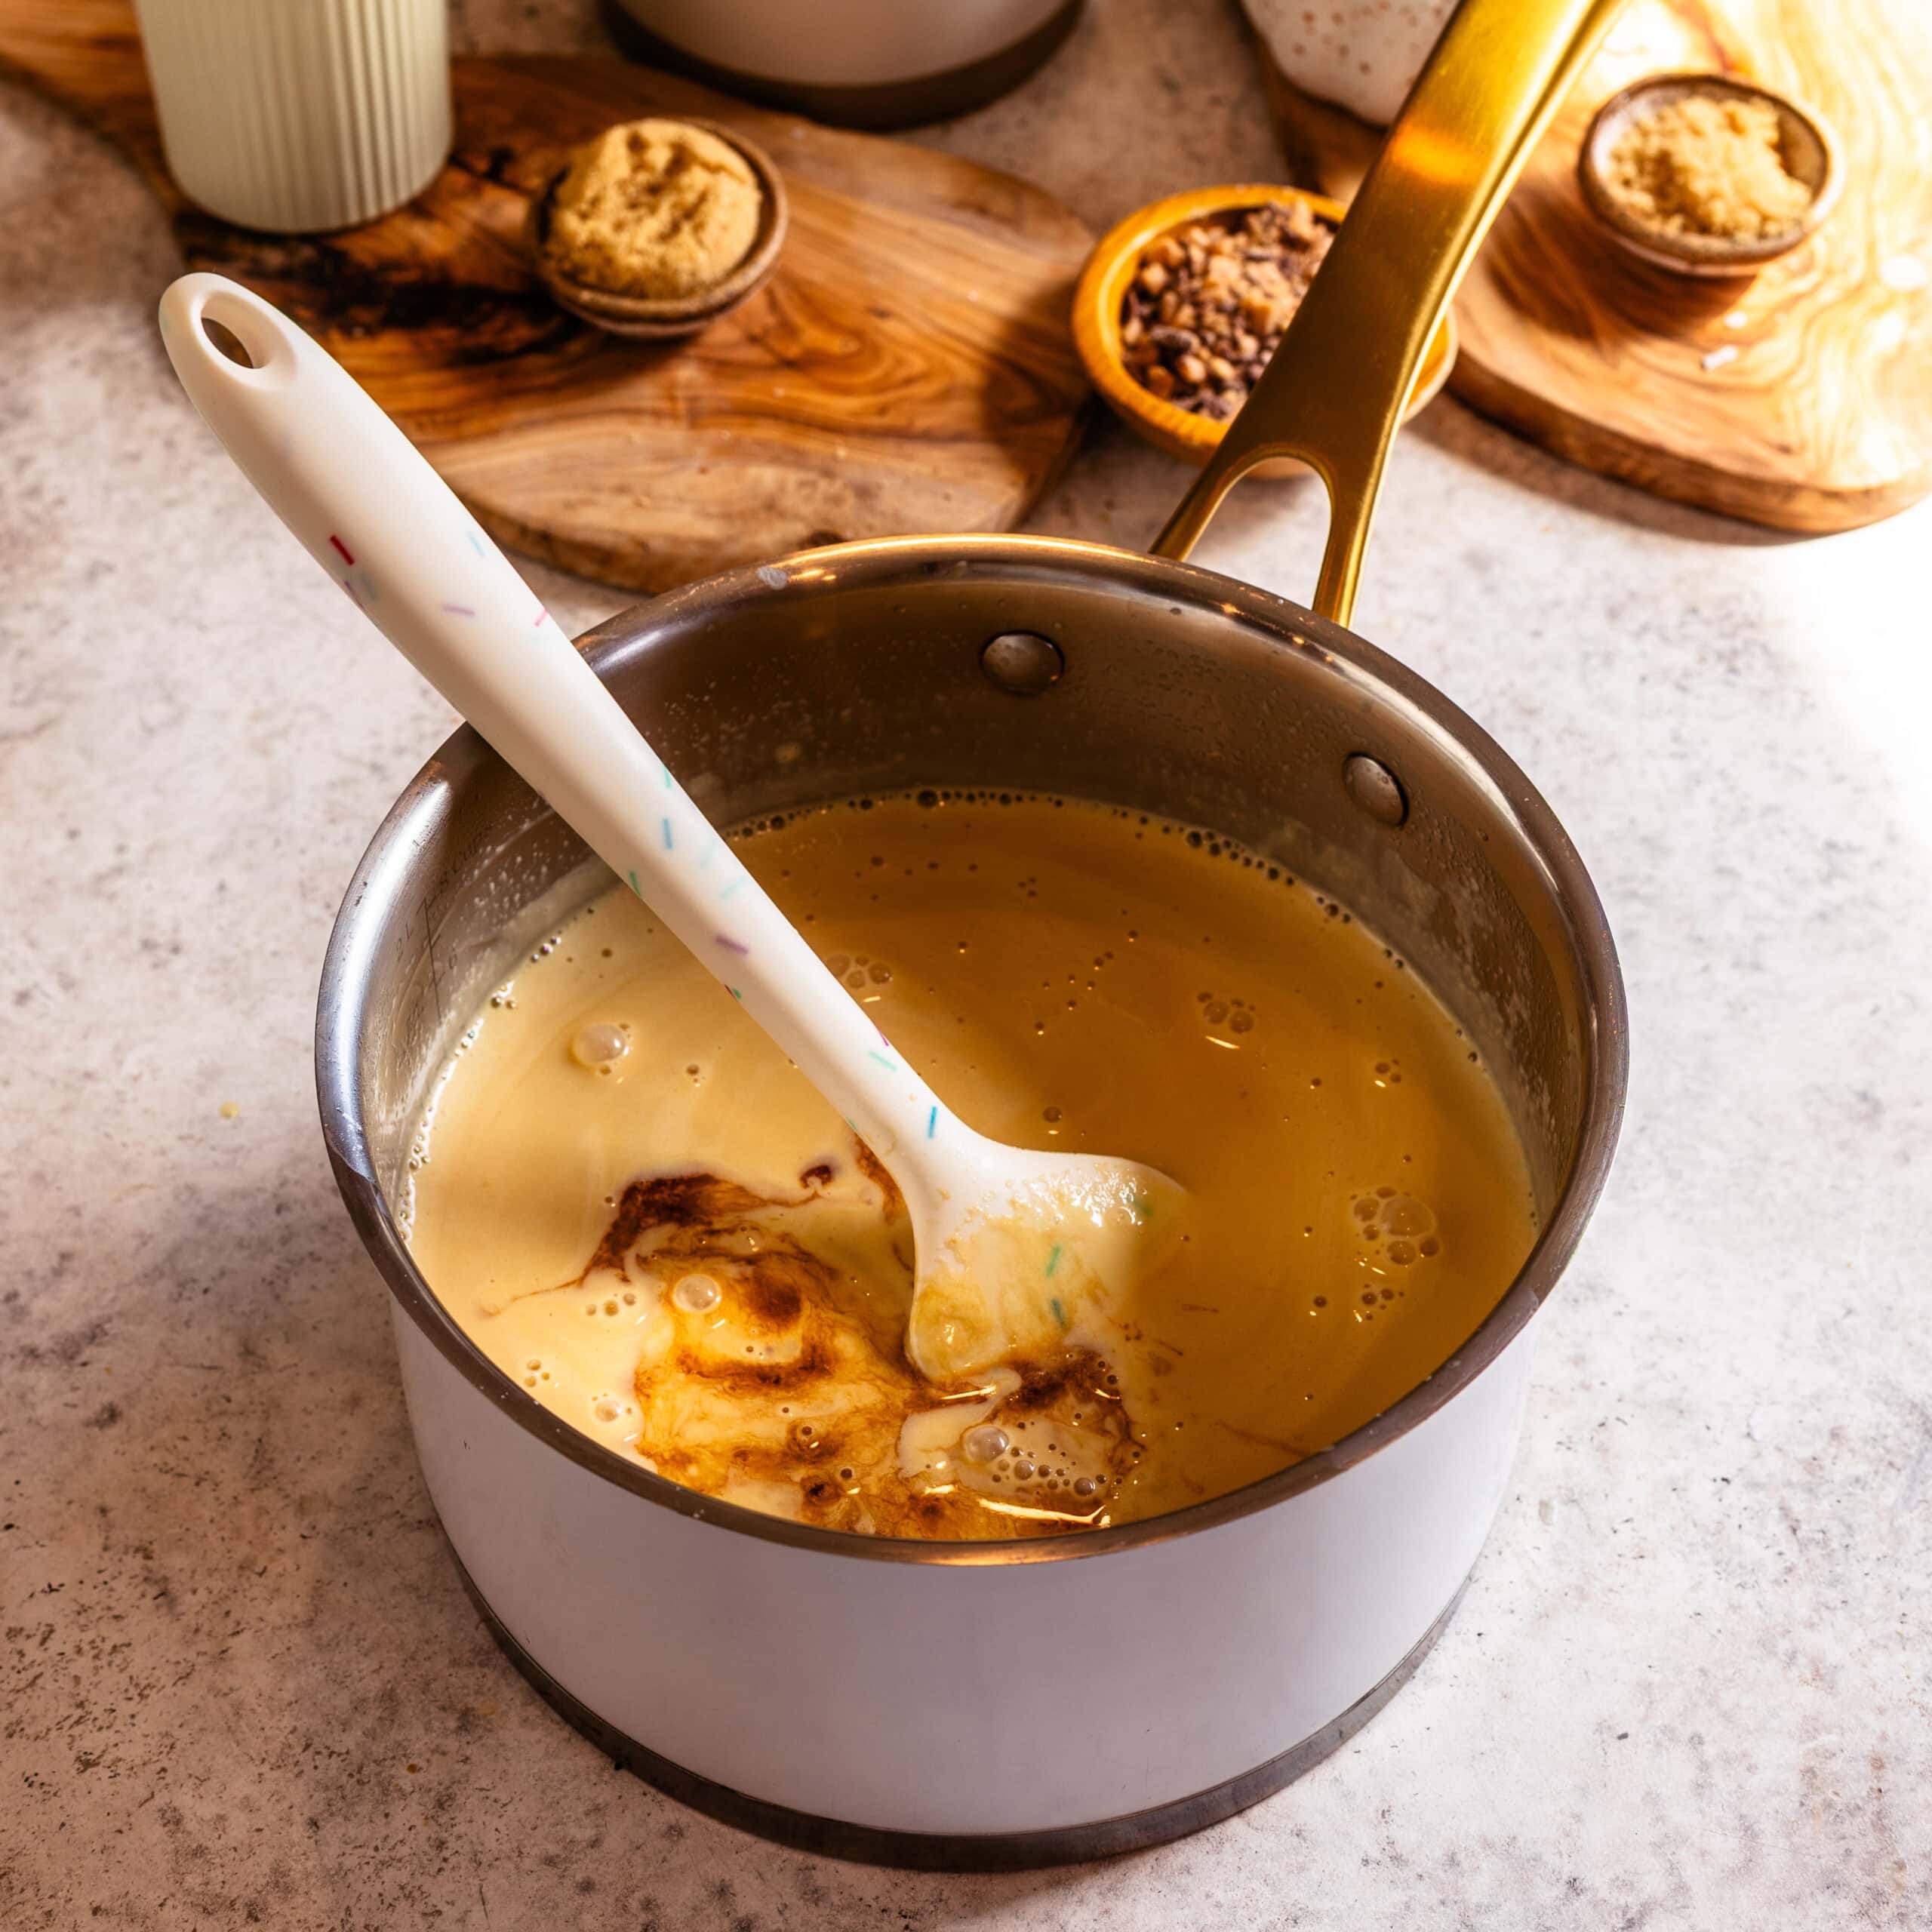
Remove the saucepan from the heat and stir in the vanilla extract and salt. The salt is important here because it balances the sweetness and brings out the caramel notes in the dulce de leche.
Chill the Custard Completely
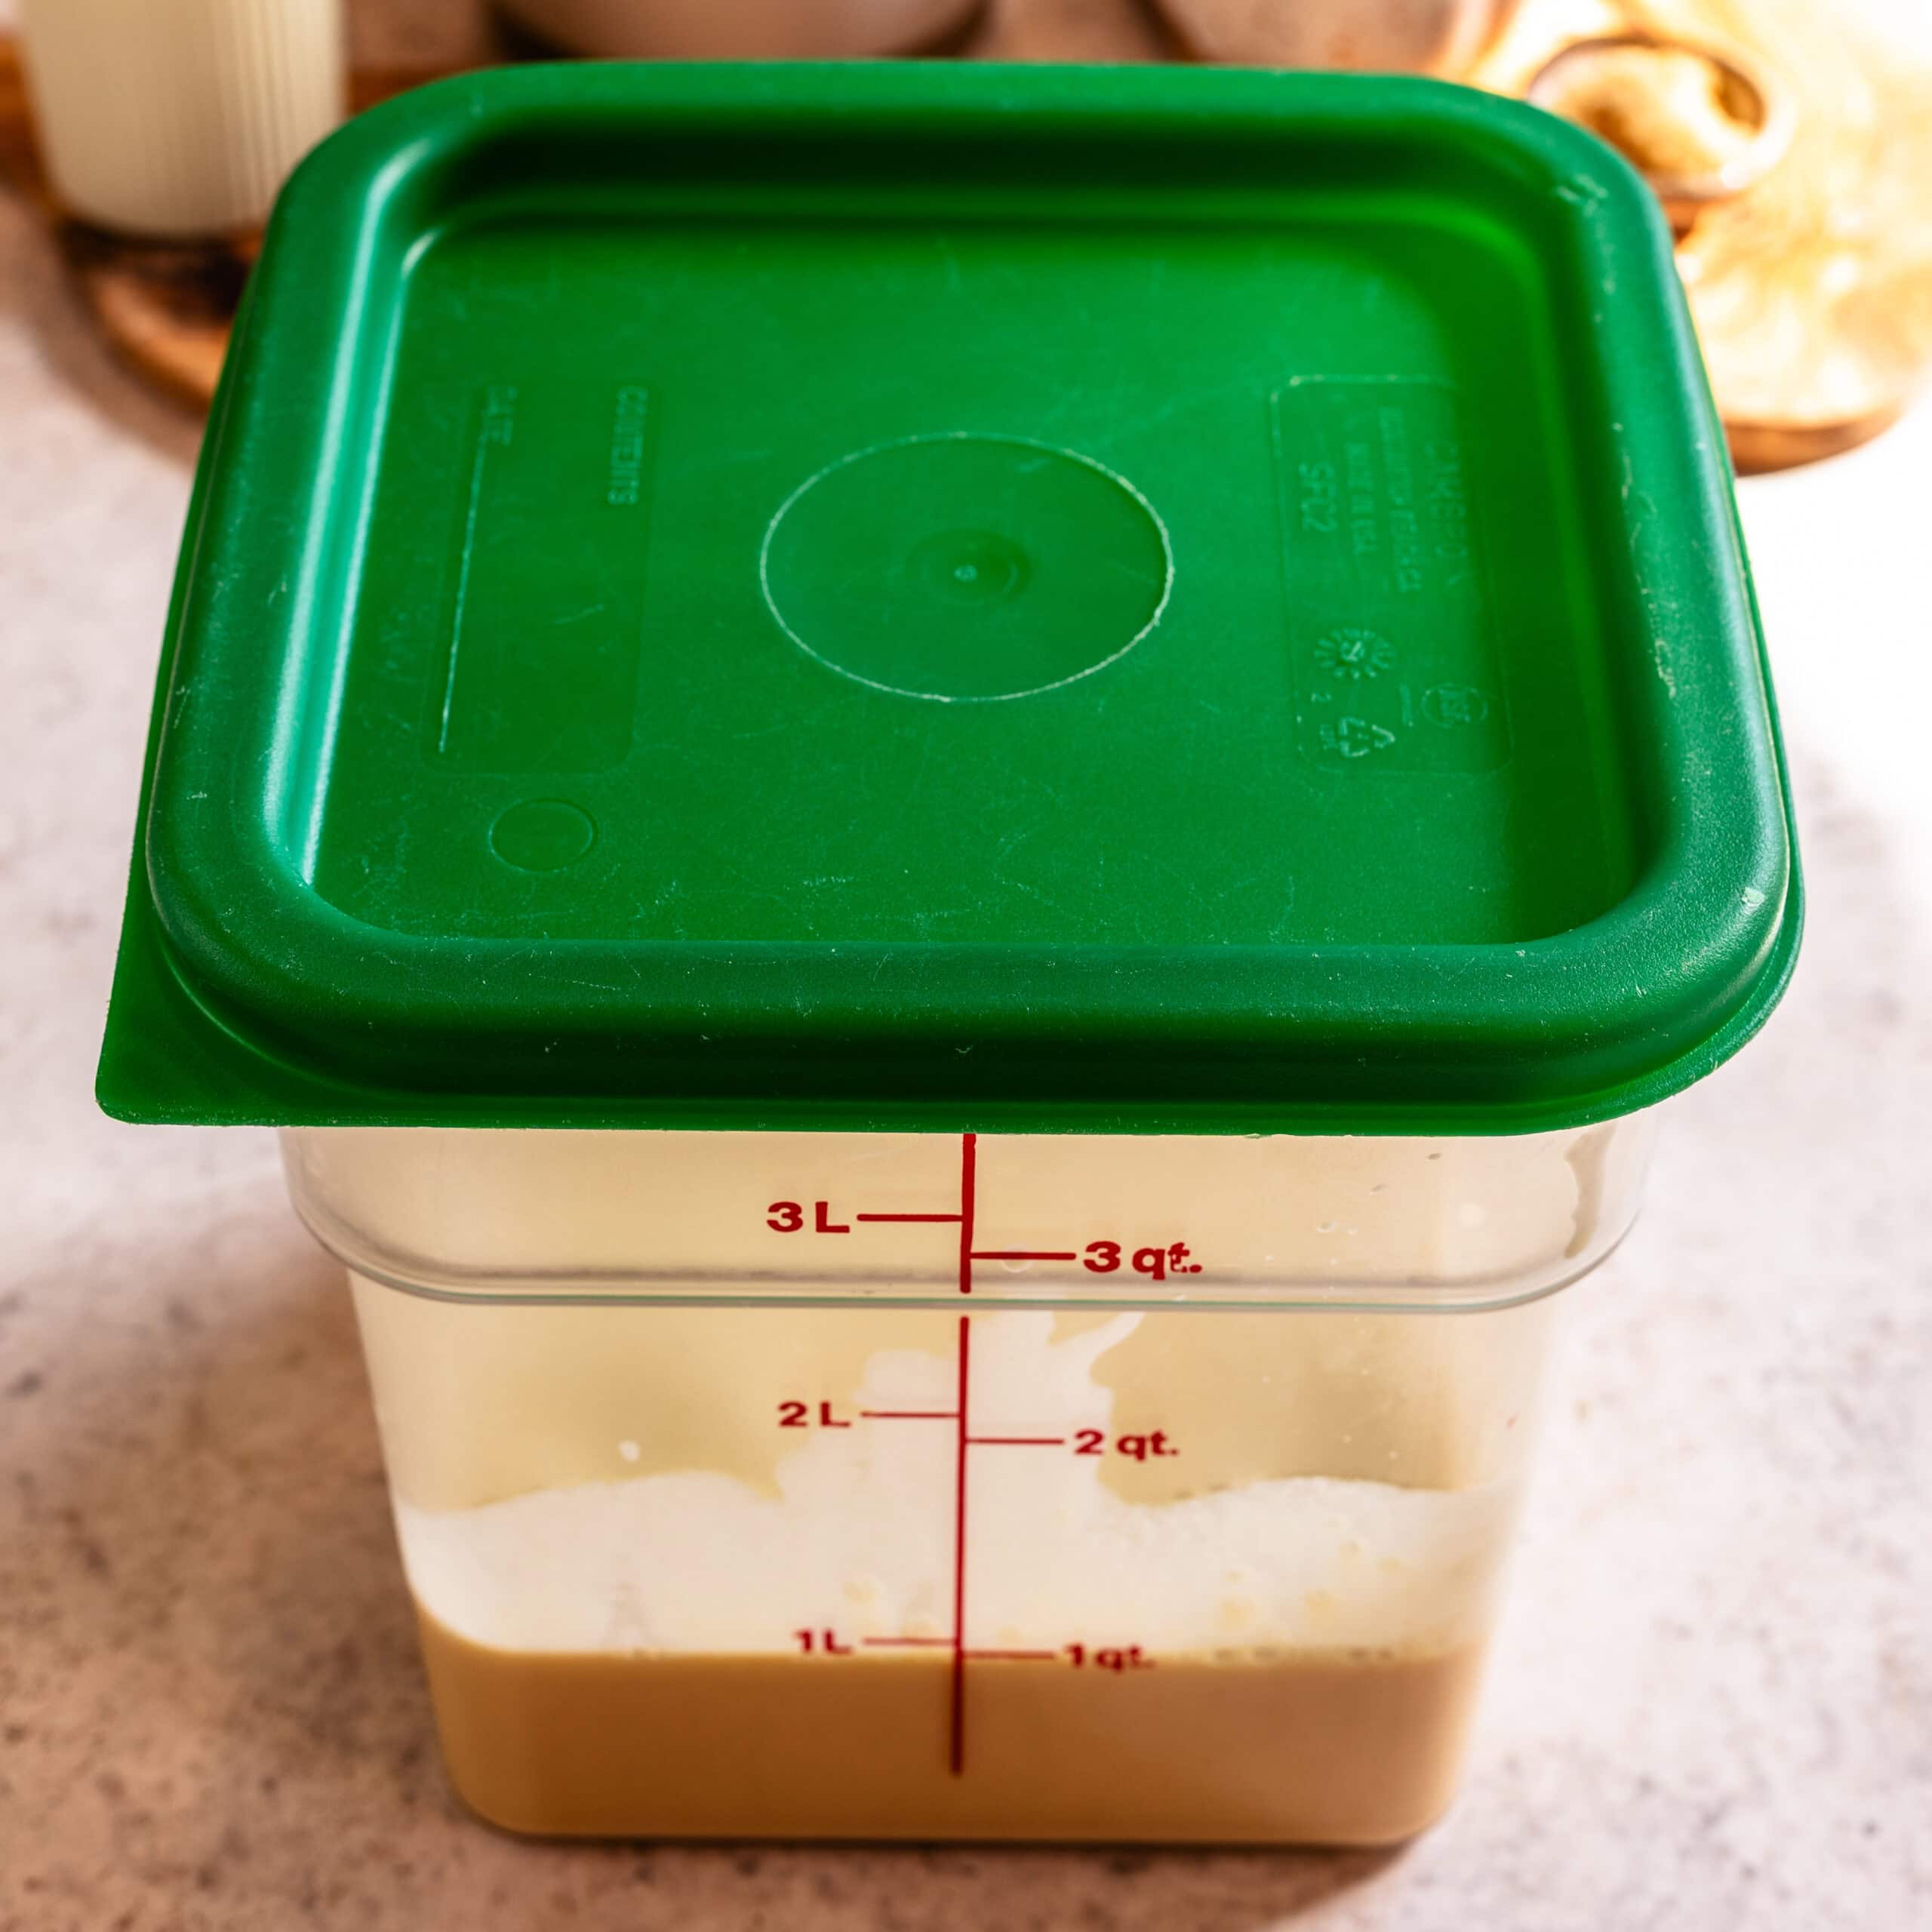
Strain the custard once more into a clean container. Even when the custard looks smooth, I still strain it because it removes any tiny pieces of cooked egg that could affect the final texture.
Cover the container tightly and refrigerate the custard until completely cold. I prefer to chill it overnight, but it should be refrigerated for at least several hours and reach below 40°F (4°C) before churning.
A thoroughly chilled base freezes faster in the machine, which creates smaller ice crystals and a smoother, creamier texture. Churning a warm custard usually results in softer, icier ice cream.
Churn the Ice Cream
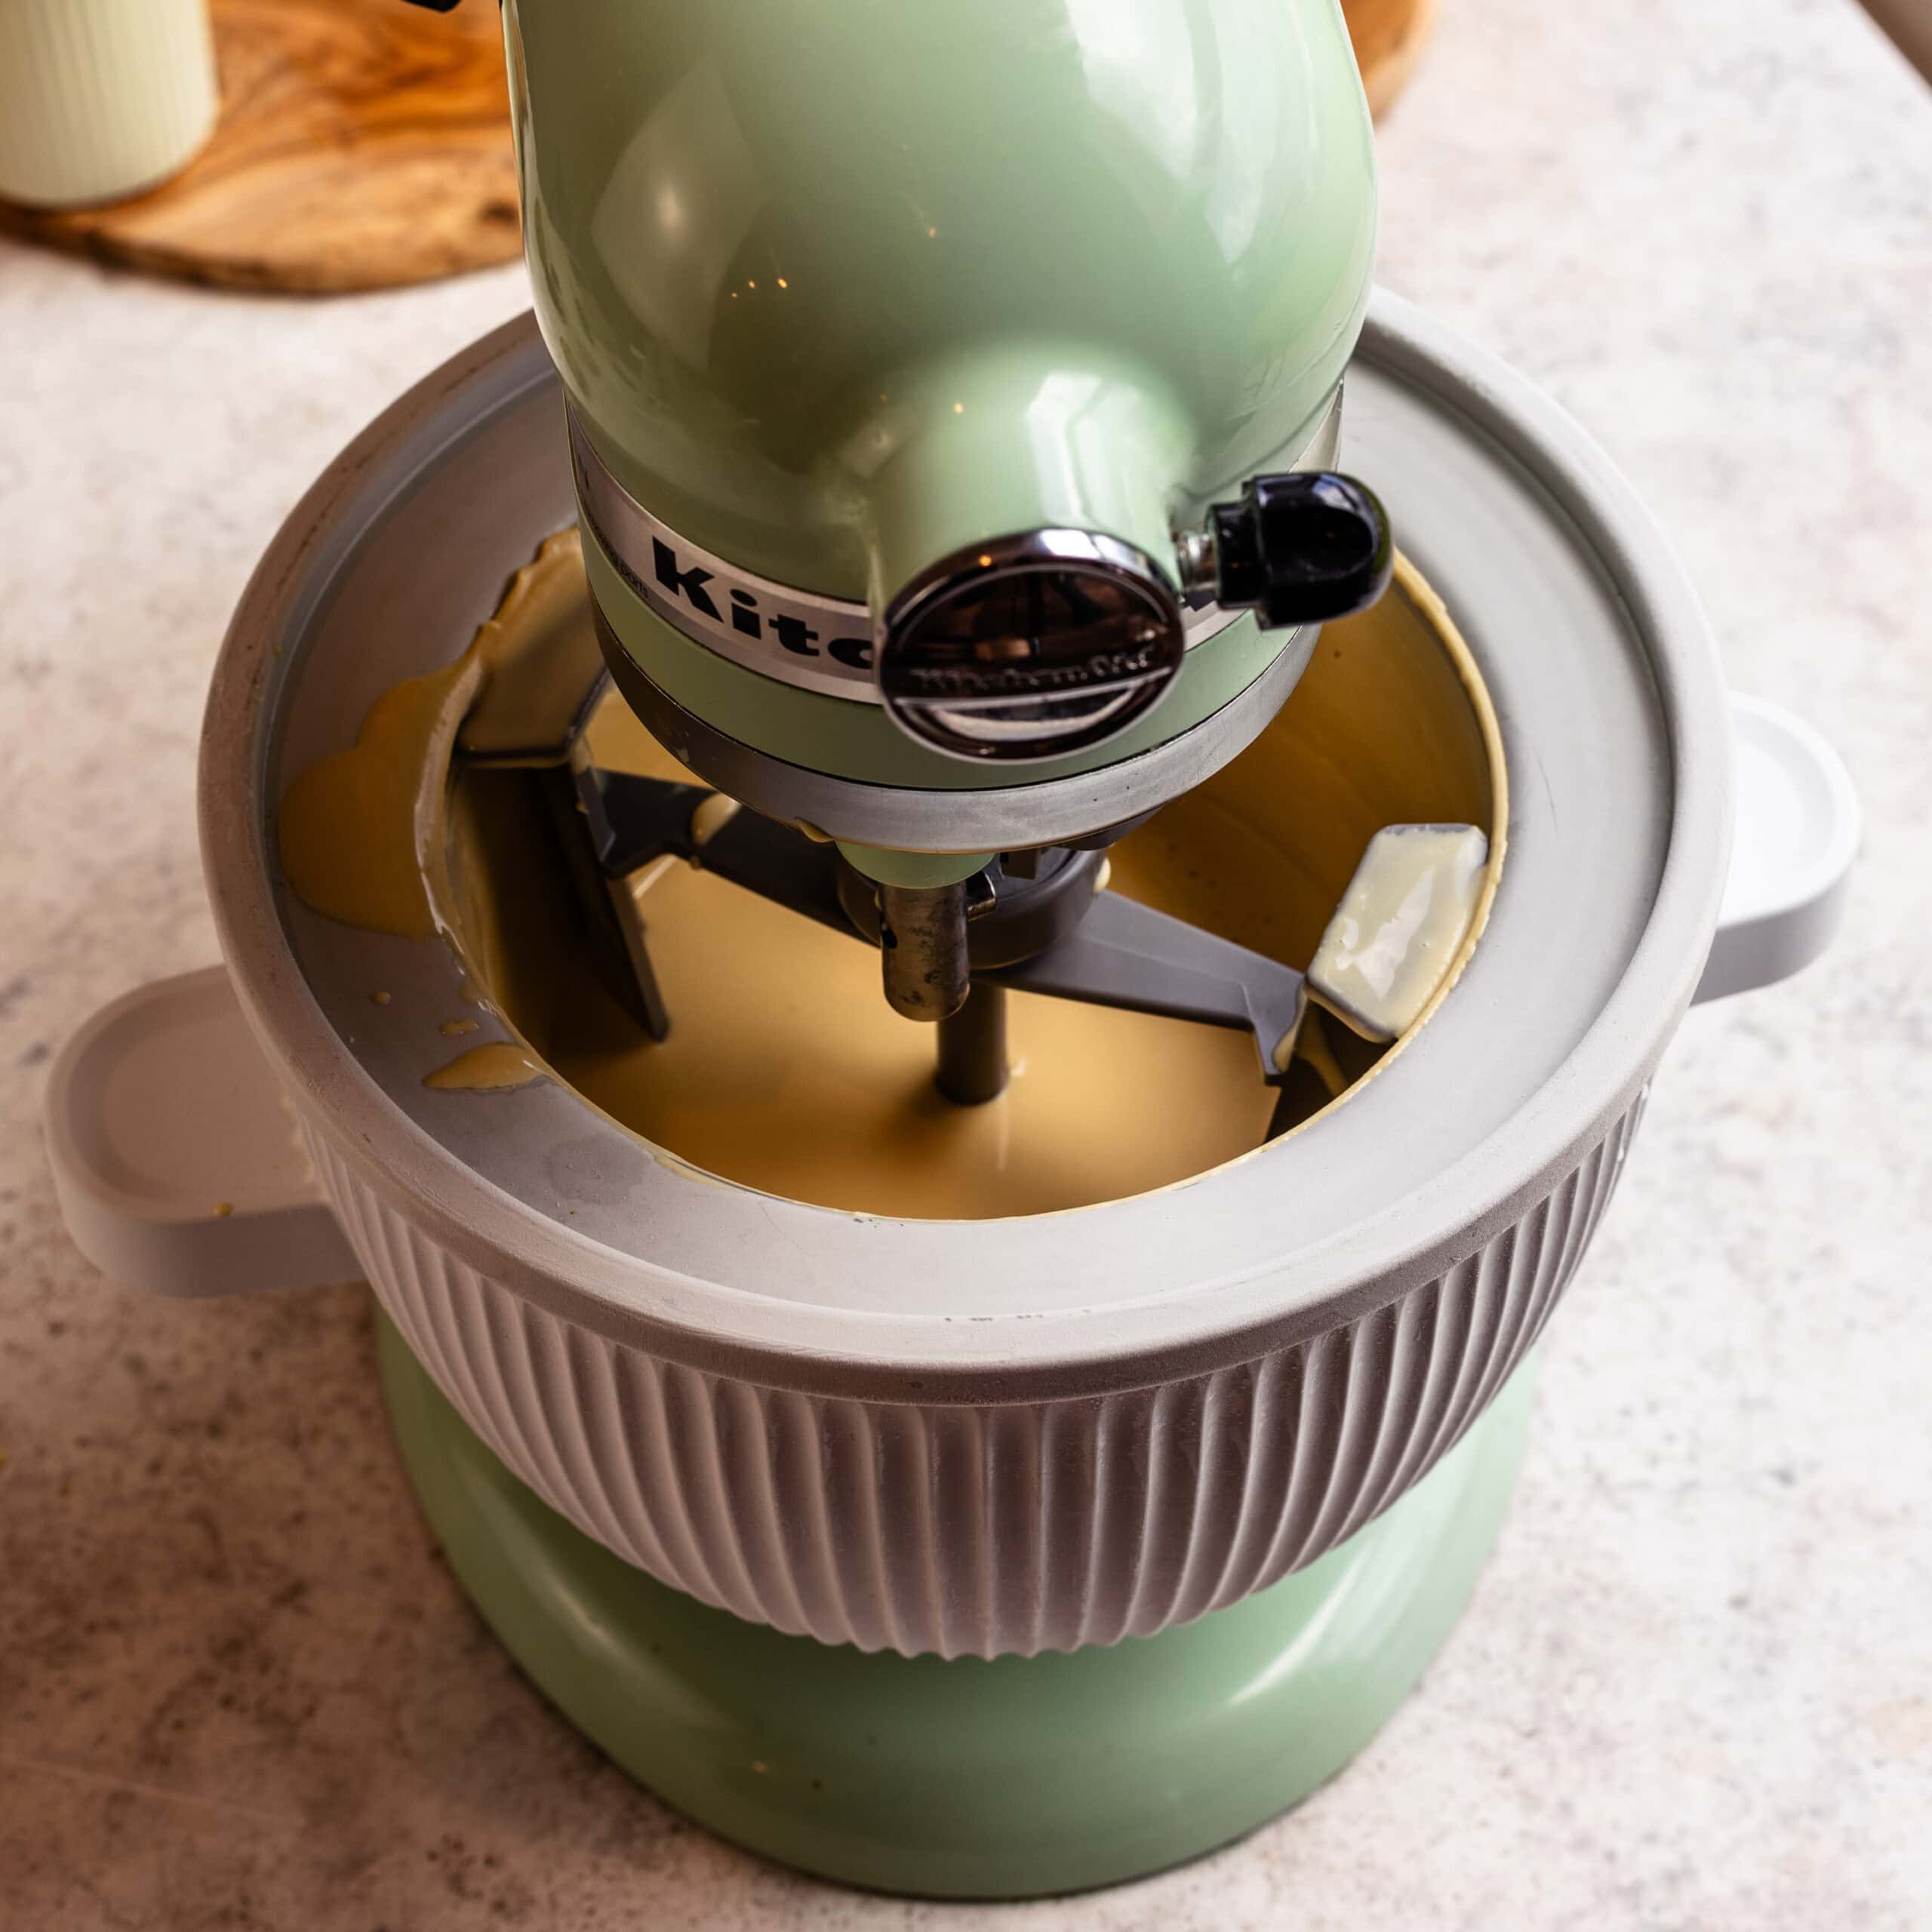
Before you begin, make sure the bowl of your ice cream maker is completely frozen. I freeze my KitchenAid ice cream bowl for at least 24 hours. When you shake it, you shouldn’t hear any liquid sloshing inside.
Churn the cold custard according to your machine’s instructions. With my KitchenAid attachment, it takes about 15 to 20 minutes to reach a thick soft-serve consistency.
Watch the texture rather than relying only on the clock. The ice cream should look thick, creamy, and noticeably expanded in volume. Don’t continue churning long after it reaches this stage, since overchurning can give it a slightly buttery texture.
Add the Dulce de Leche Ribbons
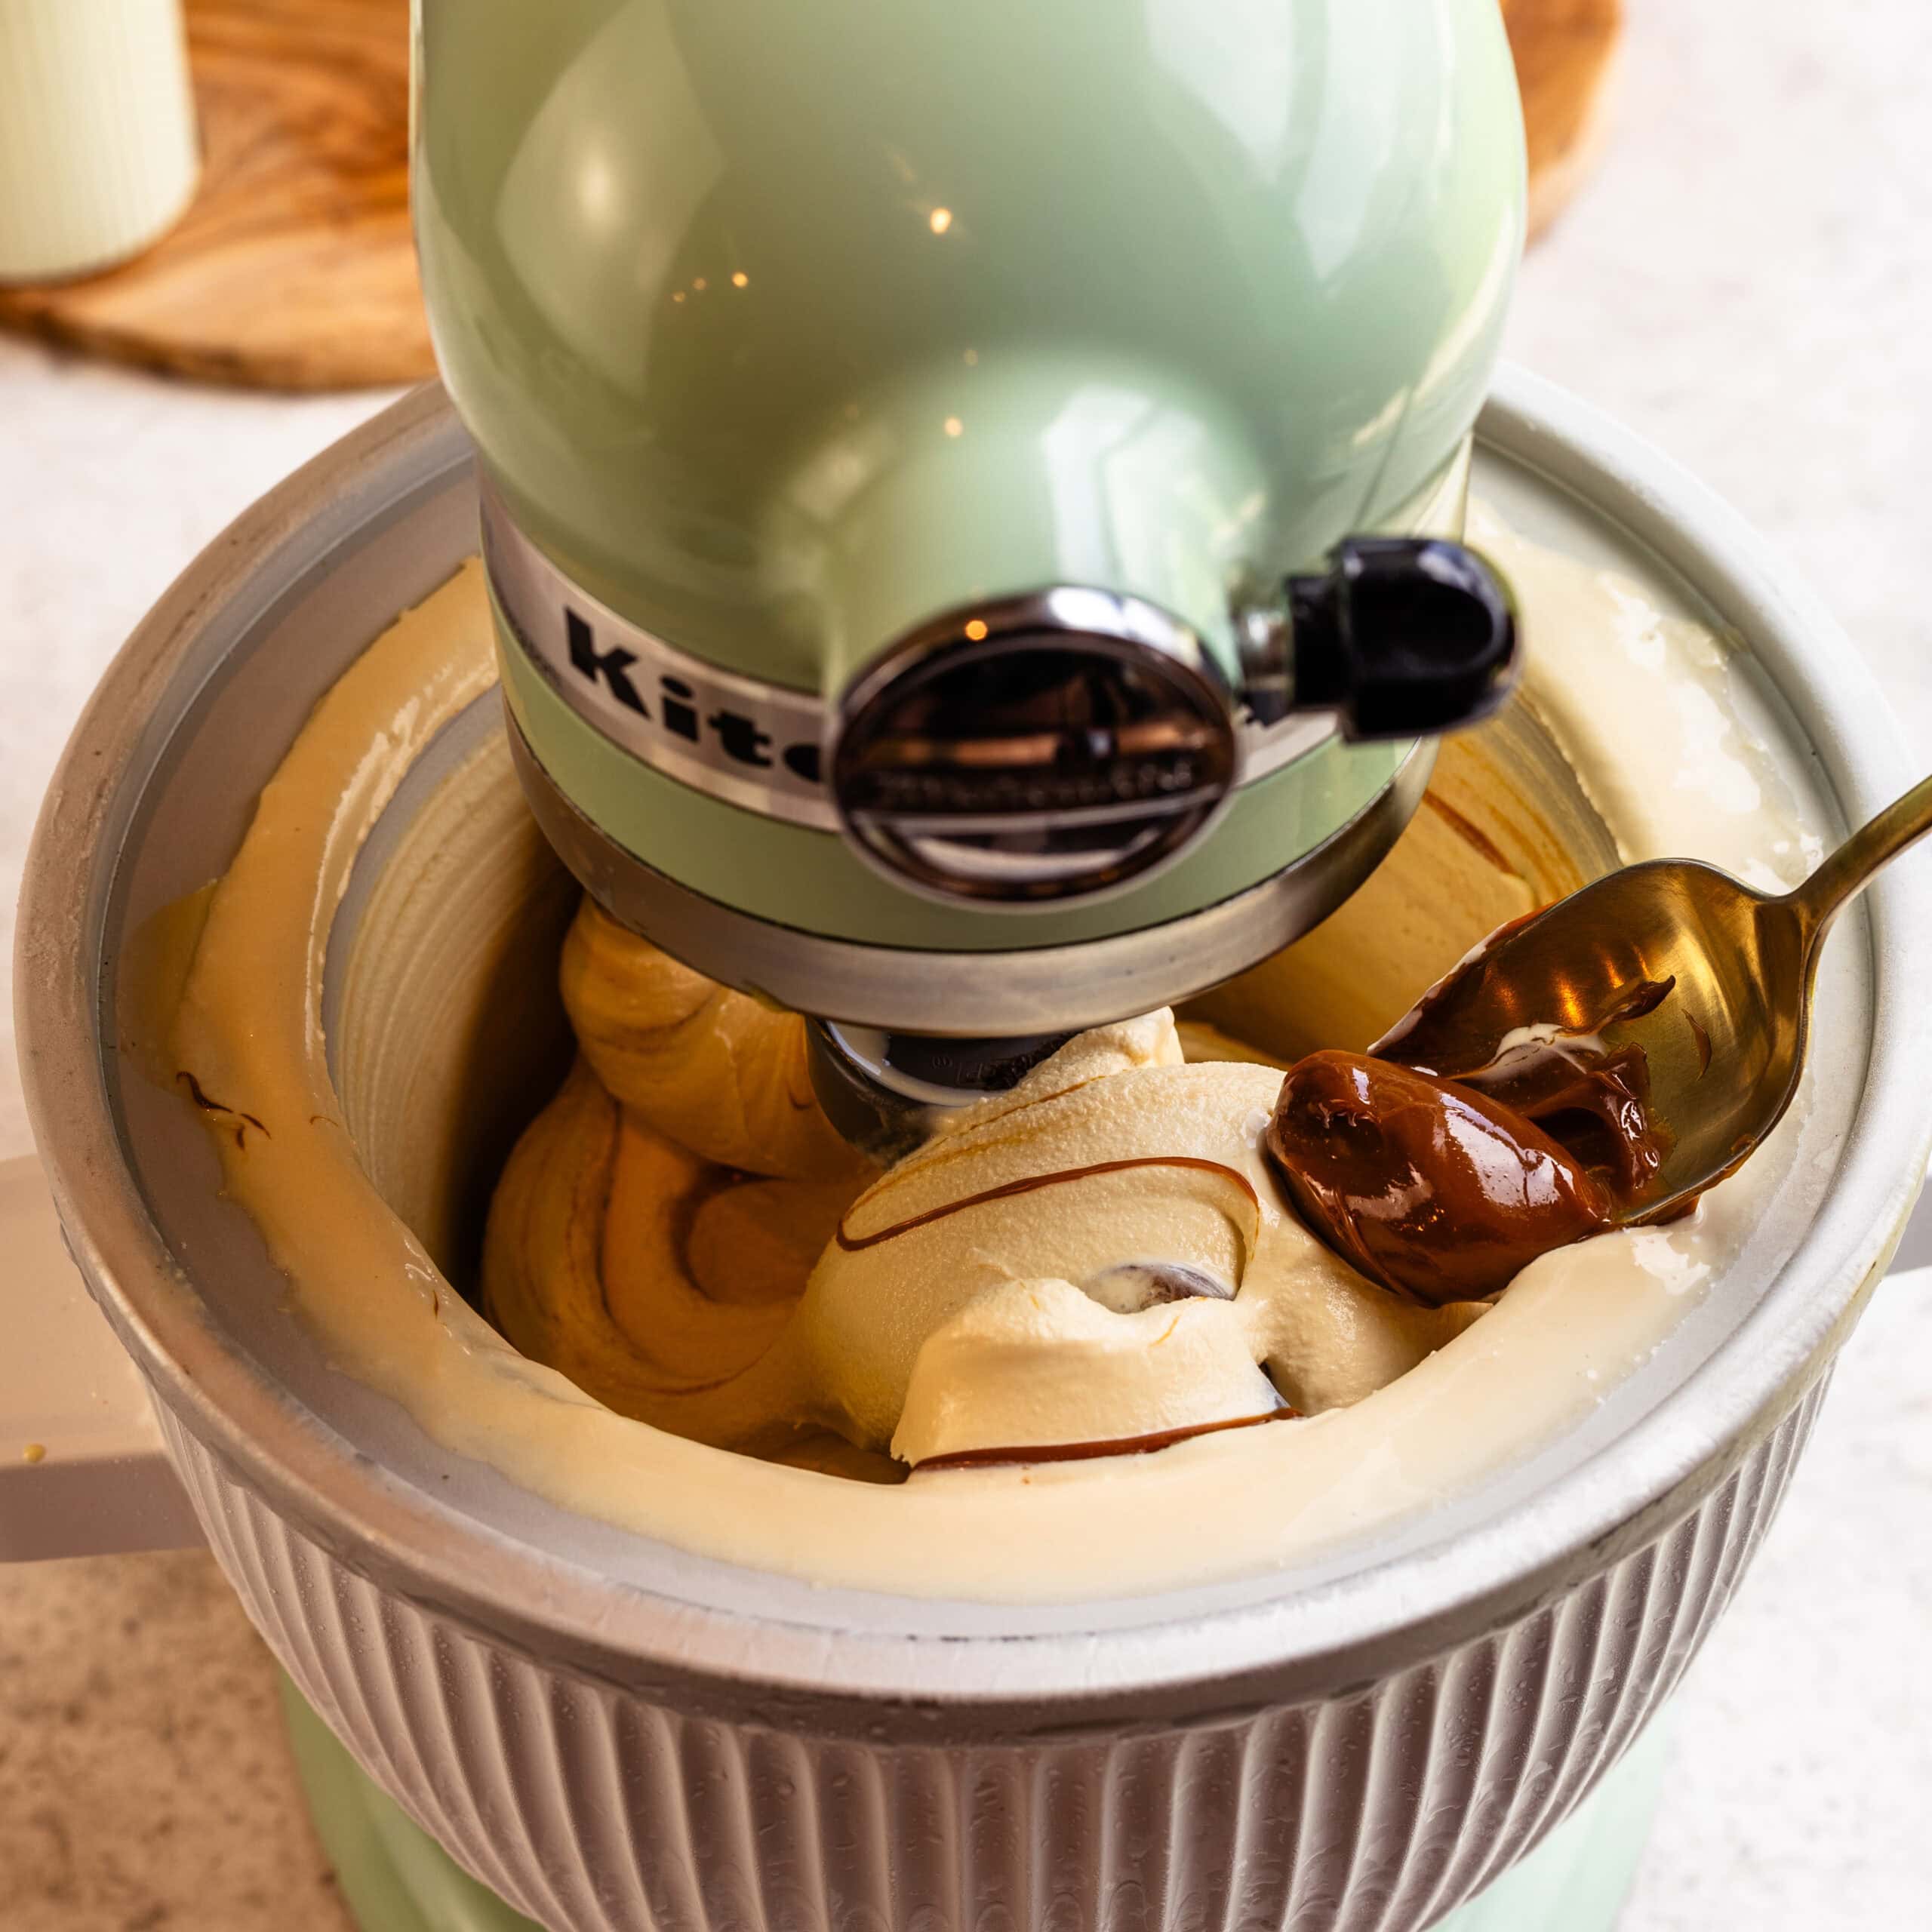
During the final 30 seconds of churning, add the reserved dulce de leche one tablespoon at a time.
Adding it at the very end keeps some of the dulce de leche in distinct ribbons. If it goes in too early, it will blend completely into the custard rather than creating visible swirls throughout each scoop.
For even larger pockets, you can also layer a few spoonfuls of dulce de leche into the container as you transfer the ice cream.
Freeze Until Firm
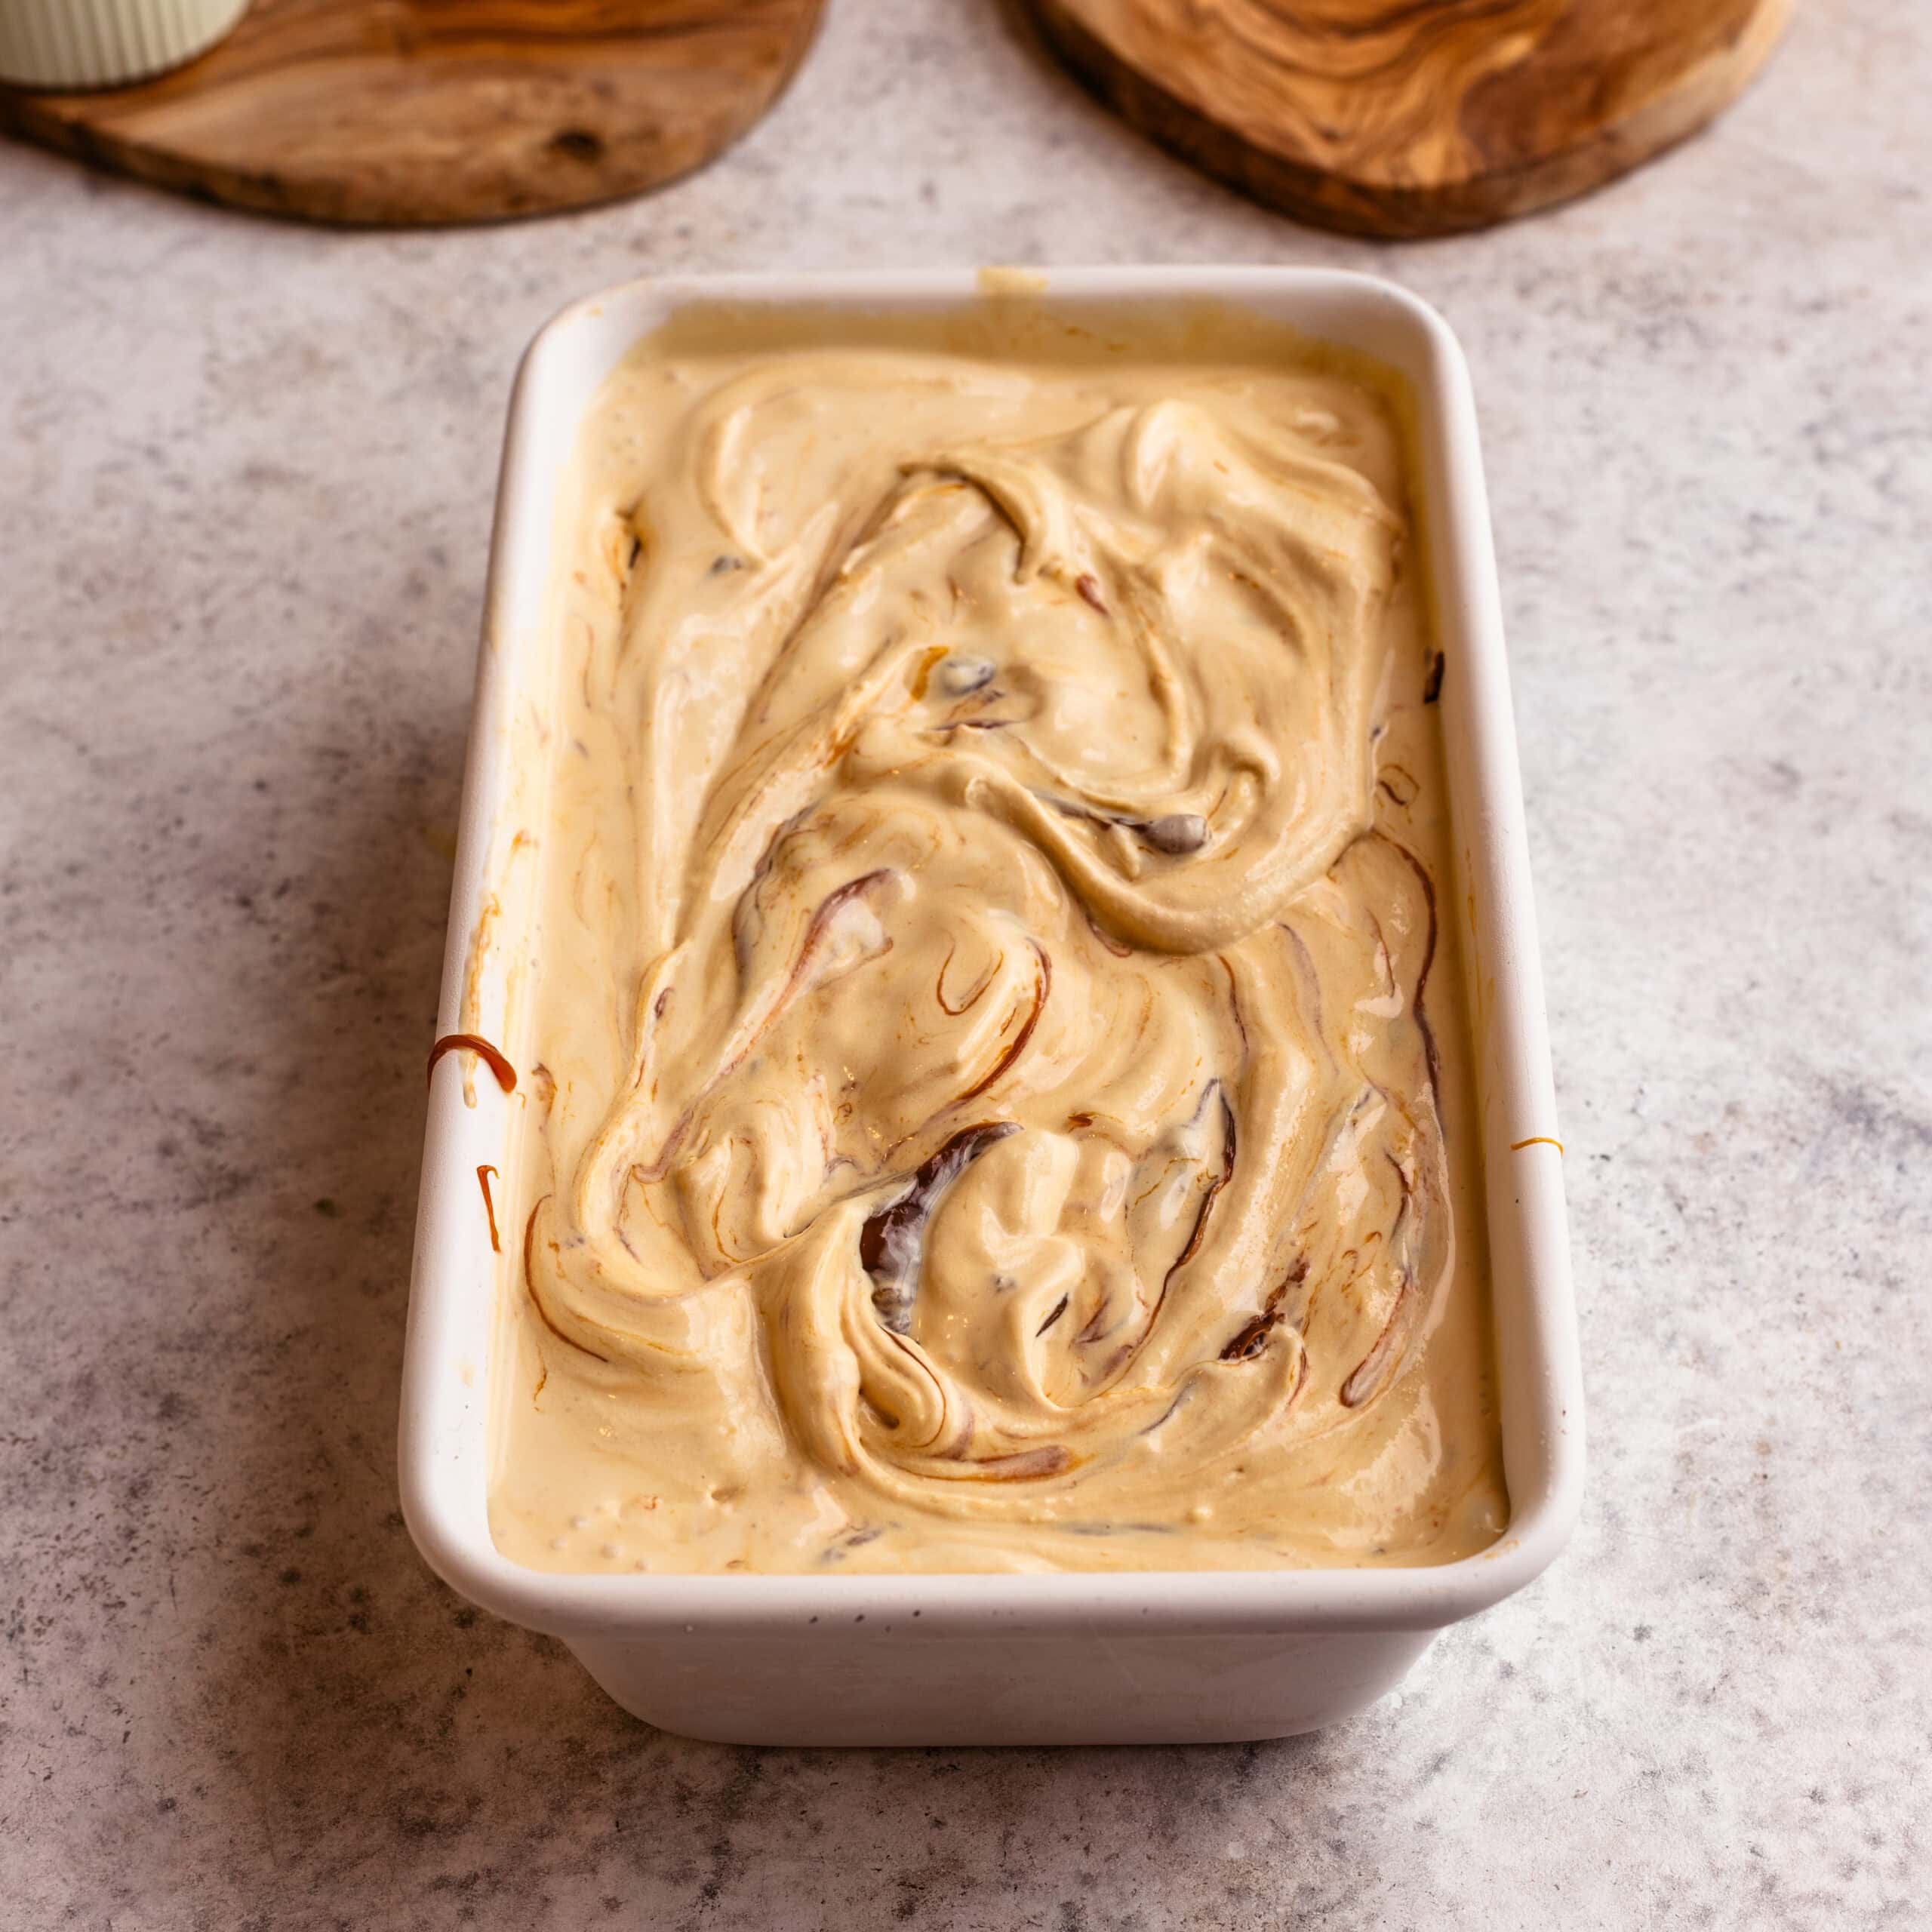
Transfer the churned ice cream to a freezer-safe container or loaf pan and smooth the top. I used a loaf pan, but any shallow container with a tight-fitting lid will work.
Cover the surface tightly and freeze for at least 4 to 6 hours, or until firm enough to scoop. Homemade ice cream is soft directly out of the machine, so this final freezing time is what gives it a traditional scoopable consistency.
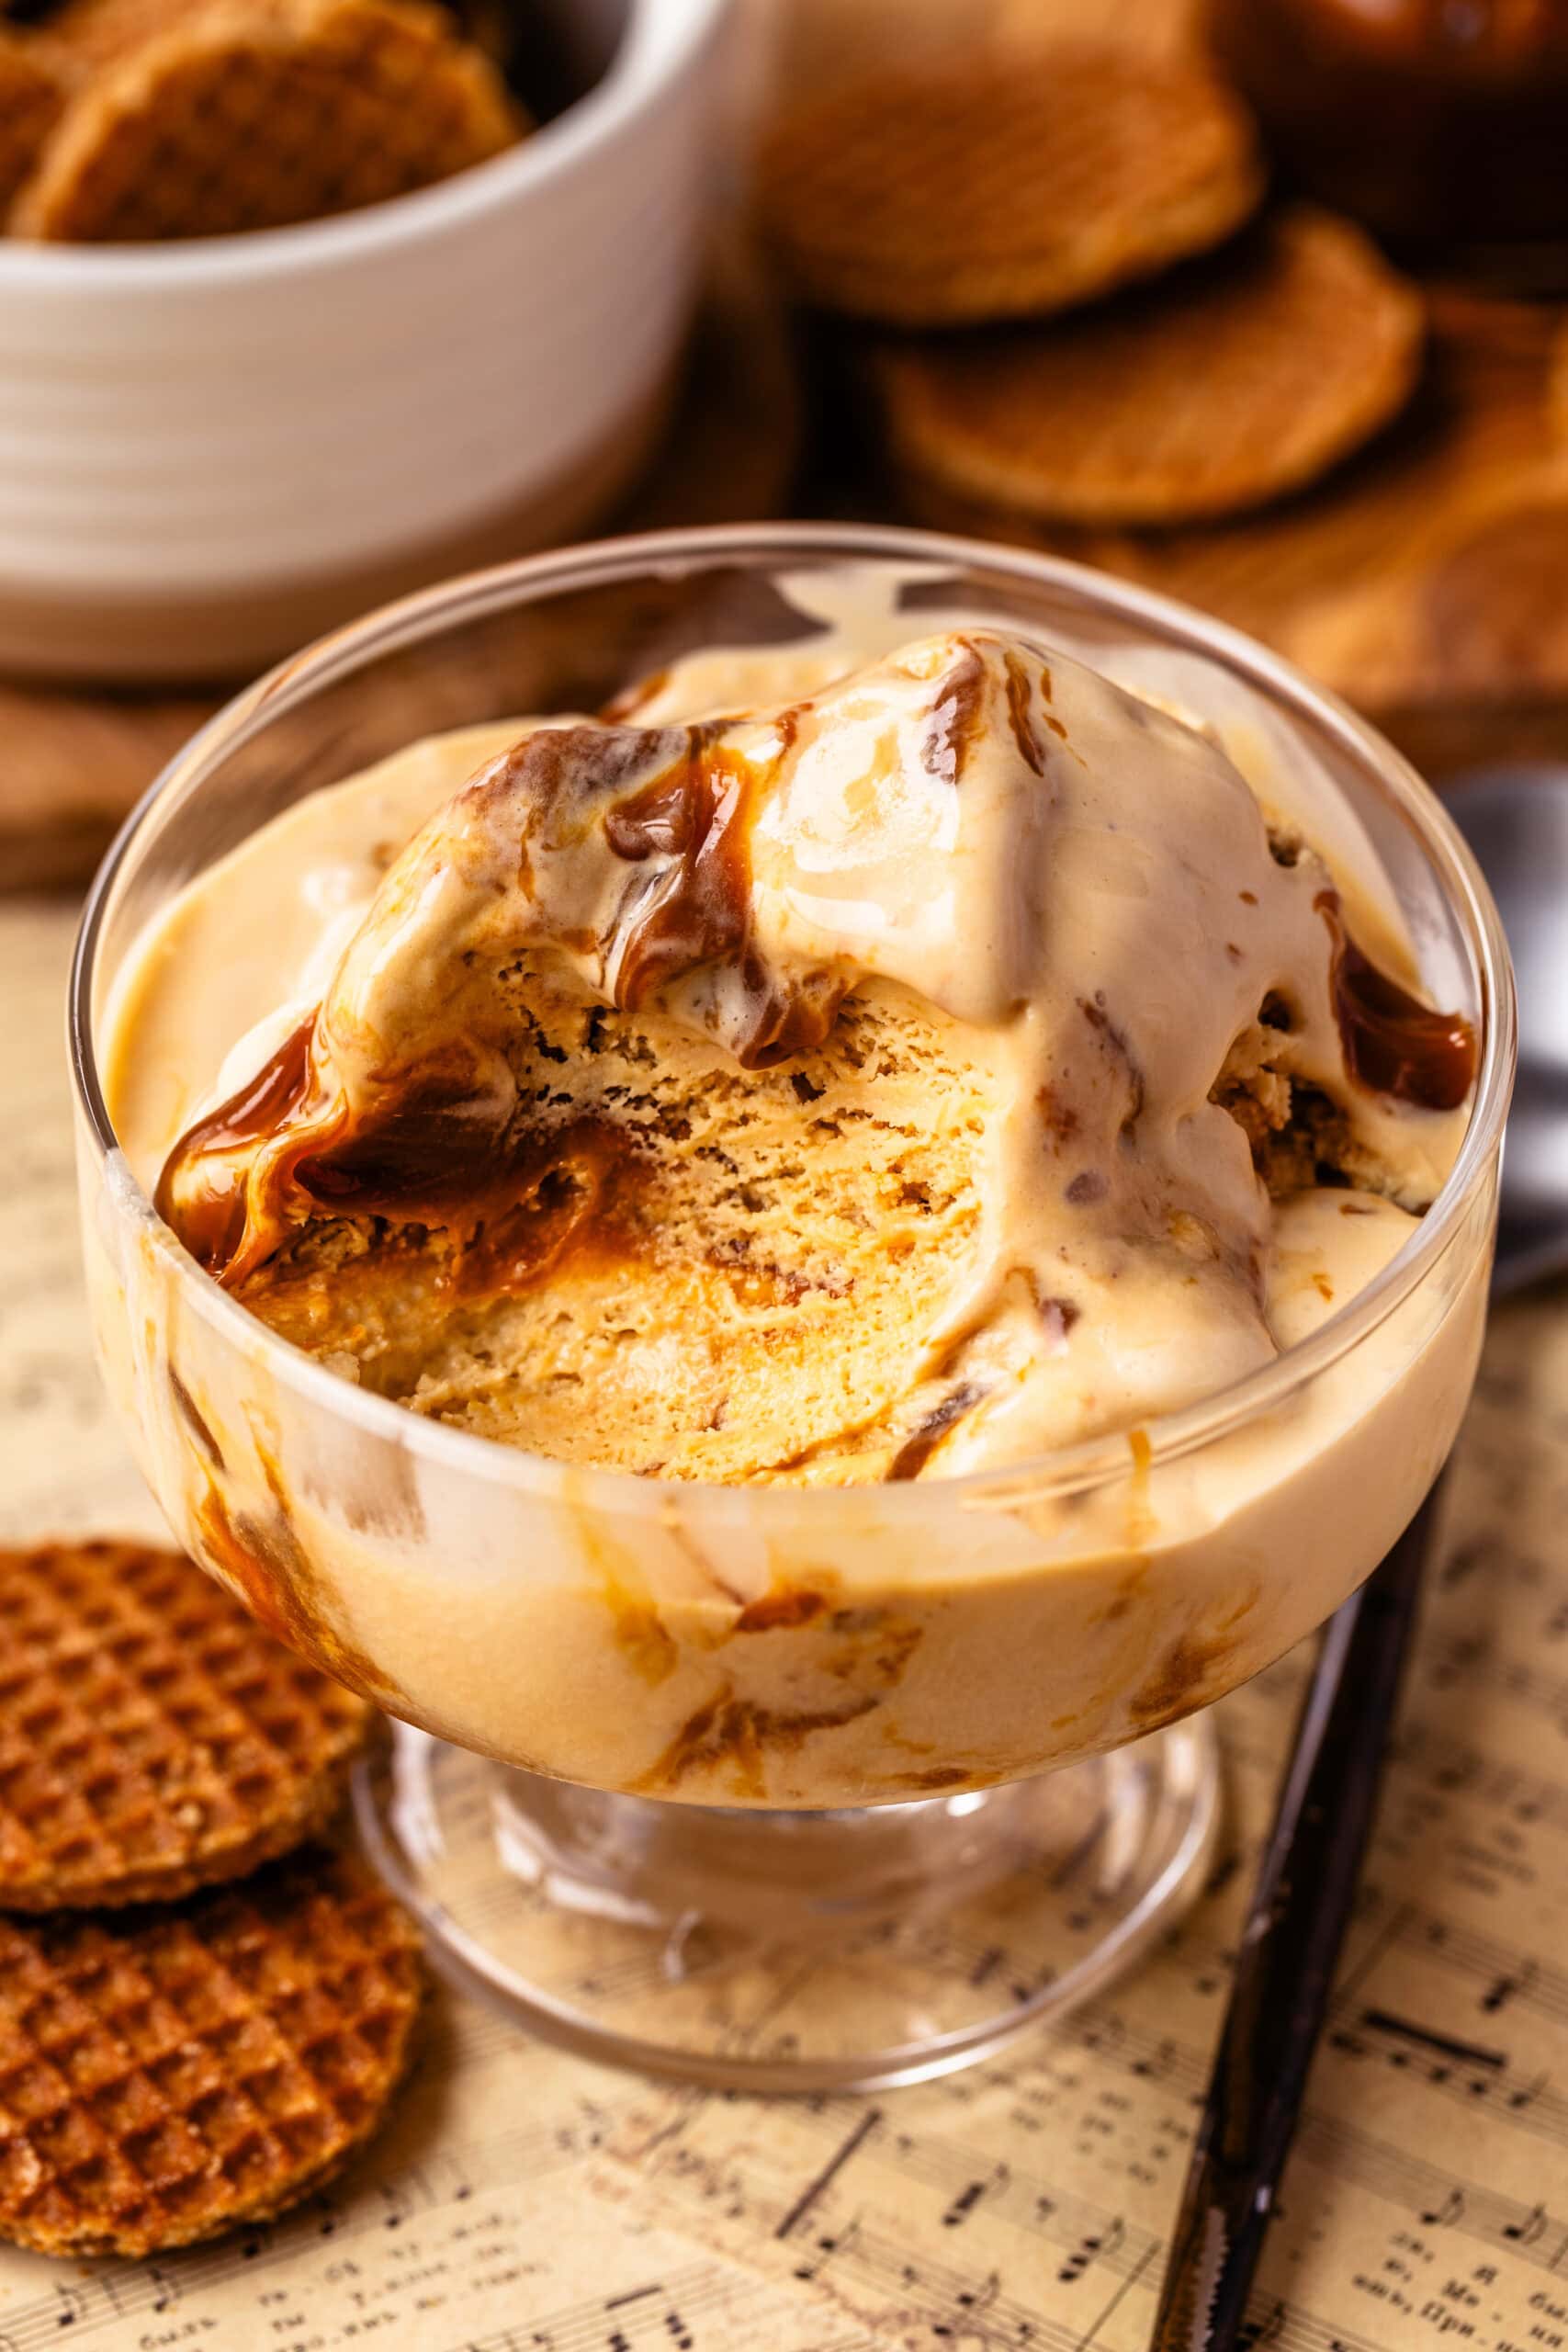
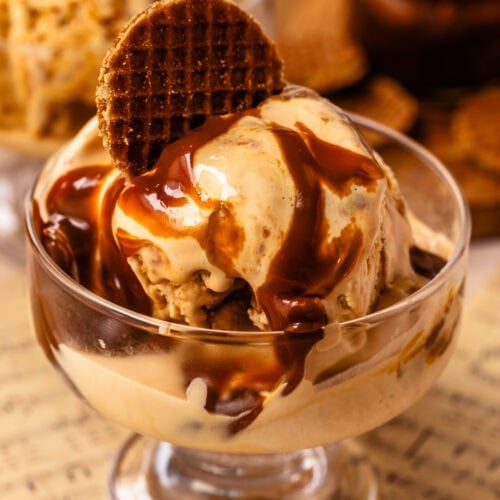
After freezing overnight, let the ice cream sit at room temperature for 5 to 10 minutes before scooping. Serve it as is or finish each bowl with an extra spoonful of dulce de leche.
Ice Cream Making Tips
After making a few different ice cream recipes, like Chocolate Ice Cream and Cookie Dough Ice Cream, I think these are the things that make the biggest difference.
My biggest tip: Chill the custard completely before churning. An overnight chill gives you the smoothest texture and helps the ice cream freeze much faster in the machine.
- Use a good-quality dulce de leche. Since it’s the main flavor, choose one you’d happily eat straight from the jar. If you’d like to make your own, check out my Dulce de Leche Guide or Instant Pot Dulce de Leche recipe.
- Freeze the ice cream bowl completely. If you’re using the KitchenAid attachment, freeze the bowl for at least 24 hours. There shouldn’t be any liquid sloshing inside.
- Don’t overcook the custard. Cook it to 170–175°F (77–79°C), or until it coats the back of a spoon. Boiling the custard can cause the eggs to curdle.
- Always strain the custard. Even if it looks perfectly smooth, I like to pass it through a fine-mesh sieve before chilling. It’s a small step that makes the finished ice cream even silkier.
- Don’t overchurn. Once the ice cream reaches a thick soft-serve consistency, transfer it to the freezer. Churning too long can start to affect the texture.
- Add the dulce de leche swirl at the end. I stir it in during the last 30 seconds of churning so it stays in beautiful ribbons instead of blending completely into the base.
Storage
Store the ice cream in an airtight freezer-safe container for up to 4 weeks.
Because homemade ice cream doesn’t contain the same stabilizers as store-bought versions, it freezes a bit firmer. I usually let it sit at room temperature for 5 to 10 minutes before scooping. It softens beautifully and becomes incredibly creamy.
If you’re making this for guests, I recommend preparing it the day before. The flavor continues to develop overnight, and the texture is perfect after a full freeze.
Variations
Once you have the custard base down, it’s easy to customize.
- Add chocolate. Fold in chopped dark chocolate or mini chocolate chips after churning.
- Stir in toasted pecans. Pecans pair beautifully with dulce de leche and add a nice crunch.
- Make it extra caramel-y. Layer additional dulce de leche into the container as you transfer the ice cream for even larger swirls. Or you could try salted caramel sauce as well!
- Serve it with dessert. I love pairing this ice cream with brownies, warm chocolate cake, apple pie, or using it to make homemade ice cream sandwiches. This would be off the charts if paired with my Dulce de Leche Brownies!
FAQ
This recipe is designed for an ice cream maker, and I highly recommend using one for the creamiest texture. If you don’t have one, there are no-churn methods available, but they require a completely different recipe and won’t produce the same custard-based ice cream.
Absolutely. I often use store-bought dulce de leche, especially if I find a really good one. Since it’s the main flavor in this recipe, choose one you enjoy eating on its own. If you’d rather make it yourself, check out my Instant Pot Dulce de Leche, Oven Dulce de Leche, or my complete Dulce de Leche Guide for more information.
The most common causes are churning the custard before it’s fully chilled or using an ice cream bowl that wasn’t completely frozen. I also recommend storing the finished ice cream in an airtight container with a piece of plastic wrap pressed directly against the surface to help minimize ice crystals.
Yes! In fact, I usually do. I like making the custard the day before and letting it chill overnight. Not only does it break up the process, but I’ve found it also produces the smoothest, creamiest ice cream.
More Ice Cream & Dulce de Leche Recipes
If you enjoyed this Dulce de Leche Ice Cream, I think you’ll love some of my other frozen desserts and dulce de leche recipes. My Cookie Dough Ice Cream is another homemade favorite with a rich custard base, while my Chocolate Ice Cream Cake and Funfetti Ice Cream Cake are perfect for birthdays and celebrations. If you’re as obsessed with dulce de leche as I am, don’t miss my Dulce de Leche Guide!
If you make this recipe, I’d love to hear what you think! Leave a rating and comment below, and don’t forget to tag me on Instagram @piesandtacos so I can see your homemade ice cream. Seeing your creations always makes my day!
Dulce de Leche Ice Cream

Equipment
- Ice Cream Maker (I use the KitchenAid Ice Cream Maker Attachment & Bowl)
Ingredients
- 2 cups heavy cream 480 ml
- 1 cup whole milk 240 ml
- 5 large egg yolks
- ⅓ cup granulated sugar 67 g
- 1 cup good-quality dulce de leche 320 g, divided—plus more to serve (or make homemade: dulce de leche guide)
- ¼ tsp fine sea salt
- 1 tsp vanilla extract
Instructions
- Heat the heavy cream and milk in a saucepan until steaming but not boiling.
- In a bowl, whisk together the egg yolks and sugar until slightly lighter in color.
- Add ½ cup (160 g) of dulce de leche and mix to combine. Reserve the rest of dulce de leche to swirl into the ice cream when it’s churning.
- Slowly whisk the hot dairy into the yolks to temper them. I like to add it slowly about ¼ cup at a time while whisking.
- Return everything to the saucepan through a fine-mesh sieve and cook over medium-low heat, stirring constantly with a silicone spatula, until the custard reaches 170–175°F (77–79°C) or coats the back of a spoon. Don’t stop stirring or the egg will curdle.
- Remove from the heat.
- Stir in the salt and vanilla extract.
- Strain through a fine-mesh sieve into a container. Close the lid or cover tightly with plastic and chill thoroughly overnight.
- Churn according to your ice cream maker’s instructions. I used the KitchenAid ice cream maker, which takes about 15 to 20 minutes to churn this amount of ice cream.
- During the final thirty seconds of churning, add the remaining ½ cup of dulce de leche by the tablespoon.
- Transfer the thick ice cream to a container—I used a 9×15” loaf tin—and freeze for at least 4–6 hours. Add your favorite toppings and enjoy!
