

Peanut Butter Vegan Truffles
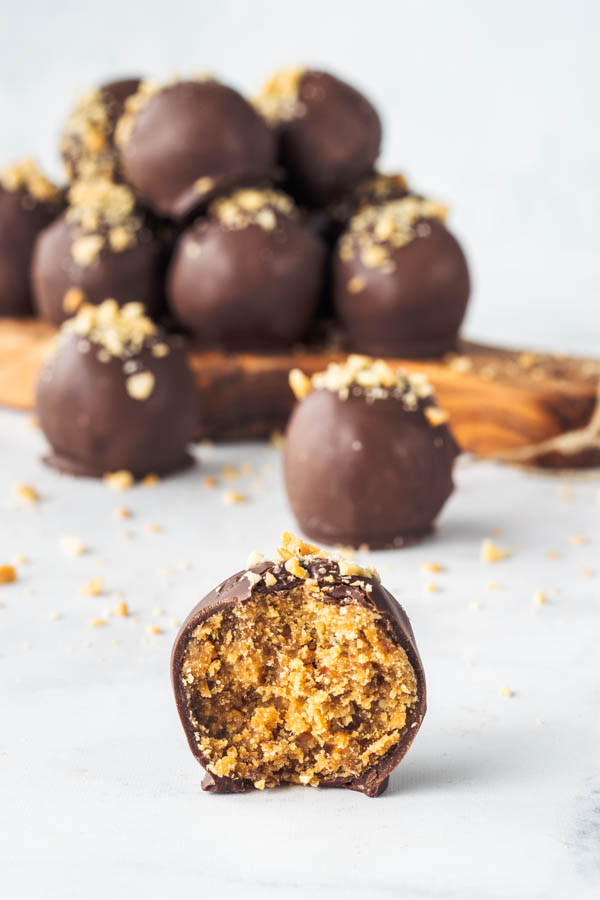
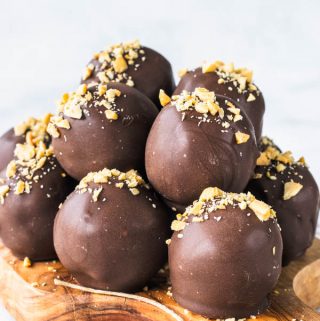
These Vegan Peanut Butter Truffles have a soft, fudgy peanut butter center covered in a thin layer of chocolate. They only require five ingredients, and most of the work is done in the food processor.
I originally made these because I wanted something similar to a peanut butter cup, but with dates forming the base of the filling. The dates make the center naturally sweet and give it a smooth, almost cookie-dough-like texture without needing butter or powdered sugar.
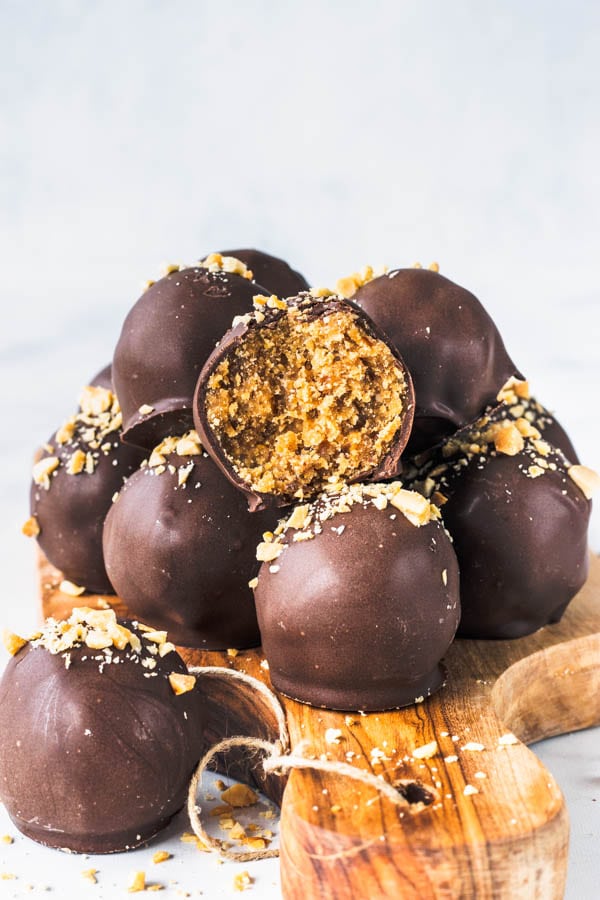
Why You’ll Love These Peanut Butter Truffles
These are simple enough to make whenever a chocolate and peanut butter craving hits.
This post may contain affiliate links. I earn a commission from qualified purchases. Please read our Privacy policy here.
- The peanut butter center stays soft beneath the chocolate coating.
- You only need five ingredients.
- There is no baking involved.
- The filling comes together in the food processor.
- They are naturally vegan and gluten-free when made with suitable ingredients.
- You can prepare them ahead and keep them in the refrigerator.
Key Ingredients
Peanut butter: I prefer creamy peanut butter because it produces the smoothest filling. Natural peanut butter works, but stir it very well before measuring so the oil is fully incorporated.
Dates: The dates sweeten the filling and help hold everything together. Soft Medjool dates are my favorite here because they blend easily and have a rich caramel-like flavor.
Coconut flour: Coconut flour absorbs some of the moisture and oil from the peanut butter and dates. You only need a small amount because it is much more absorbent than regular flour.
Vanilla extract: A little vanilla rounds out the peanut butter flavor and makes the filling taste more like candy.
Chocolate: Use a vegan chocolate you enjoy eating on its own. Dark or semi-sweet chocolate both work well. To keep the truffles free from refined sugar, check that both your chocolate and peanut butter are made without refined sugar.
How to Make Vegan Peanut Butter Truffles
The complete measurements are in the recipe card below, but here is how I prepare and coat the truffles.
Soften the Dates
Check the dates before adding them to the food processor. They should feel soft and slightly sticky.
If the dates are dry or firm, place them in warm water for about 15 minutes. Drain them thoroughly and pat them dry before using them. Too much water can make the filling overly soft.
Also make sure all the pits have been removed. Even dates sold as pitted occasionally have a pit or a small piece left inside.
Make the Peanut Butter Filling
Place the peanut butter, dates, vanilla extract, and coconut flour in a food processor.
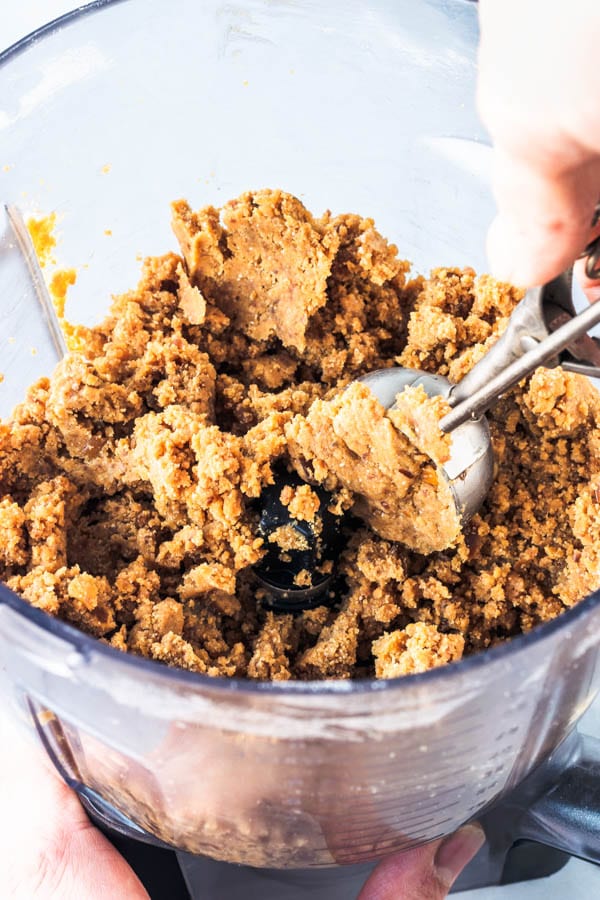
Process until the ingredients form a smooth, thick dough. I usually stop the processor a few times to scrape the sides and move any larger pieces of date toward the blade.
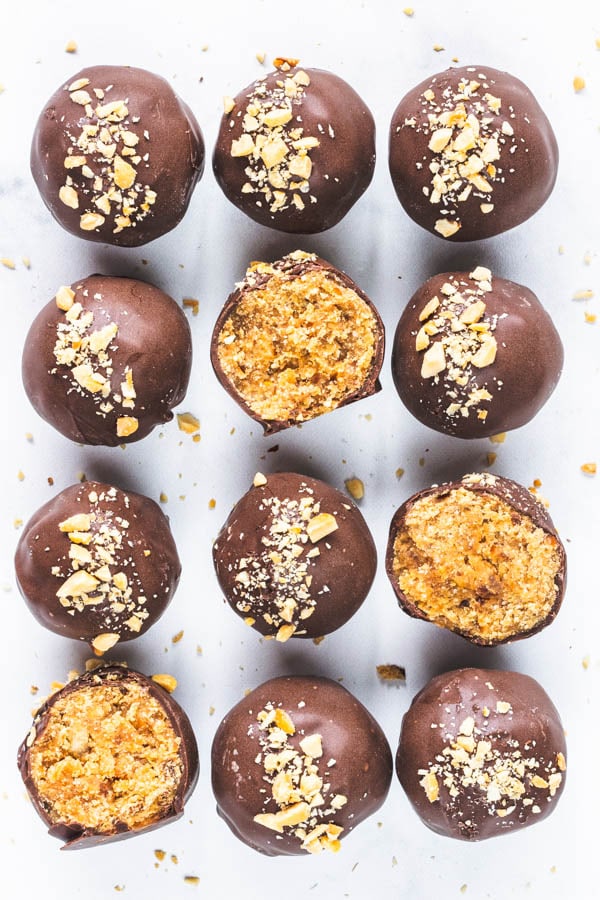
The finished mixture should resemble soft cookie dough. It should hold together when pressed without feeling wet or crumbly.
If it seems too sticky to roll, let it rest for a few minutes so the coconut flour can absorb more moisture. You can add a very small amount of additional coconut flour if needed, but do this carefully. Adding too much will make the centers dry.
Shape the Truffles
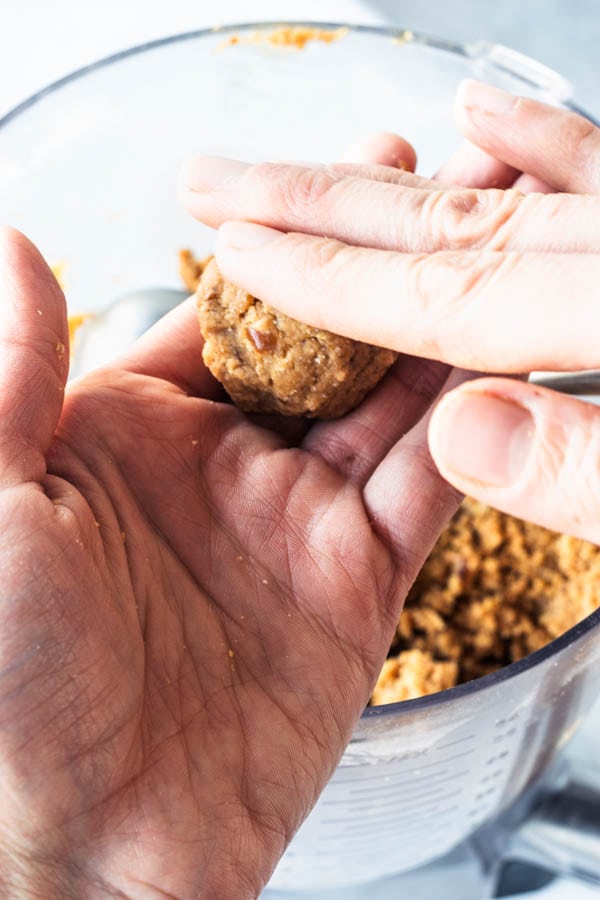
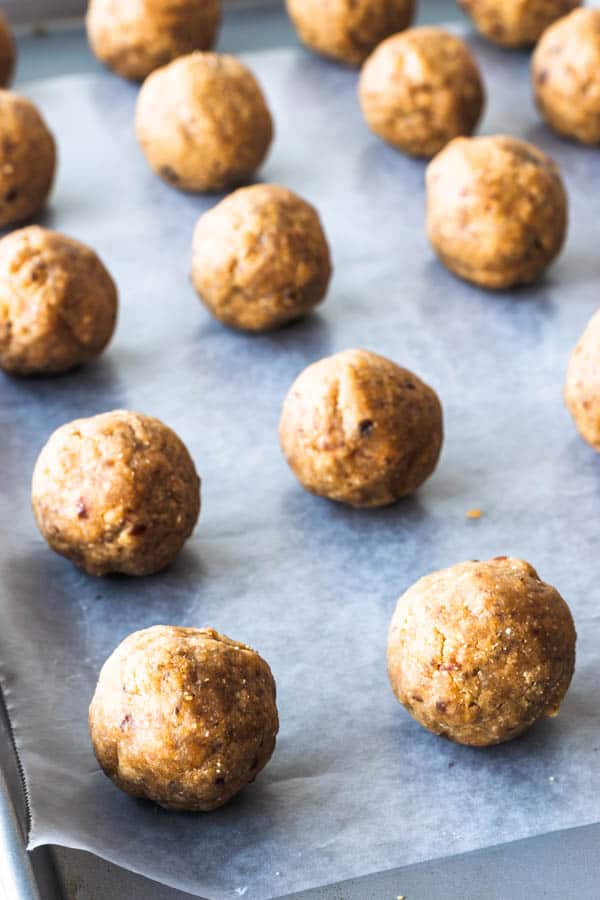
Use a small cookie scoop or spoon to portion the filling. Roll each portion between your palms to form a smooth ball.
Place the shaped truffles on a parchment-lined baking sheet or plate.
I keep the truffle centers at room temperature before coating them. Very cold centers can expand as they warm, which may cause the chocolate coating to crack later.
Coat the Truffles in Chocolate
Melt the chocolate until smooth. You can temper it for a shinier finish and a firmer snap, but tempering is optional.
My Peanut Butter Cups post explains more about tempering chocolate if you would like to try it.
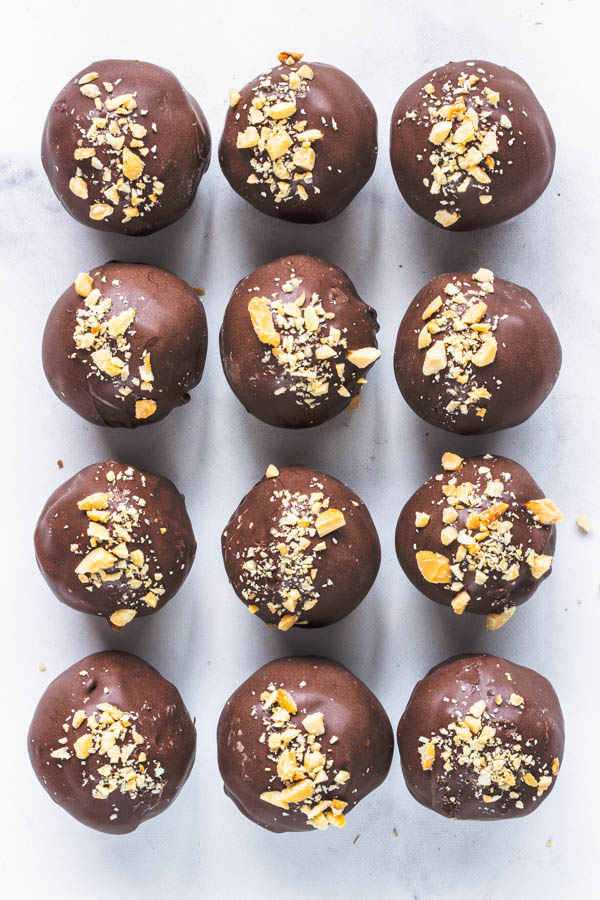
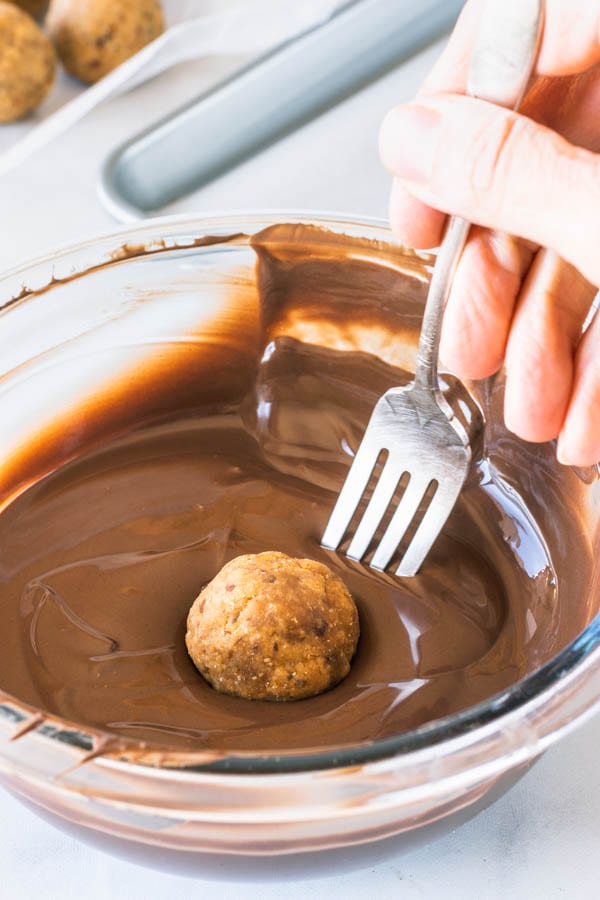
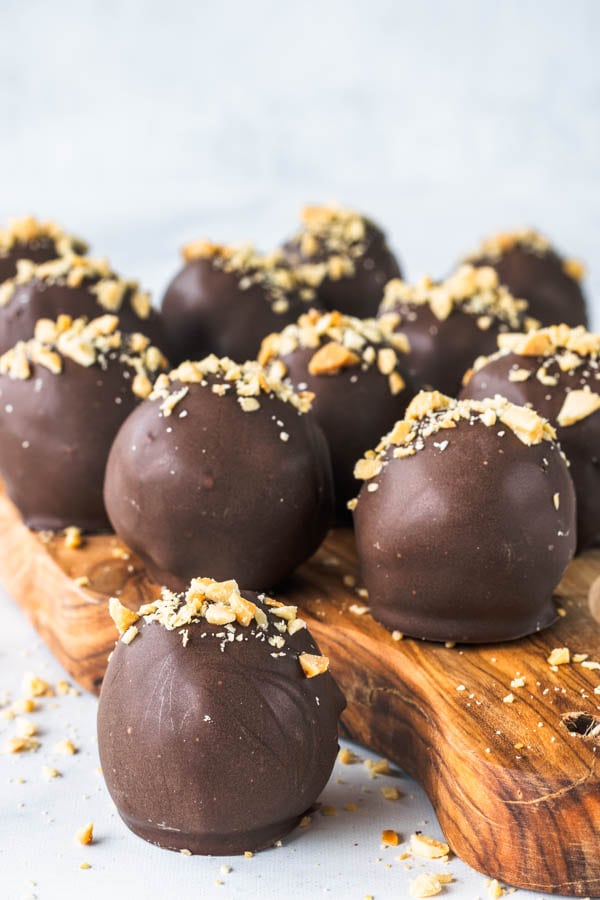
Dip one truffle at a time into the melted chocolate. Lift it with a fork, gently tap the fork against the side of the bowl to remove the excess, and place the truffle back on the parchment paper.
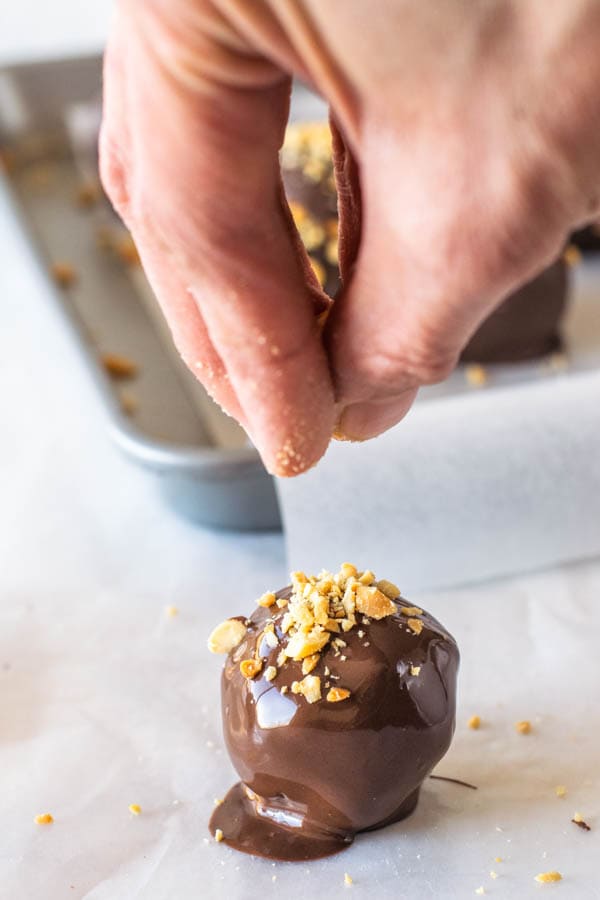
Before the chocolate sets, sprinkle the tops with chopped peanuts, flaky sea salt, or sprinkles. You can also leave them plain or finish them with a drizzle of melted peanut butter.
Allow the coating to set completely before transferring the truffles to a container.
Baking Tips
A few small details make these much easier to shape and coat.
- Use soft dates. Firm dates will not blend as smoothly and may leave small pieces throughout the filling.
- Stir natural peanut butter first. The oil and peanut solids must be fully combined before measuring.
- Do not add too much coconut flour. Give it a moment to absorb the moisture before deciding the filling needs more.
- Keep the centers near room temperature for dipping. This reduces the chance of the chocolate cracking as the filling warms.
- Remove excess chocolate. Tapping the dipping fork against the bowl keeps the coating from becoming too thick around the base.
- Add toppings right away. Once the chocolate sets, chopped peanuts and sea salt will no longer stick.
- You can temper your chocolate, or use it as it is. Read more about tempering chocolate here on my Peanut Butter cups post, or on my Chocolate Bombs post. Tempering the chocolate will make so your truffles have a shiny coating, and the texture of the chocolate will also be better, with some more snap to it. Anyway, it’s not mandatory, but here’s the info if anyone is interested.
Variations
I like the classic peanut butter and chocolate combination, but the filling is easy to adjust.
Different nut or seed butter: Replace the peanut butter with almond butter, cashew butter, or sunflower seed butter. The texture may vary slightly, so add the coconut flour gradually.
Paleo-friendly variation: Use almond or cashew butter instead of peanut butter, along with chocolate that fits your dietary needs.
Salted peanut butter truffles: Add a pinch of fine sea salt to the filling and finish the coated truffles with flaky salt.
Crunchy centers: Fold finely chopped roasted peanuts into the finished filling before shaping it.
Storage and Make-Ahead Instructions
Store the truffles in an airtight container in the refrigerator for up to one week. I like to let them sit at room temperature for a few minutes before serving so the peanut butter center softens slightly.
You can also prepare the filling and shape the truffles one day before coating them. Keep the centers covered, then allow them to return close to room temperature before dipping them in chocolate.
For longer storage, freeze the finished truffles in an airtight container for up to two months. Separate the layers with parchment paper and thaw them overnight in the refrigerator.
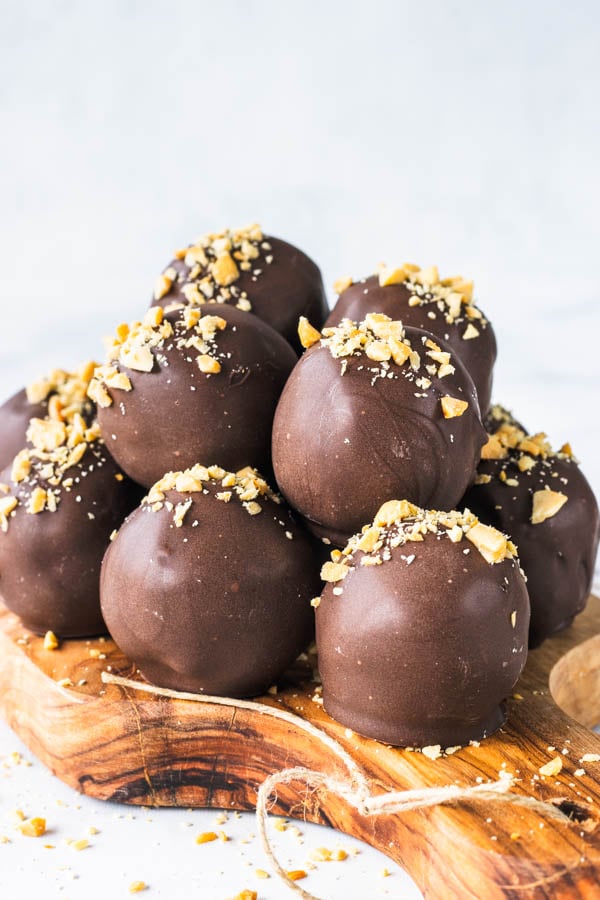
I will be making these vegan truffles with different nut or seed butters, and I think it will be awesome! Who’s with me?
Frequently Asked Questions
The dates may have held extra water after soaking, or the peanut butter may have been particularly runny. Let the mixture rest for several minutes first. If it is still too sticky to roll, add coconut flour a little at a time.
Too much coconut flour is usually the cause. Coconut flour absorbs a great deal of moisture, so small differences make a big impact. Add a little peanut butter and process again until the mixture holds together.
No. Melted chocolate works perfectly well for coating these truffles. Tempered chocolate simply gives them a shinier appearance, a firmer texture, and a cleaner snap.
A strong blender may work, but the thick filling can be difficult for some blenders to process evenly. A food processor is the easiest way to break down the dates and create a smooth dough.
The date filling does not require granulated sugar, but the final recipe depends on the products you choose. Check the ingredient lists on the peanut butter and chocolate if avoiding refined or added sugar is important to you.
More Vegan Desserts To Try
If you would like to see some more vegan sweets recipes, just click here.
For another simple chocolate and peanut butter treat, try my Vegan Peanut Butter Tarts or my Vegan Peanut Butter Matcha Smoothie. You may also enjoy these Vegan Brownies with Caramel Sauce or my Hazelnut Vegan Cupcakes when you want something rich and chocolatey.
These Peanut Butter Vegan Truffles disappeared so quickly the first time that I made another batch the same week. They are easy, chocolatey, and especially good when the centers have had a few minutes to soften before serving.
If you make this recipe, leave a rating or comment below and leave me a star review, which helps reach more sweet lovers. You can also tag me on Instagram so I can see your truffles!
Peanut Butter Vegan Truffles
Equipment
- Food processor
Ingredients
- 1 cup peanut butter I used creamy peanut butter – 260 grams, 9.1 oz
- 160 grams dates 5.6 oz*
- 1 teaspoon vanilla extract
- 1/2 cup coconut flour 64 grams, 2.2 oz
- 453 grams chopped chocolate 6 oz, about 2 1/2 cups of chocolate chips
Instructions
- Add the peanut butter, dates, vanilla, and coconut flour to a food processor.
- Process until a smooth mixture comes together, very cookie dough like.
- Scoop balls with a cookie scoop, roll them between your hands and place them in a baking sheet.
- Melt the chocolate and dip the truffles one by one with a fork to help coat the truffles.
- Sprinkle some chopped peanuts on top of truffles.
- Storage
- Keep in the refrigerator for up to 1 week, in a closed container.

Where can I find the recipe for the peanut butter “frosting” to hold the truffles on top of the cake?
This looks amazing! Would date syrup work or do you need whole dates?
I haven’t tried this recipe with date syrup, but it’s a nice suggestion. If using date syrup instead of dates I suggest adding a little bit and keep tasting and adjusting the consistency as necessary, by adding more coconut flour if it needs to be thicker. Thank you!
Your photos are absolutely gorgeous. and this recipe turned out amazing when we tried it out. Thank you so much for sharing!
Thank you so much! That means a lot to me!!!
Hello, may I use almond flour instead of coconut flour?
Yes!!! It will work just fine!! 🙂 Thank you! Have a great day!
These look amazing, Cam! What kind of dates do you use? Medjool or fresh?
I usually use medjool, but regular will work too!! And thank you so much Sarah!!!
I’m a huge peanut butter fan, so I need to add this to my must-make list! Love that they use minimal ingredients, and make a healthier treat!
Ca, fico muito orgulhoso de ver como você domina essas técnicas para fazer essas gostosuras!!!!!!!
Obrigada! Agradeco muito, pai! Te amo!