

Apple Danish
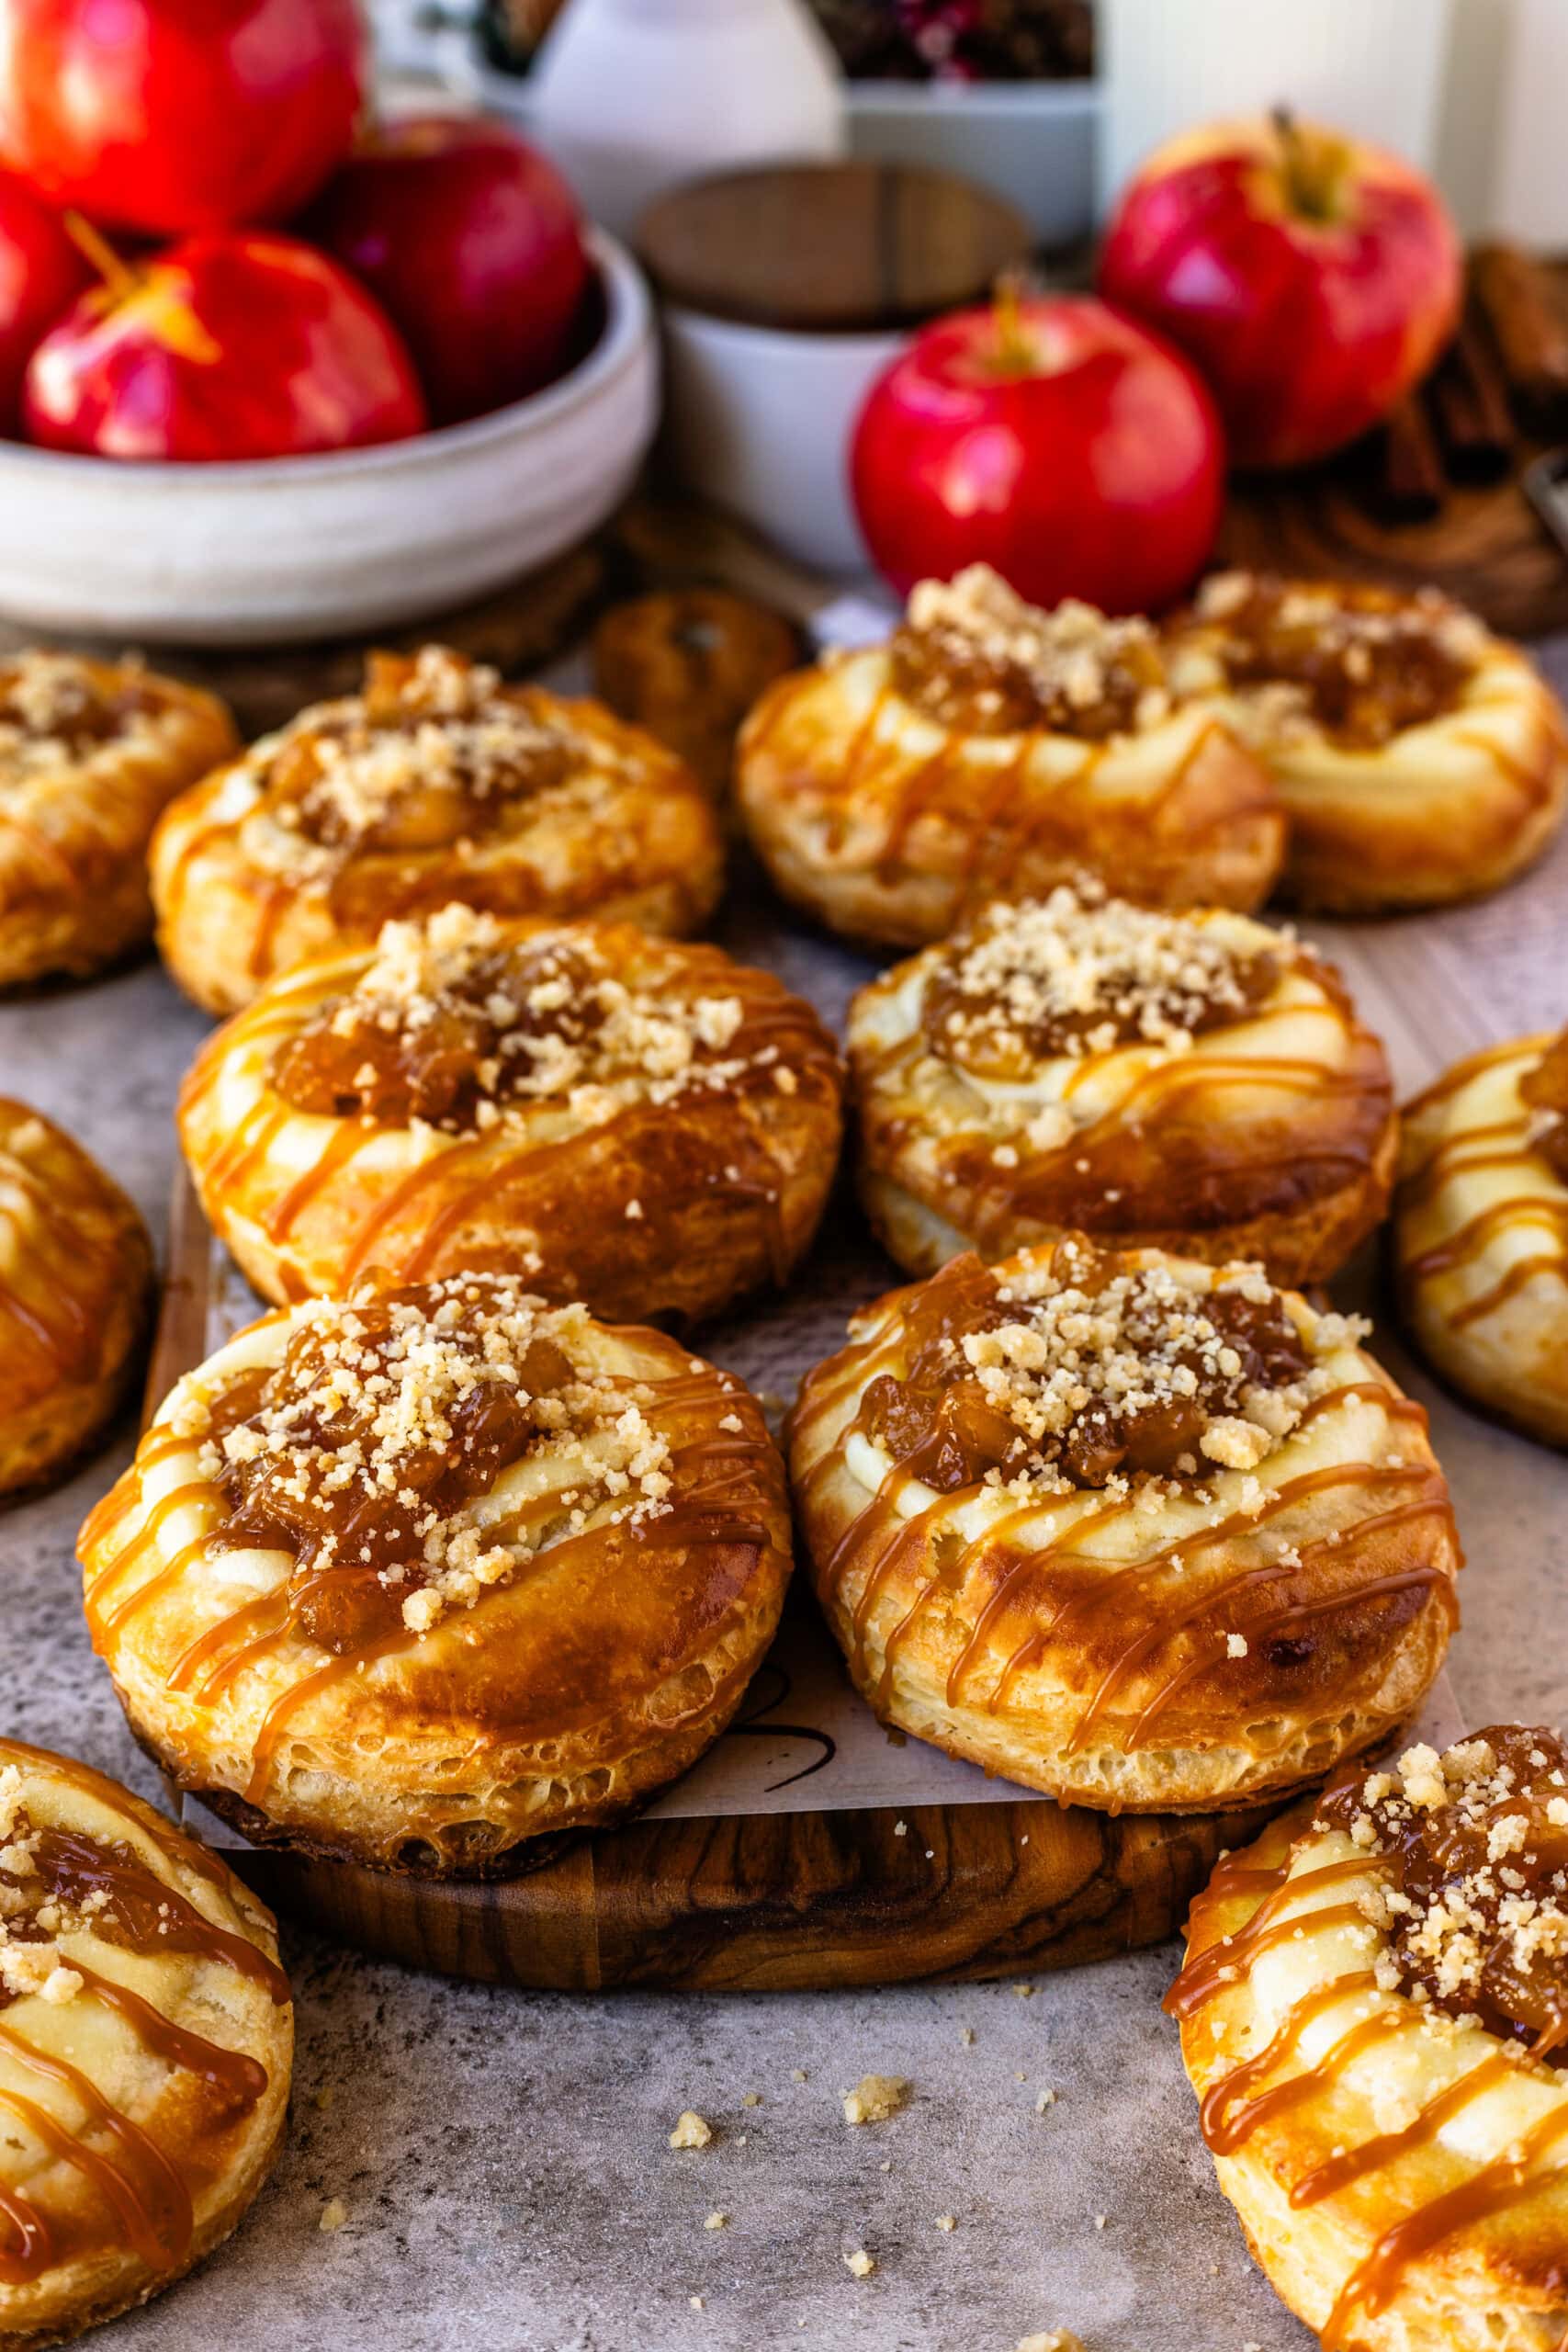
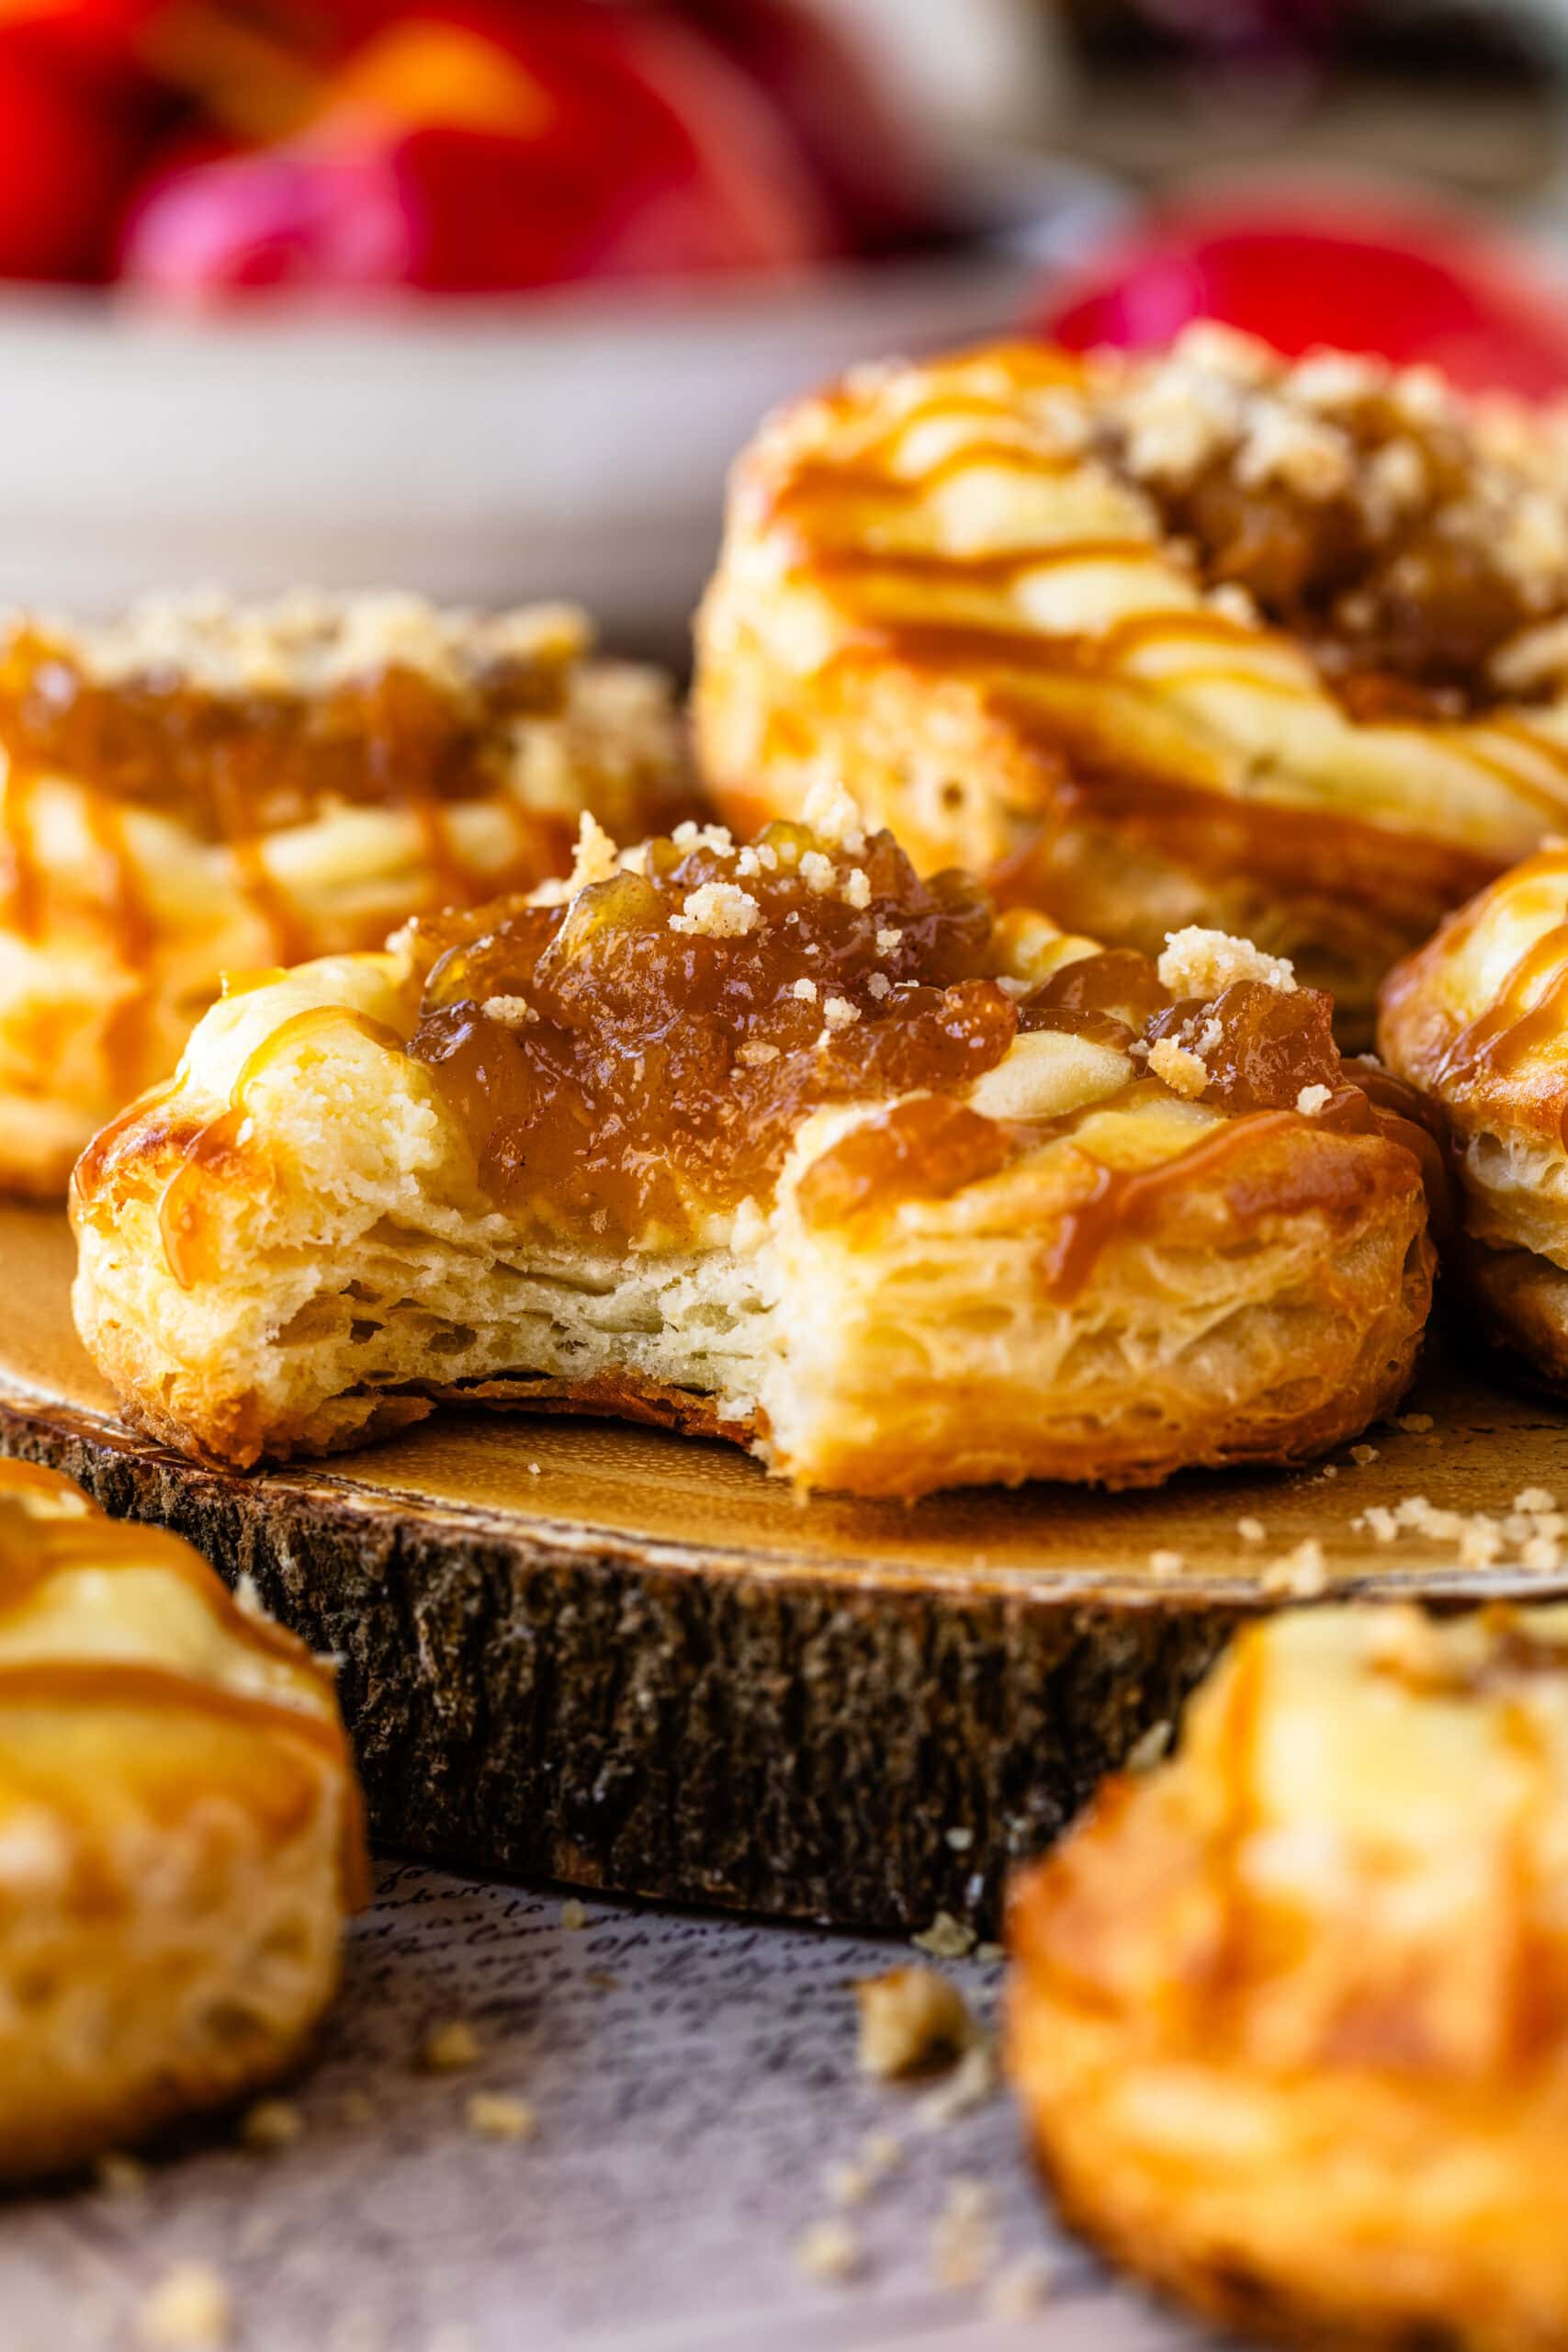
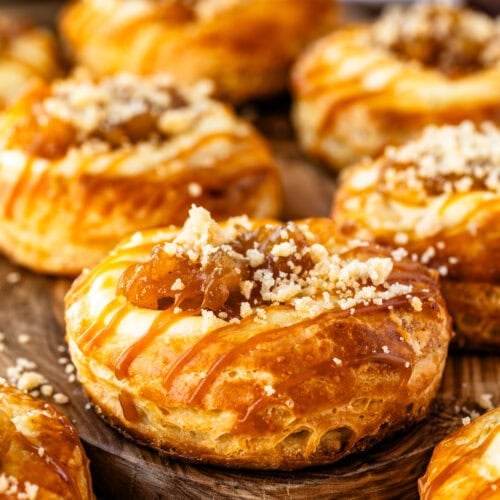
These homemade Apple Danish pastries have everything I want in a fall pastry: flaky, buttery layers, creamy cheesecake filling, warmly spiced apples, crunchy cinnamon streusel, and a generous drizzle of caramel sauce.
I use my homemade Danish pastry dough as the base, which gives these pastries crisp, defined layers on the outside while keeping them soft and pillowy inside. The combination of cream cheese and apple filling makes the centers rich and creamy, while the baked streusel adds some crunch on top. Finish them with caramel sauce, and they’re pretty hard to resist!
Why You’ll Love This Recipe
What’s not to love when it comes to a danish? Here’s a few reason, why you’ll devour these!
This post may contain affiliate links. I earn a commission from qualified purchases. Please read our Privacy policy here.
- Flaky homemade pastry: My homemade Danish pastry dough creates beautiful buttery layers while staying soft and tender inside.
- Cream cheese + apple filling: Instead of choosing between an apple Danish and a cream cheese Danish, we’re combining both.
- Lots of texture: You get flaky pastry, creamy filling, tender apples, and crunchy streusel in every bite.
- Perfect for fall: Apples, brown sugar, cinnamon, nutmeg, and caramel make these such a cozy fall pastry.
- Easy to make ahead: The Danish dough, apple filling, cream cheese filling, streusel, and caramel can all be prepared ahead of time, so you don’t have to tackle the entire recipe in one day.
What You Need
Danish Pastry Dough: I use my homemade Danish pastry dough for this recipe. The dough is yeasted and laminated with butter, giving the pastries those flaky, buttery layers while keeping the inside soft and pillowy. I recommend making the dough the day before you plan on baking the Danish.
Cream cheese: Use full-fat brick-style cream cheese rather than whipped cream cheese or cream cheese spread. It makes a thicker, more stable filling.
Apples: Choose an apple that holds its shape when cooked. Granny Smith, Honeycrisp, Pink Lady, and Braeburn are all great options. I dice the apples into small, approximately ¼-inch pieces so they fit nicely in the center of each Danish.
Brown sugar: I use brown sugar in both the apple filling and streusel. Its deeper caramel flavor works beautifully with the apples and warm spices.
Cinnamon and nutmeg: Cinnamon is the main spice here, with just a little nutmeg for extra warmth. They flavor both the apple filling and the streusel.
Cornstarch: A small amount of cornstarch thickens the apple filling. This is important because a runny apple filling can soak into the pastry and make the center soggy.
Caramel sauce: I finish the pastries with my homemade caramel sauce. You can make it ahead of time and gently warm it before drizzling it over the Danish.
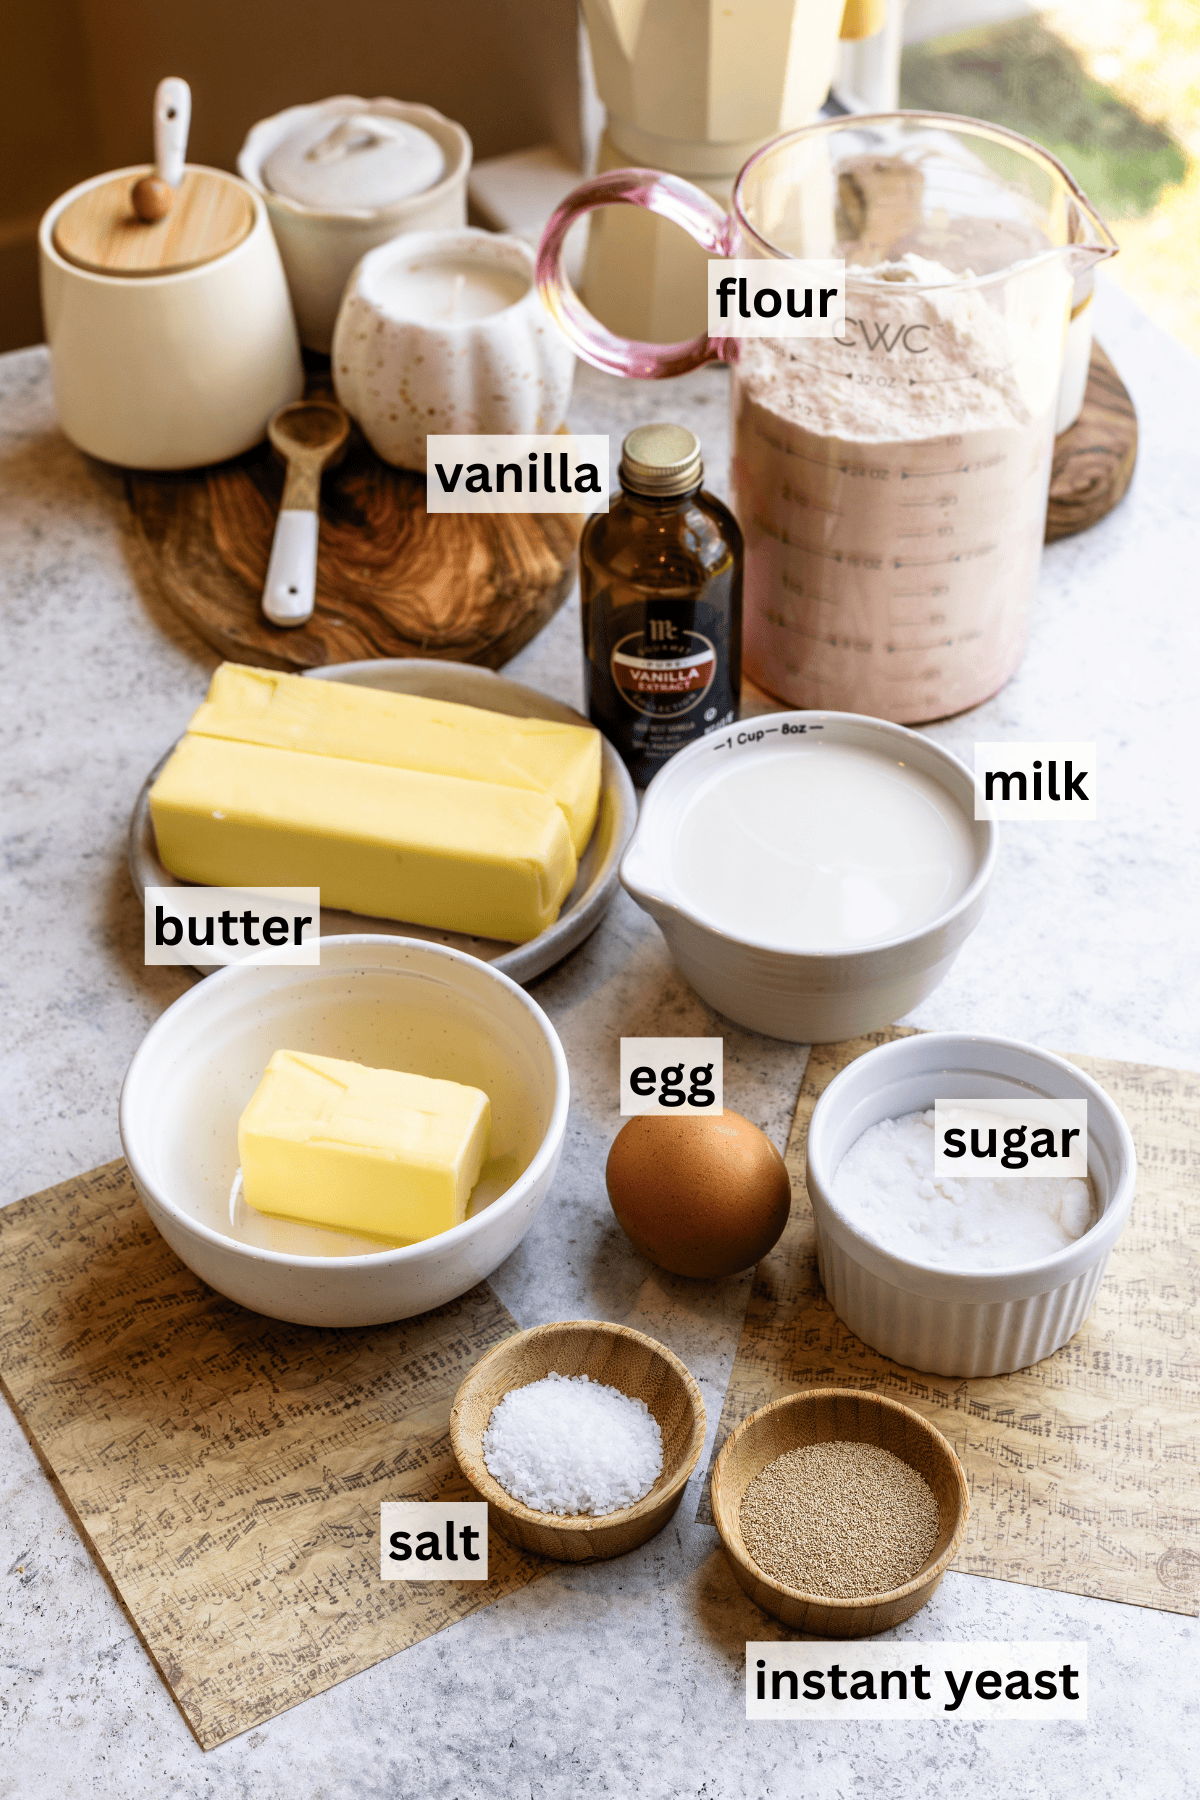
How to Make Apple Danish
The full recipe card is down below at the bottom, but I’ll also take you through it step by step right here!
Make the Danish Pastry Dough
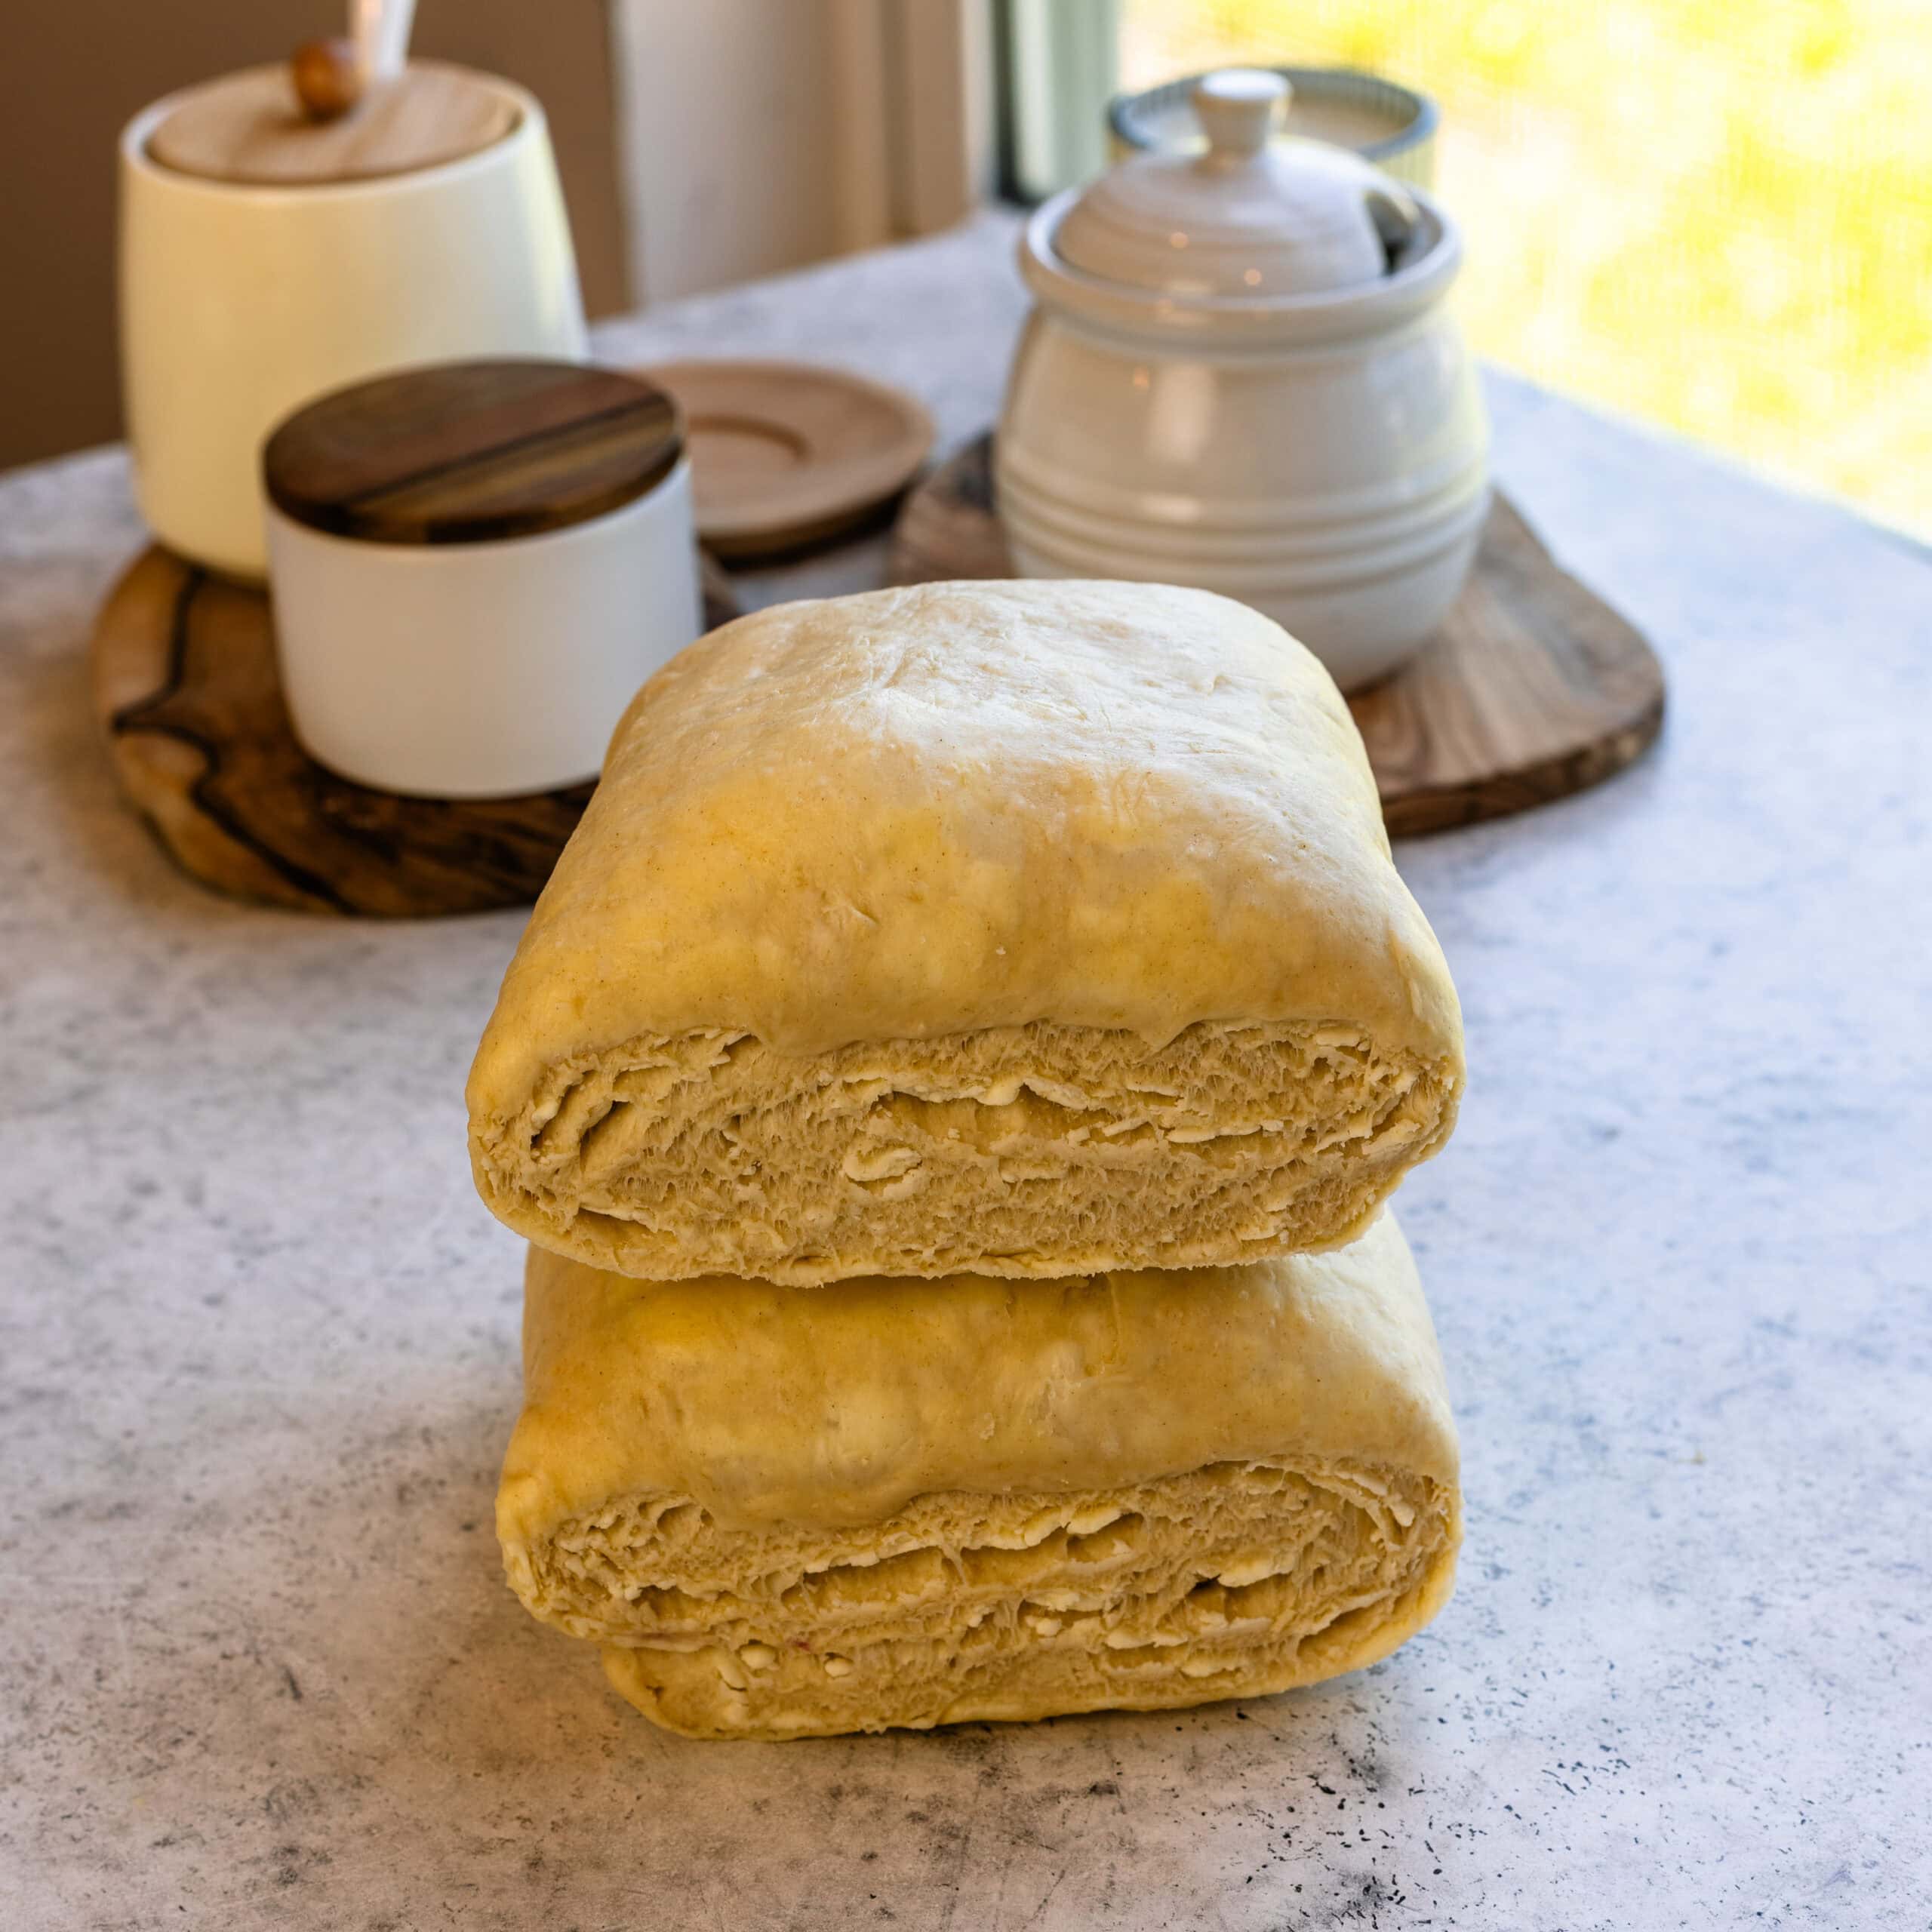
Start by making one recipe of my homemade Danish Pastry Dough from this recipe.
Follow the full recipe through the lamination and chilling process. The dough gets three letter folds, with chilling periods in between, to create all of those flaky butter layers.
I actually prefer making the dough the day before I want to bake the Apple Danish. After the final fold, leave it wrapped in the refrigerator overnight. This breaks up the work and also gives the gluten plenty of time to relax, which makes the dough much easier to roll the next day.
For the full dough recipe, step-by-step lamination instructions, and troubleshooting tips, see my Danish Pastry Recipe.
The Cream Cheese Filling
The cream cheese filling adds a rich, creamy layer that pairs perfectly with the spiced apples. It’s lightly sweetened with sugar and flavored with vanilla, with an egg yolk for richness and a little flour to help the filling stay thick and creamy as the Danish bake.
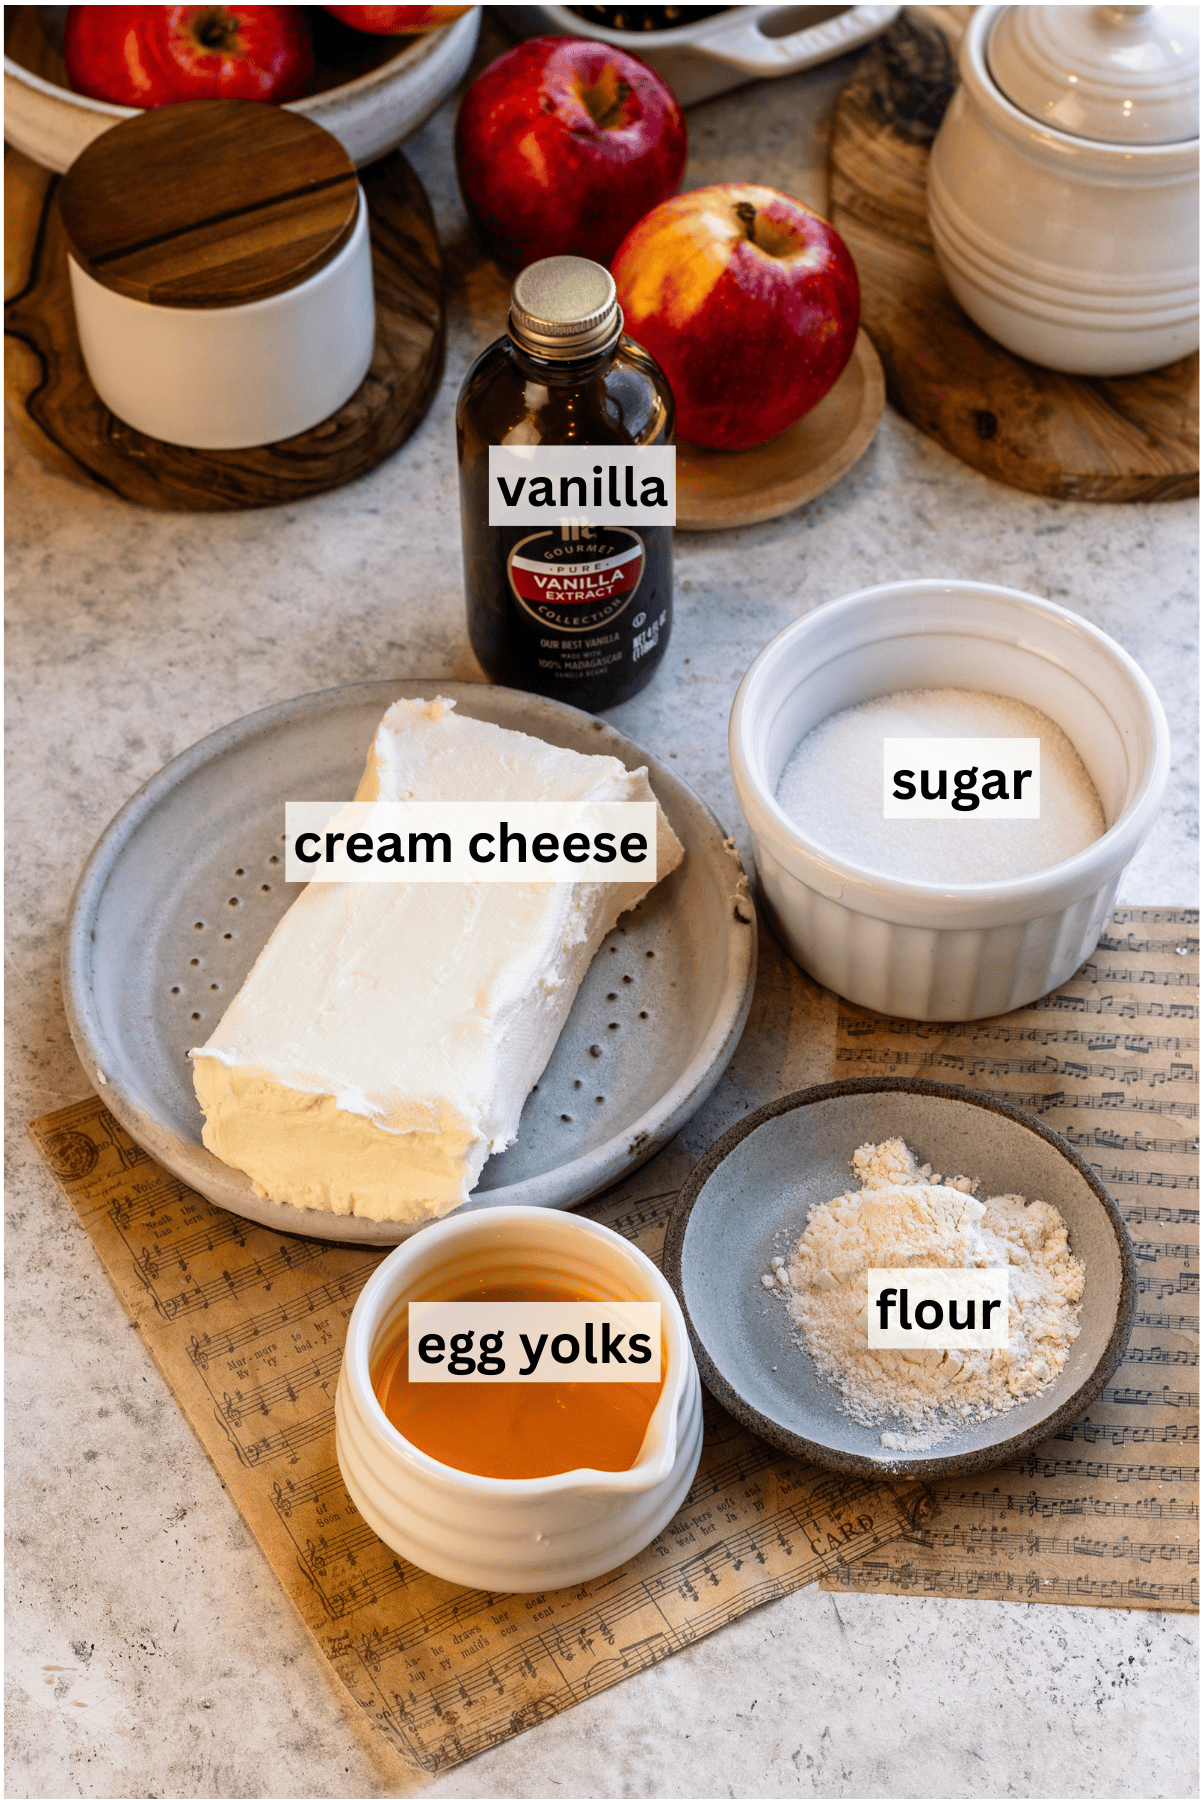
Beat the cream cheese and sugar
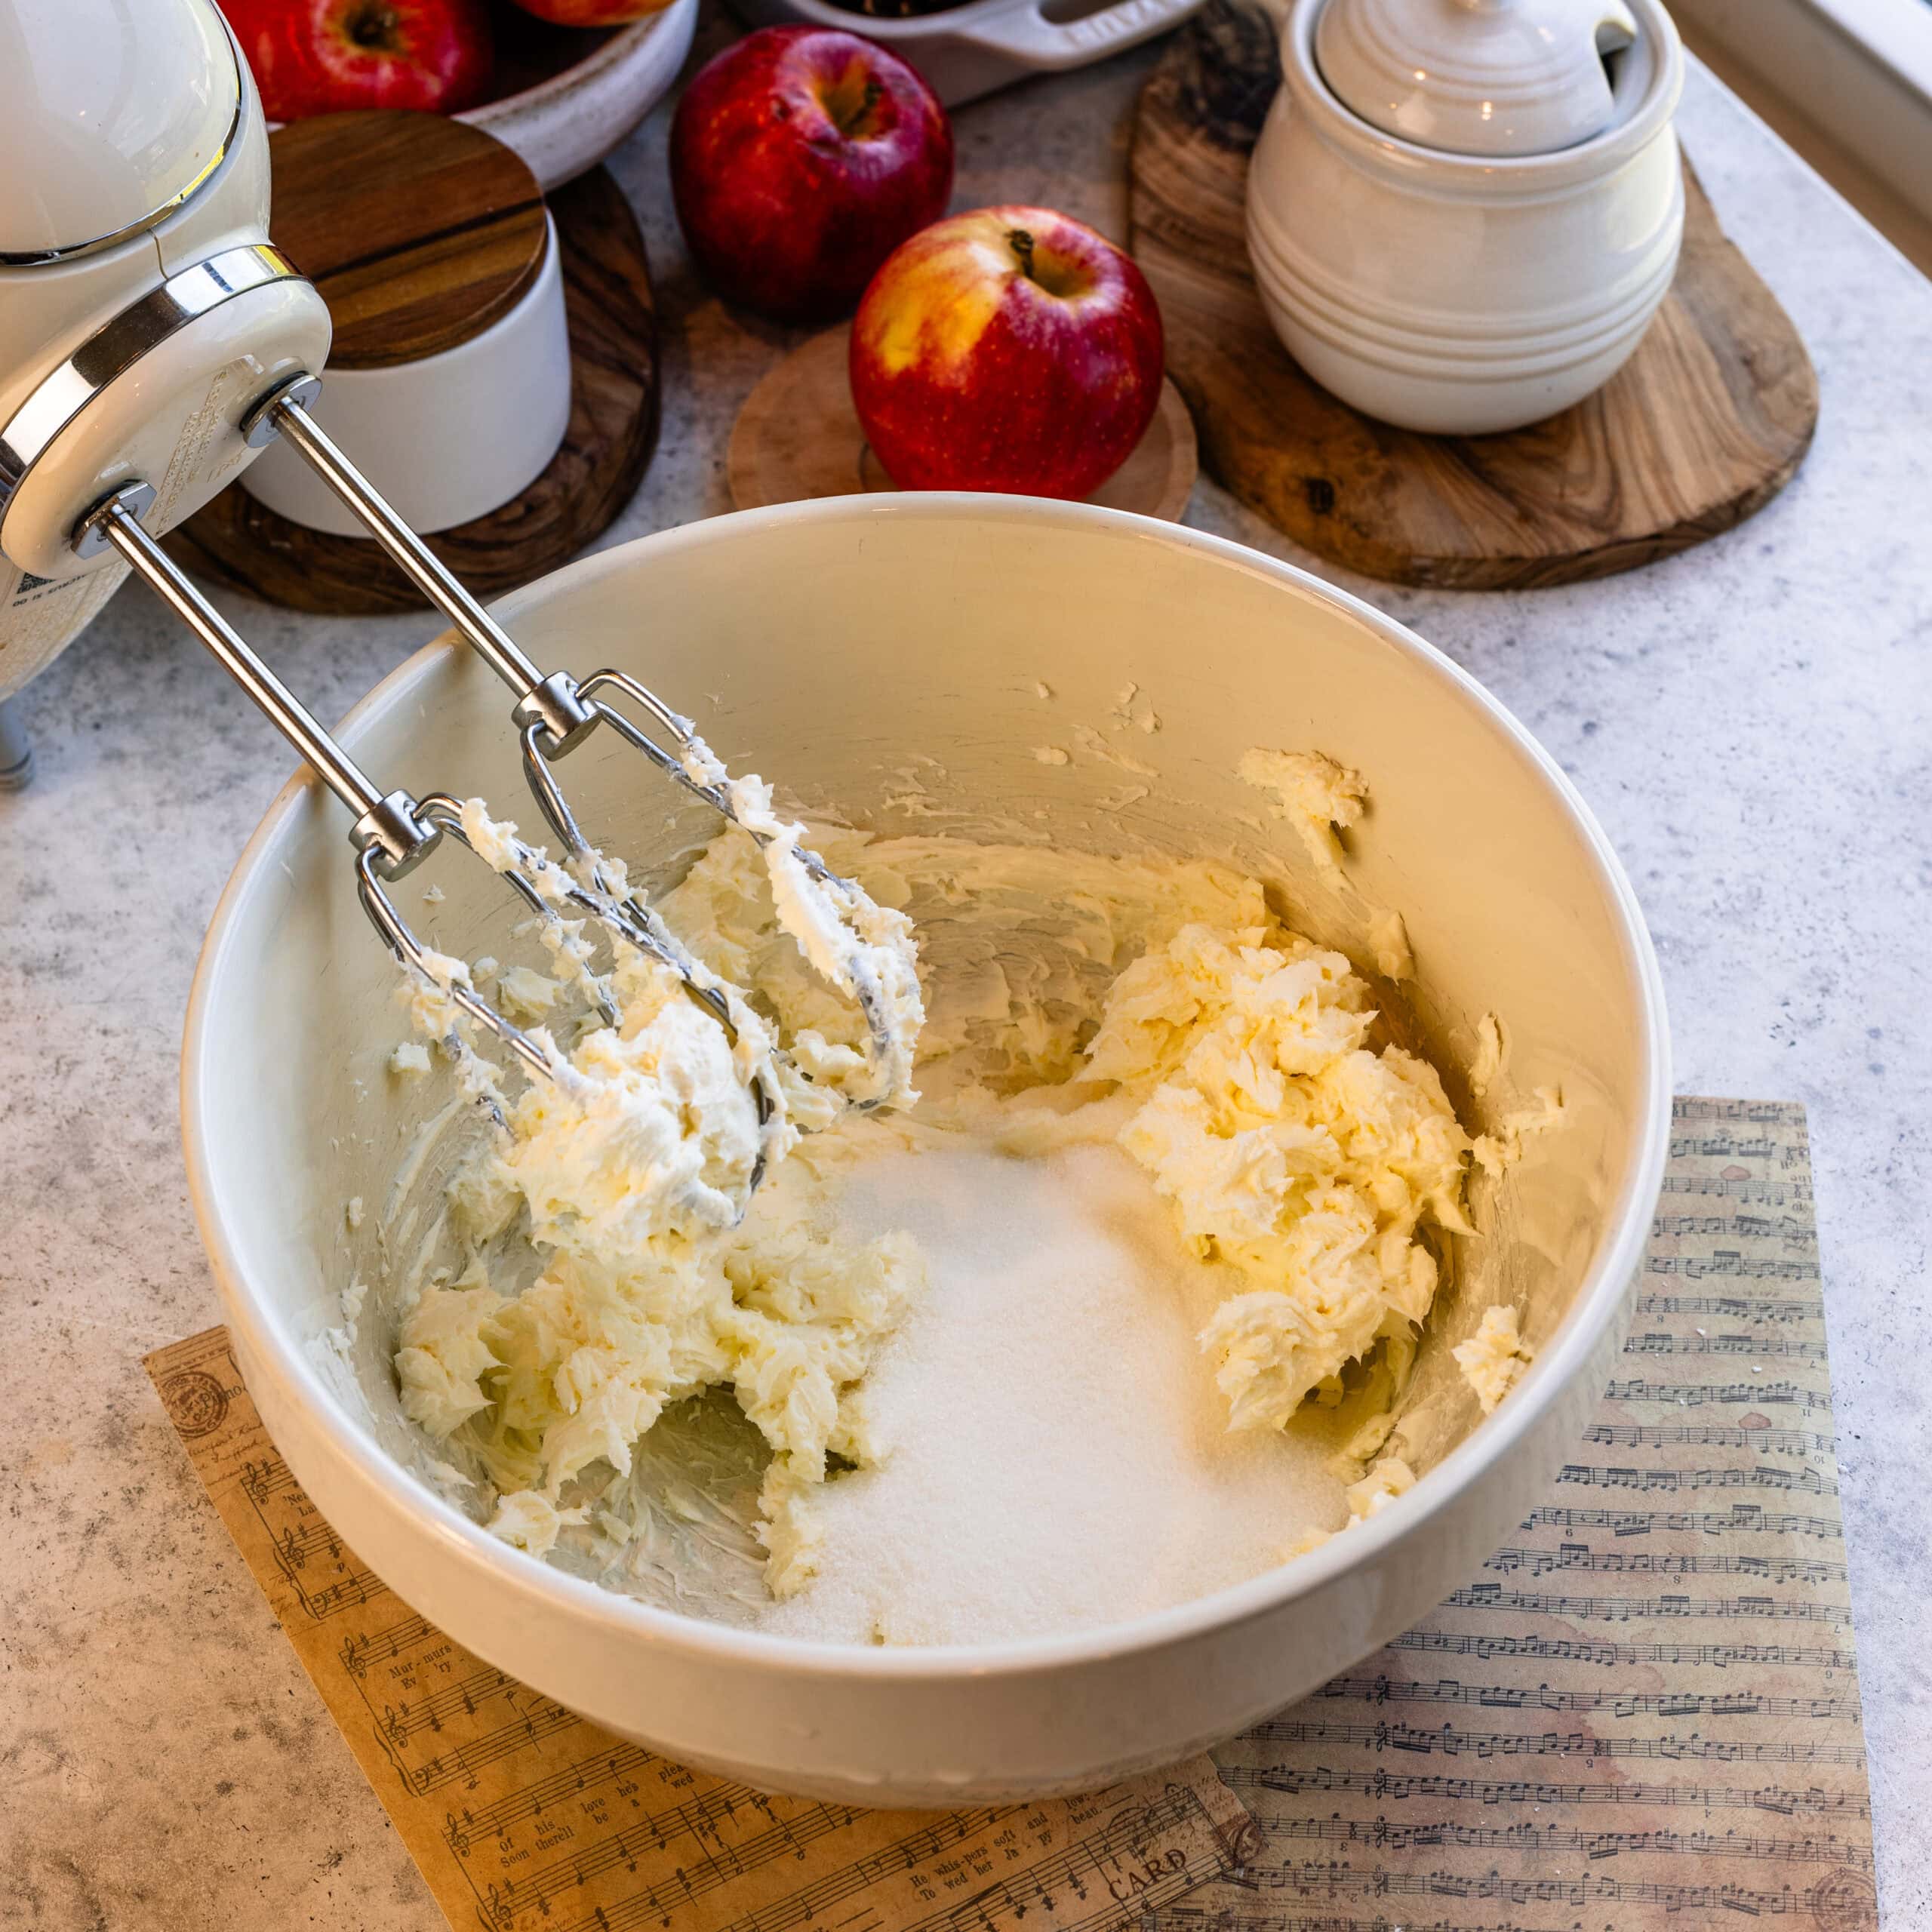
Beat the softened cream cheese and granulated sugar just until smooth.
Add the remaining ingredients
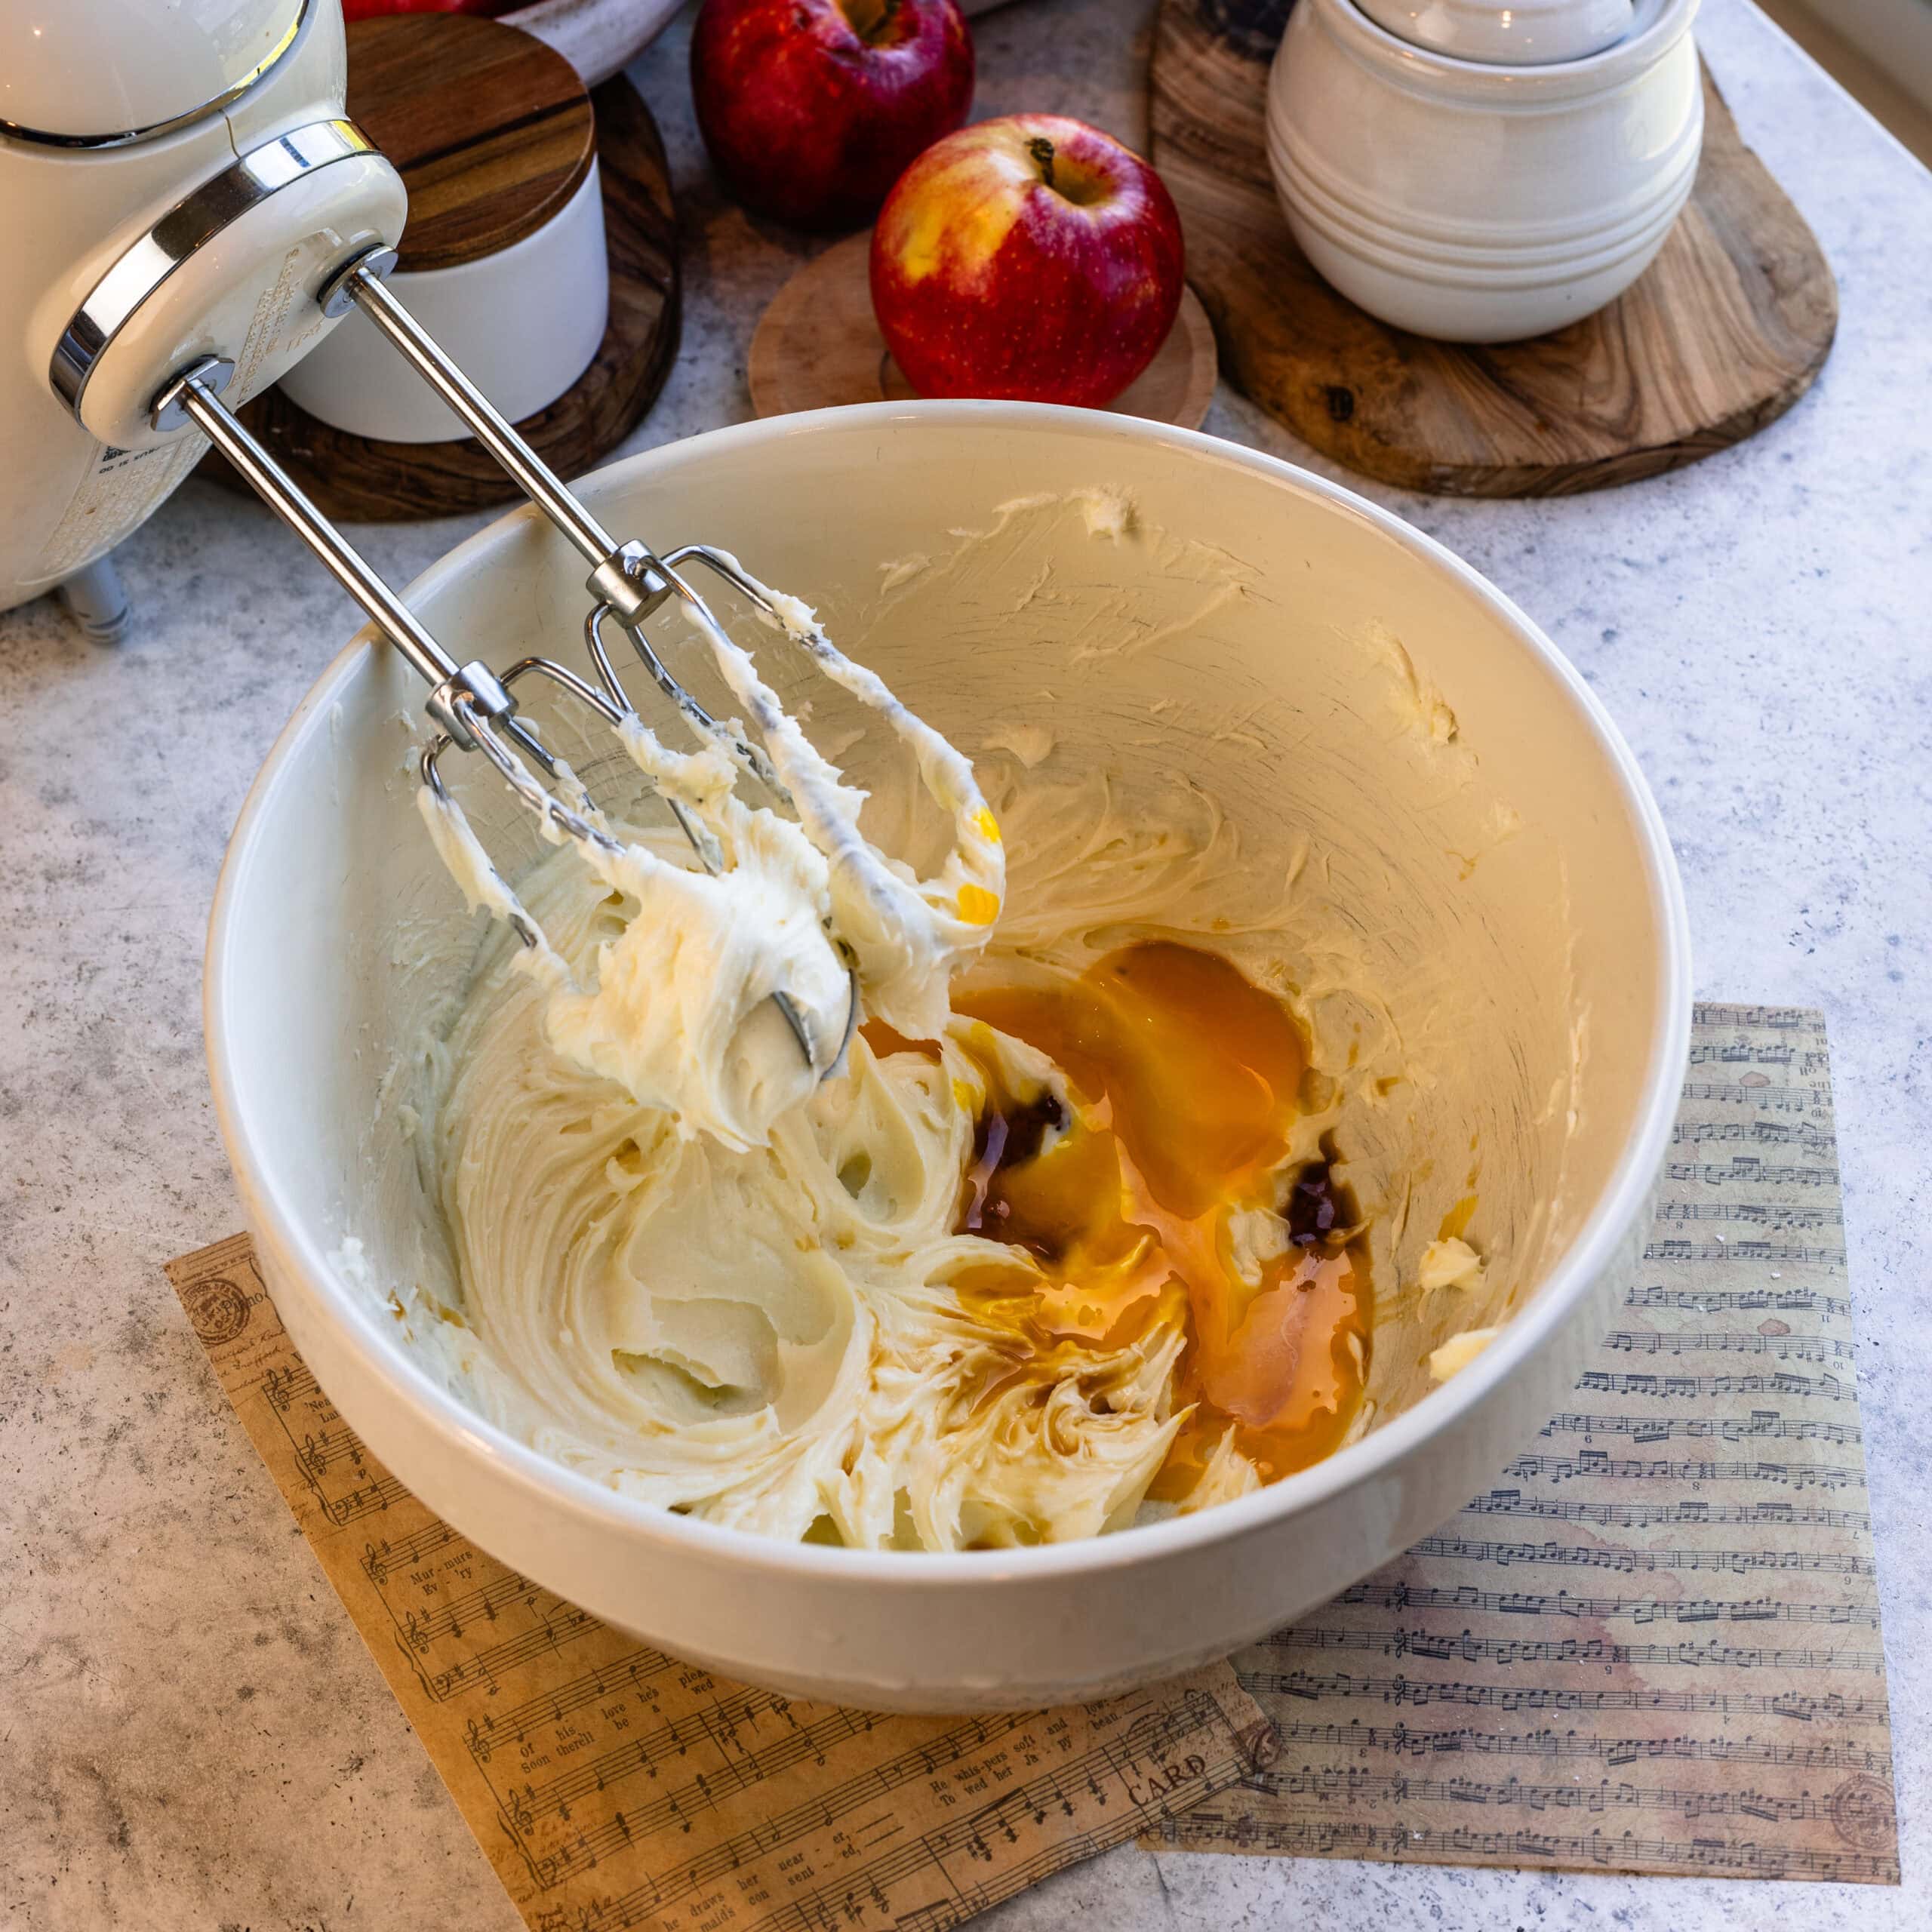
Add the flour and mix until incorporated, then add the egg yolk, vanilla extract, and a pinch of salt. The flour helps stabilize the filling so it stays thick and creamy rather than becoming watery as the Danish bake. Keep the filling refrigerated while you prepare the rest of the recipe.
The Apple Filling
The apple filling is packed with tender pieces of apple cooked with brown sugar, butter, cinnamon, and a hint of nutmeg. A little lemon juice brightens the flavor, while cornstarch thickens the juices into a glossy filling that stays neatly in the center of the Danish as they bake.
Add most of the ingredients to a saucepan
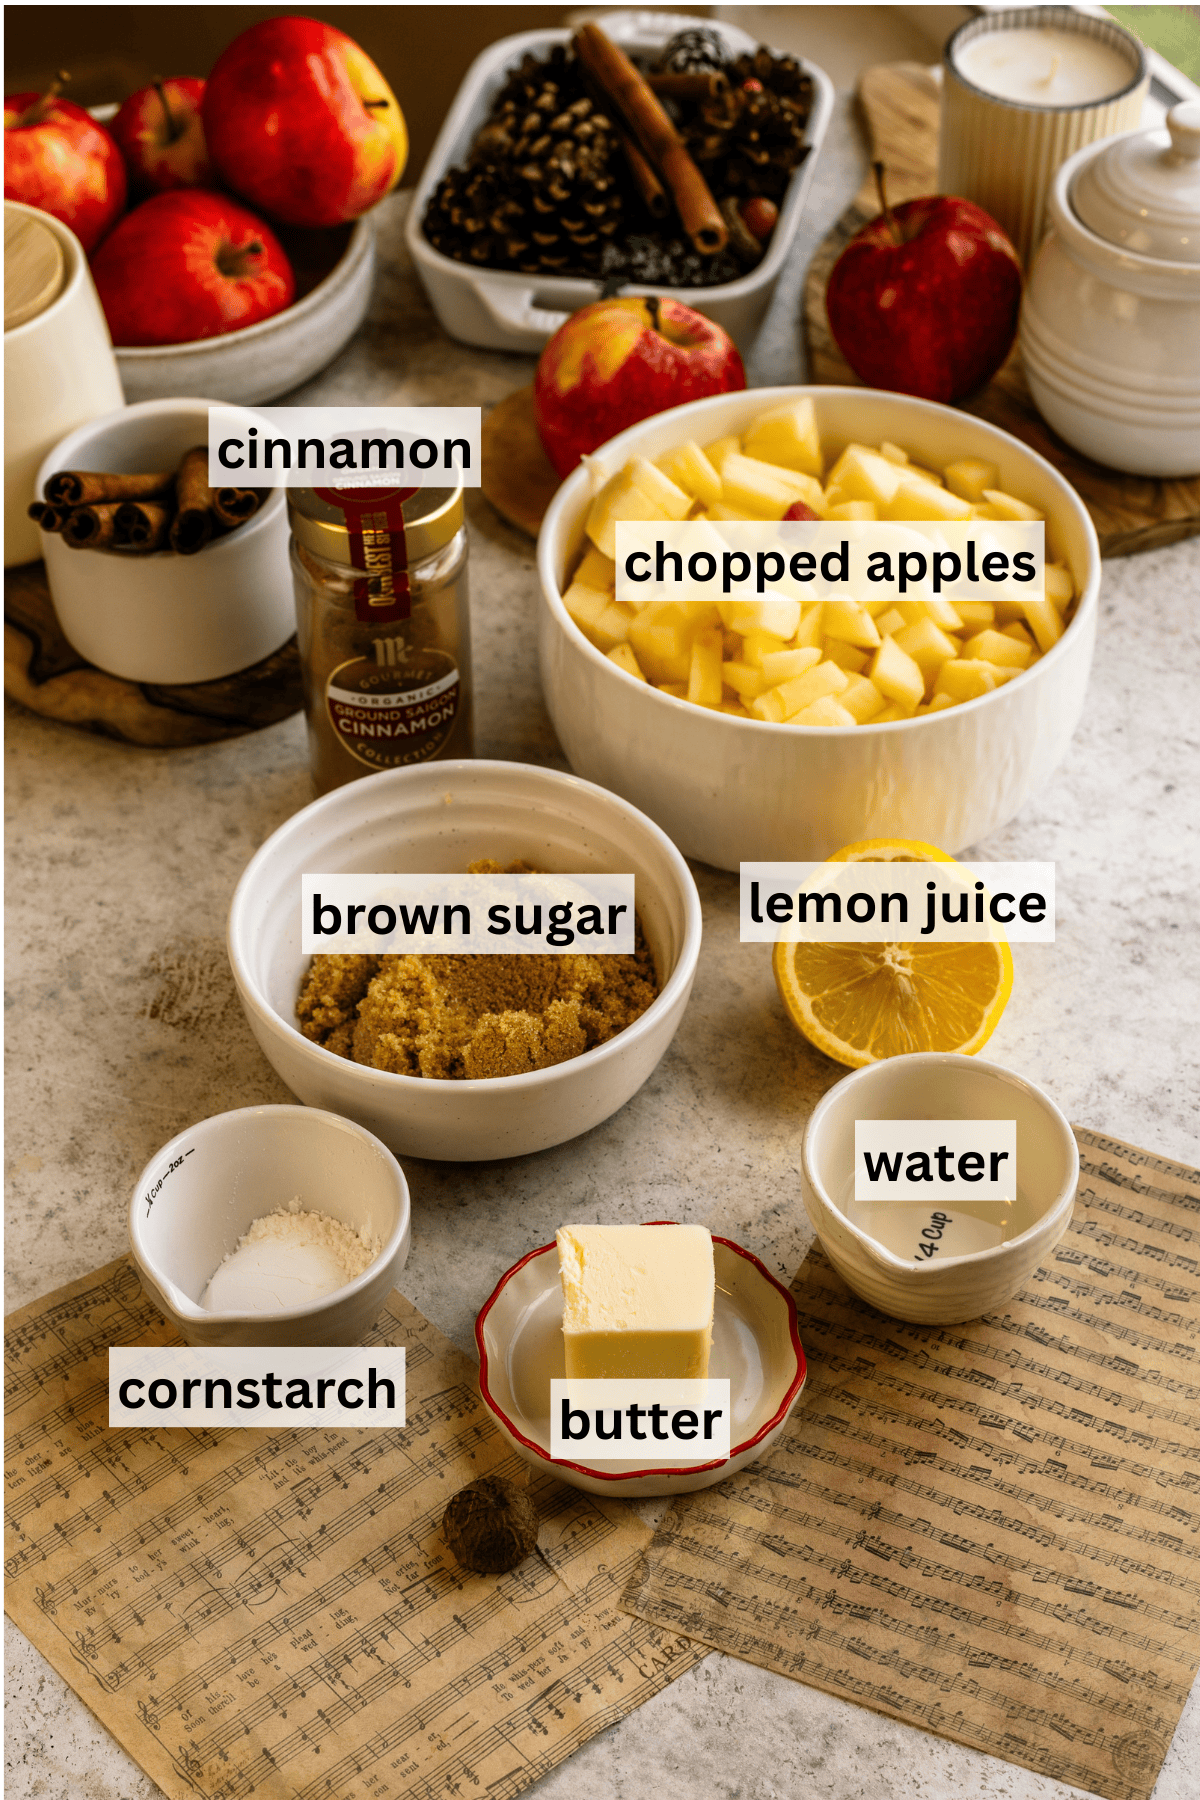
Peel the apples if desired, then dice them into small pieces, about ¼ inch each. Melt the butter in a saucepan over medium heat. Add the apples, brown sugar, cinnamon, nutmeg, lemon juice, and a pinch of salt.
Cook the Apple Filling down
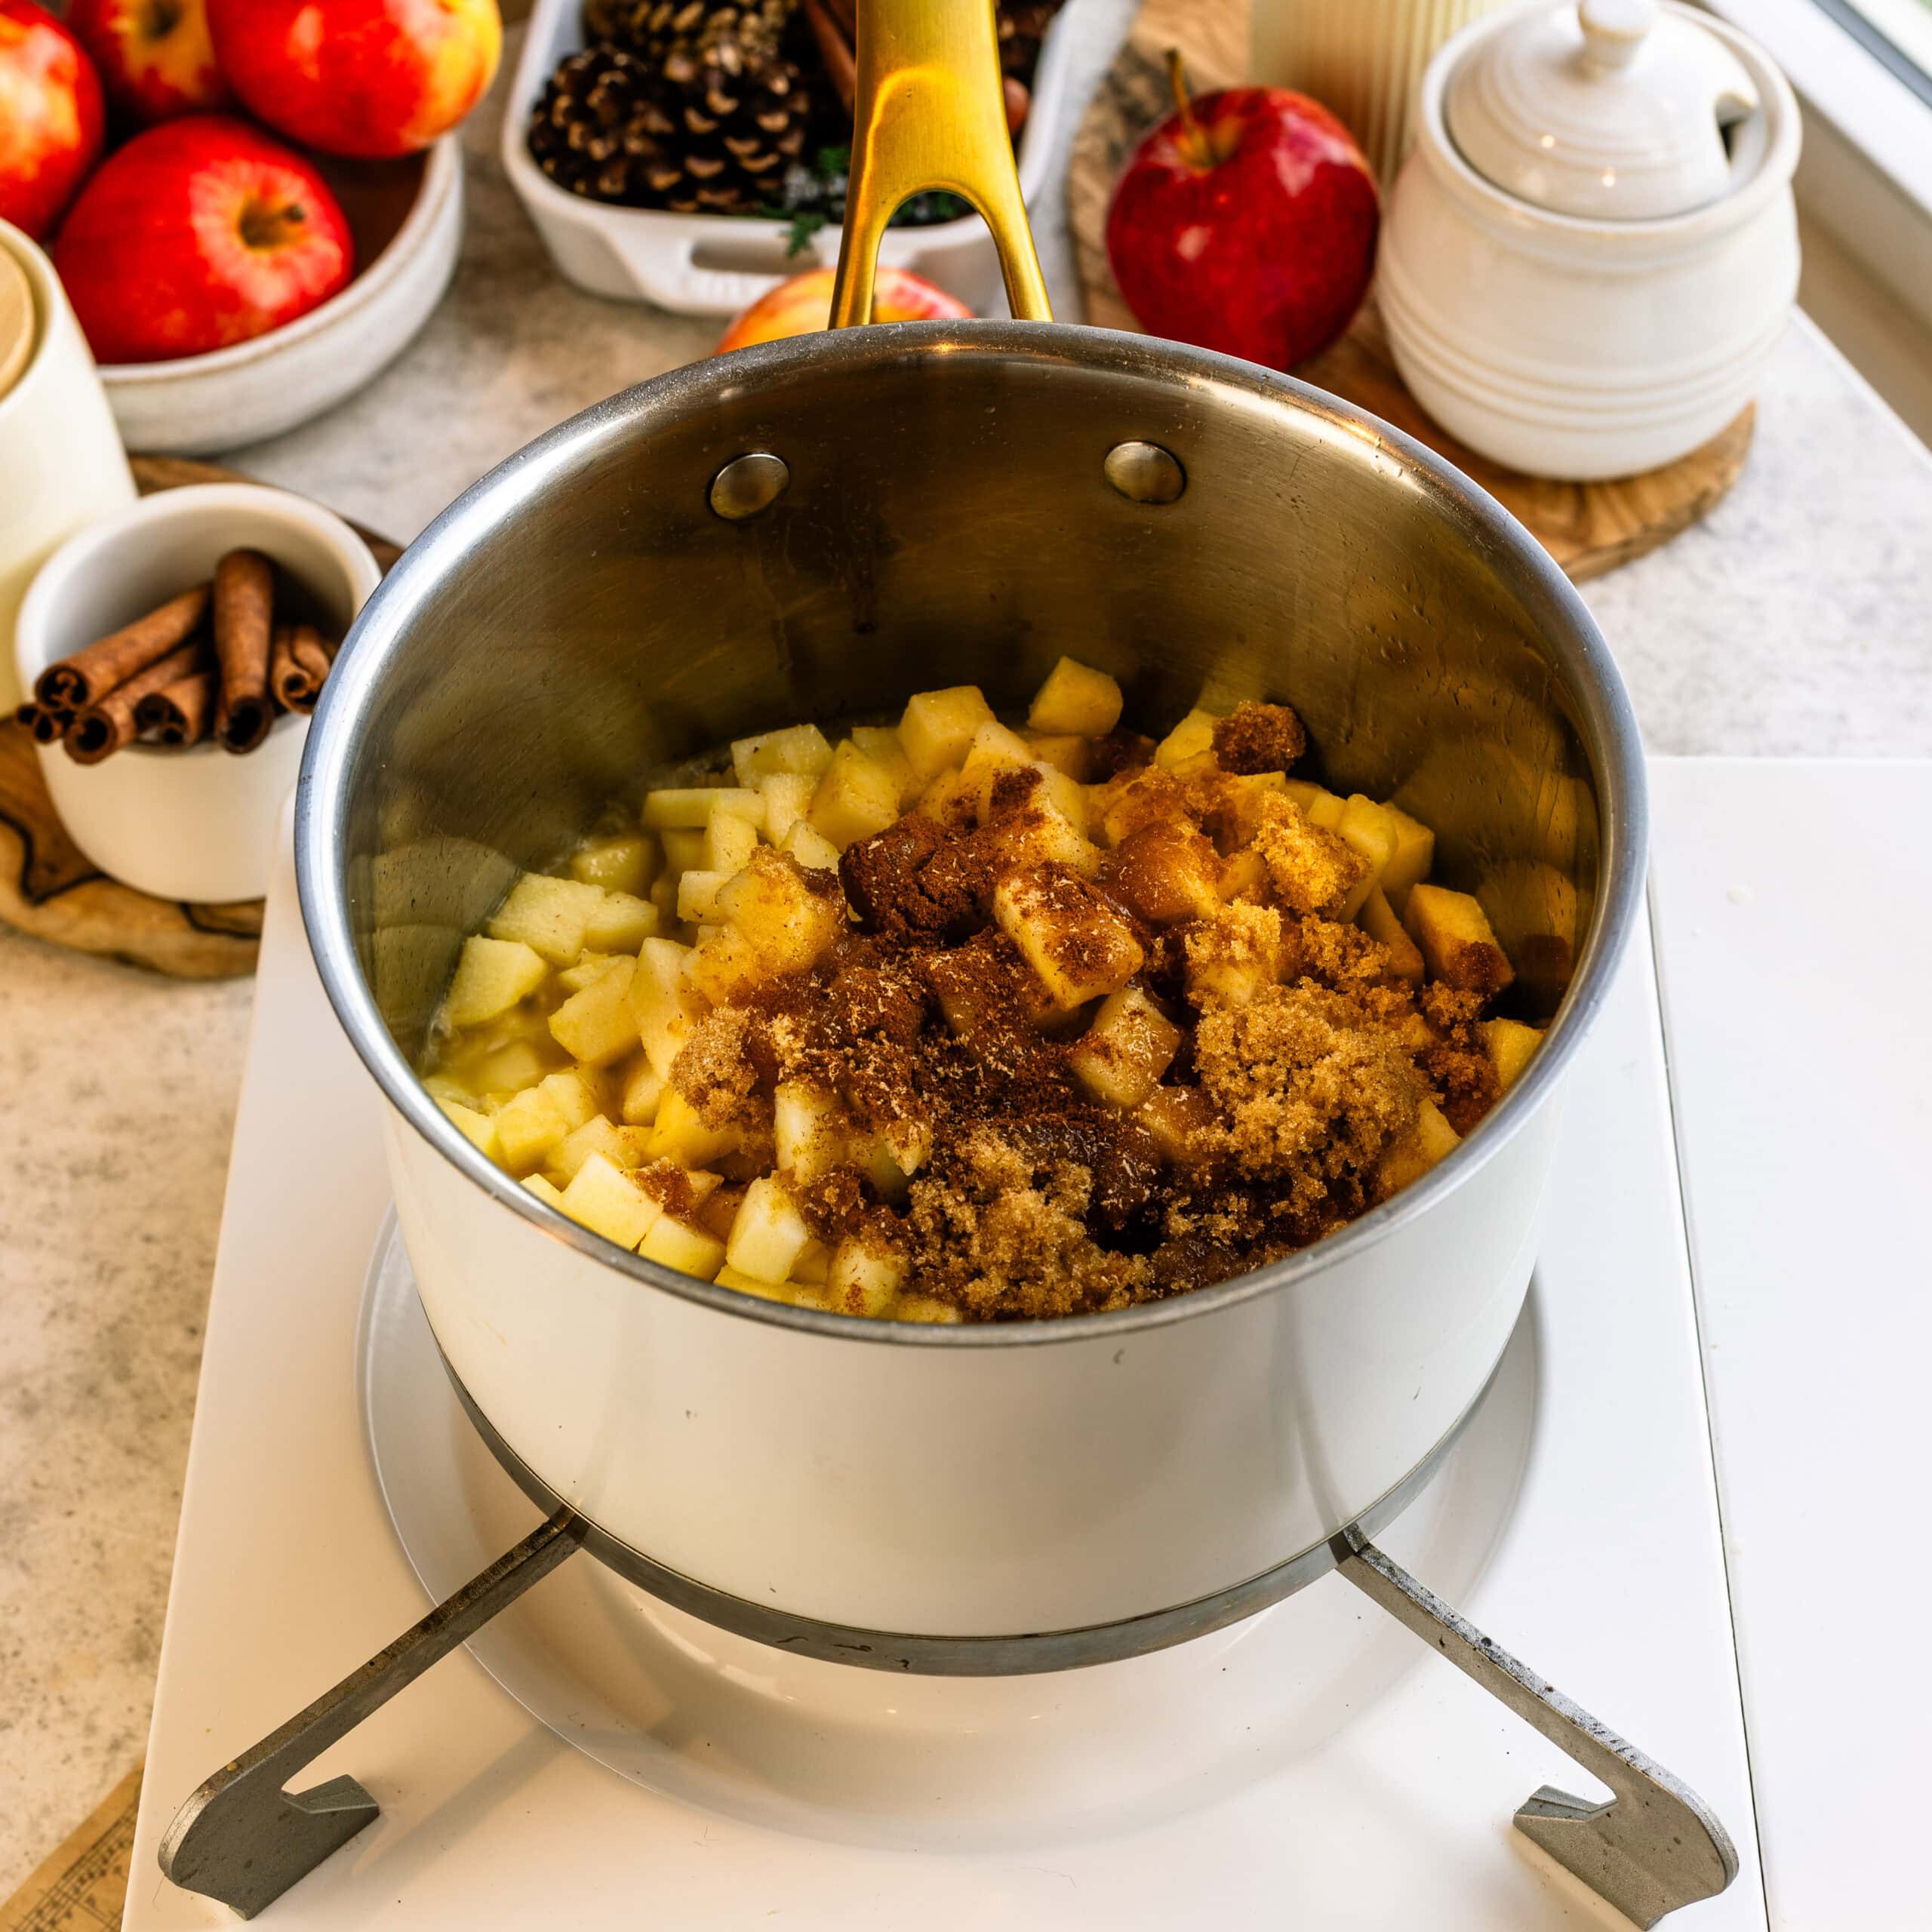
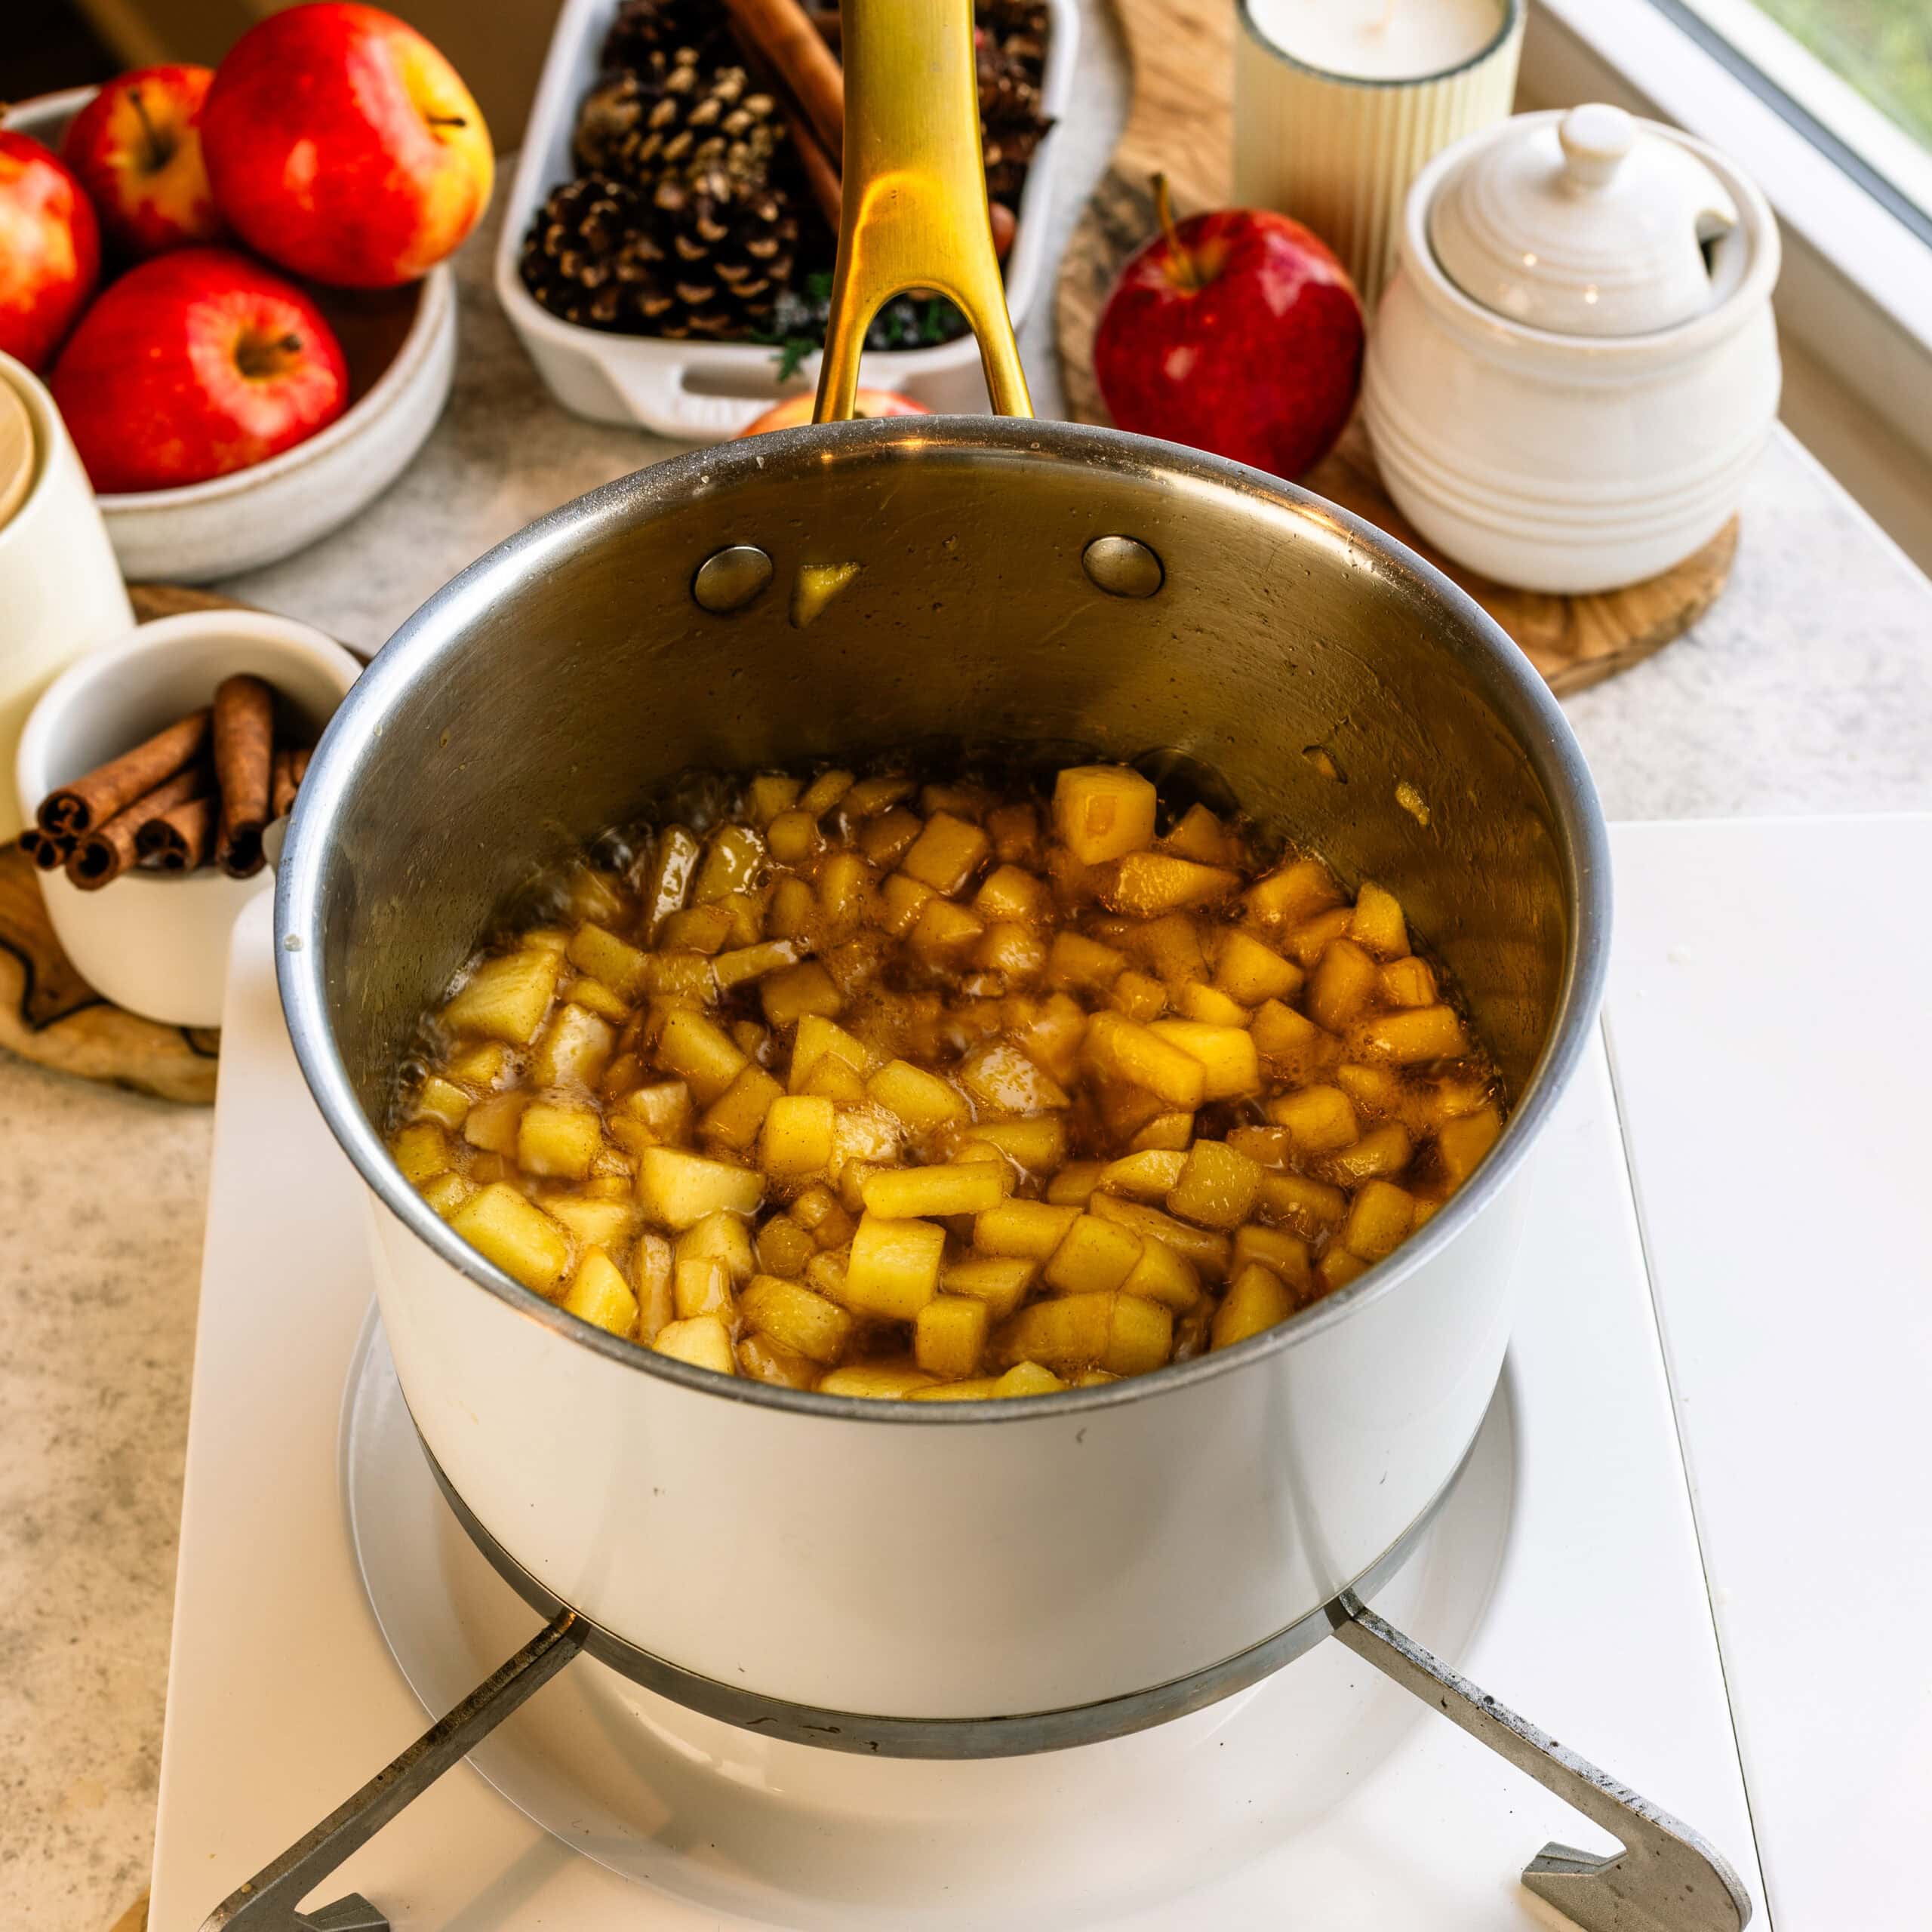
Cook the apples for about 7 minutes, stirring occasionally. You want them tender but still holding their shape. They’ll continue cooking a little when the Danish go into the oven.
Make a cornstarch slurry
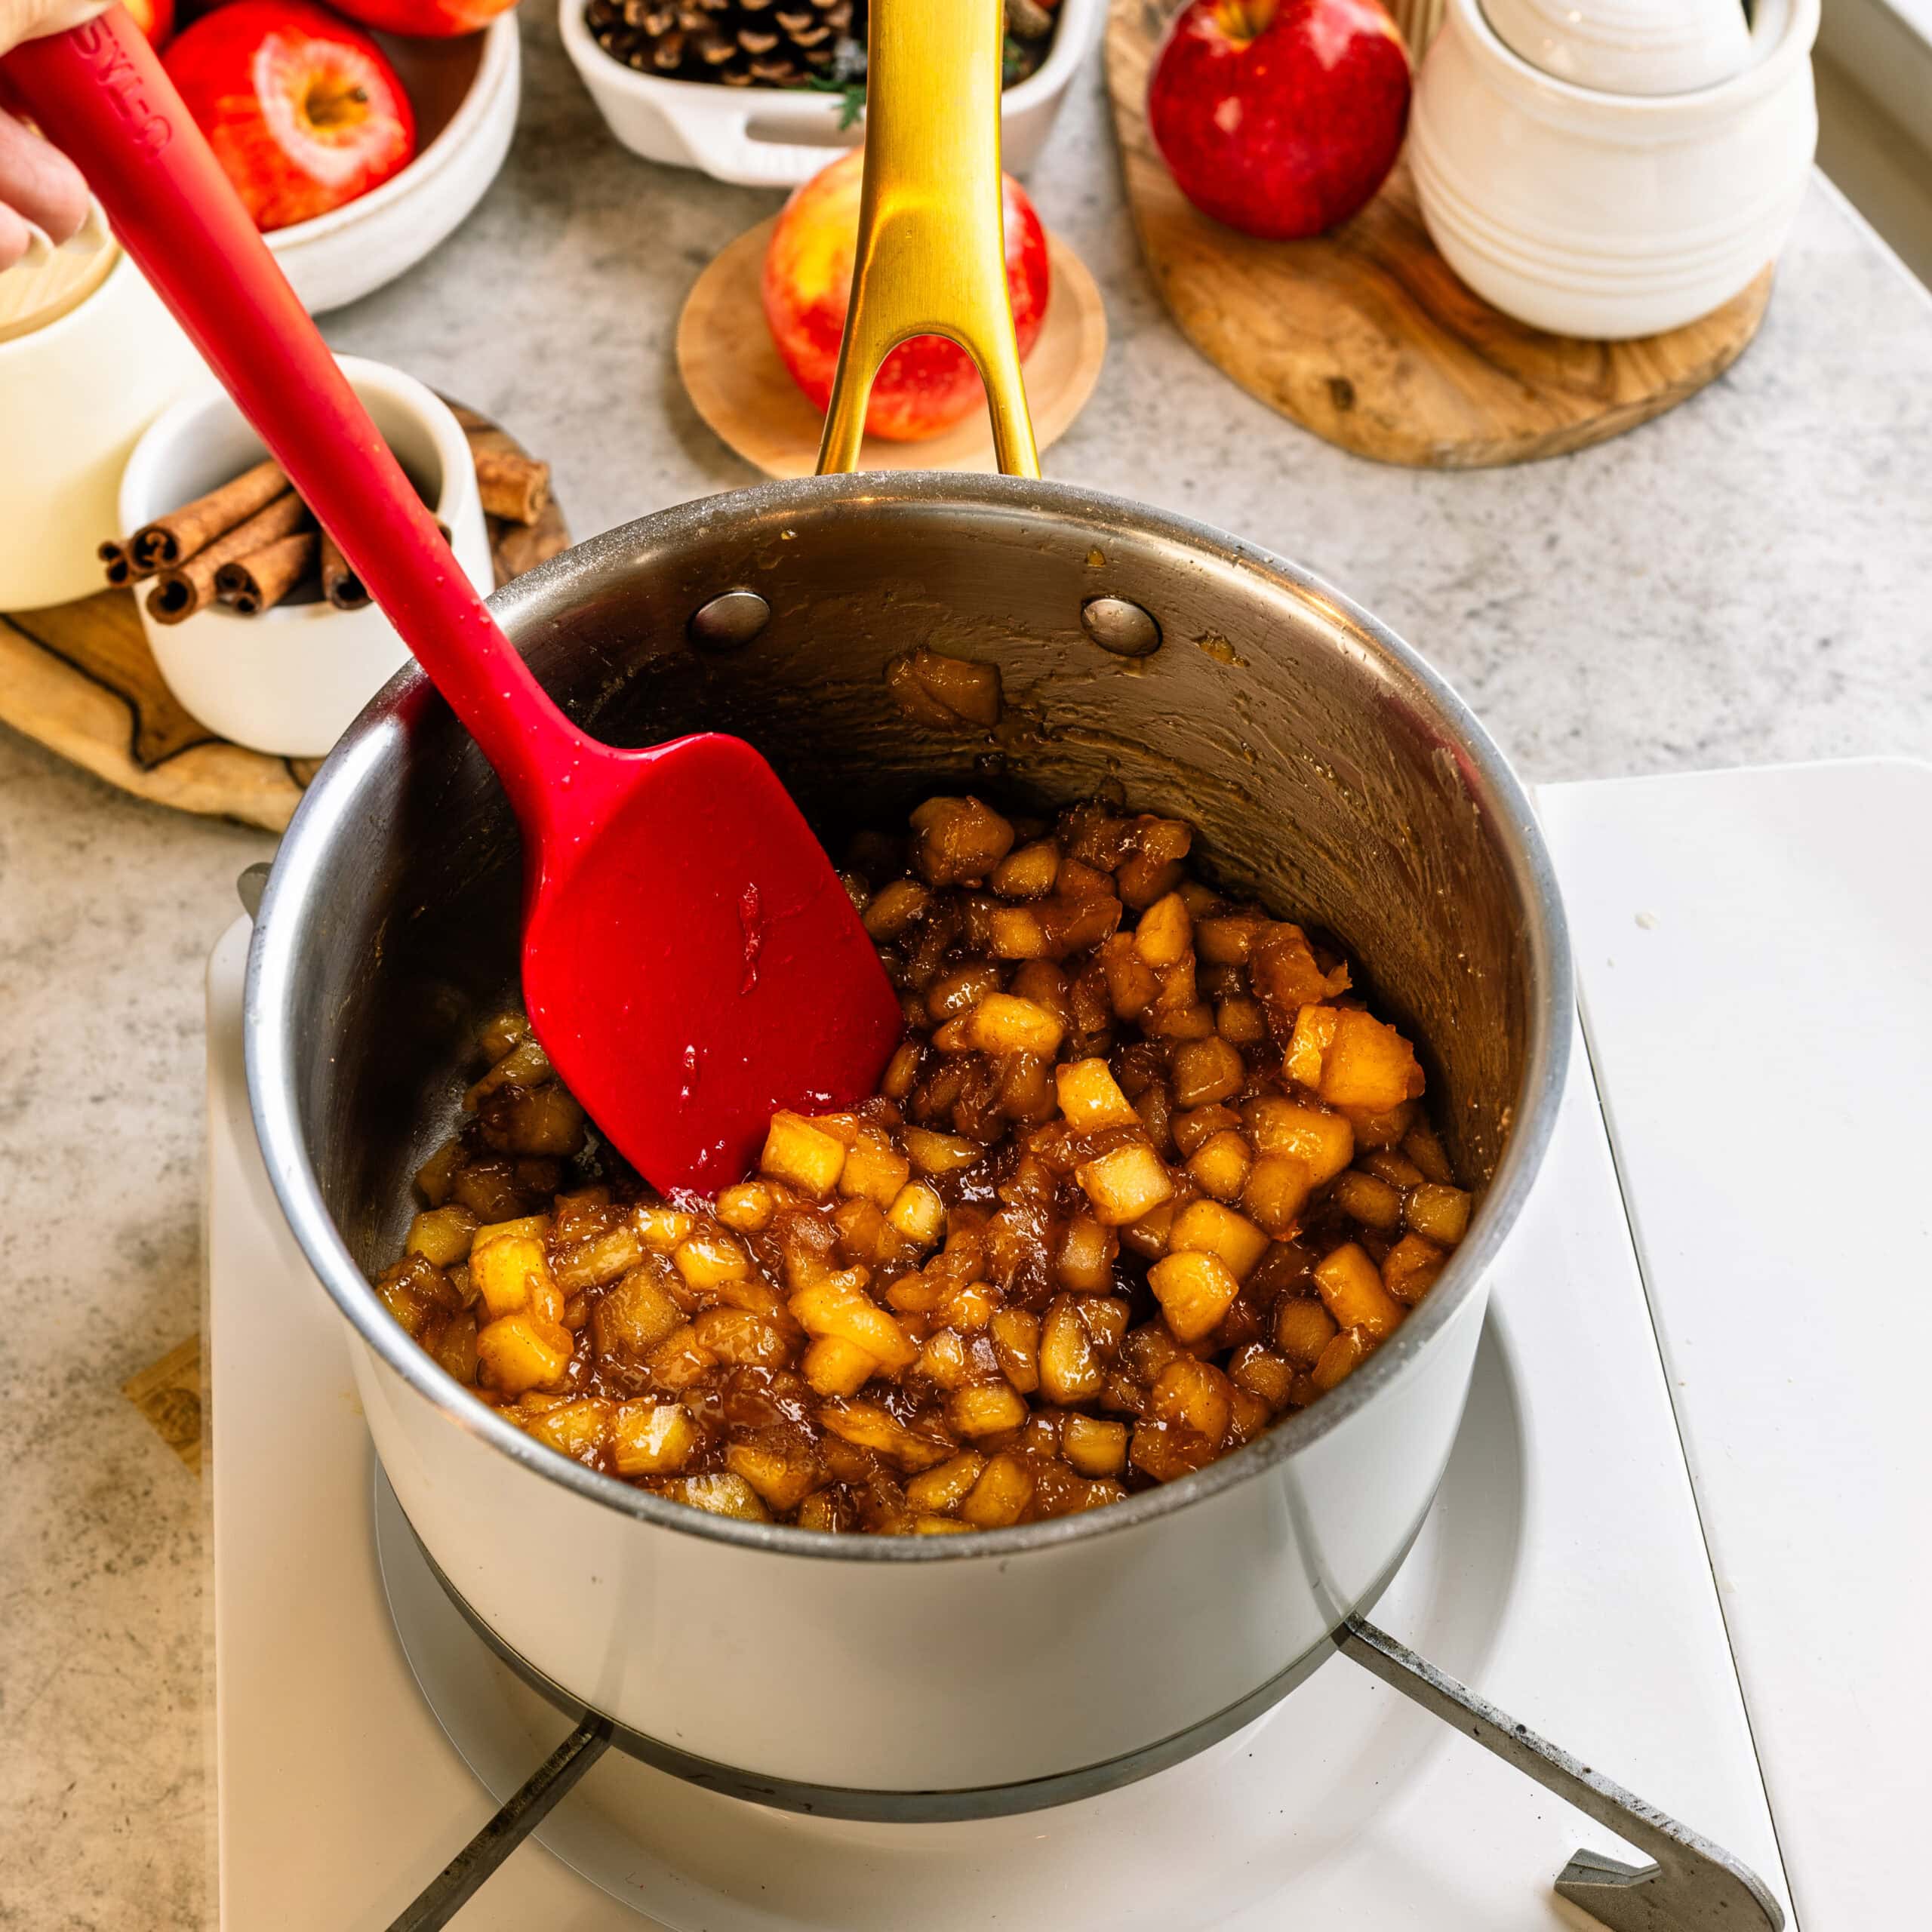
In a small bowl, mix the cornstarch and water until completely smooth. Pour the slurry into the apples and continue cooking for another 1 to 2 minutes.
The juices should become noticeably thick and glossy.
Transfer the filling to a bowl and press plastic wrap directly onto the surface. Let it cool completely before assembling the Danish.
The cooled filling should be thick and spoonable rather than saucy. This is important! Too much liquid can soak into the center of the pastry and interfere with the flaky layers.
Make the streusel
Combine the flour, granulated sugar, brown sugar, cinnamon, and nutmeg in a bowl.
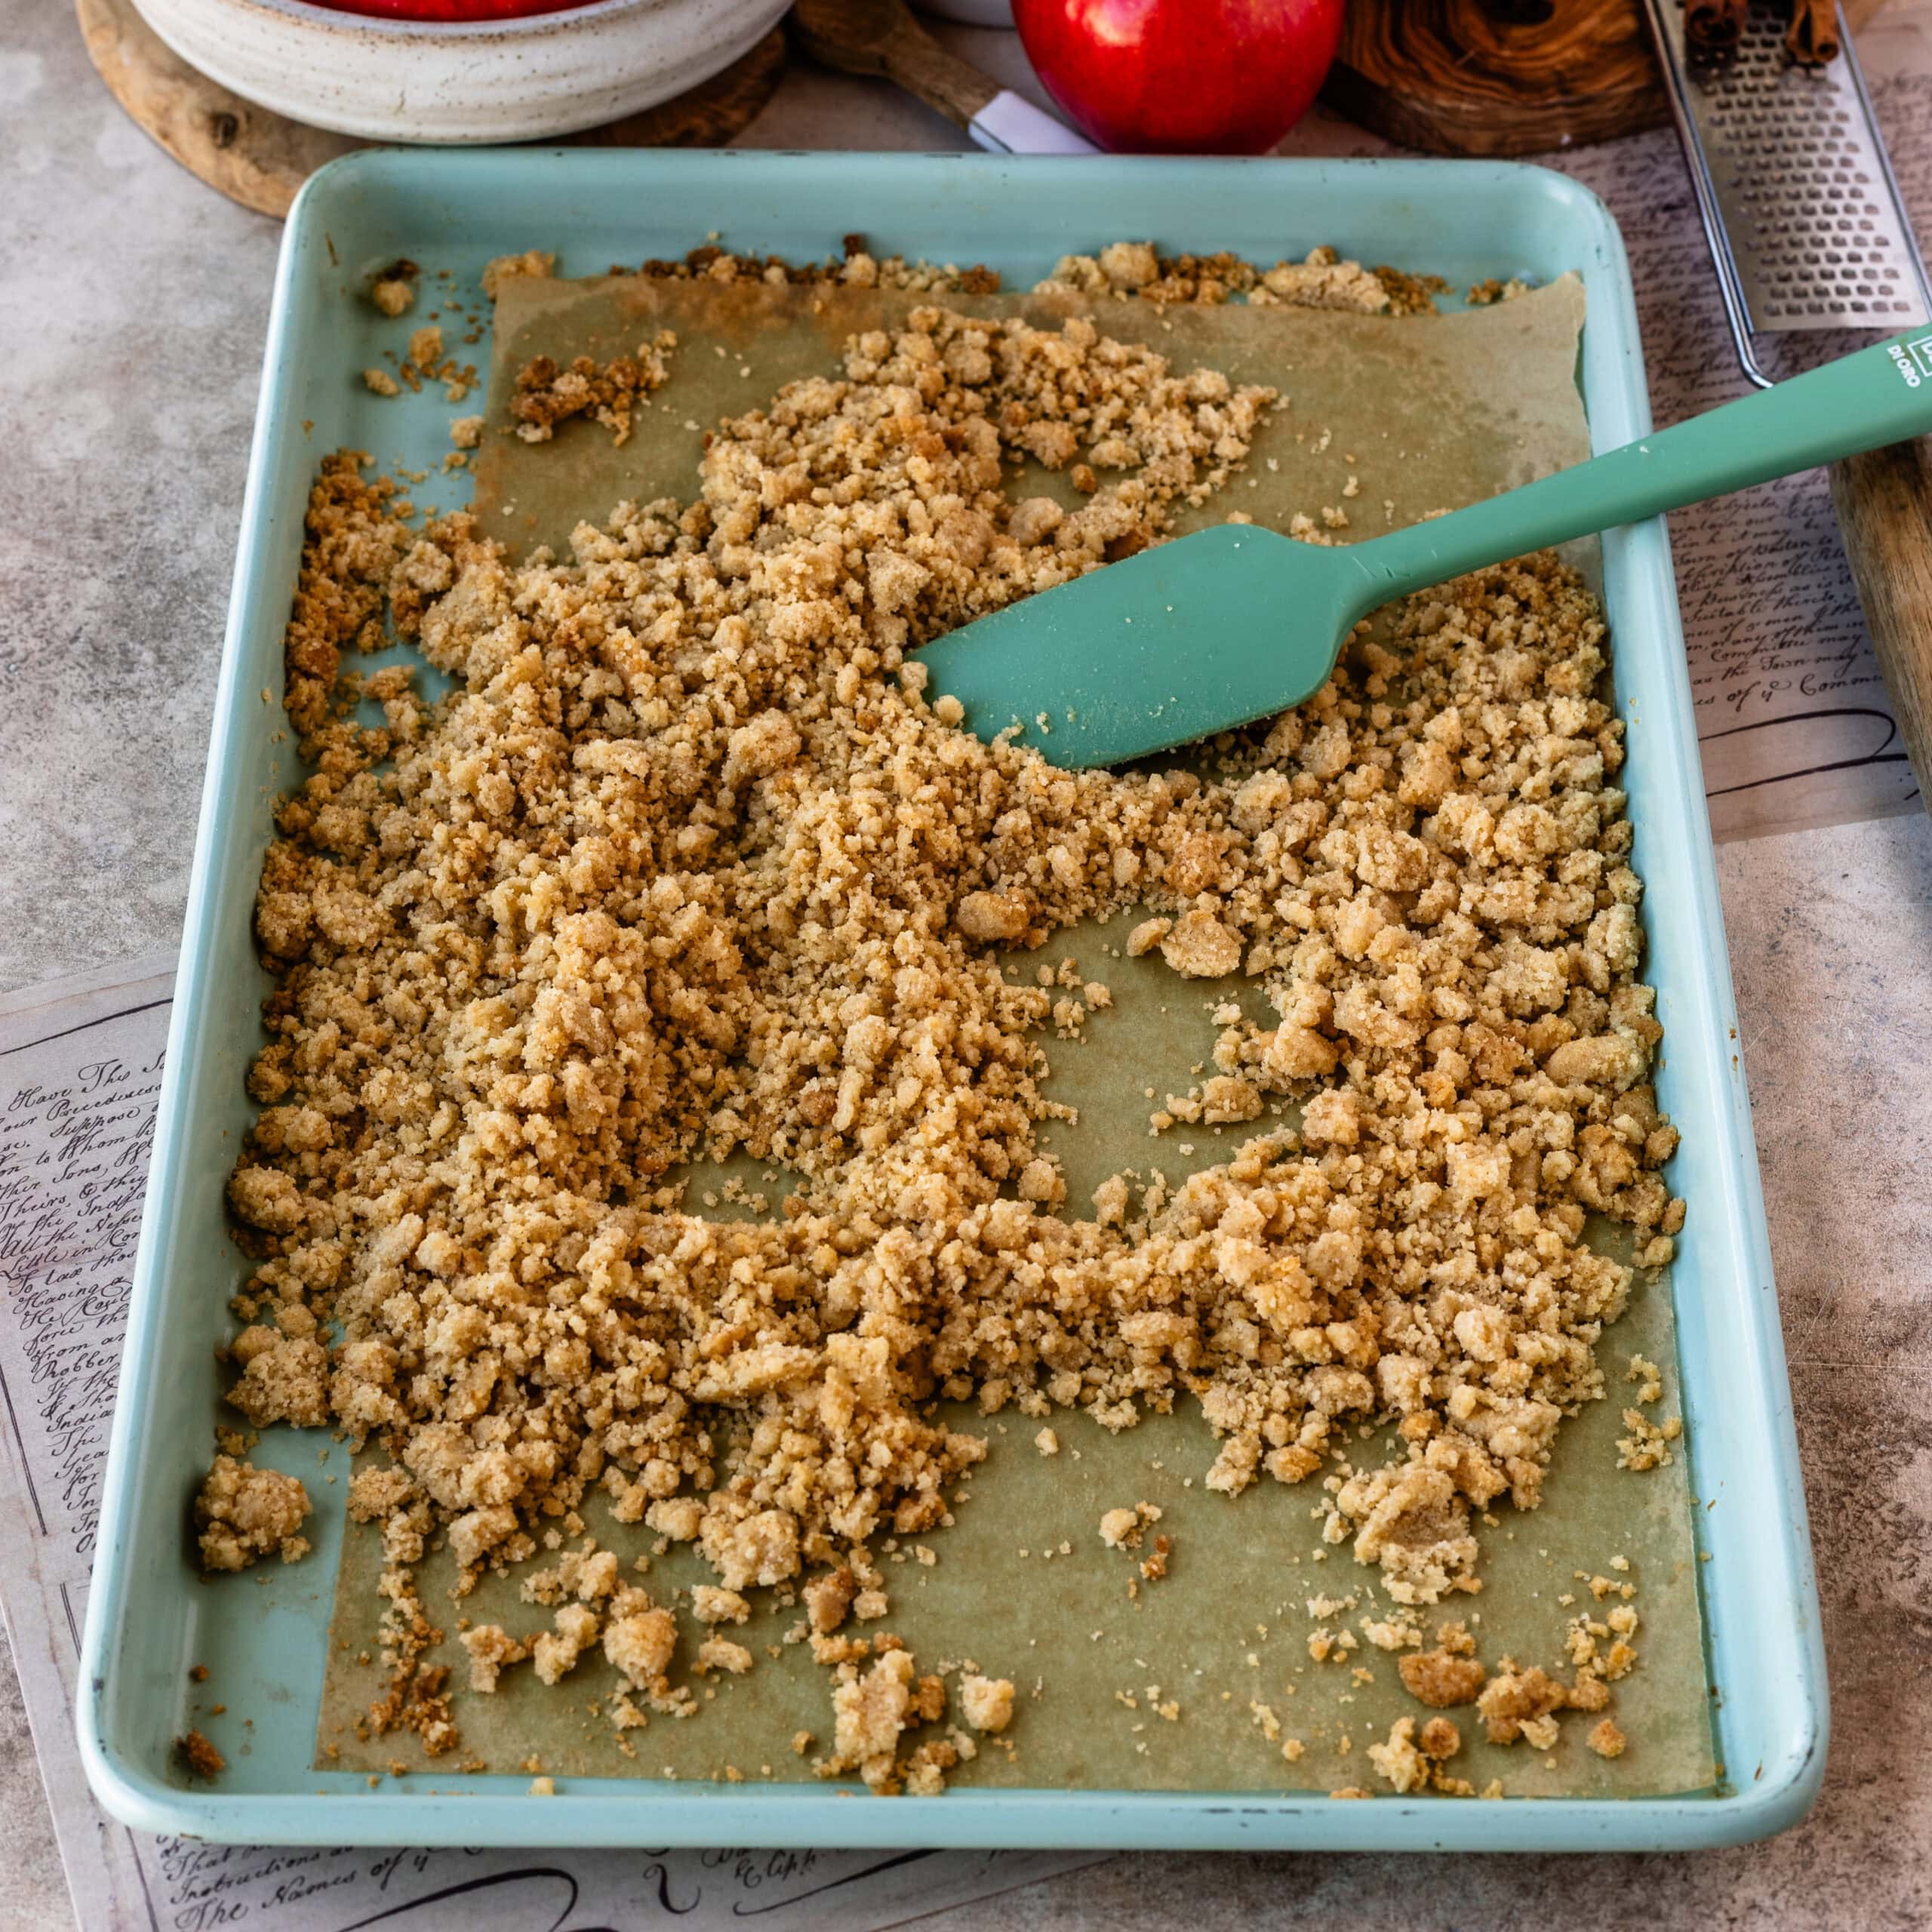
Add the softened butter and mix with a fork until moist crumbs form. I like having a combination of smaller crumbs and some larger chunks for more texture.
Spread the streusel over a parchment-lined baking sheet and bake at 350ºF for about 10 to 12 minutes, until lightly golden and crisp.
Let the streusel cool completely, then break any particularly large pieces into smaller crumbs.
I prefer baking the streusel separately instead of putting it on the Danish before baking. This way it stays crisp and crunchy instead of absorbing moisture from the apple filling.
Roll & shape the dough
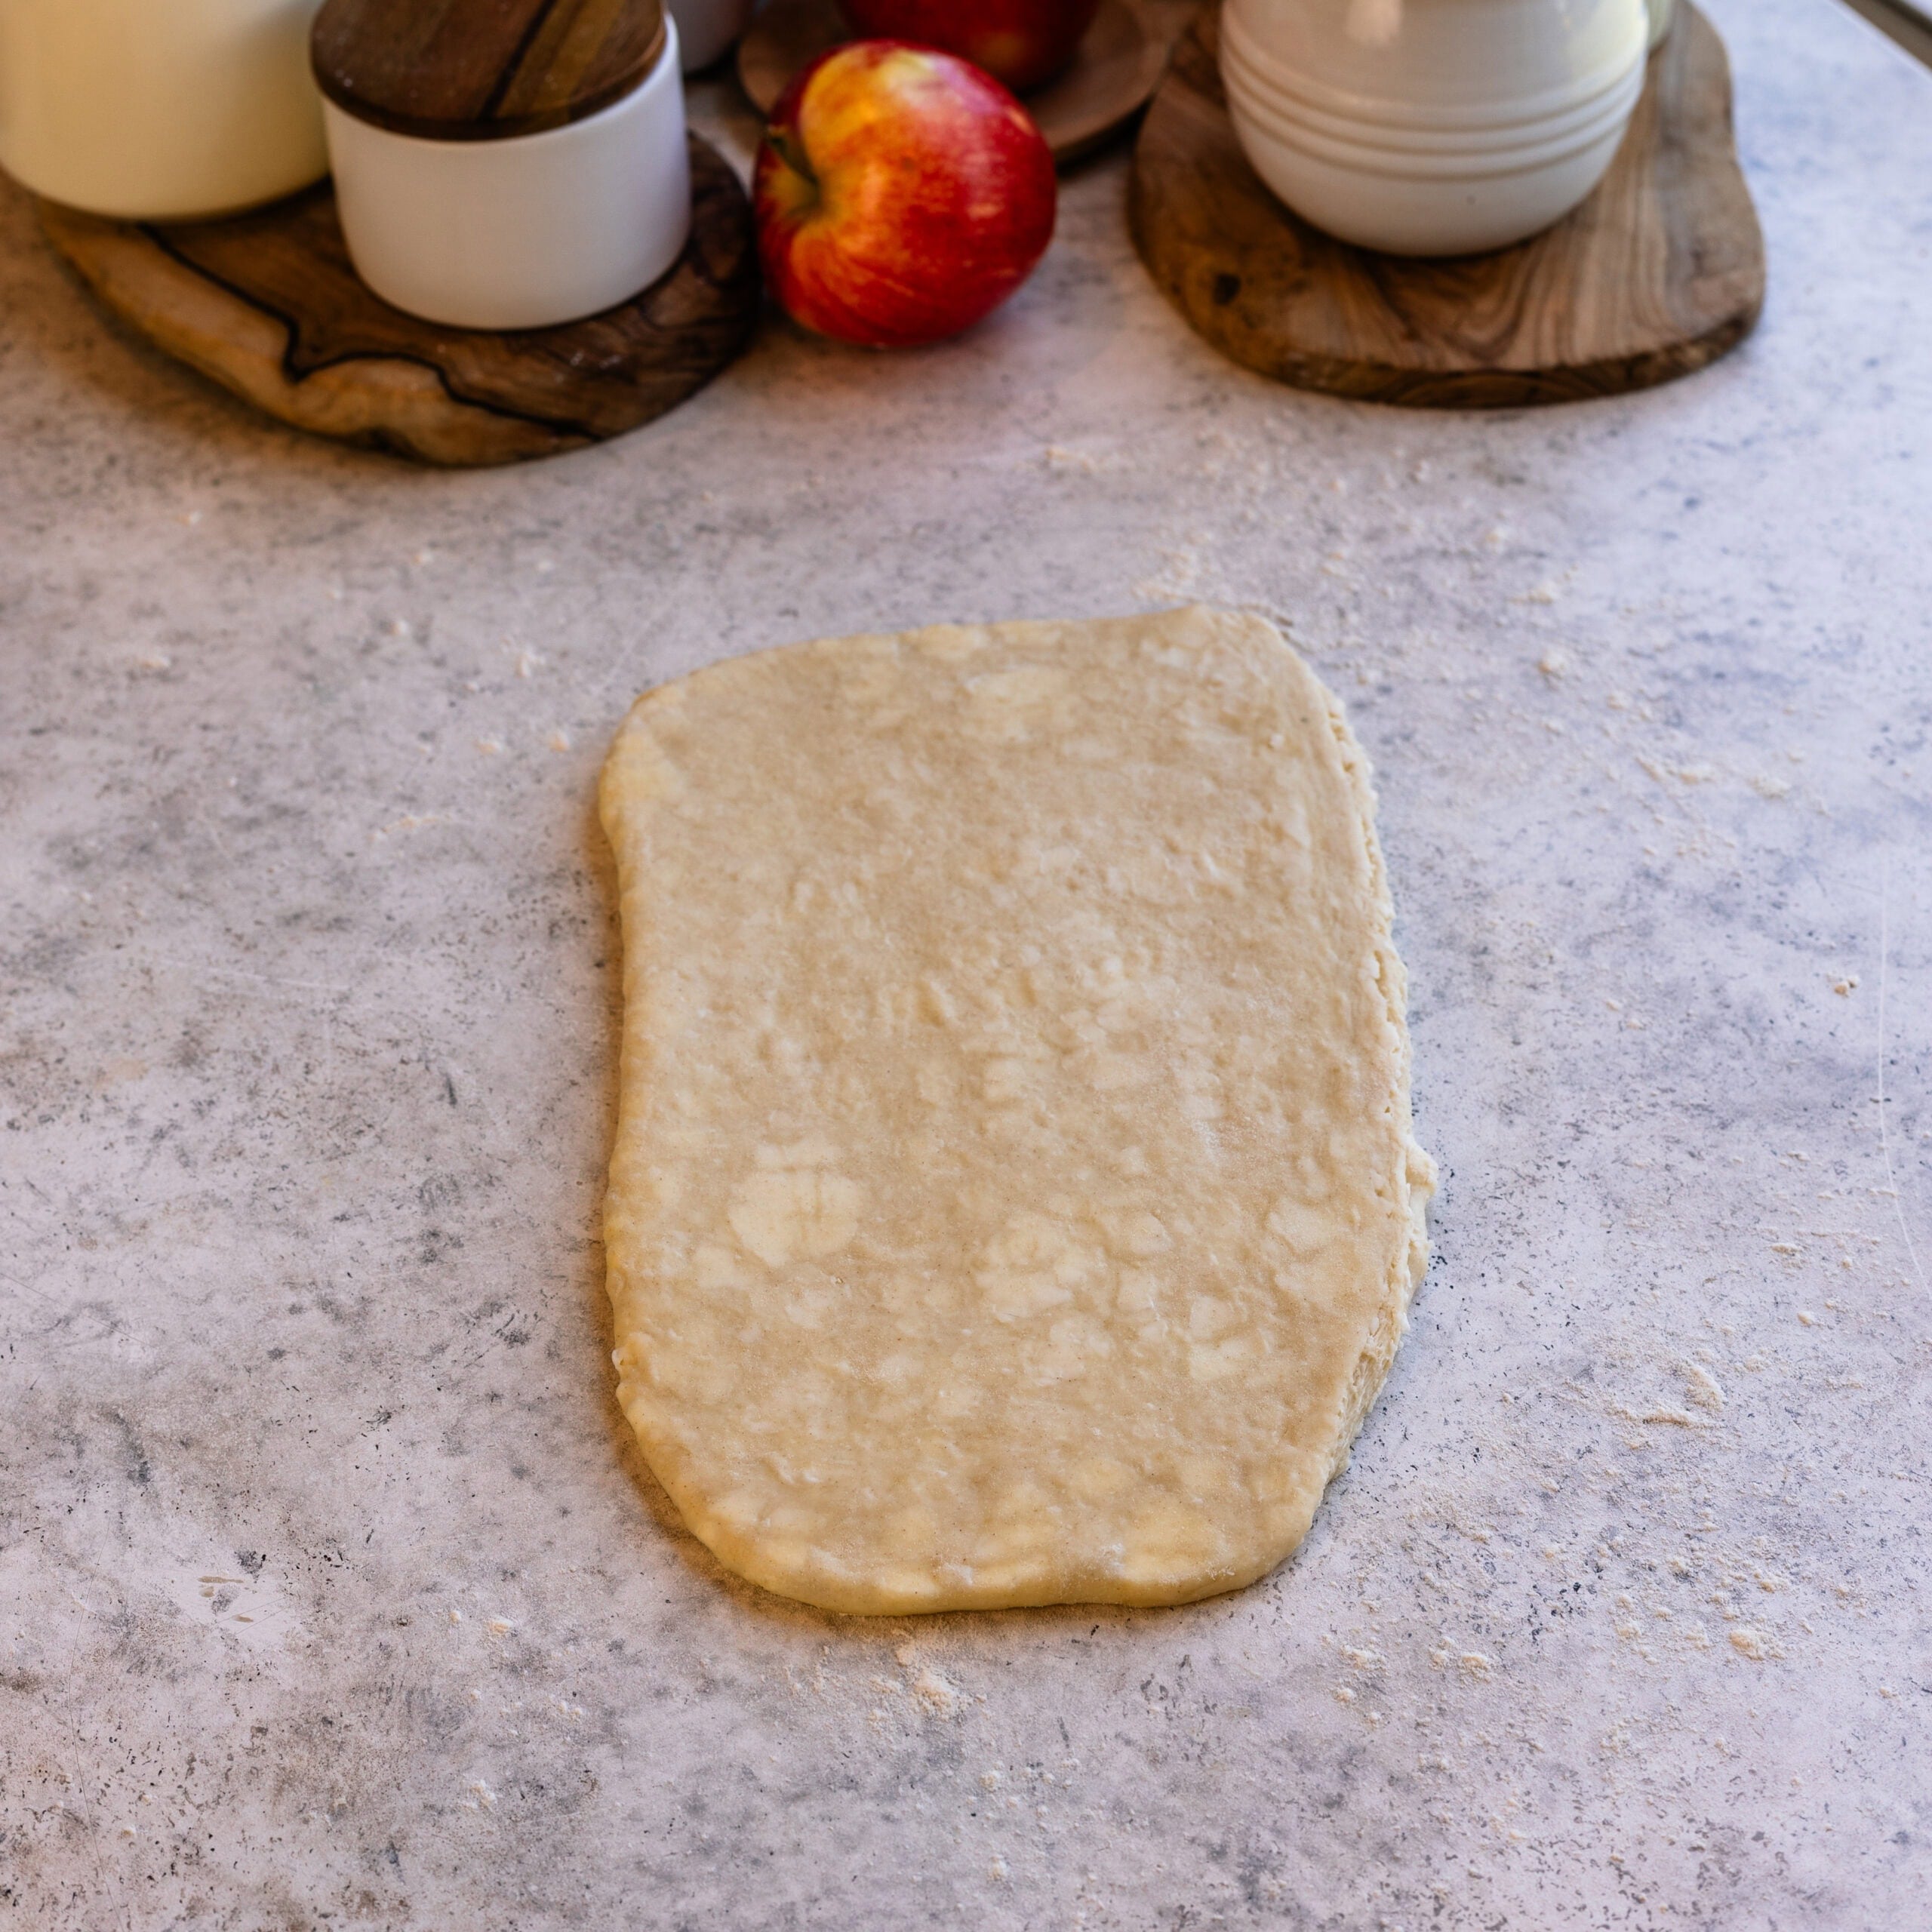
Place the chilled Danish dough on a lightly floured work surface and roll it to approximately ⅓ inch thick, or slightly thinner. Periodically lift the dough as you roll to make sure it isn’t sticking to the counter.
Cut the dough into rounds
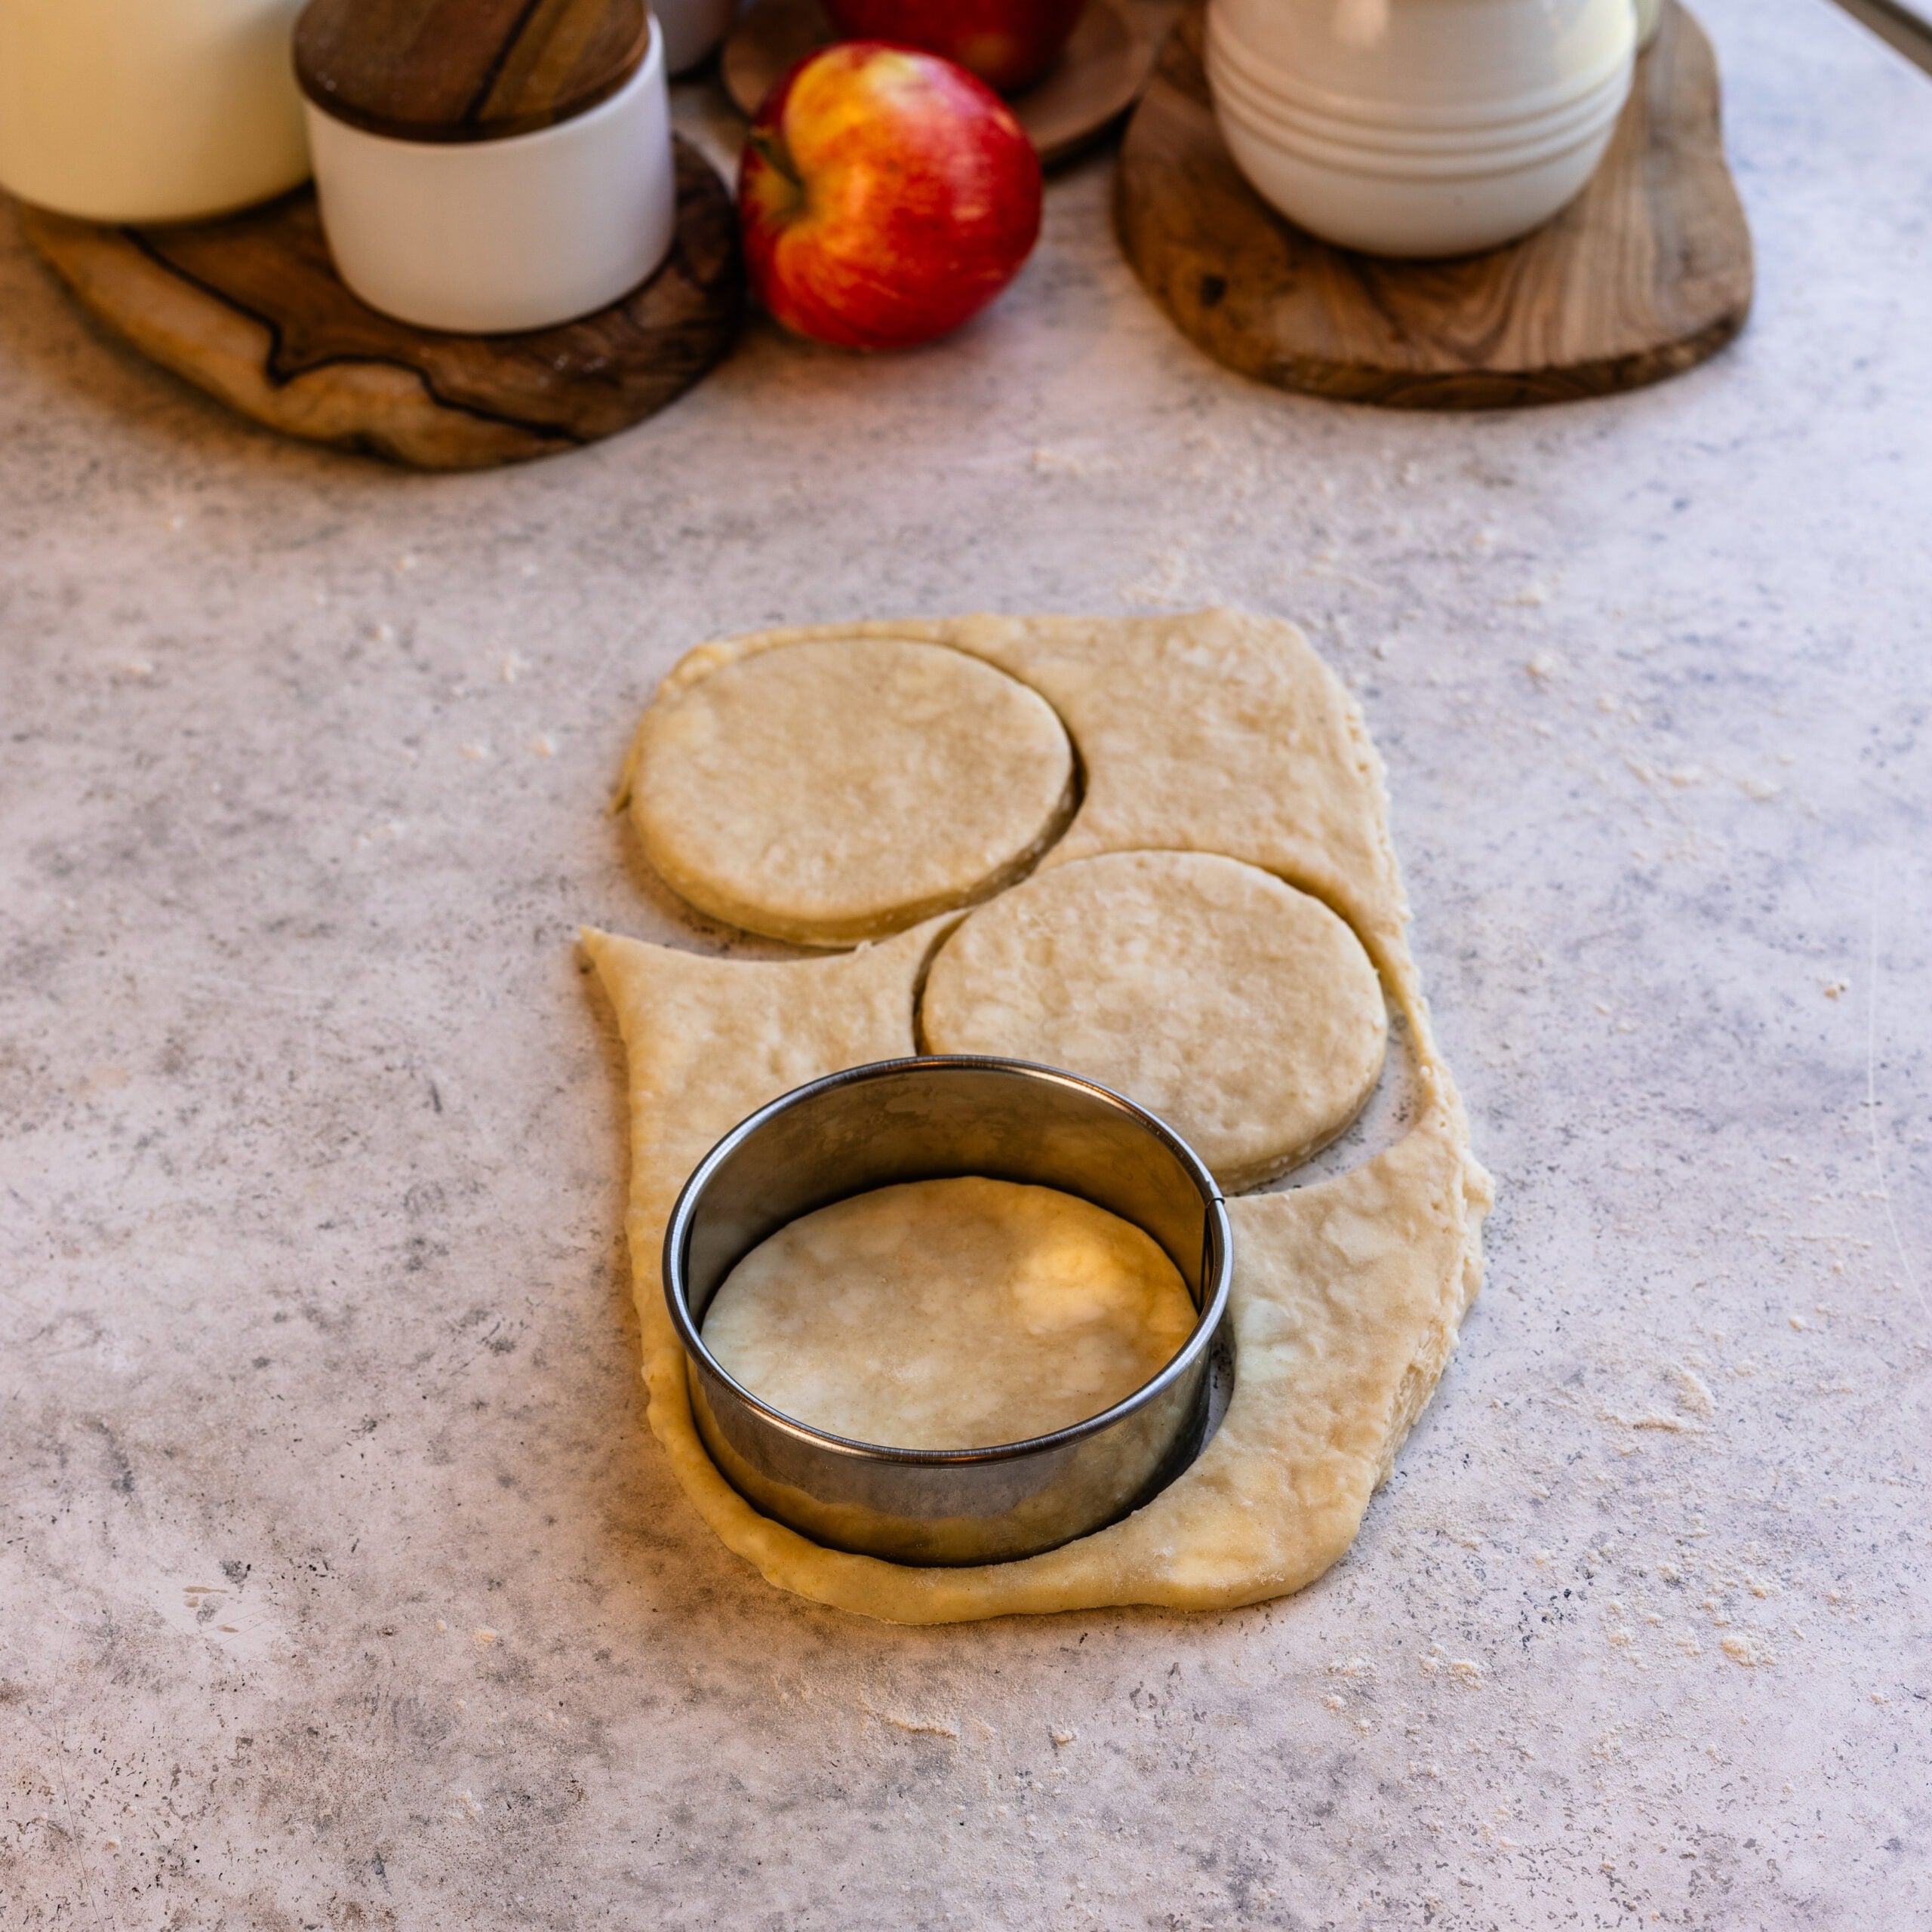
Use a 3¼-inch round cutter to cut circles from the dough.
Gently gather the scraps without aggressively kneading them together. Let the scraps rest for a few minutes before rerolling.
Laminated dough becomes increasingly elastic as you work with it. If it keeps springing back while you roll, don’t fight it. Cover the dough and let it rest for 5 to 10 minutes, then try again.
Indent the rounds
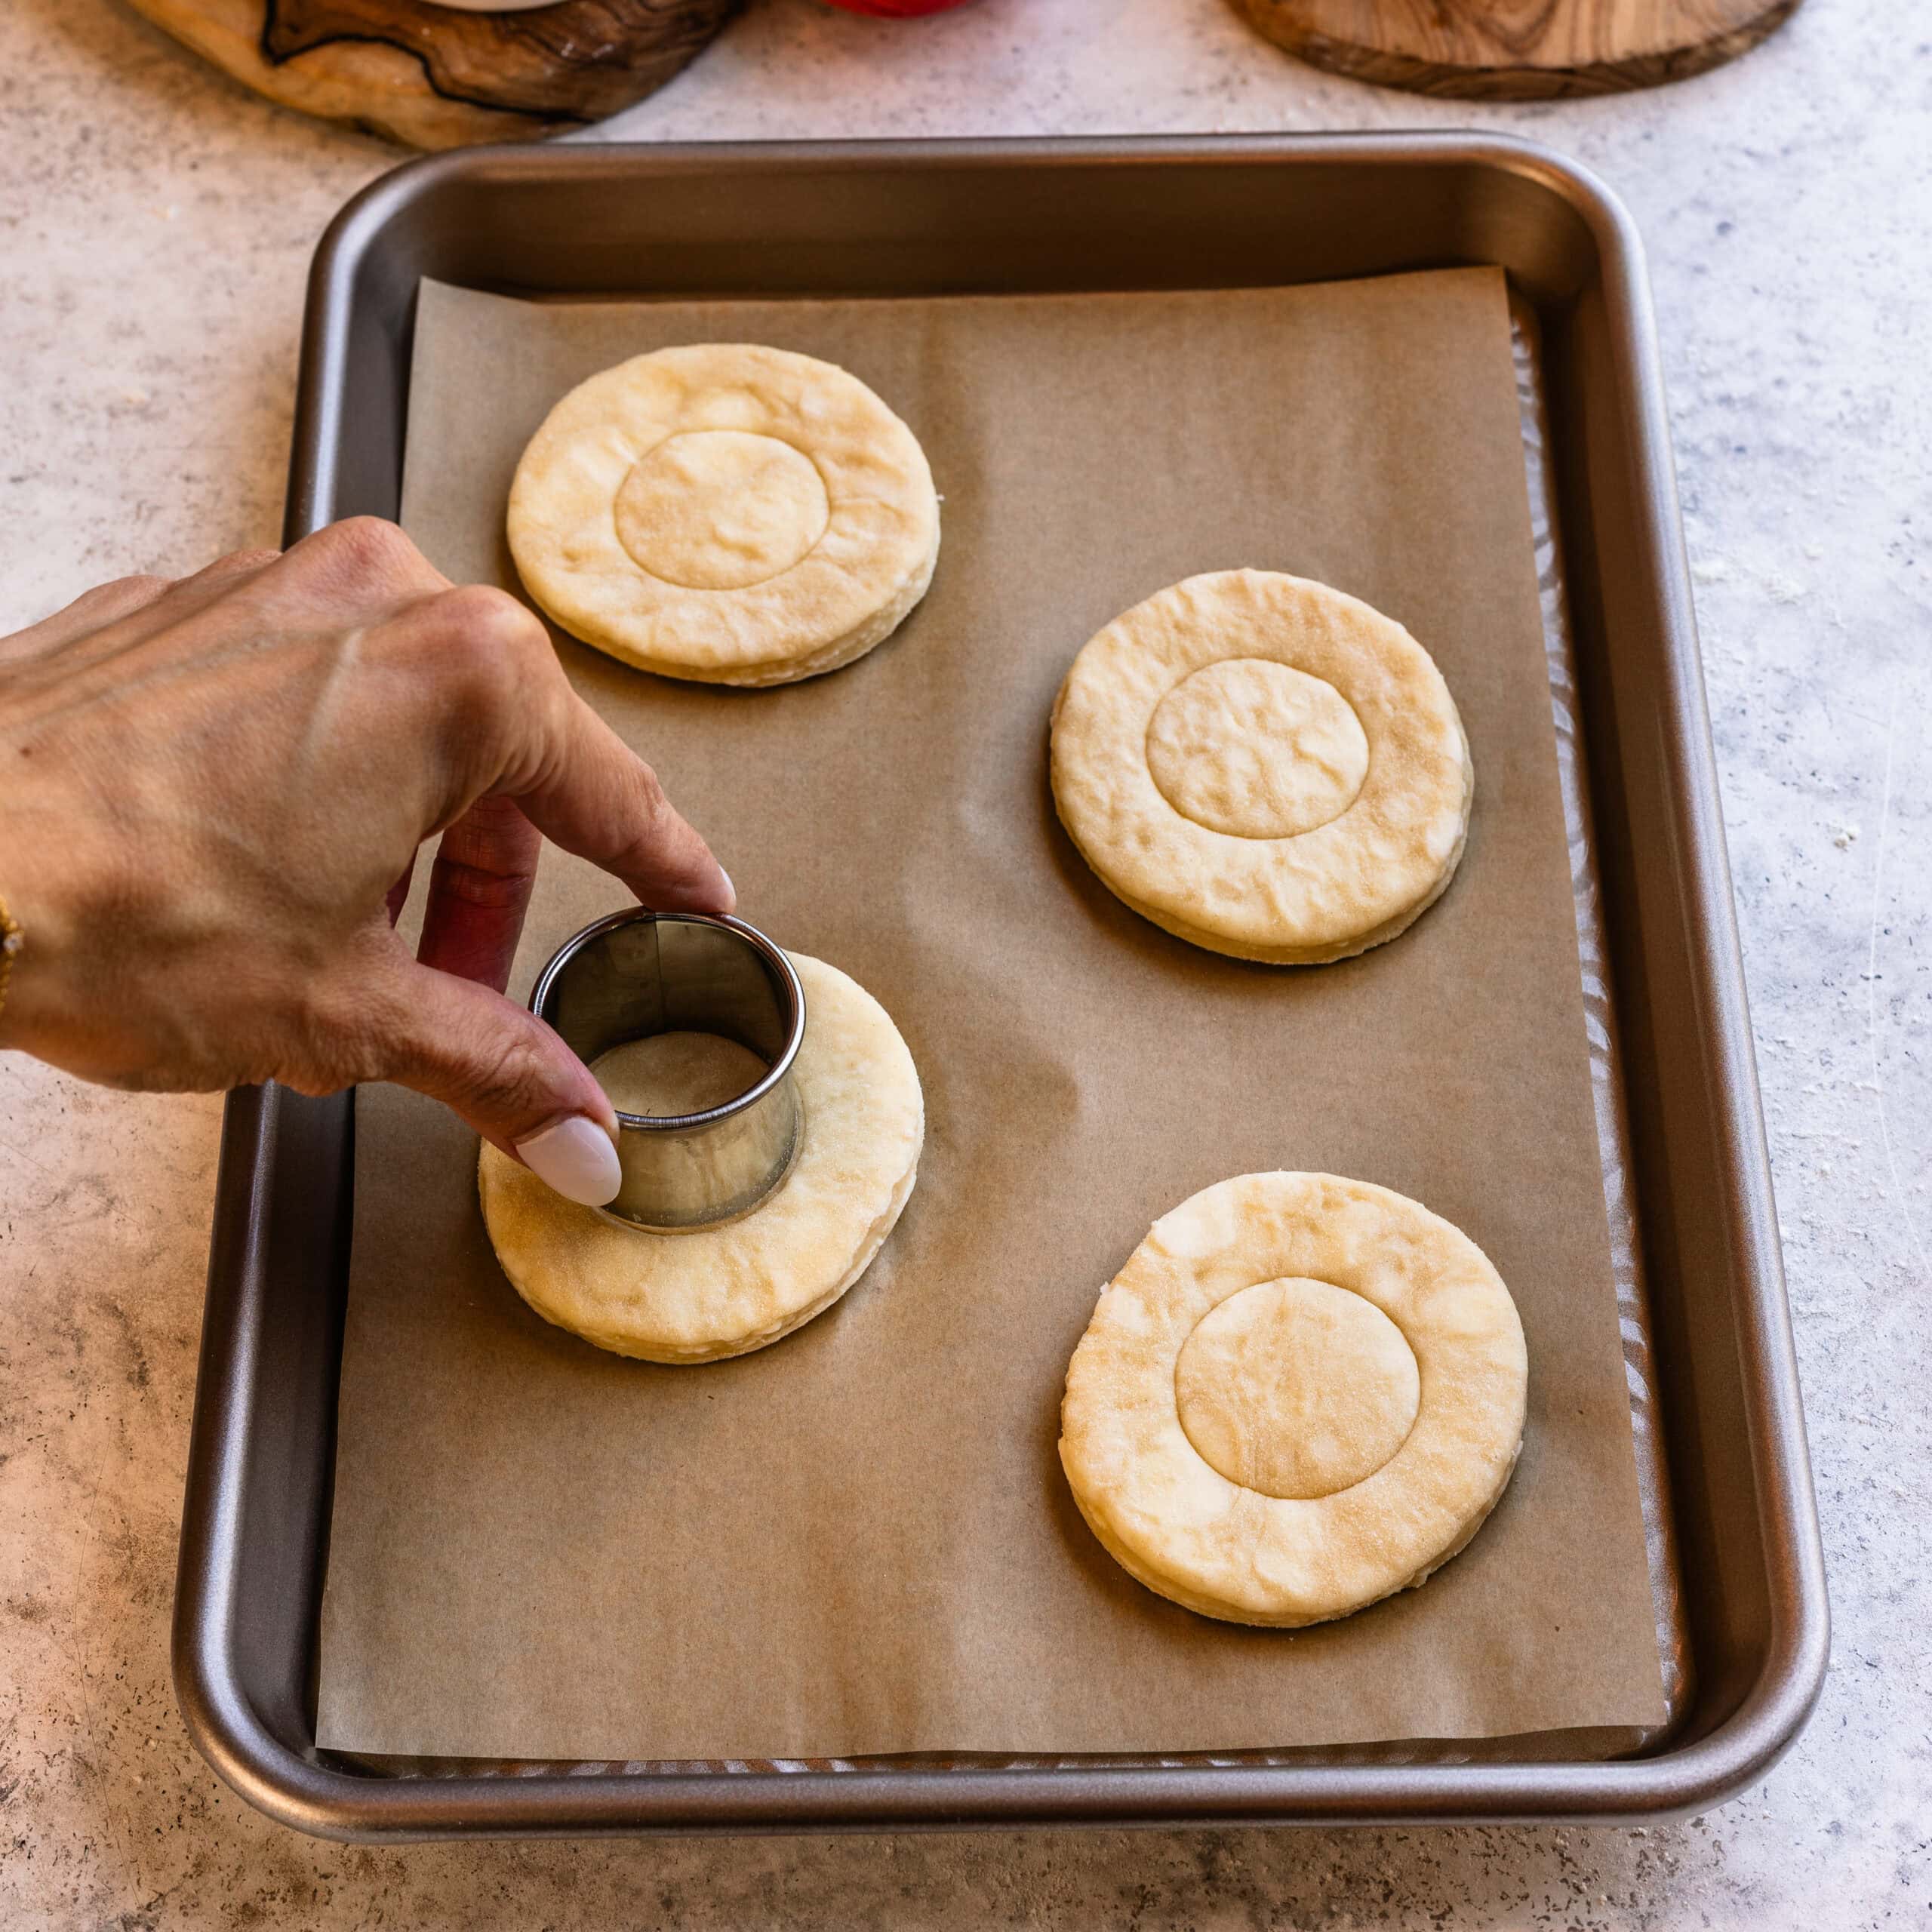
Arrange the rounds on parchment-lined baking sheets.
Use a 1½-inch round cutter to gently press an indentation into the center of each round. Don’t cut all the way through the dough. We’re simply creating a defined area for the filling while leaving an exposed border around the pastry.
Fill the apple danish
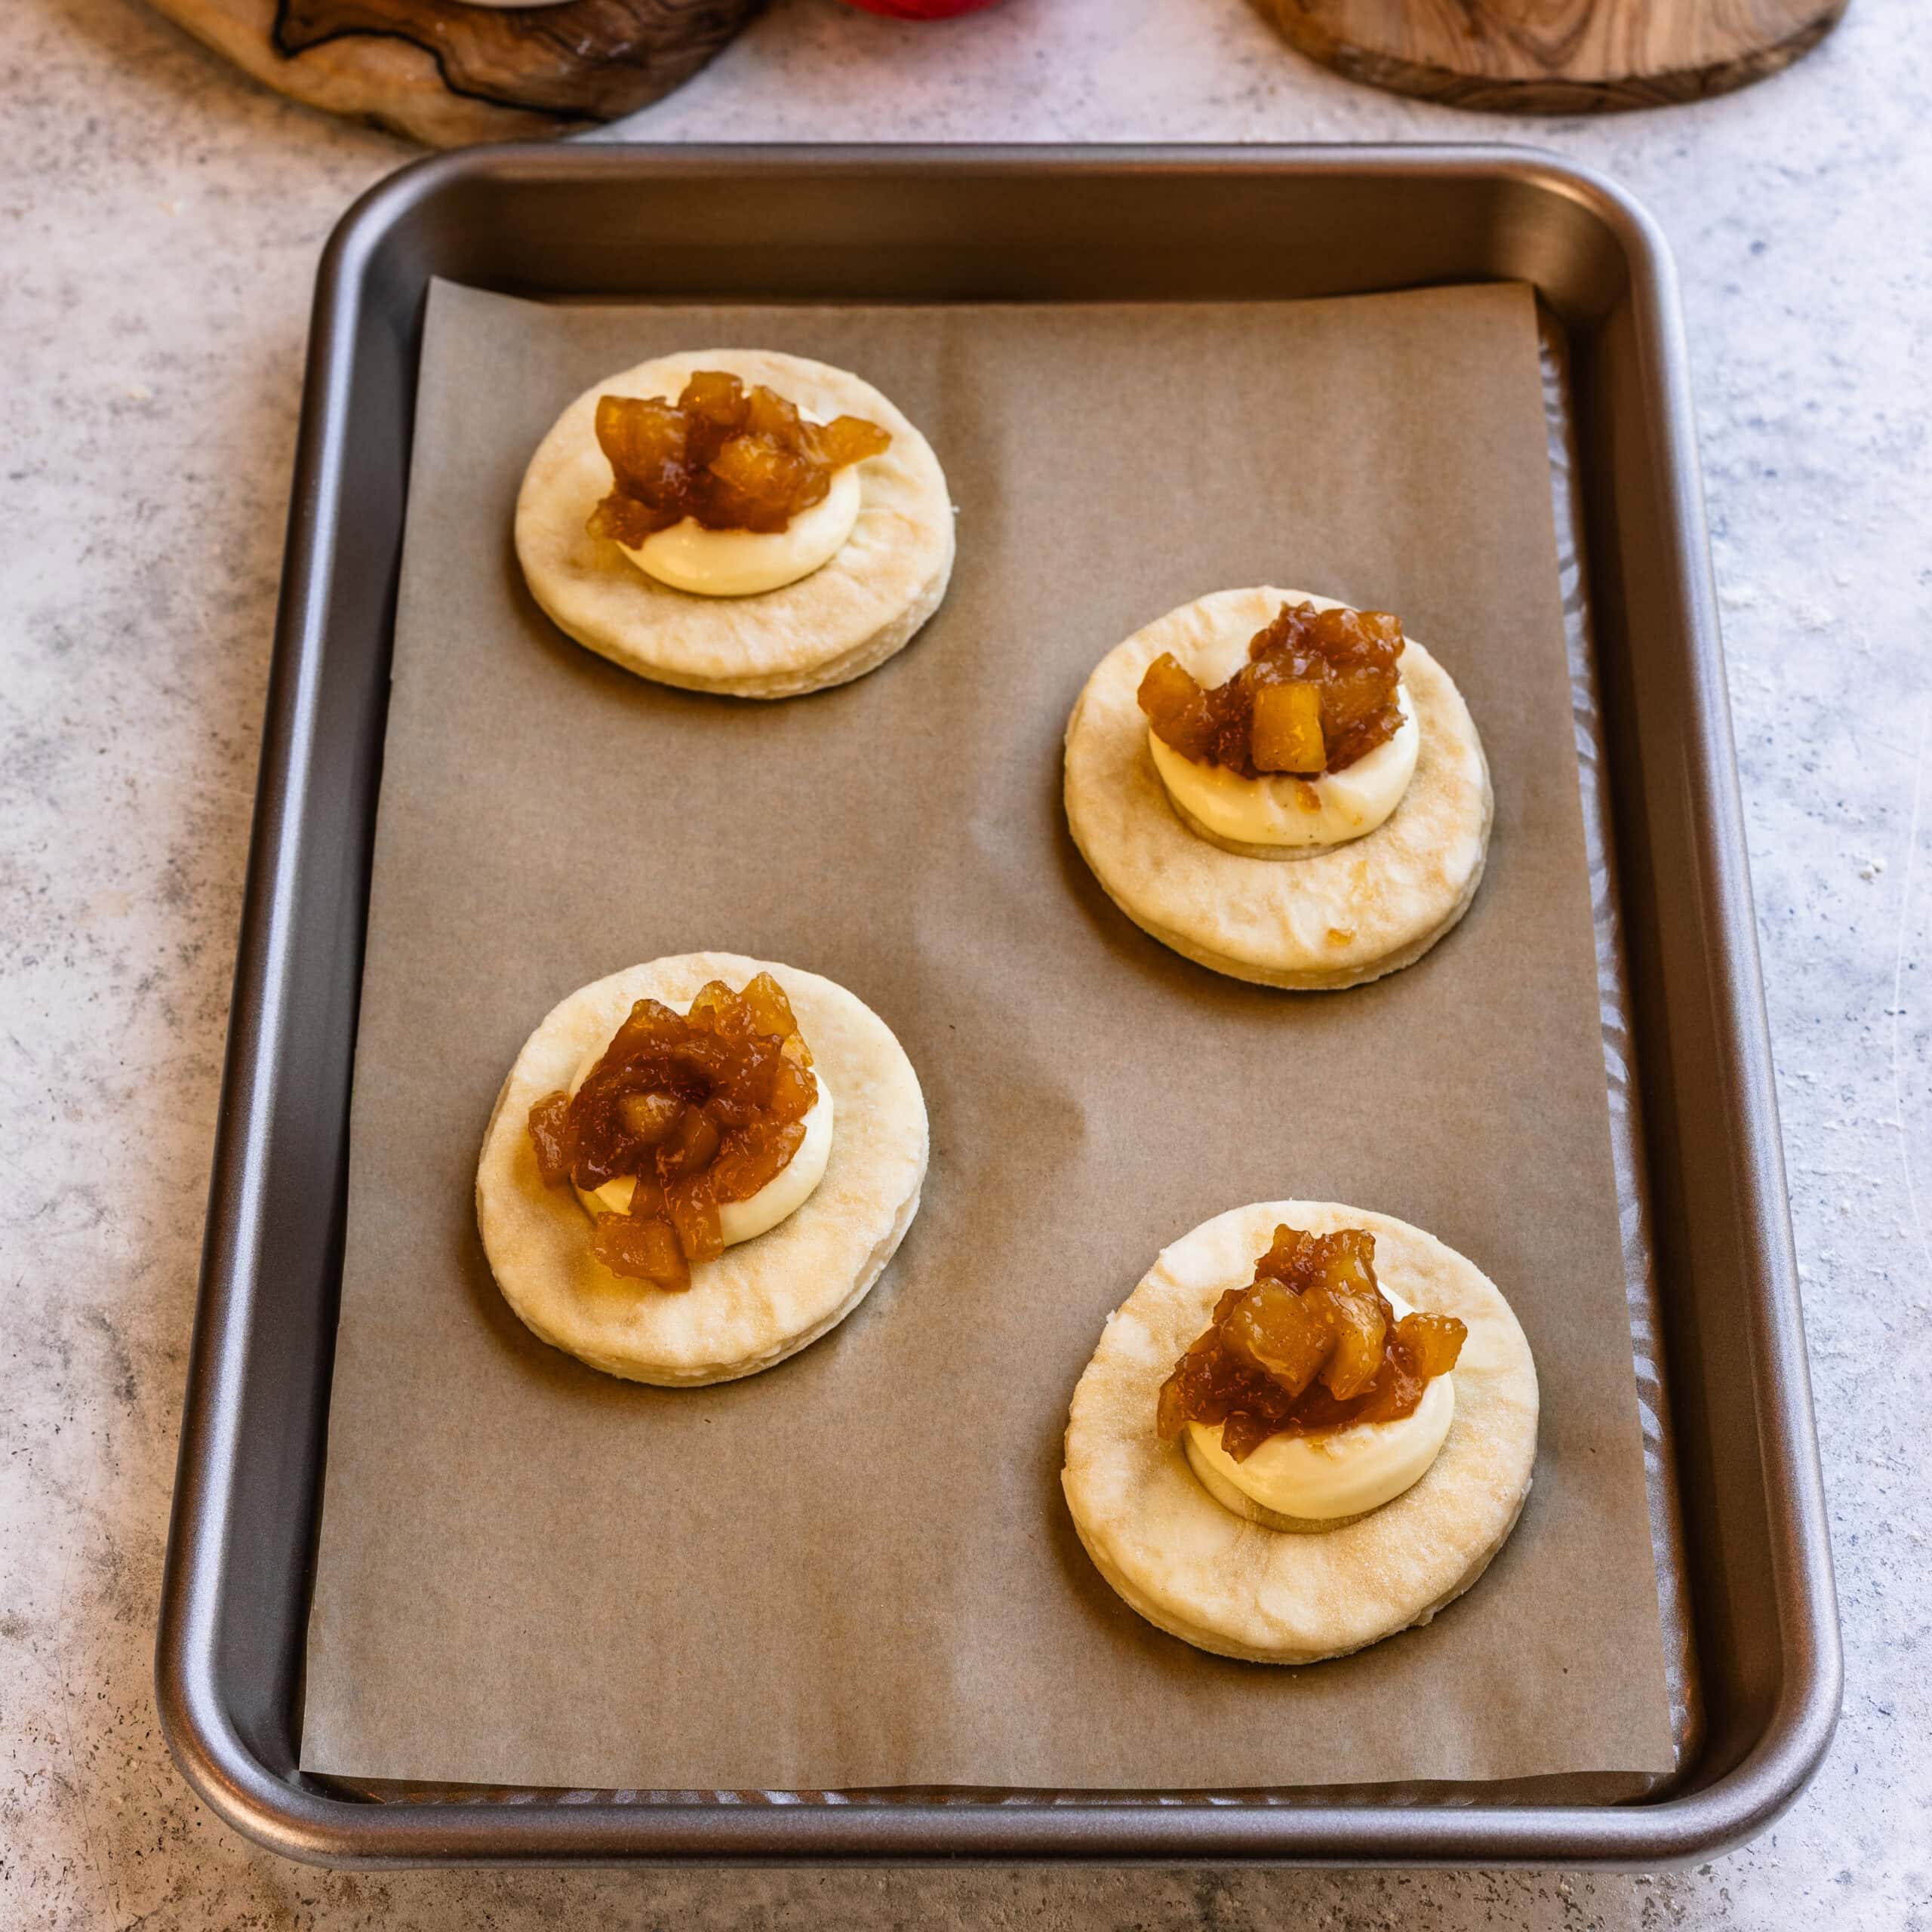
Add about 1 tablespoon of cream cheese filling to the center of each Danish.
Top the cream cheese with about 1 tablespoon of cooled apple filling.
Keep the filling concentrated toward the center of the pastry so the outer edge remains exposed and can puff properly in the oven.
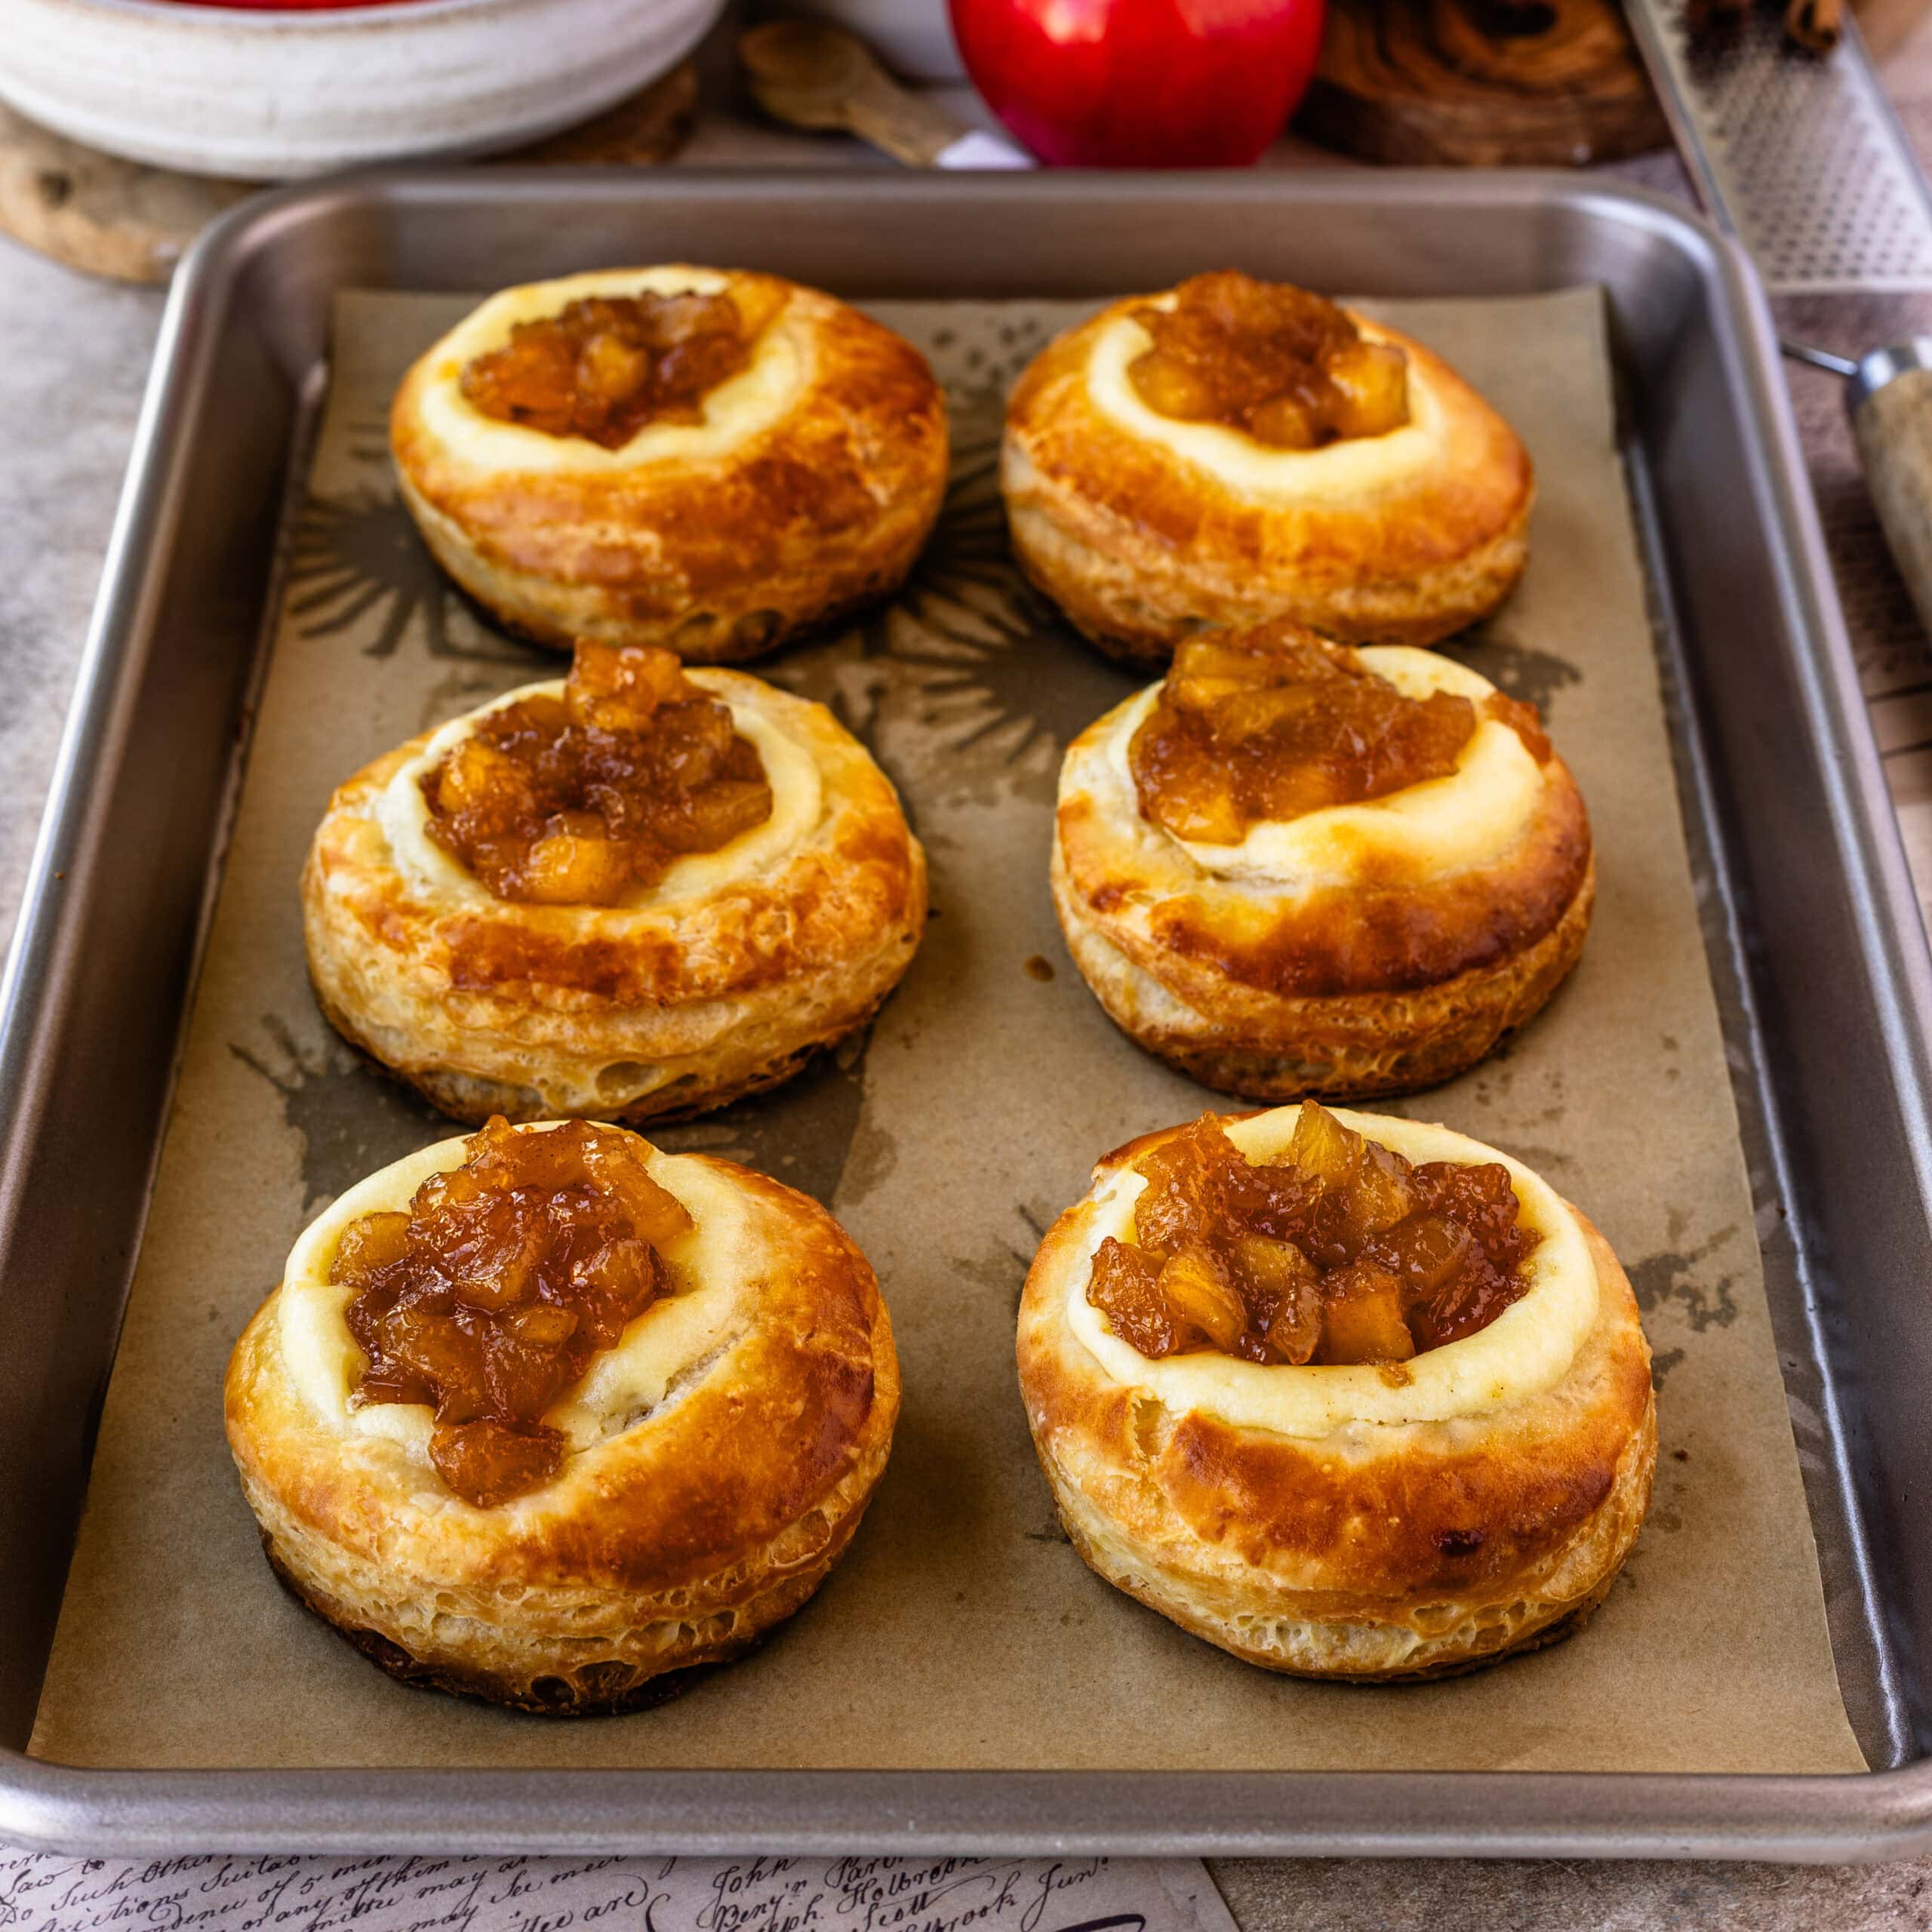
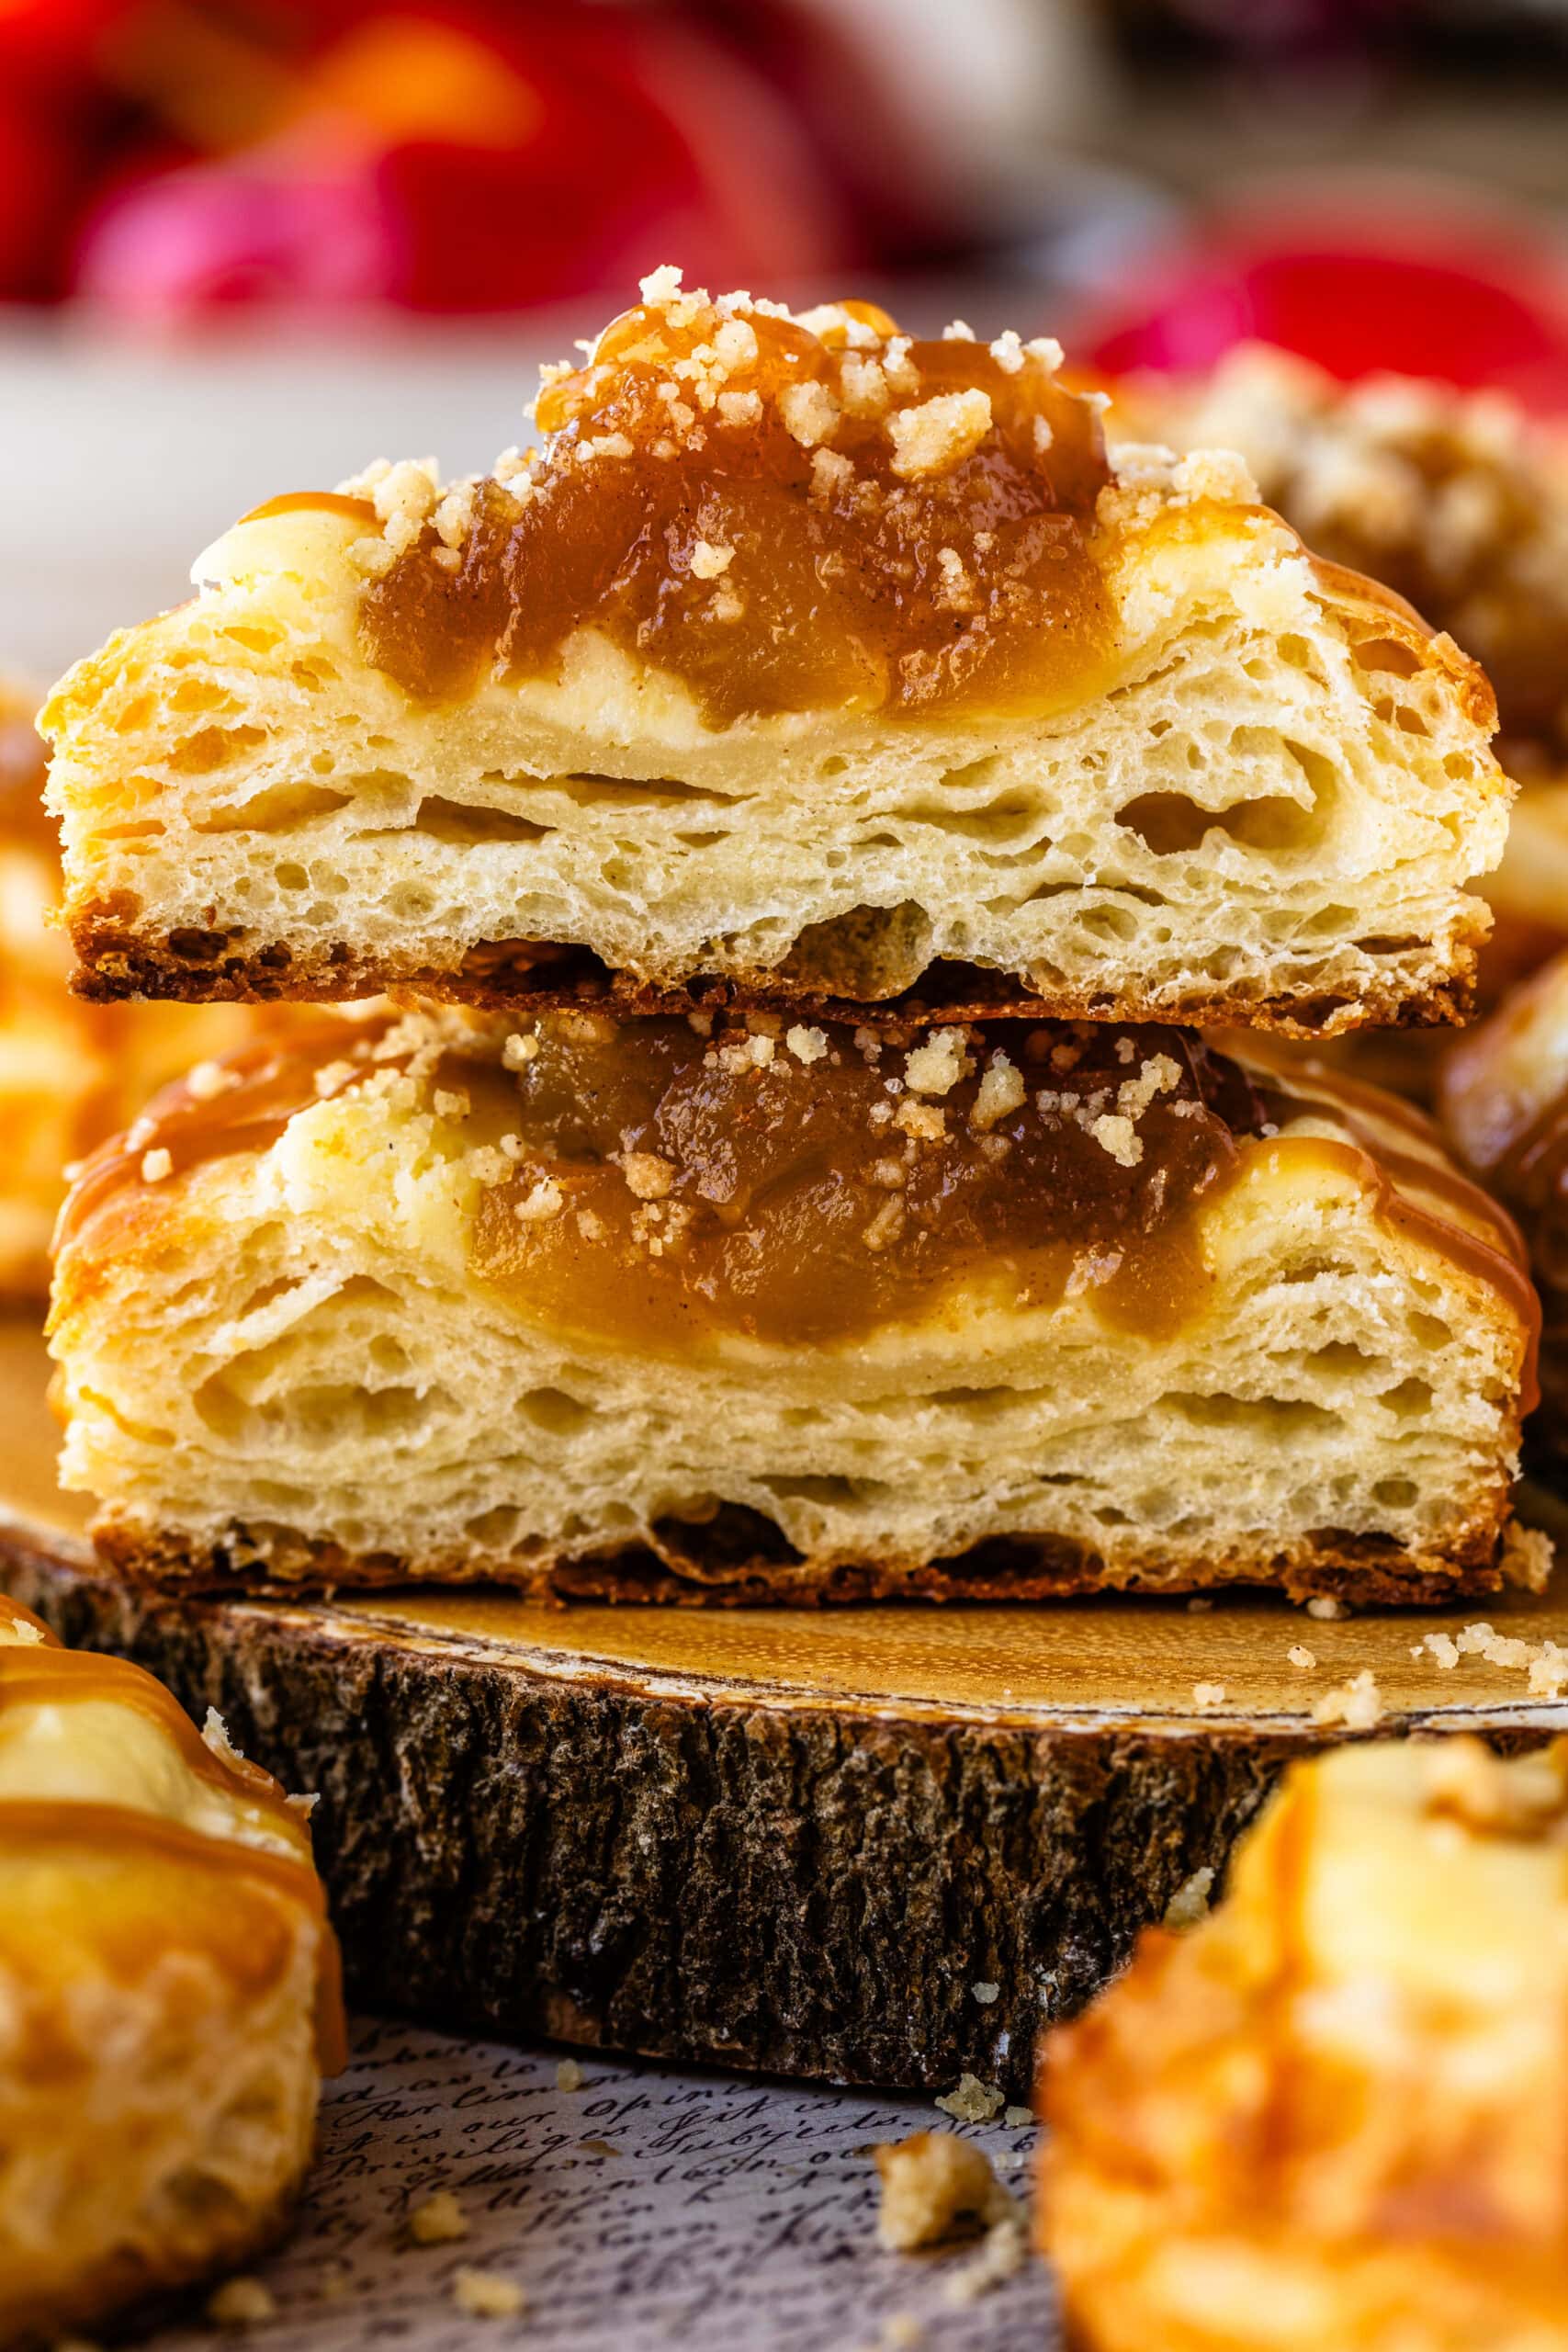
I also like leaving a little bit of the cream cheese visible around the apples. Once baked, you can see the separate layers of golden pastry, creamy cheesecake filling, and cinnamon apples.
Proof the danish & brush with egg wash
Loosely cover the shaped Danish and let them rise at room temperature for about 60 to 90 minutes.
They won’t necessarily double in size. Instead, look for dough that has become noticeably puffy and swollen. The laminated layers should become easier to see, and the pastry should feel light and fluffy when gently touched.
Avoid putting the Danish somewhere especially warm to speed up proofing. Around 72 to 75ºF is ideal. If the dough gets too warm, the butter can begin melting out of those carefully created layers before the pastries ever reach the oven.
Toward the end of the proofing time, preheat the oven to 400ºF for at least 30 minutes.
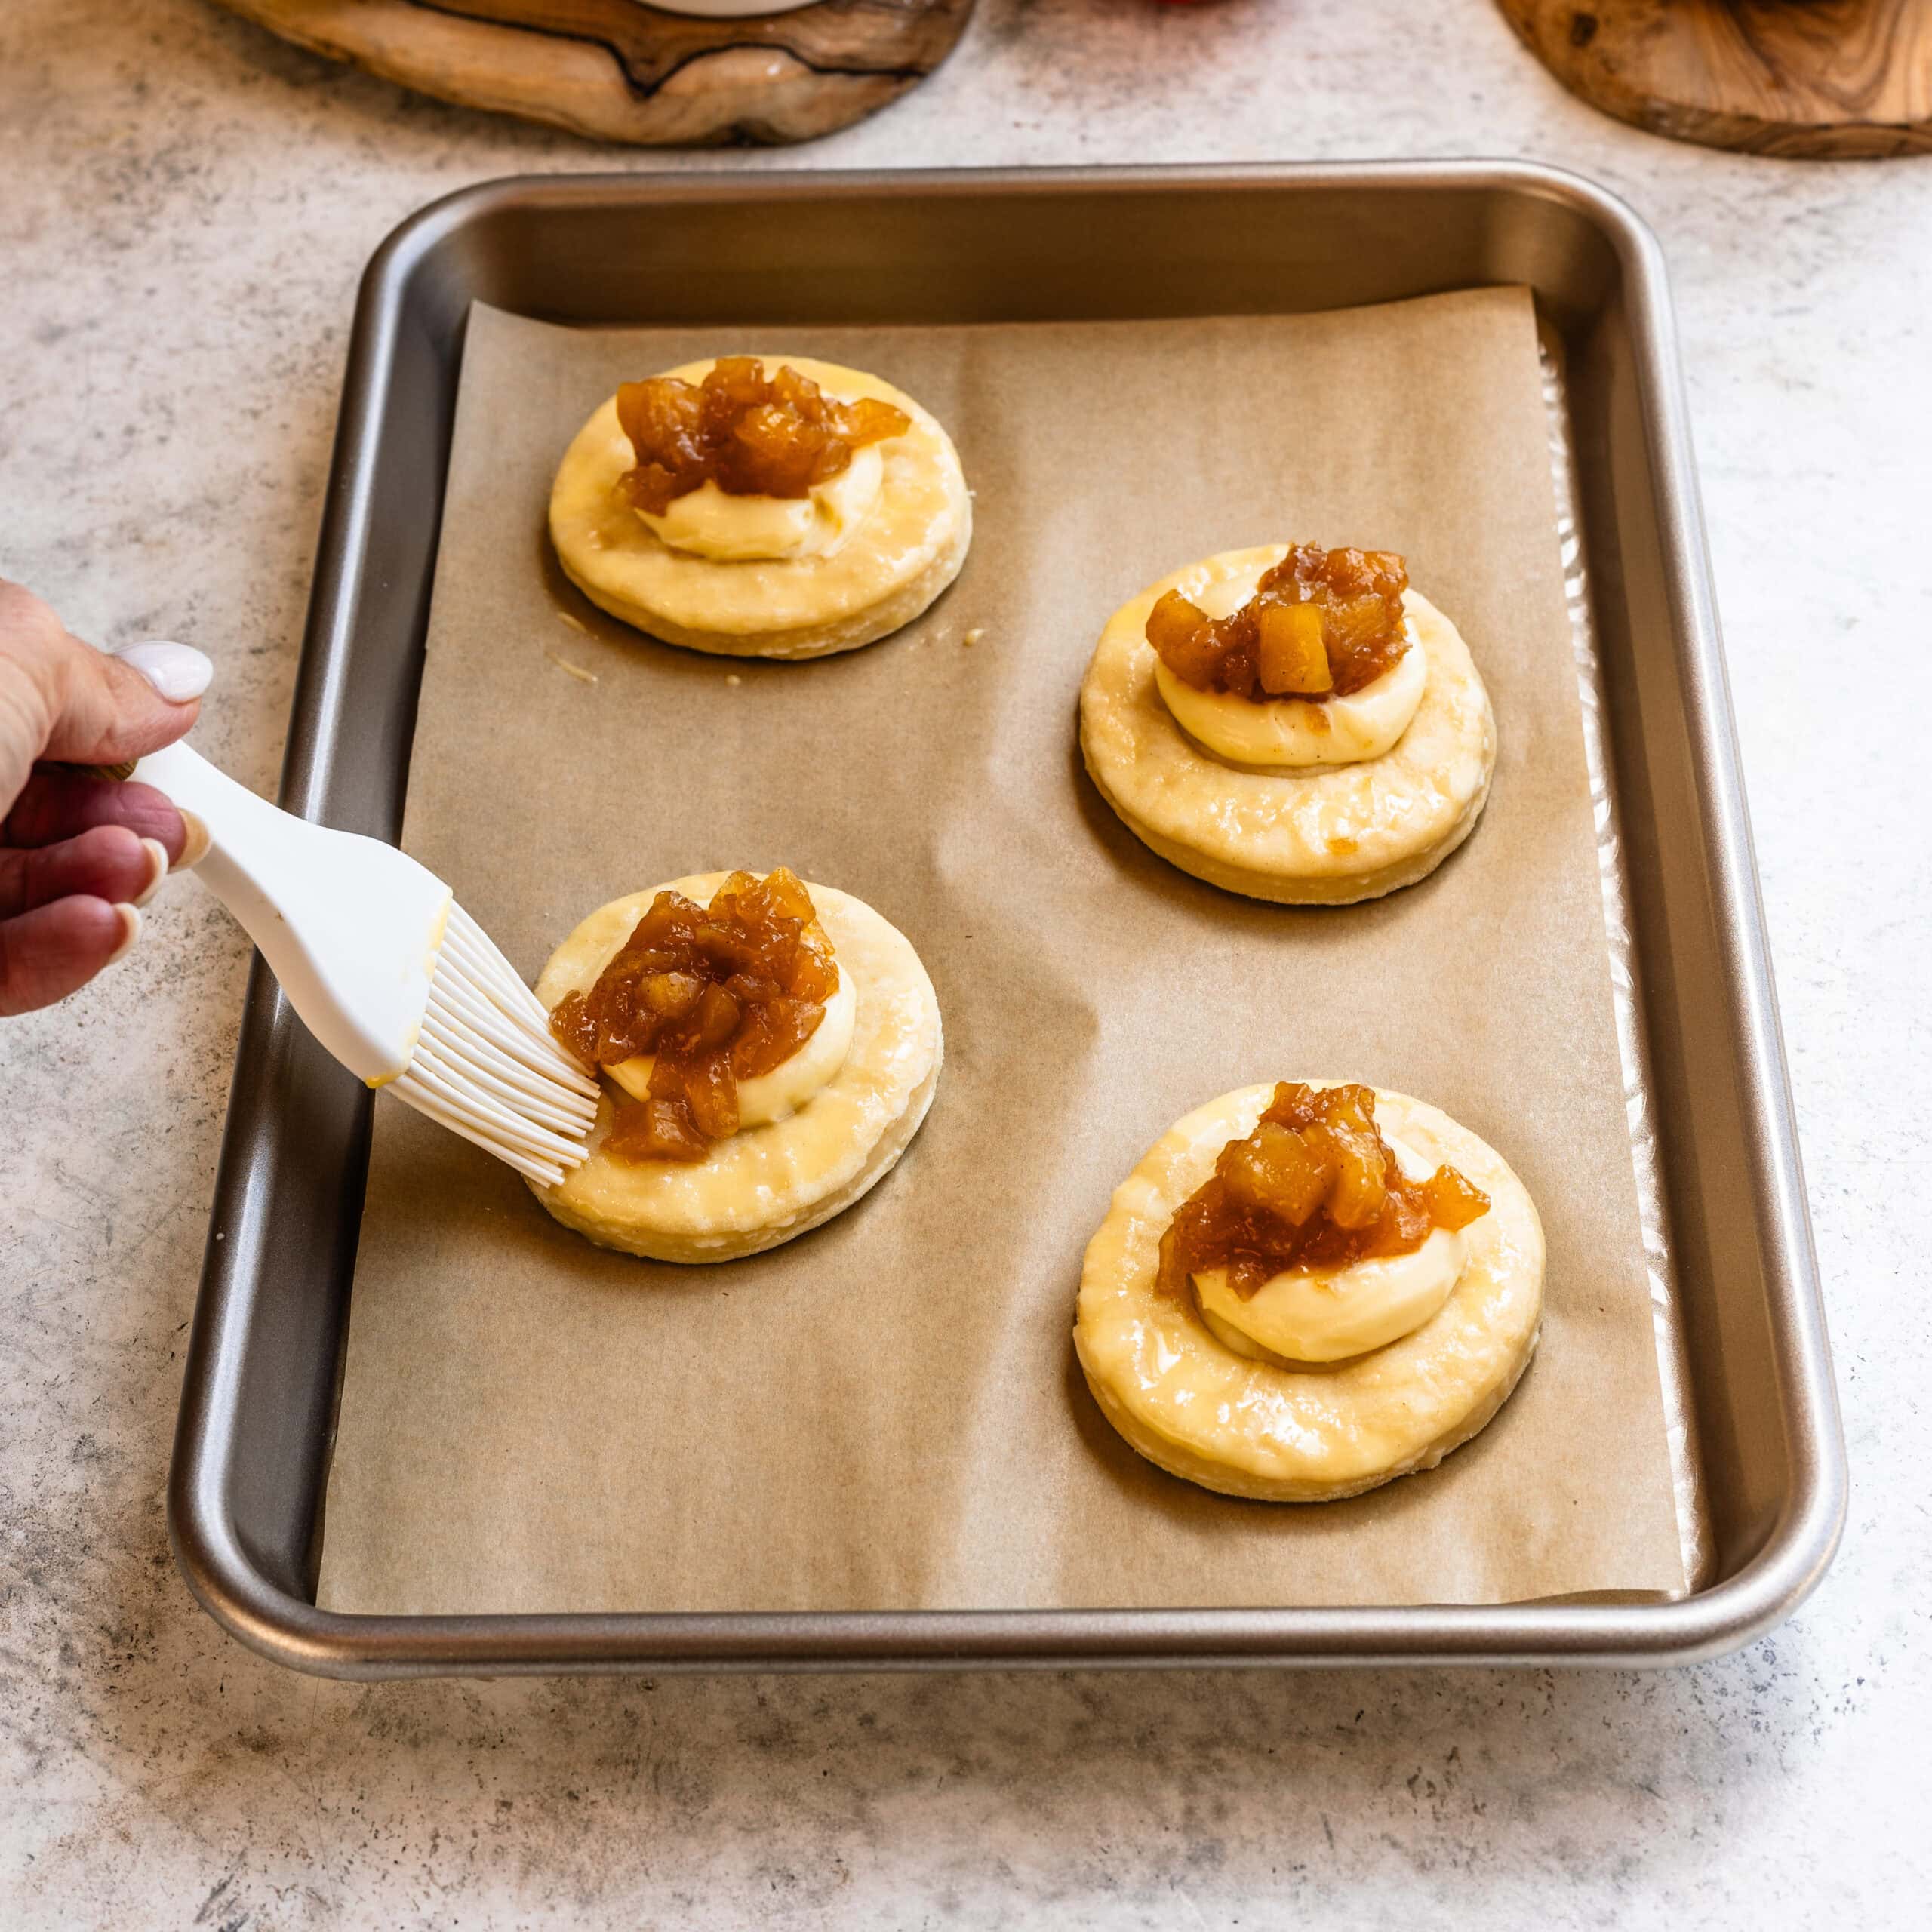
Whisk the egg and milk together to make the egg wash.
Lightly brush the exposed pastry with egg wash, avoiding the cut edges as much as possible.
Bake the Apple Danish
Bake the Danish at 400ºF for 8 minutes. Then, without unnecessarily opening the oven, reduce the temperature to 375ºF and continue baking for another 10 to 14 minutes.
The finished Danish should be deeply golden brown rather than pale. Check the bottoms as well—they should be golden and crisp.
Transfer the pastries to a cooling rack and let them cool for at least 15 minutes.
Add the Streusel and Caramel
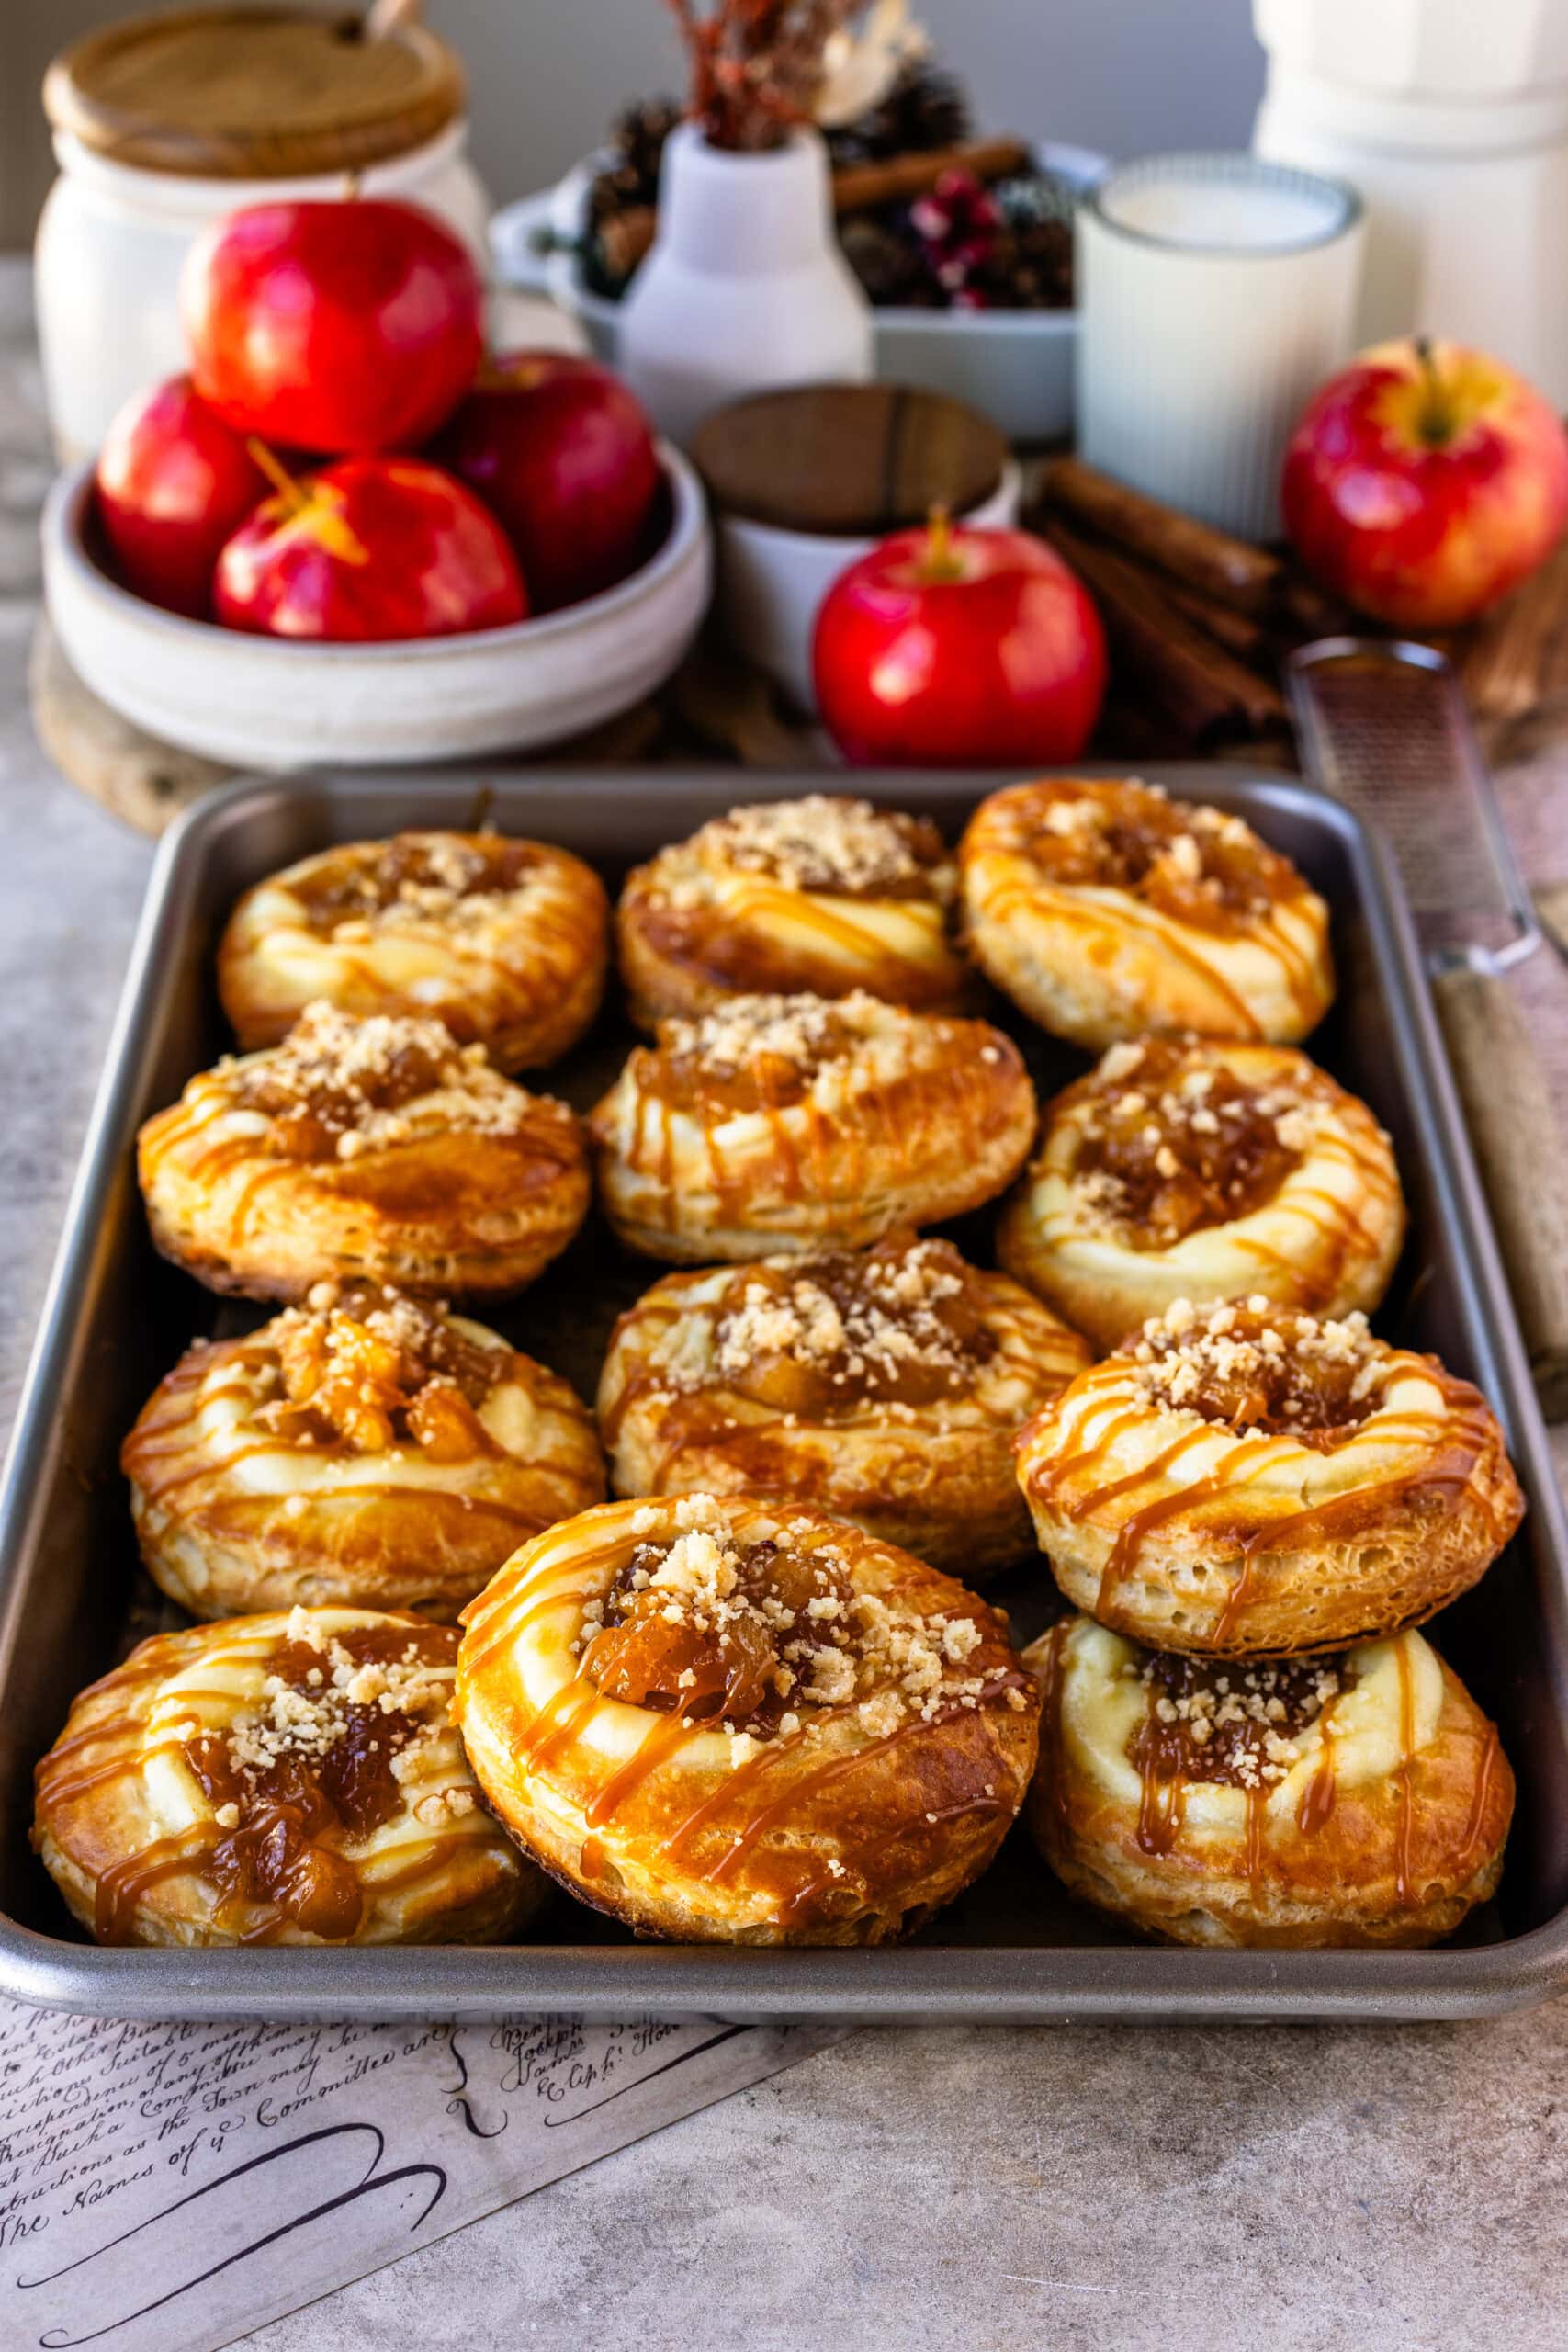
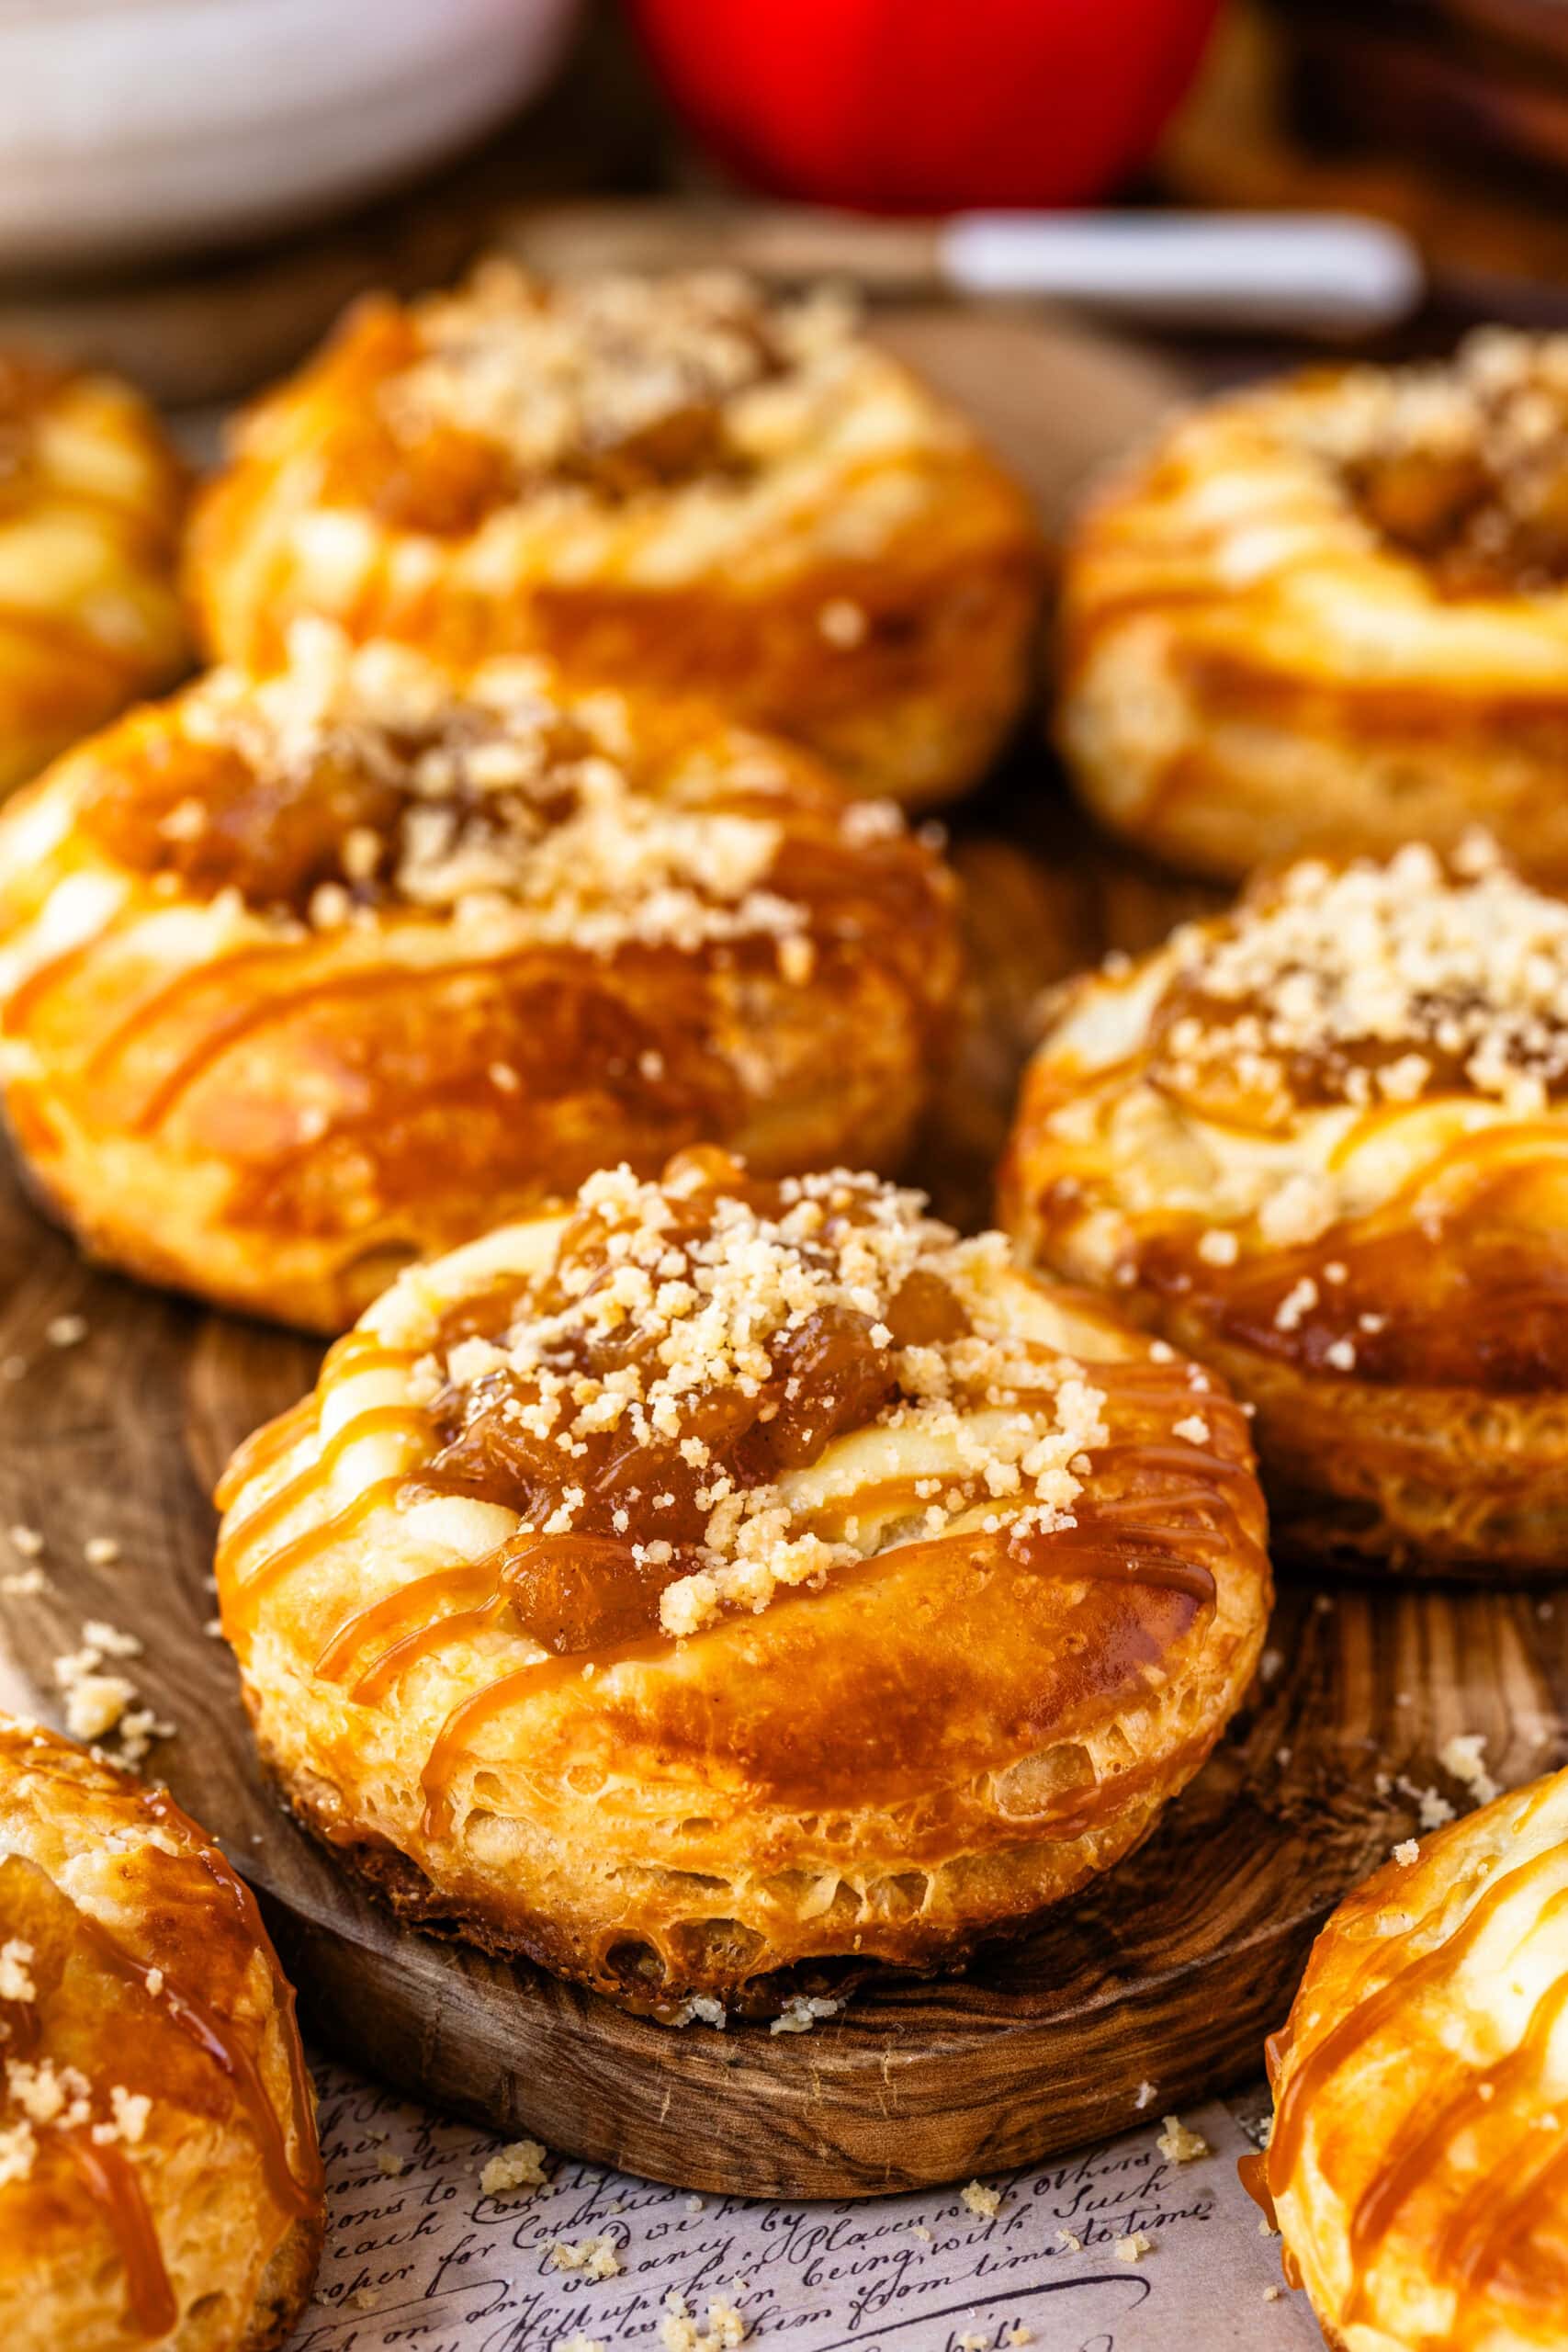
Once the Apple Danish have cooled slightly, drizzle them generously with caramel sauce.
Sprinkle the baked cinnamon streusel over the apple centers.
Serve the Danish slightly warm or at room temperature.
Expert Tip: Let the Dough Relax
If your Danish dough keeps shrinking back while you’re rolling it, stop rolling instead of fighting it.
Laminated dough can become quite elastic, especially after chilling and when you’re working with scraps for the second time. Trying to force it into shape can stretch the dough, and the rounds may shrink after you cut them.
Cover the dough and let it sit for 5 to 10 minutes. This gives the gluten time to relax, and you’ll usually find that it rolls much more easily afterward.
The same applies while rerolling scraps. Short resting periods will make your life much easier.
Variations & Substitutions
Use puff pastry: If you don’t want to make Danish dough from scratch, store-bought puff pastry works as a shortcut. Thaw it according to the package directions while keeping it cold. Cut and fill the pastries as directed, but skip the proofing step because puff pastry isn’t yeasted. Bake according to the package directions until well risen and deeply golden. Or you can use my puff pastry dough recipe!
Skip the cream cheese: You can make these with only the apple filling if you prefer a more traditional apple-focused pastry.
Add nuts: Chopped pecans or walnuts would be delicious mixed into the streusel or sprinkled over the finished pastries.
Skip the caramel: The Danish are still delicious without it. You could also finish them with a simple powdered sugar glaze.
Change the apples: You can use a single variety or combine a tart apple like Granny Smith with a sweeter variety like Honeycrisp.
Tips for Perfect Apple Danish
- Keep the dough cold: If the dough becomes very soft or the butter starts feeling greasy while you work, refrigerate it for a few minutes before continuing. Keeping distinct layers of butter and dough intact is what gives Danish pastry its flaky texture.
- Cool the apples completely: Never put warm apple filling onto your laminated dough. The heat can soften the butter, and excess moisture can make the center of the Danish soggy.
- Keep the apple pieces small: Approximately ¼-inch pieces work best. Larger pieces are harder to fit neatly into the small center of each pastry.
- It’s tempting to add more cream cheese and apples, but too much filling can weigh down the center and make it difficult for the dough underneath to bake properly.
- Use parchment paper: I recommend parchment rather than a silicone baking mat for Danish pastry. It helps the bottoms become crisper and more deeply browned.
- Give your oven time to preheat: The initial blast of heat is important for laminated pastry. It creates steam between the butter and dough layers, helping them separate and puff.
- Bake until deeply golden: Pale Danish are usually underbaked Danish. Look for deeply golden pastry with crisp, browned bottoms.
Can I Make Apple Danish Ahead of Time?
Yes, and I actually recommend breaking this recipe into a couple of days. The Danish pastry dough can be prepared and laminated the day before. After completing the final fold, wrap the dough tightly and refrigerate it overnight.
The apple filling and cream cheese filling can also be made up to 2 days ahead and stored separately in covered containers in the refrigerator. The streusel can be baked ahead as well. Once it is completely cool, keep it in an airtight container at room temperature so it stays crisp. The caramel sauce can also be prepared ahead of time and refrigerated. Gently warm it before using if it becomes too thick to drizzle.
Then, when you’re ready to bake, all you need to do is roll, cut, fill, proof, and bake the pastries.
How to Store Apple Danishes
Because these pastries contain cream cheese filling, store leftovers in an airtight container in the refrigerator for up to 3 days.
Like most laminated pastries, Apple Danish are at their absolute best the day they’re baked. Refrigeration will naturally soften some of those crisp pastry layers.
For the best texture, let refrigerated Danish come closer to room temperature before serving or warm them briefly.
For one Danish, I usually microwave it for about 5 seconds—just enough to take off the chill and soften it slightly. Add another 5 seconds if necessary.
If you’re reheating several pastries, especially for guests, place them on a baking sheet and warm them in a 325ºF oven for about 5 to 8 minutes. The oven does a better job of restoring some of that crisp, flaky texture.
Frequently Asked Questions
Choose firm apples that hold their shape when cooked. Granny Smith, Honeycrisp, Pink Lady, and Braeburn are all great choices. You can also combine varieties. I especially like pairing a tart apple with a sweeter one for a more complex flavor.
Yes. Puff pastry won’t have exactly the same flavor or texture as homemade Danish pastry because Danish dough is yeasted, but it makes a great shortcut. Don’t proof pastries made with puff pastry. Shape and fill them while the dough is cold, then bake according to the puff pastry package instructions until deeply golden.
There are several possible causes. The butter may have become too warm and blended into the dough during lamination; the butter may have cracked into pieces because it was too cold; the dough may have been rolled too thin; or the pastries may have been under-proofed. Temperature is especially important when working with laminated dough. You want the butter cold enough to remain separate from the dough but pliable enough to roll without breaking.
Make sure to cook the filling for another 1 to 2 minutes after adding the cornstarch slurry. The juices should look thick and glossy before you remove the pan from the heat. The filling will continue to thicken as it cools. Make sure it is completely cool before assembling the Danish.
Yes. Make it up to 2 days ahead and store it covered in the refrigerator. This is actually a great way to divide the recipe into manageable steps.
Yes. Because these pastries contain a cream cheese filling, leftovers should be stored in the refrigerator in an airtight container.
More Pastry Recipes
If you enjoyed making these Apple Danishes, make sure to try some of my other homemade pastries!
Start with my Danish Pastry Recipe if you want to experiment with different fillings and toppings. Once you get comfortable with the laminated dough, you can use it to make all kinds of bakery-style Danish pastries.
You can also try my Blueberry Puff Pastry, Cream Cheese Puff Pastry, or Pinwheel Pastries for more flaky pastry recipes.
And if you make these Apple Danish, leave a comment below and let me know how they turned out! If you share a picture on Instagram, tag me so I can see your pastries.
Apple Danish

Ingredients
Danish Pastry
- 1 batch of Danish Pastry Dough
Cream Cheese Filling
- 8 oz cream cheese softened (226g)
- ⅓ cup granulated sugar 67g
- 1 tbsp all-purpose flour 8g
- 1 large egg yolk
- 1 tsp vanilla extract
- pinch of salt
Apple Filling
- 1½ cups finely diced apples about ¼-inch pieces (300g)
- 2 tbsp unsalted butter 28g
- ¼ cup + 2 tbsp light brown sugar 80g
- 1 tsp ground cinnamon
- ⅛ tsp ground nutmeg
- 1 tbsp lemon juice 15ml
- pinch of salt
- 1 tbsp cornstarch 8g
- 1½ tbsp water 22ml
Egg Wash
- 1 large egg
- 1 tbsp whole milk 15ml
Streusel Topping
- ½ cup all-purpose flour 64g
- 3 tbsp granulated sugar 38g
- 3 tbsp light brown sugar 40g
- ½ tsp ground cinnamon
- small pinch of ground nutmeg
- 3 tbsp unsalted butter softened (42g)
For Topping
- 1 batch of caramel sauce
Instructions
Make the Danish Dough
- Prepare one recipe of my Danish Pastry Dough according to the recipe instructions, including the chilling and lamination steps. I like to make the dough a day before I plan on baking my pastries.
- Keep the dough refrigerated until you are ready to roll and assemble the Danish. The dough should remain cold throughout shaping so the butter layers stay intact.
Make the Cream Cheese Filling
- Beat the cream cheese and sugar together just until smooth.
- Add the flour and mix until incorporated.
- Add the egg yolk, vanilla extract, and salt and mix just until combined.
- Refrigerate the filling while you roll and shape the dough.
Make the Apple Filling
- Peel the apples if desired, then dice them into small pieces, about ¼ inch. Keeping the pieces small makes the Danish easier to assemble and eat.
- Melt the butter in a medium saucepan over medium heat.
- Add the apples, brown sugar, cinnamon, nutmeg, lemon juice, and salt. Stir to coat the apples evenly.
- Cook for about 7 minutes, stirring occasionally, until the apples are just tender but still hold their shape.
- In a small bowl, stir together the cornstarch and water until completely smooth.
- Pour the cornstarch mixture into the apples and stir well. Continue cooking for 1 to 2 minutes, stirring constantly, until the juices become thick and glossy.
- Transfer the apple filling to a bowl, press plastic wrap directly onto the surface, and allow it to cool completely before assembling the Danish. The filling should be quite thick once cooled rather than saucy. Excess liquid can make the center of the pastries soggy.
Make the Streusel Topping
- Preheat the oven to 350ºF (175ºC). Line a small baking sheet with parchment paper.
- In a medium bowl, combine the flour, granulated sugar, brown sugar, cinnamon, and nutmeg.
- Add the softened butter and mix with a fork until moist crumbs form. Some larger pieces are fine and will give the streusel more texture.
- Spread the streusel in an even layer over the prepared baking sheet.
- Bake until lightly golden and crisp, about 10 to 12 minutes, stirring or breaking up the crumbs once during baking if necessary.
- Allow the streusel to cool completely. Once cool, break any very large pieces into smaller crumbs. Set aside for topping the baked Danish.
Roll and Shape the Danish Dough
- Line two baking sheets with parchment paper.
- Place the chilled Danish dough on a lightly floured surface. Roll it to approximately ⅓ inch thick, or slightly thinner.
- As you roll, periodically lift the dough from the work surface to make sure it isn’t sticking. Add only as much flour as necessary.
- If the dough begins shrinking back significantly while you are rolling it, cover it and allow it to rest for 5 to 10 minutes before continuing. This allows the gluten to relax and makes shaping easier.
- Using a 3¼-inch round cutter, cut rounds from the dough.
- Gather the scraps gently without kneading them together aggressively. Allow them to rest for several minutes before rerolling and cutting additional rounds.
- If the rerolled dough continues springing back, give it additional short resting periods between rolling. This helps prevent the rounds from shrinking after they are cut.
- Arrange the rounds on the prepared baking sheets, leaving room between each one.
- Using a 1½-inch round cutter, gently press an indentation into the center of each round. Do not cut completely through the dough. The indentation creates a space for the fillings while leaving a raised border around the pastry.
Fill the Danish
- Place about 1 tablespoon of cream cheese filling inside the indentation of each Danish.
- Spoon about 1 tablespoon of cooled apple filling over the cream cheese.
- Keep the filling concentrated toward the center so the outer edge of the pastry remains exposed. I also like to leave a little of the cream cheese visible around the apples so you can see the separate cream cheese and apple layers after baking.
Proof the Danish
- Cover the shaped pastries loosely and let them rise at room temperature for 60 to 90 minutes, or until visibly puffy.
- The Danish will not necessarily double in size, but the dough should look noticeably swollen and the laminated layers should become more apparent. The surface of the Danish should feel fluffy and spring back when touched.
- Avoid proofing the pastries in a very warm environment. A room temperature of about 72 to 75°F is ideal.
Bake
- Toward the end of the proofing time, preheat the oven to 400°F (205°C) for at least 30 minutes.
- Whisk the egg and milk together to make the egg wash.
- Brush the exposed dough lightly with the egg wash, avoiding the cut edges as much as possible.
- Bake the Danish at 400°F (205°C) for 8 minutes.
- Without opening the oven unnecessarily, reduce the oven temperature to 375°F (190°C) and continue baking for another 10 to 14 minutes, or until the pastries are deeply golden brown.
- The bottoms should also be golden and crisp.
- Transfer the pastries to a cooling rack and let cool for at least 15 minutes before serving.
Decorate
- Once the Danish have cooled slightly, drizzle each pastry with Caramel Sauce.
- Sprinkle the baked streusel generously over the apple filling.
- Serve slightly warm or at room temperature.
