Blood Orange Macarons
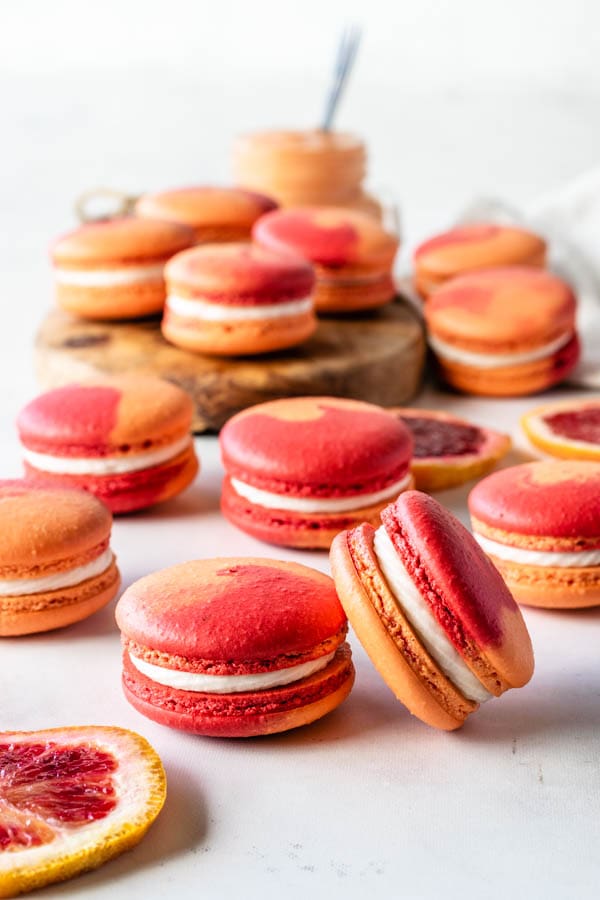
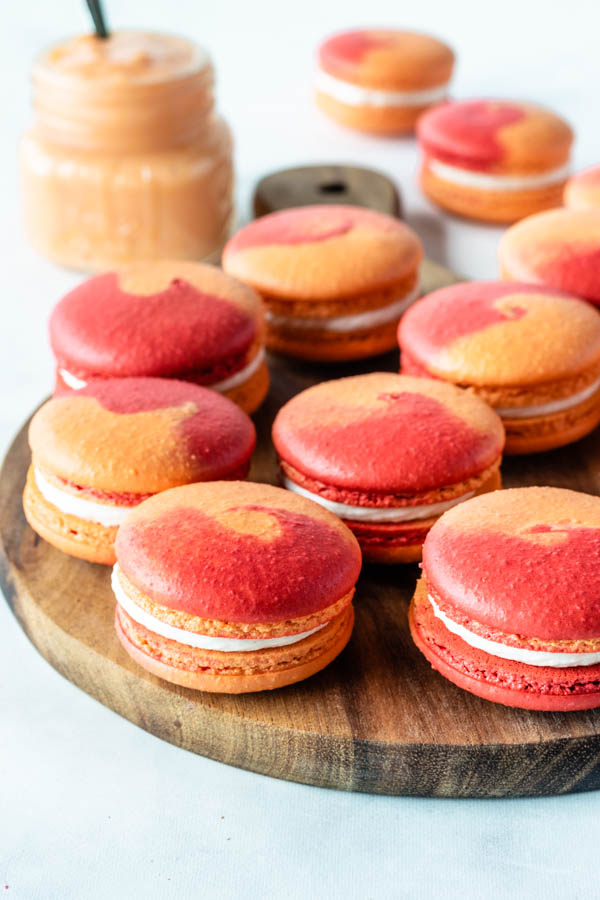
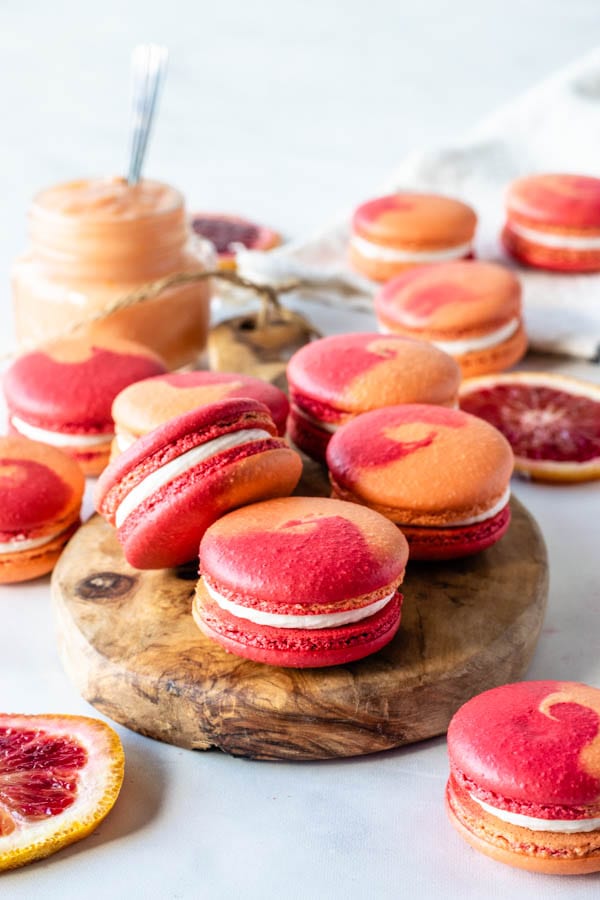
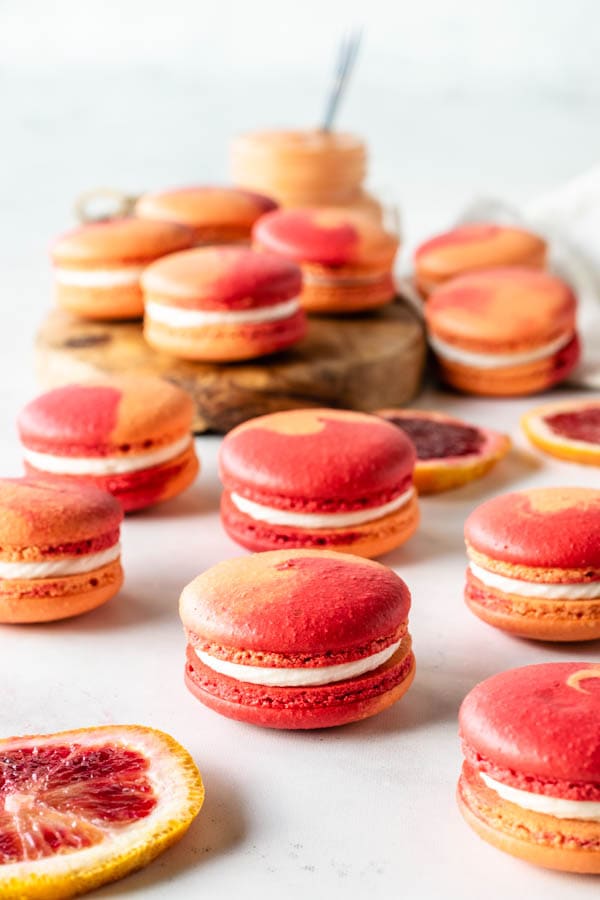
Hello friends! Let’s make some Blood Orange Macarons today! They are filled with sweet and citrusy Blood Orange Curd and tangy Cream Cheese Frosting. And the shells are a beautiful swirl of red and orange. Check it out!
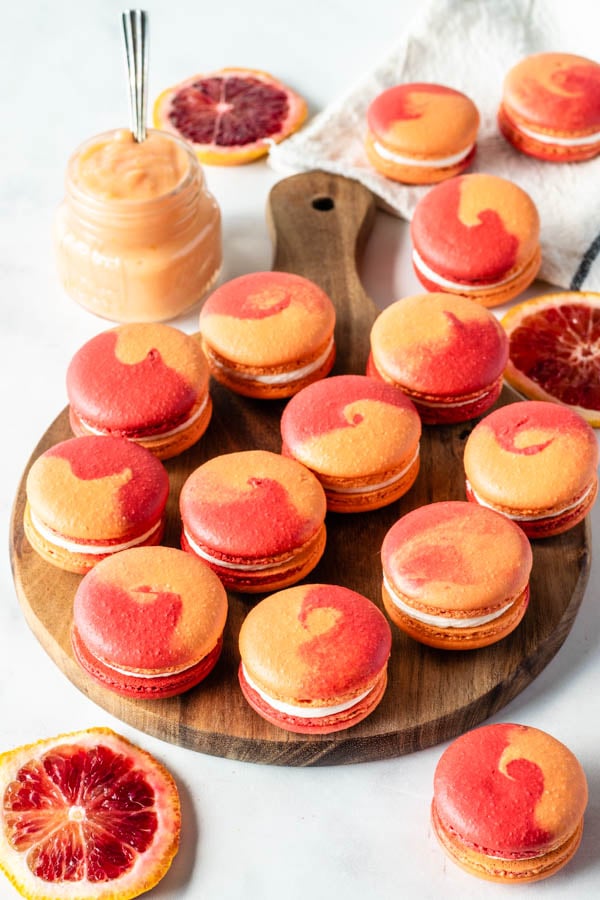
Blood Orange season is here, and I have been waiting to get my hands on some blood oranges! They are sweet, delicious, and I couldn’t wait to turn them into macarons!
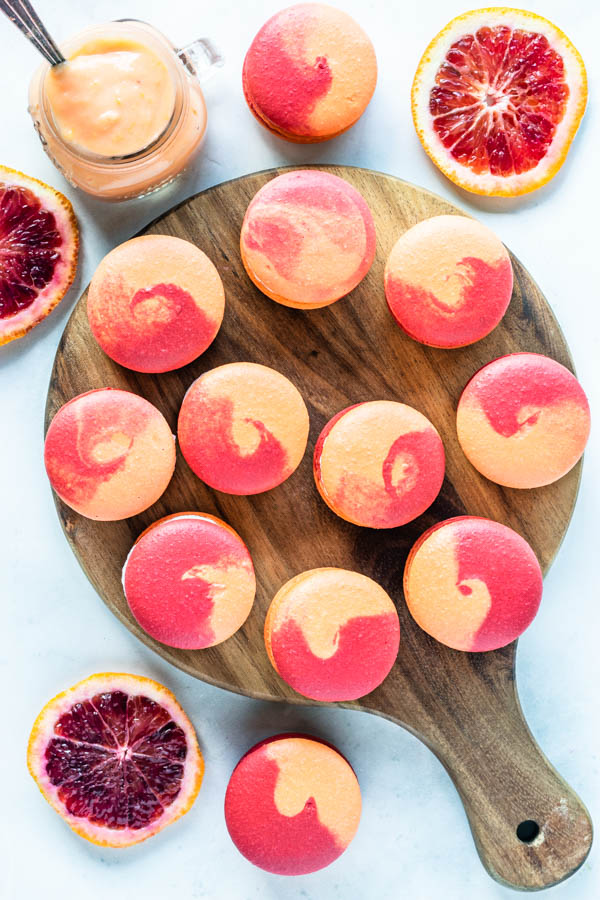
Let me explain how I made the swirl effect on the shells.
This post may contain affiliate links. I earn a commission from qualified purchases. Please read our Privacy policy here.
I actually have a whole post dedicated to the technique I’ve used, with pictures that can guide you, but my instructions here, and also below in the recipe will help you as well.
If you want to check out the blog post on how to make Multi-colored macaron shells, click here.
Otherwise, keep reading.
First, make the meringue as usual. In the case of this Blood Orange Macarons recipe, and in fact, all of my macaron recipes, I use the Swiss Method (French for vegan macarons, and I used to do Italian for the vegan ones in the beginning, but I digress).
So, in the Swiss method, first you make the meringue by whisking the egg whites and sugar over a double boiler until the sugar melts.
Then, you pour that mixture into the bowl of the electric mixer, and whip the meringue until stiff peaks are achieved. That’s the meringue stage.
Once the meringue is whipped to stiff peaks, you add the dry ingredients (sifted almond flour and powdered sugar) to the meringue, and start folding with a spatula.
If only making one color shells, you can just keep folding the batter until the perfect consistency is achieved. However, if you want to make more than one color from the same batter, you will add the dry ingredients to the meringue, start folding with a spatula, and stop immediately as you don’t see anymore streaks of dry ingredients in the batter.
As soon as that happens, immediately stop folding the batter and divide it into the number of bowls correspondent to the number of colors you wish to make. In this case, I divided the batter into two different bowls.
Make sure to cover one bowl, as you work with the other, so the batter doesn’t start drying.
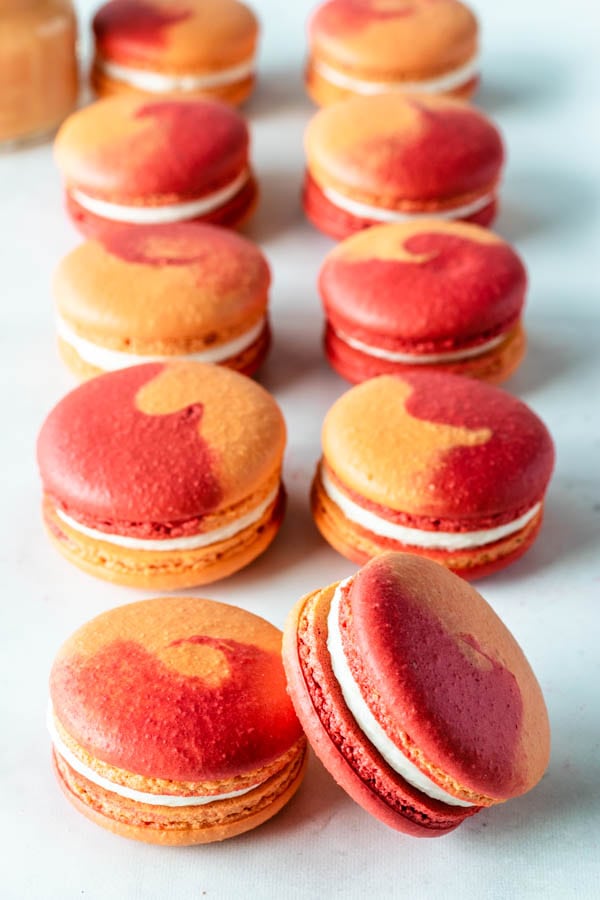
The first batter I colored with red and crimson. Add the food coloring, and then fold the batter until the perfect consistency is achieved. (I offer plenty of cues below in the recipe about how to recognize when the batter is at the perfect consistency)

As the first colored batter is ready, you pour it into a piping bag and set it aside.
Move on to the reserved batter, and color the same way. I added a bit of orange food coloring to the second batter, and folded until the perfect consistency was achieved.
Then pour that batter into another piping bag.
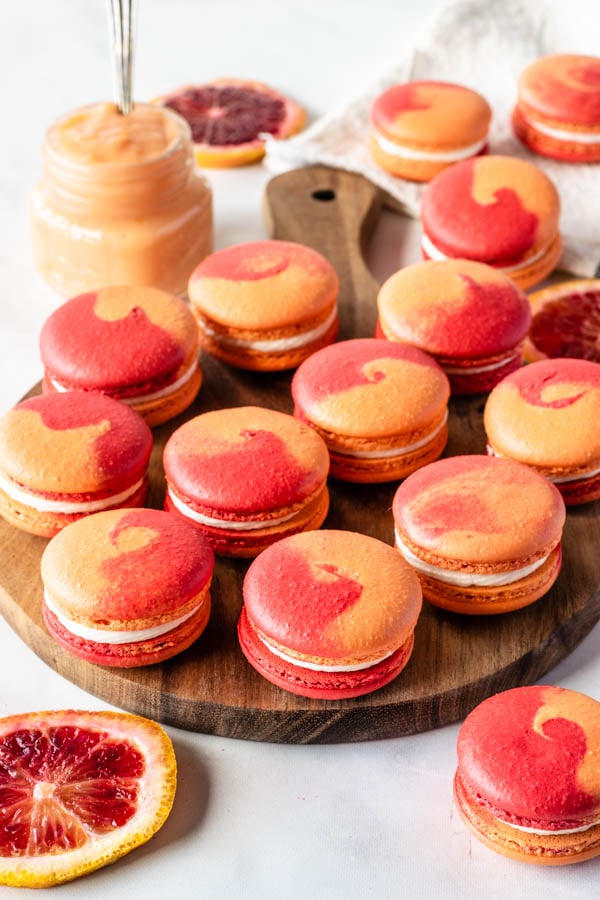
Snip the ends of both piping bags, and place them carefully inside of another piping bag fitted with a large round tip. Make sure you place both bags at the same level, so they are dispensing batter at the same time so you don’t end up with shells that are just orange, or just red.
Then proceed to pipe the batter on a baking sheet lined with parchment paper, or silicone mat. I vouch for silicone mat, and you can find out why here on my Chocolate Macarons post.
So, do you like these colors? I thought they were perfect for the Blood Orange Macarons!
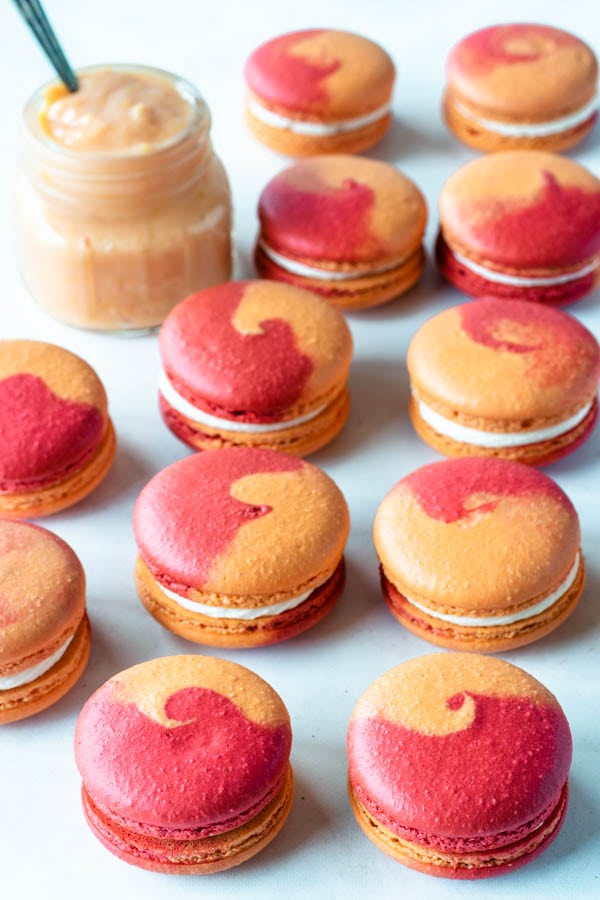
Now let’s talk a bit about the filling of the Blood Orange Macarons.
I chose to fill them with a delicious and citrusy Blood Orange Curd.
In the recipes below, I am cueing to add a tad of lemon juice and zest to the curd, and that’s because often times, blood orange can be quite mild, and not have that pungent sour taste, which can get lost in the sweetness and creaminess of the curd. And the lemon juice and zest will help bring that flavor a bit more to life.

Something very important about making this Blood Orange Curd with my method, is that you don’t need a double boiler (which can take forever and ever).
However, you will need to dedicate your full attention to the curd for 10 minutes, or you will end up with scrambled egg with sugar and blood orange juice, and that’s just not good at all!
When making the Blood Orange Curd, make sure to not let the curd come to a boil, not even a slight one. The heat should be very gentle, and the curd should cook slowly.
Also make sure to stir non-stop as the curd cooks, so the heat is distributed evenly and no bits of egg are cooking on the bottom of the pan.
Using a heavy bottomed pan will also be helpful.
This is the easiest and most effective way I know how to make curd. I’ve tried using the microwave, I’ve tried doing the double boiler method. Neither worked to my satisfaction, so I stick to this one, and keep my eyes and hands on this curd the whole time it’s cooking, so my eggs won’t curdle.
And I also chose to make a Cream Cheese Frosting to go with the Blood Orange Curd, because the tanginess and richness of the frosting compliments the sweet delicate curd so perfectly.
If you would like some more tips on how to make macarons, check out my blog posts and Youtube videos.
I have over 60 macaron recipes and ideas on the blog, and many of my posts are filled with important tips and tricks that will help you on your journey to mastering these cookies, if that’s what you’re into.
And here are some more Macaron recipes and flavors you may enjoy:
- Raspberry White Chocolate Macarons
- Cranberry Orange Macarons
- Passion Fruit Macarons
- Key Lime Raspberry Macarons
- Strawberry Lemonade Macarons
- Blackberry Macarons
- Pomegranate Macarons
- Lemon Macarons
- Strawberry Mint Macarons
- Key Lime Pie Macarons
I will leave you with some recommendations of products I use for my macarons.
This is the container I use to store my macarons in the fridge, or in the freezer.
These are the piping bags I use and vouch for.
This is the food coloring I have been using, with great results.
Thank you so much for reading my blog! Come back soon! And please tag me on instagram if you make one of my recipes!
Blood Orange Macarons
Ingredients
Macaron Shells
- 100 grams egg whites 3.5 oz
- 100 grams granulated sugar 3.5 oz
- 105 grams almond flour 3.7 oz
- 105 grams powdered sugar 3.7 oz
- Food coloring I used red, crimson, and orange
Blood Orange Curd
- 3 tablespoons unsalted butter room temperature 42 grams, 1.5 oz
- 1/3 cup granulated sugar 66 grams, 2.3 oz
- 3 tablespoons blood orange zest
- 2 large eggs
- 1/8 teaspoon salt
- 1/4 cup blood orange juice
- 1 tablespoon lemon juice*
Cream Cheese Frosting
- 3 tablespoons cream cheese softened (45 grams, 1.59 oz)
- 2 tablespoons unsalted butter softened 28 grams, 1 oz
- 1 1/2 cups confectioners’ sugar sifted 190 grams, 6.7 oz
- 1 tablespoon blood orange zest
- 1 teaspoon vanilla extract
- 1/2 -1 tablespoon milk or water as necessary
Instructions
Macaron Shells
- Before you start, get all of the ingredients ready. Prepare a large piping bag, fitted with a large round tip, I use a 05." tip. Set aside.
- Line two baking sheets with parchment paper or silicone mat.
- I use a baking mat with the macaron template already in it. You can make your own or print it from the internet, and just place it under silicone mat, or parchment paper. I recommend using a silicone mat.
- Measure out all of the ingredients.
- Sift the powdered sugar and almond flour together. Set aside.
- Place the egg whites and granulated sugar in a heat proof bowl or in a double boiler. Over a pan of simmering water, whisk the whites and sugar until frothy and sugar completely melted. It will take a couple minutes. You can test by touching the mixture between your fingers, and if you feel any sugar granules just keep whisking mixture over the water bath.
- Make sure the bottom of the bowl isn’t touching the simmering water.
- Transfer the mixture to the bowl of a stand mixer.
- With the whisk attachment, start whisking the mixture on low for about 30 seconds, then gradually start increasing speed to medium. Whisk on medium for one to two minutes, until mixture is white and starting to become fluffy. Raise speed to medium-high and finish whipping for a few more minutes until stiff peaks are formed. Best way to check this is to keep your eye on the whites. Once they get glossy and you start seeing streaks formed by the whisk, it might be time to stop.
- Whisk until stiff peaks have formed. When you pull your whip up, the peaks should be shooting straight up, not bent down.
- Pour the sifted powdered sugar and almond flour into stiff whites.
- Start folding gently forming a letter J with a spatula.
- If you are dying the batter in just one color, this is the time to add any food coloring. In the case of these Blood Orange Macarons, I used two different colors, so please read below about how to achieve the two-color shells.
- Fold the dry ingredients with the meringue until just incorporated. Once you can see no more streaks of dry ingredients in the batter, separate it into two different bowls.
- Cover one bowl with a towel so the batter doesn’t start drying, and work with one batch at a time. I added red food coloring with a touch of crimson to the batter and folded until it was at the right consistency. Read below on tips for identifying the right consistency.
- Then, transfer this batter to a piping bag, secure the top so the batter doesn’t leak out, and set it aside.
- Next, Next, it’s time to color the remaining batter. I used orange food coloring for the second batter. Fold until the proper consistency is achieved, and transfer the batter to another piping bag.
- How to know when to stop folding the batter: It’s time to stop folding when the batter is glossy and has a thick and flowing consistency. There are several ways to test this.
- First, pick up some batter with the spatula and try to draw a figure 8 with the batter that is dripping off the spatula. If you can form several 8 figures without the batter breaking up, that’s one indication that it might be ready.
- There’s another test you can do. I call it the Teaspoon test.
- Grab a teaspoon of batter and spoon onto the parchment paper or silicon mat. Wait a minute to see how it behaves.
- If the batter stays stiff, forming a point and doesn’t spread out a bit, start folding a little bit more, about 3 folds.
- Test again.
- Once the batter spreads out a bit and starts to look glossy and smooth on top, on the baking sheet, transfer it to the piping bag.
- You don’t want the batter to be too runny either. So be careful not to over mix. It’s always best to under mix and test several times until the proper consistency has been achieved.
- The best way I can describe this stage being perfect is when you hold the spatula with batter on top of the bowl and the batter falls off the spatula slowly but effortlessly. The batter will keep flowing off the spatula non-stop, but not too quickly.
- So, when both batters were ready and inside piping bags, snip the end of the piping bags with scissors, and placed both piping bags in the piping bag fitted with the large round tip.
- Place the piping bag containing both batters directly 90 degrees over the center of each macaron template. Apply gentle pressure and carefully pipe for about 3 seconds, and then quickly pull the bag up twisting slightly.
- Once you’ve piped as many circles as you could, bang the trays against the counter a few times each.
- Use a toothpick to pop any air bubbles in the surface of the shells.
- Let the trays sit for a while so the shells will dry out a little bit. I usually leave about 20-40 minutes, depending on how humid the day is. You’ll know they’re ready when you gently touch the surface of a macaron and it seems dry.
- Pre-heat the oven to 300ºF.
- Bake one tray at a time.
- Bake for 5 minutes, rotate tray.
- I bake each tray for 15 to 18 minutes minutes.
- When baked, the macarons will have a deeper color and formed feet. If you try to move a macaron, it shouldn’t feel jiggly. If the macaron is still jiggly, keep baking.
- Remove from the oven and bake the other tray.
- Let the macarons cool down before proceeding with the filling.
Blood Orange Curd
- Cream the butter at medium speed in the bowl of an electric mixer. Slowly add sugar and zest to the butter and keep creaming at medium speed for a few minutes, until the mixture is light in color and fluffy.
- Add the eggs, one at a time, waiting until the first egg has been completely incorporated before adding the next one.
- Add the salt. And finally, add blood orange and lemon juice, and stir on low speed.
- Pour mixture in a small sauce pan and start heating it over medium-low heat, stirring non-stop. DO NOT bring the mixture to a boil, or you will cook the eggs. Simply stir it as it heats over a very gentle heat.
- You are looking for a very thick and creamy curd. Don’t stop stirring, don’t look away.
- The temperature of the curd should be reaching 170F. I repeat, don’t let the curd boil, or the eggs will curdle and your curd won’t taste good.
- When that happens, remove from heat and pour into a heat proof bowl.
- Let it cool in the fridge.
- STORAGE: The shelf life of the curd will be up to 1 week in the fridge, and up to 3 months in the freezer, if well protected.
Cream Cheese Frosting
- To make the Cream Cheese Frosting, start by placing the softened cream cheese and butter in the bowl of an electric mixer. Cream for 2 minutes on medium-high speed.
- Turn the mixer off, add the sifted powdered sugar in. Stir on low until combined.
- Raise speed to medium-high, and cream for 1 minute.
- Add zest, vanilla extract, and liquid as needed. You will only add milk (or water) if the frosting seems too thick, or dry. If the frosting has a creamy and smooth consistency, no need to add the liquid. Add any extra liquid very carefully and in very small quantities, always mixing until incorporated before adding anymore. And if the frosting seems too runny, add some more sifted powdered sugar, as necessary as well.
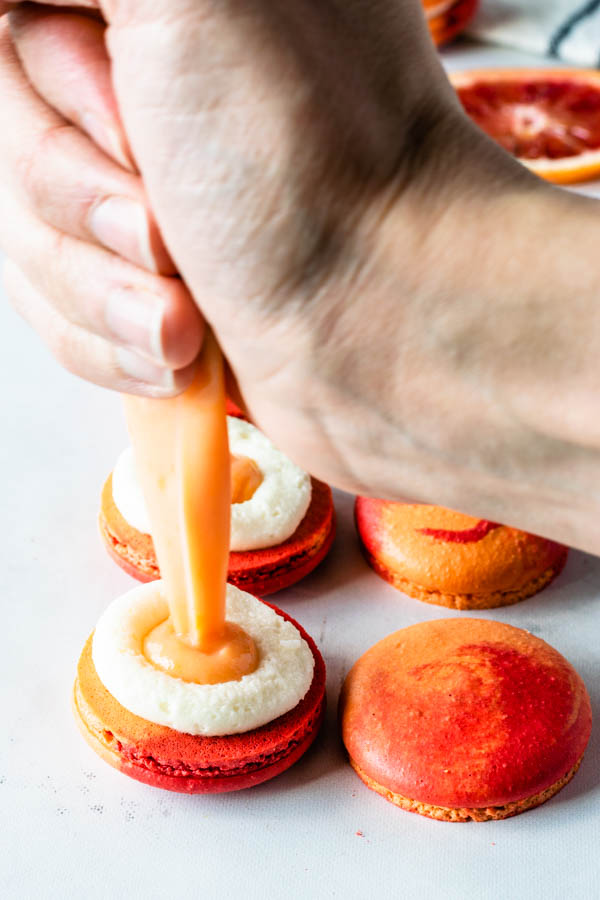
To assemble
- To assemble the macarons, pipe a ring of Cream Cheese frosting around the edges of a bottom shell. Fill it with a bit of curd. You can either spoon the curd in the middle of the macarons or use a piping bag to do so. Top with another shell.
Storage
- These macarons will store in the fridge for up to 4 days, and in the freezer for up to 15 days, I don’t recommend going longer than that or the macarons might start to get soggy because the curd is such a runny filling.
Could you use Cara Cara oranges as a substitute for blood oranges?
Sure!
I had a bag of blood oranges that I bought on impulse, so I had to try your recipe. The curd is absolutely delicious! I could eat the whole thing with a spoon! I can’t wait to serve these macarons to my family. I think they’ll be a big hit. Thank you!
Ohhh nice love to hear that!!!
You’ve become my go-to expert when I want to make macarons. Today I’ve made my 4th batch and they’ve all been successful thanks to your detailed instructions! Thank you!!!
Owning a bake shop, I make macarons all the time. Your detailed instruction are exactly what I do for success right down to counting to 3 and the figure 8. Great blog. Good read and I’m sure helpful to those that haven’t had exp3erience.
Thank you so much I appreciate that!!! So happy to hear!!
It looks great, is it also possible to put the creme and the curd together, and pipe it on the shelf?
I think the buttercream will be too runny if you do that.
Ficaram fantásticos, essas cores combinaram muito, maravilhosas!!!!!!
Another gorgeous batch of beauties you’ve made!