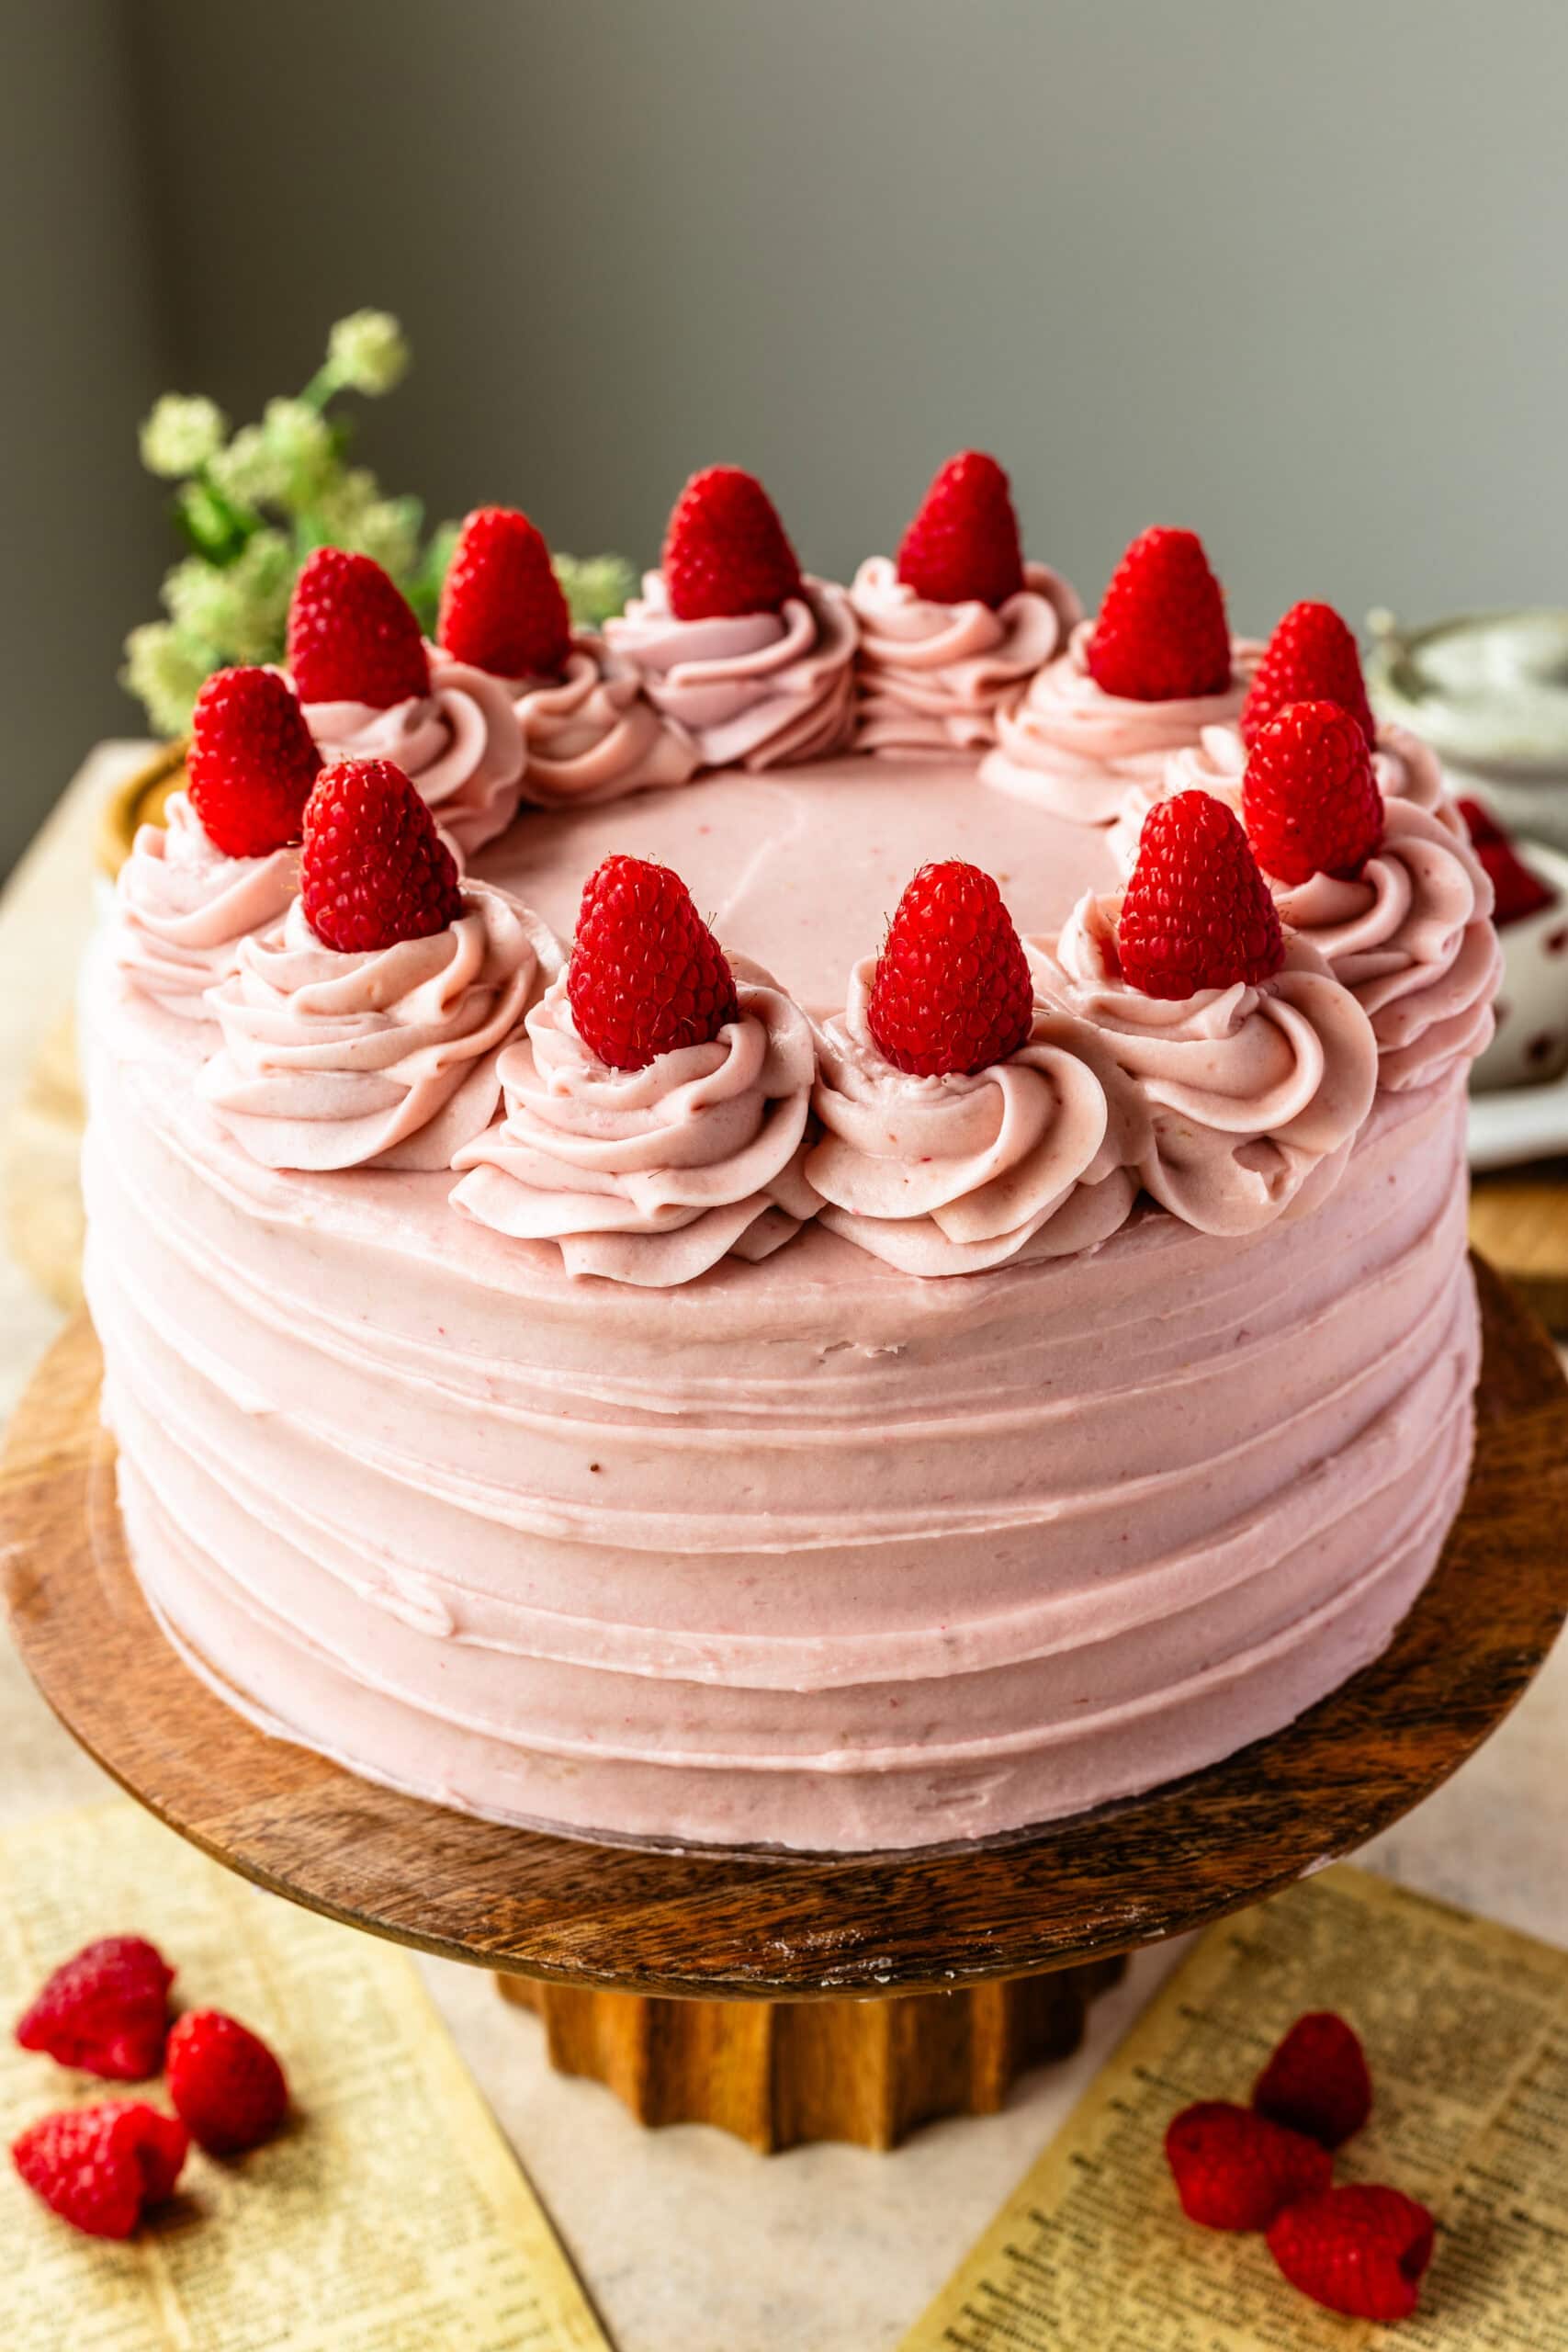
Raspberry Cake
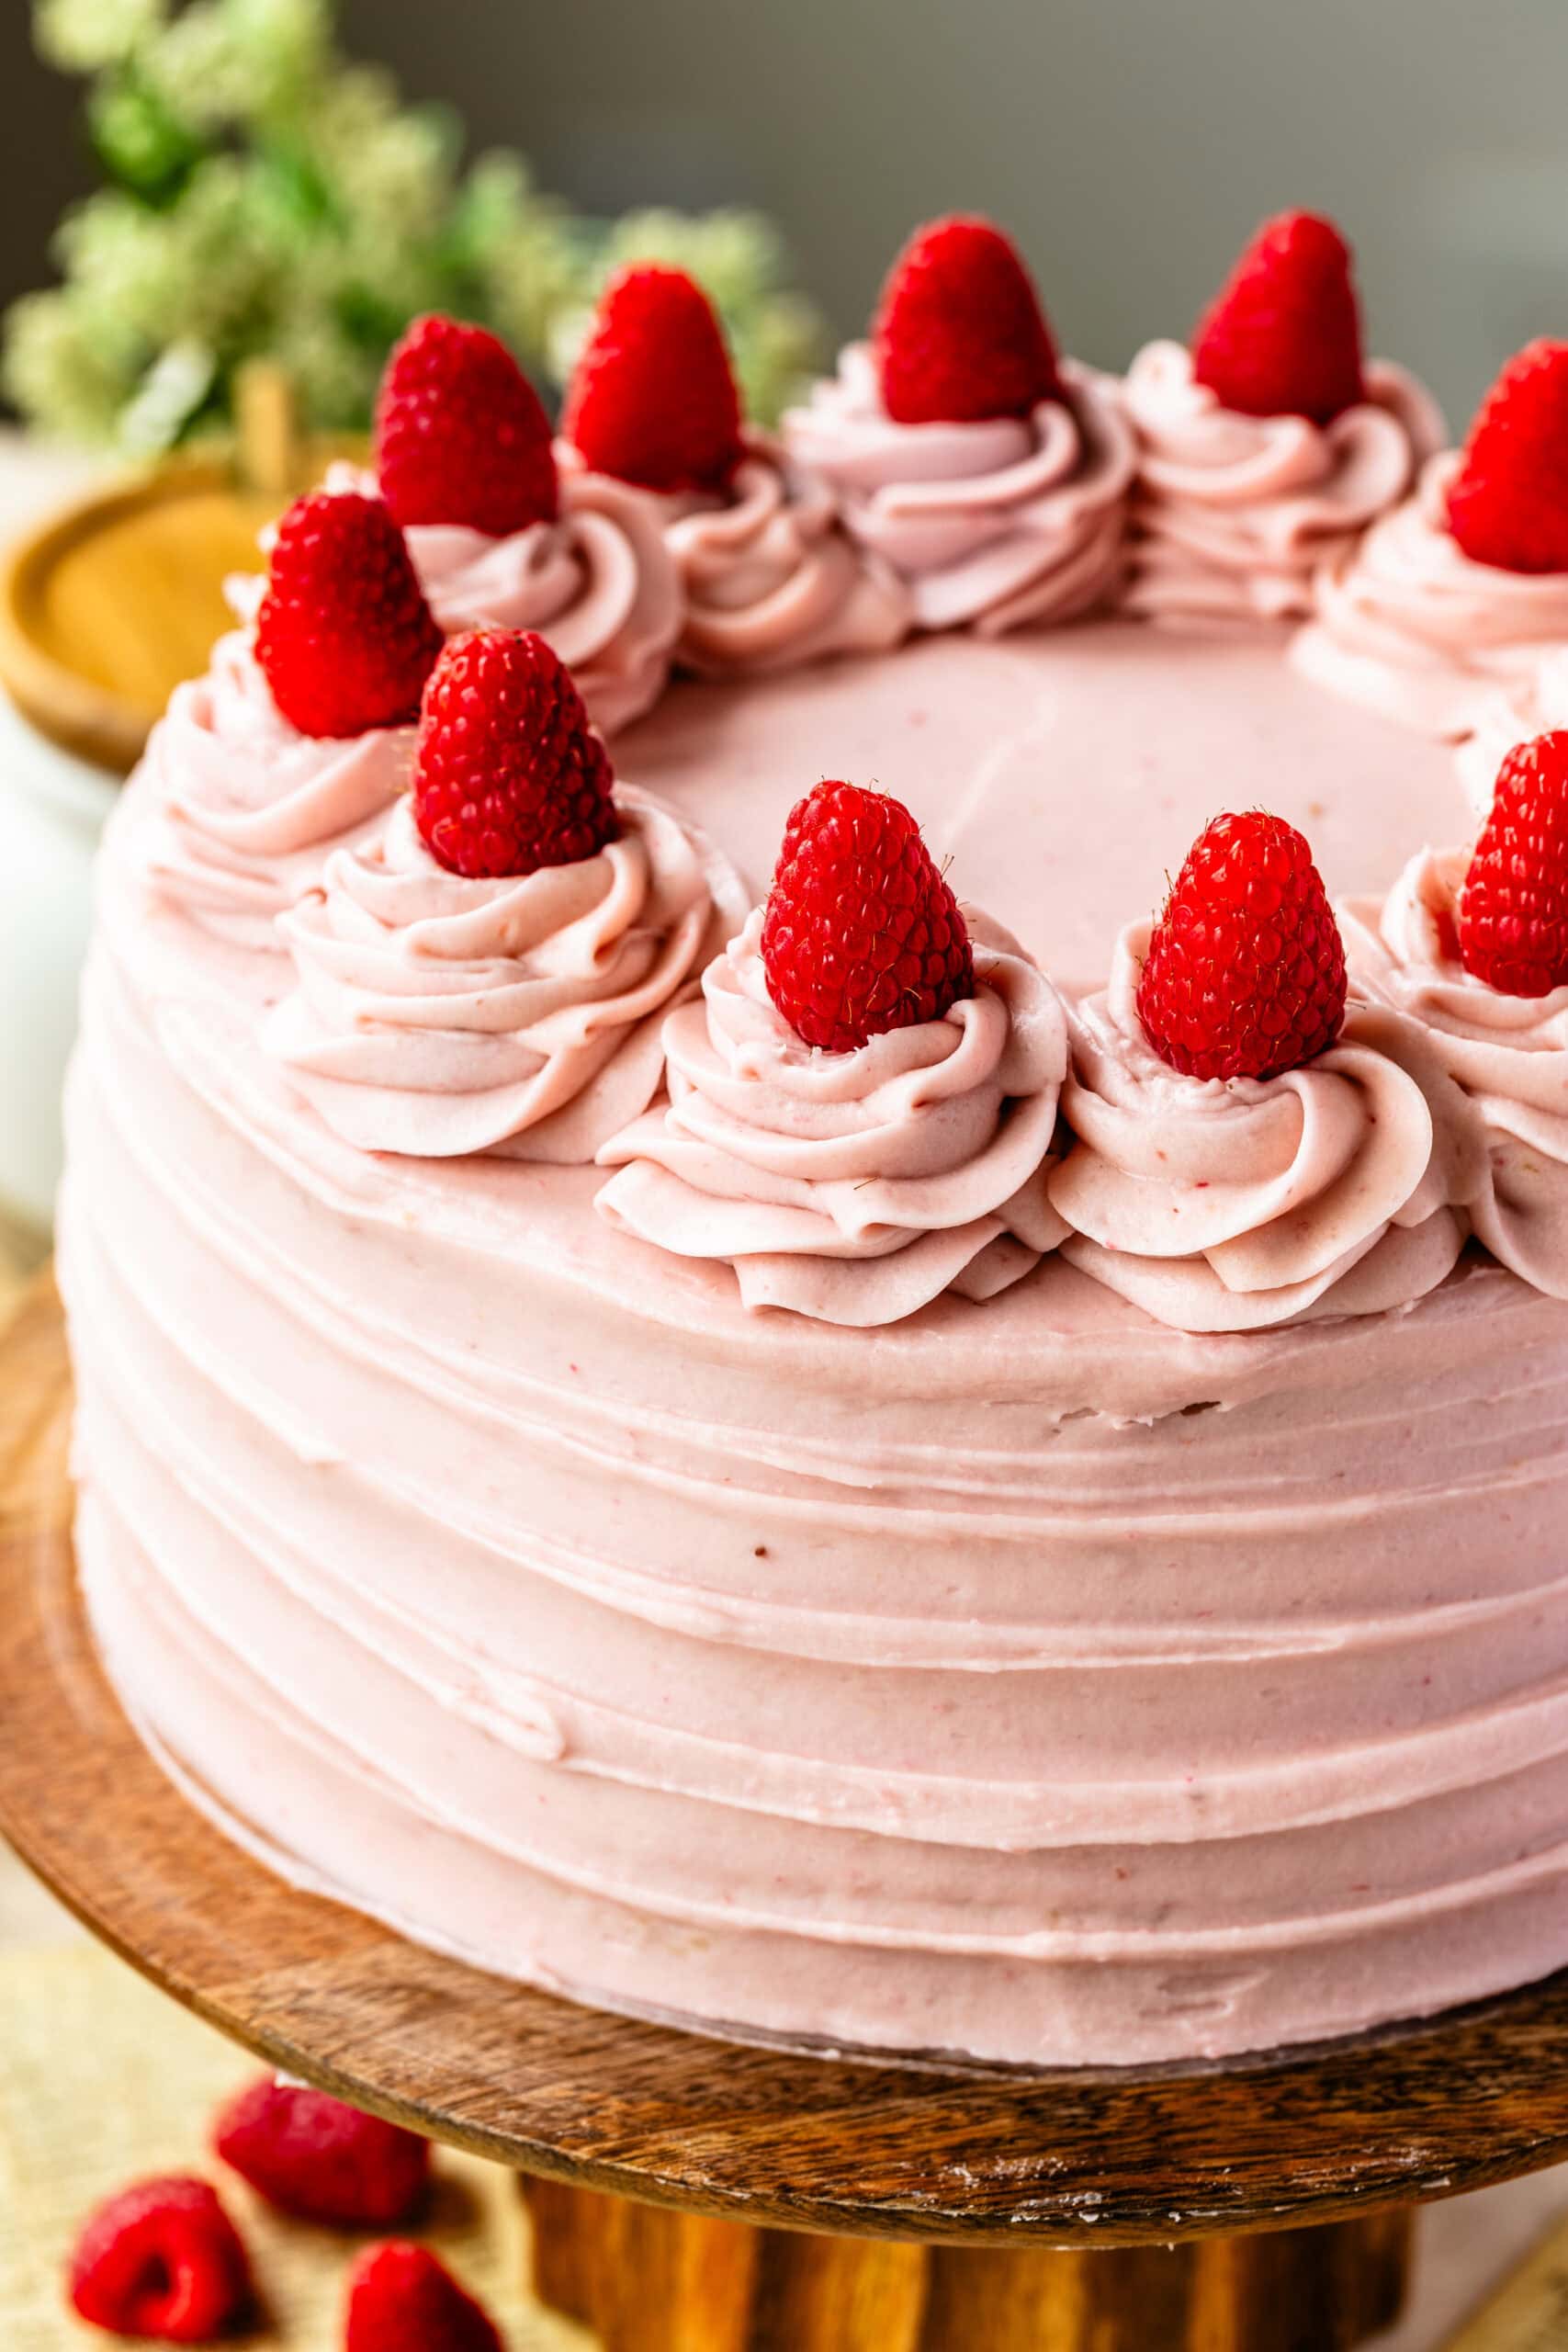
Raspberry cake will always be one of my favorites—especially when it’s made with moist, fluffy vanilla cake layers, a tangy cream cheese frosting flavored with real raspberries, and a rich, homemade raspberry jam between each layer.
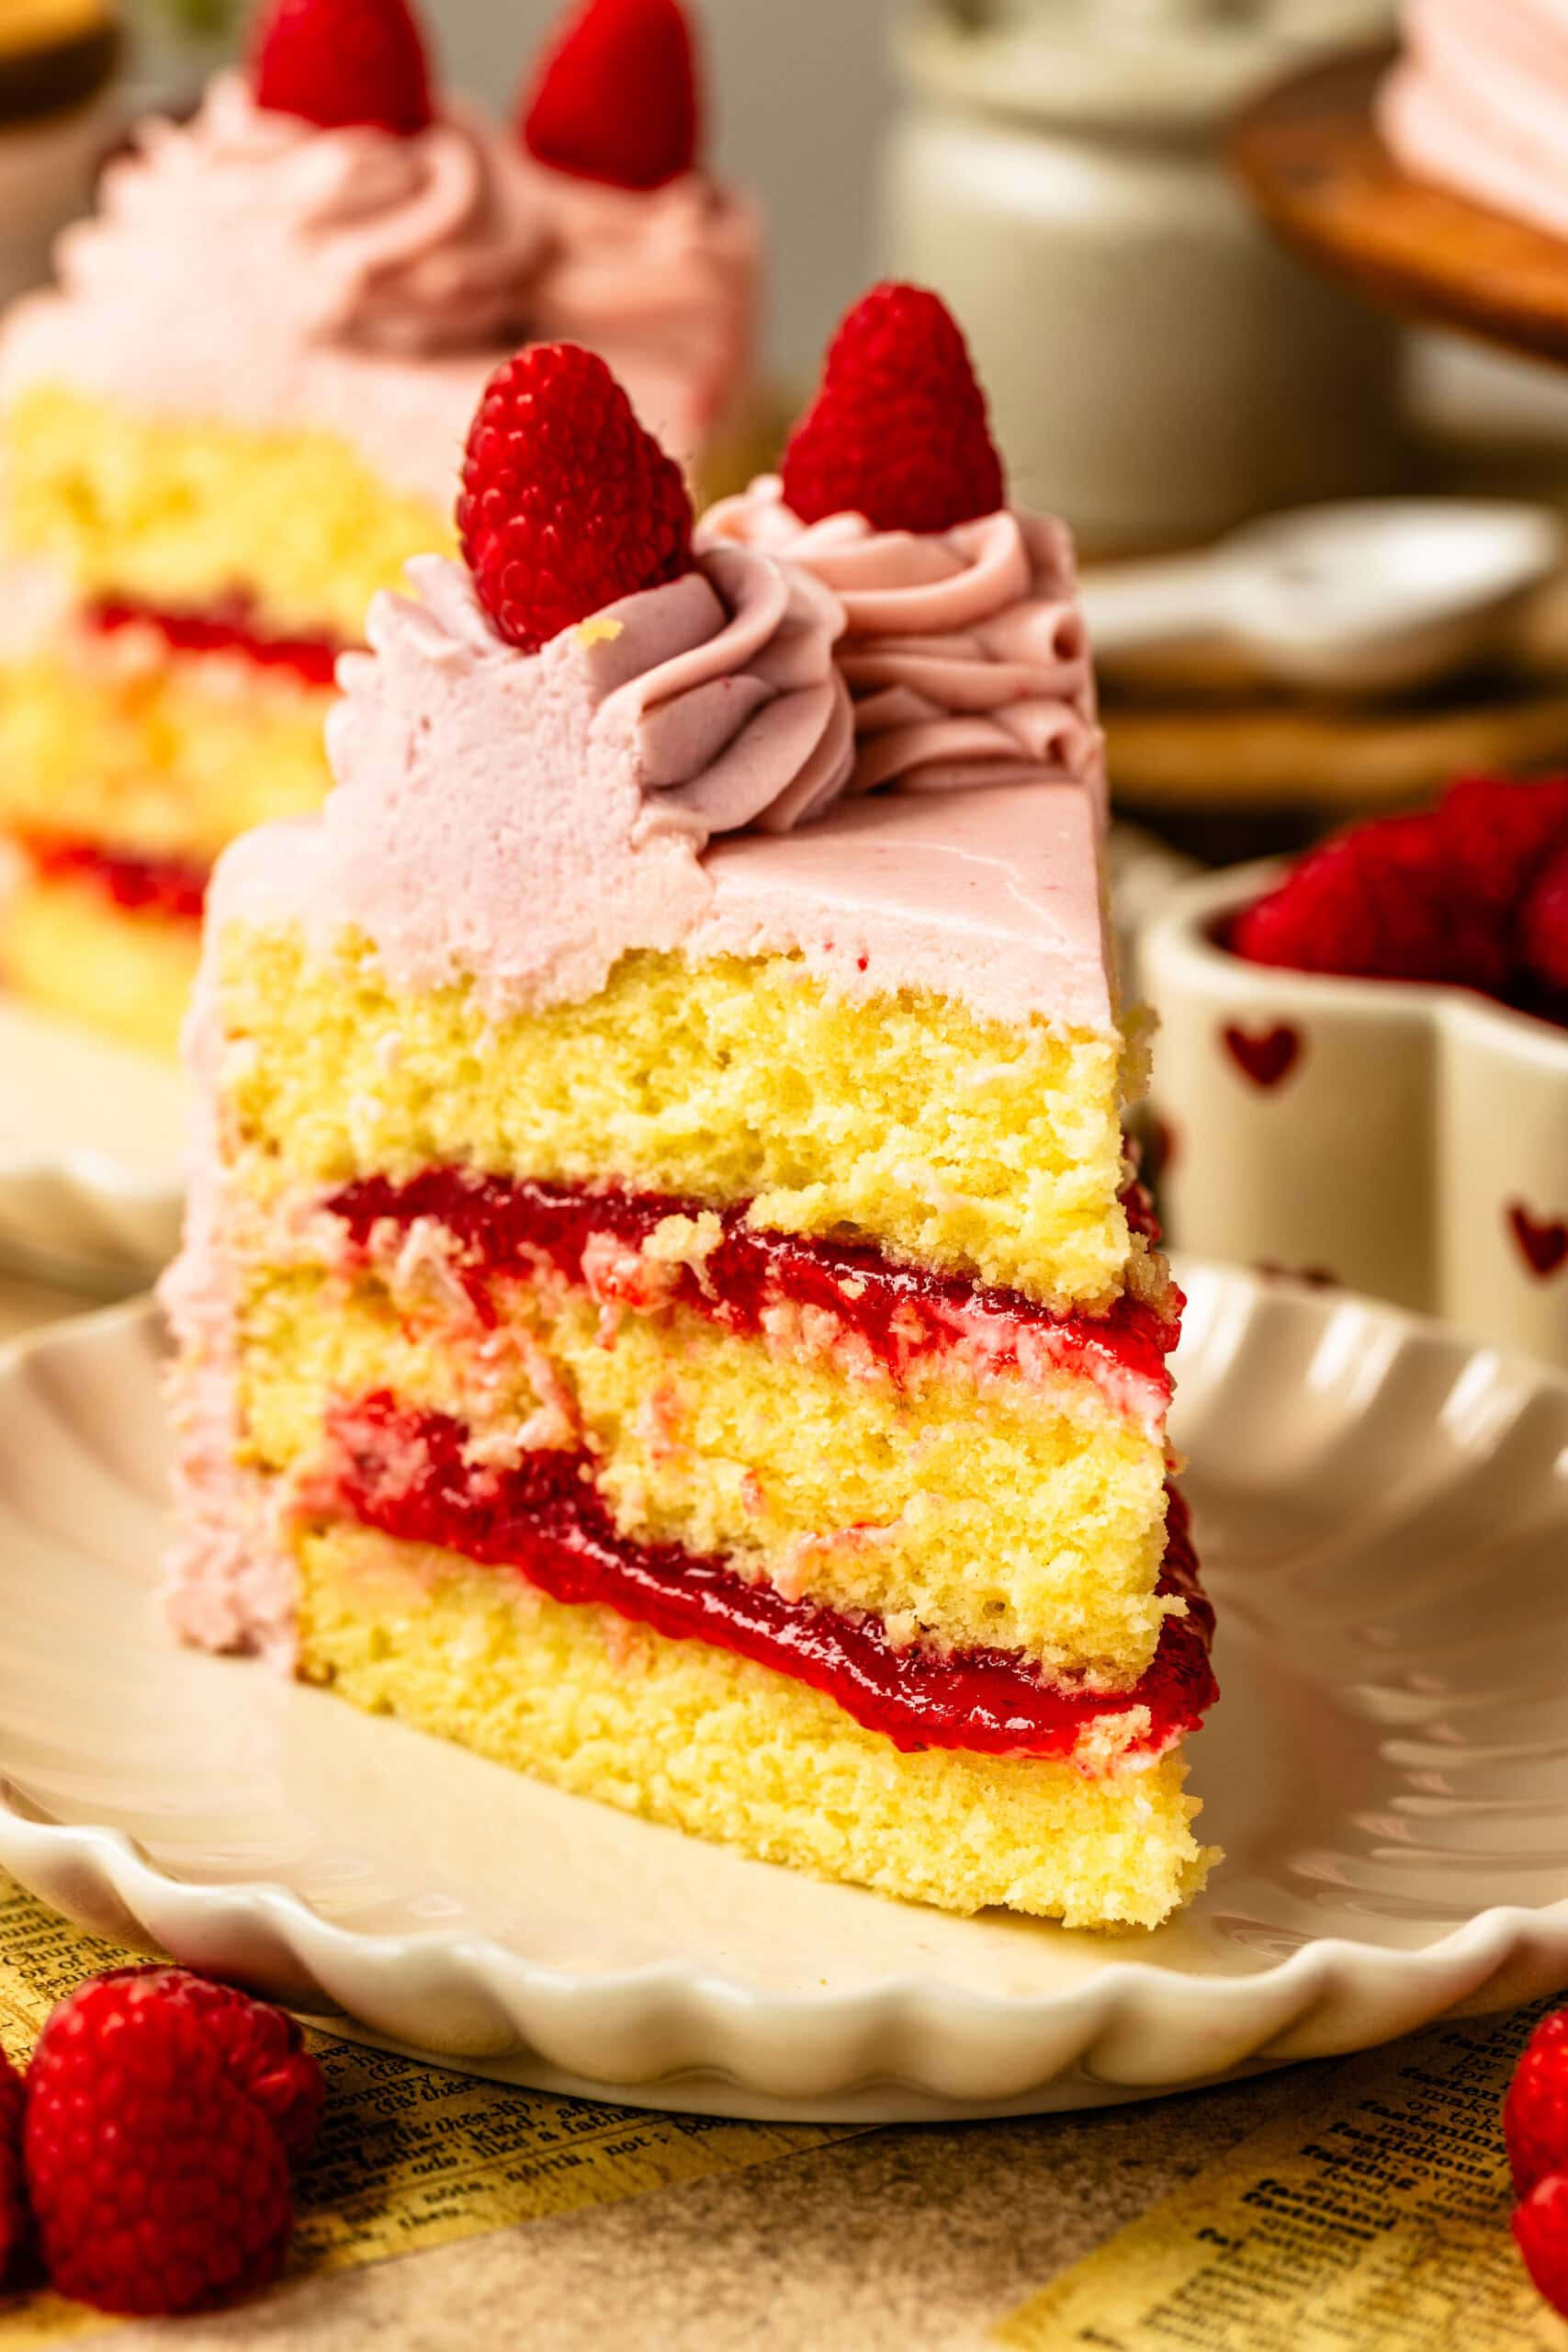
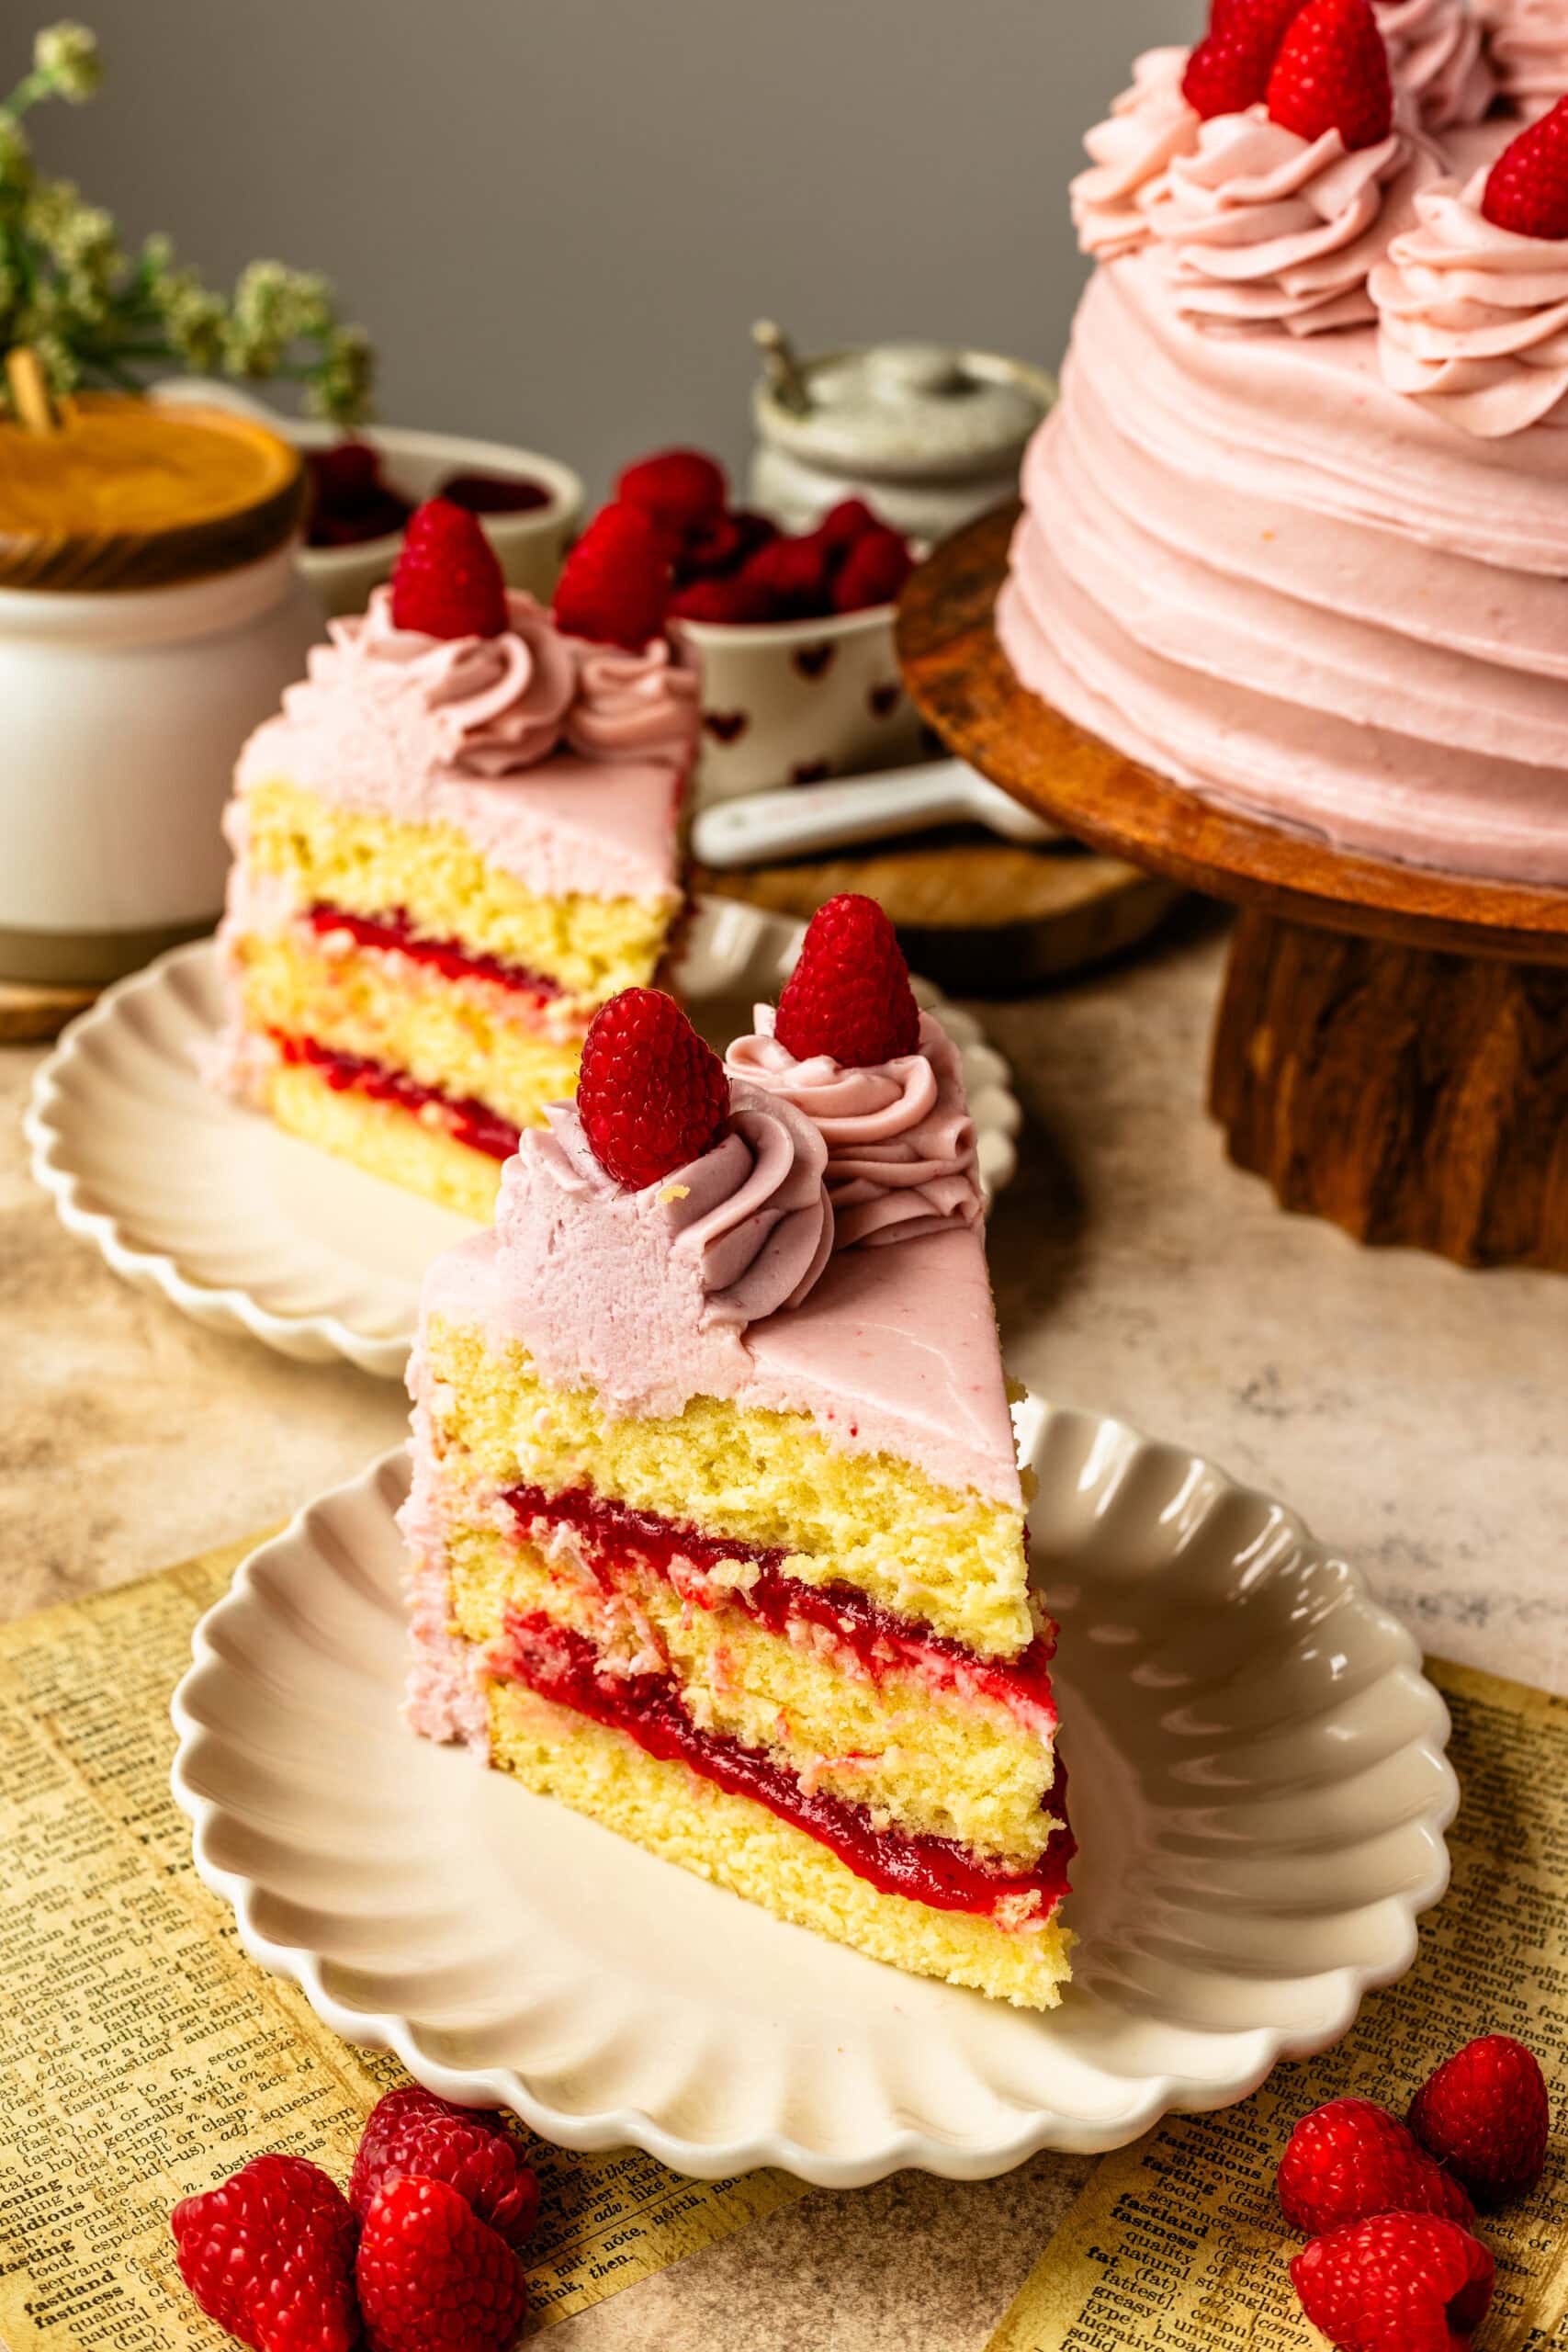
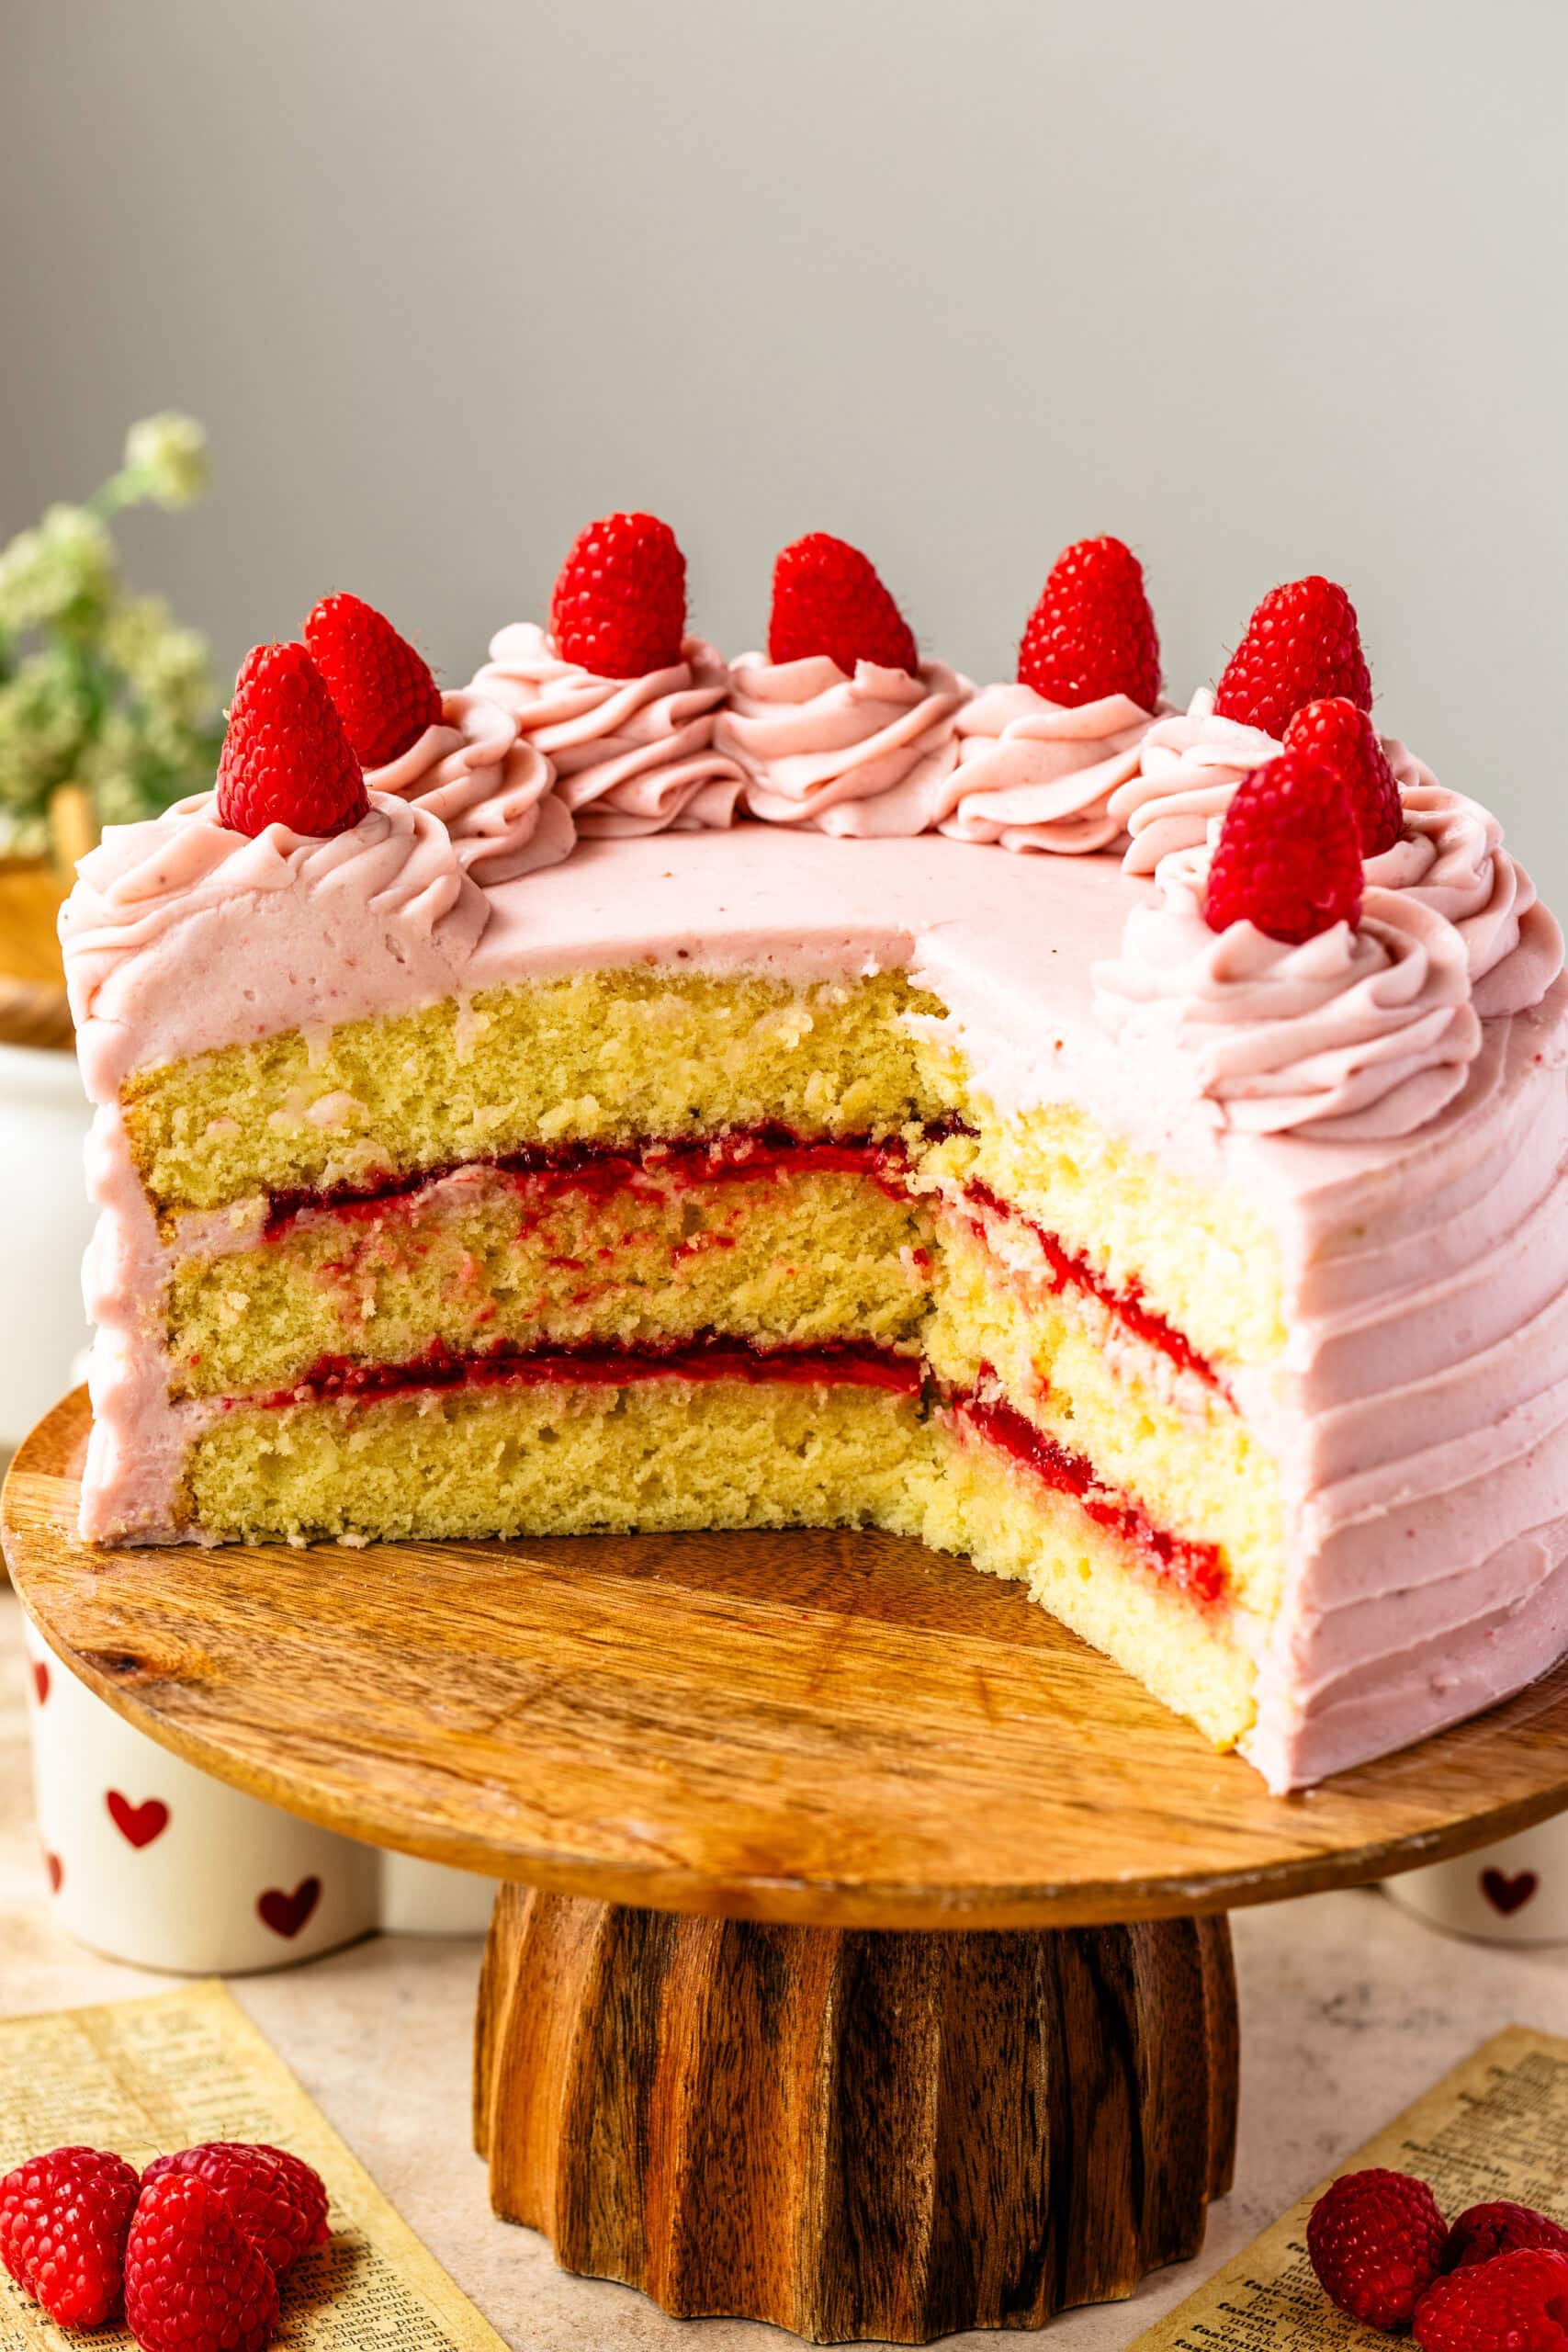
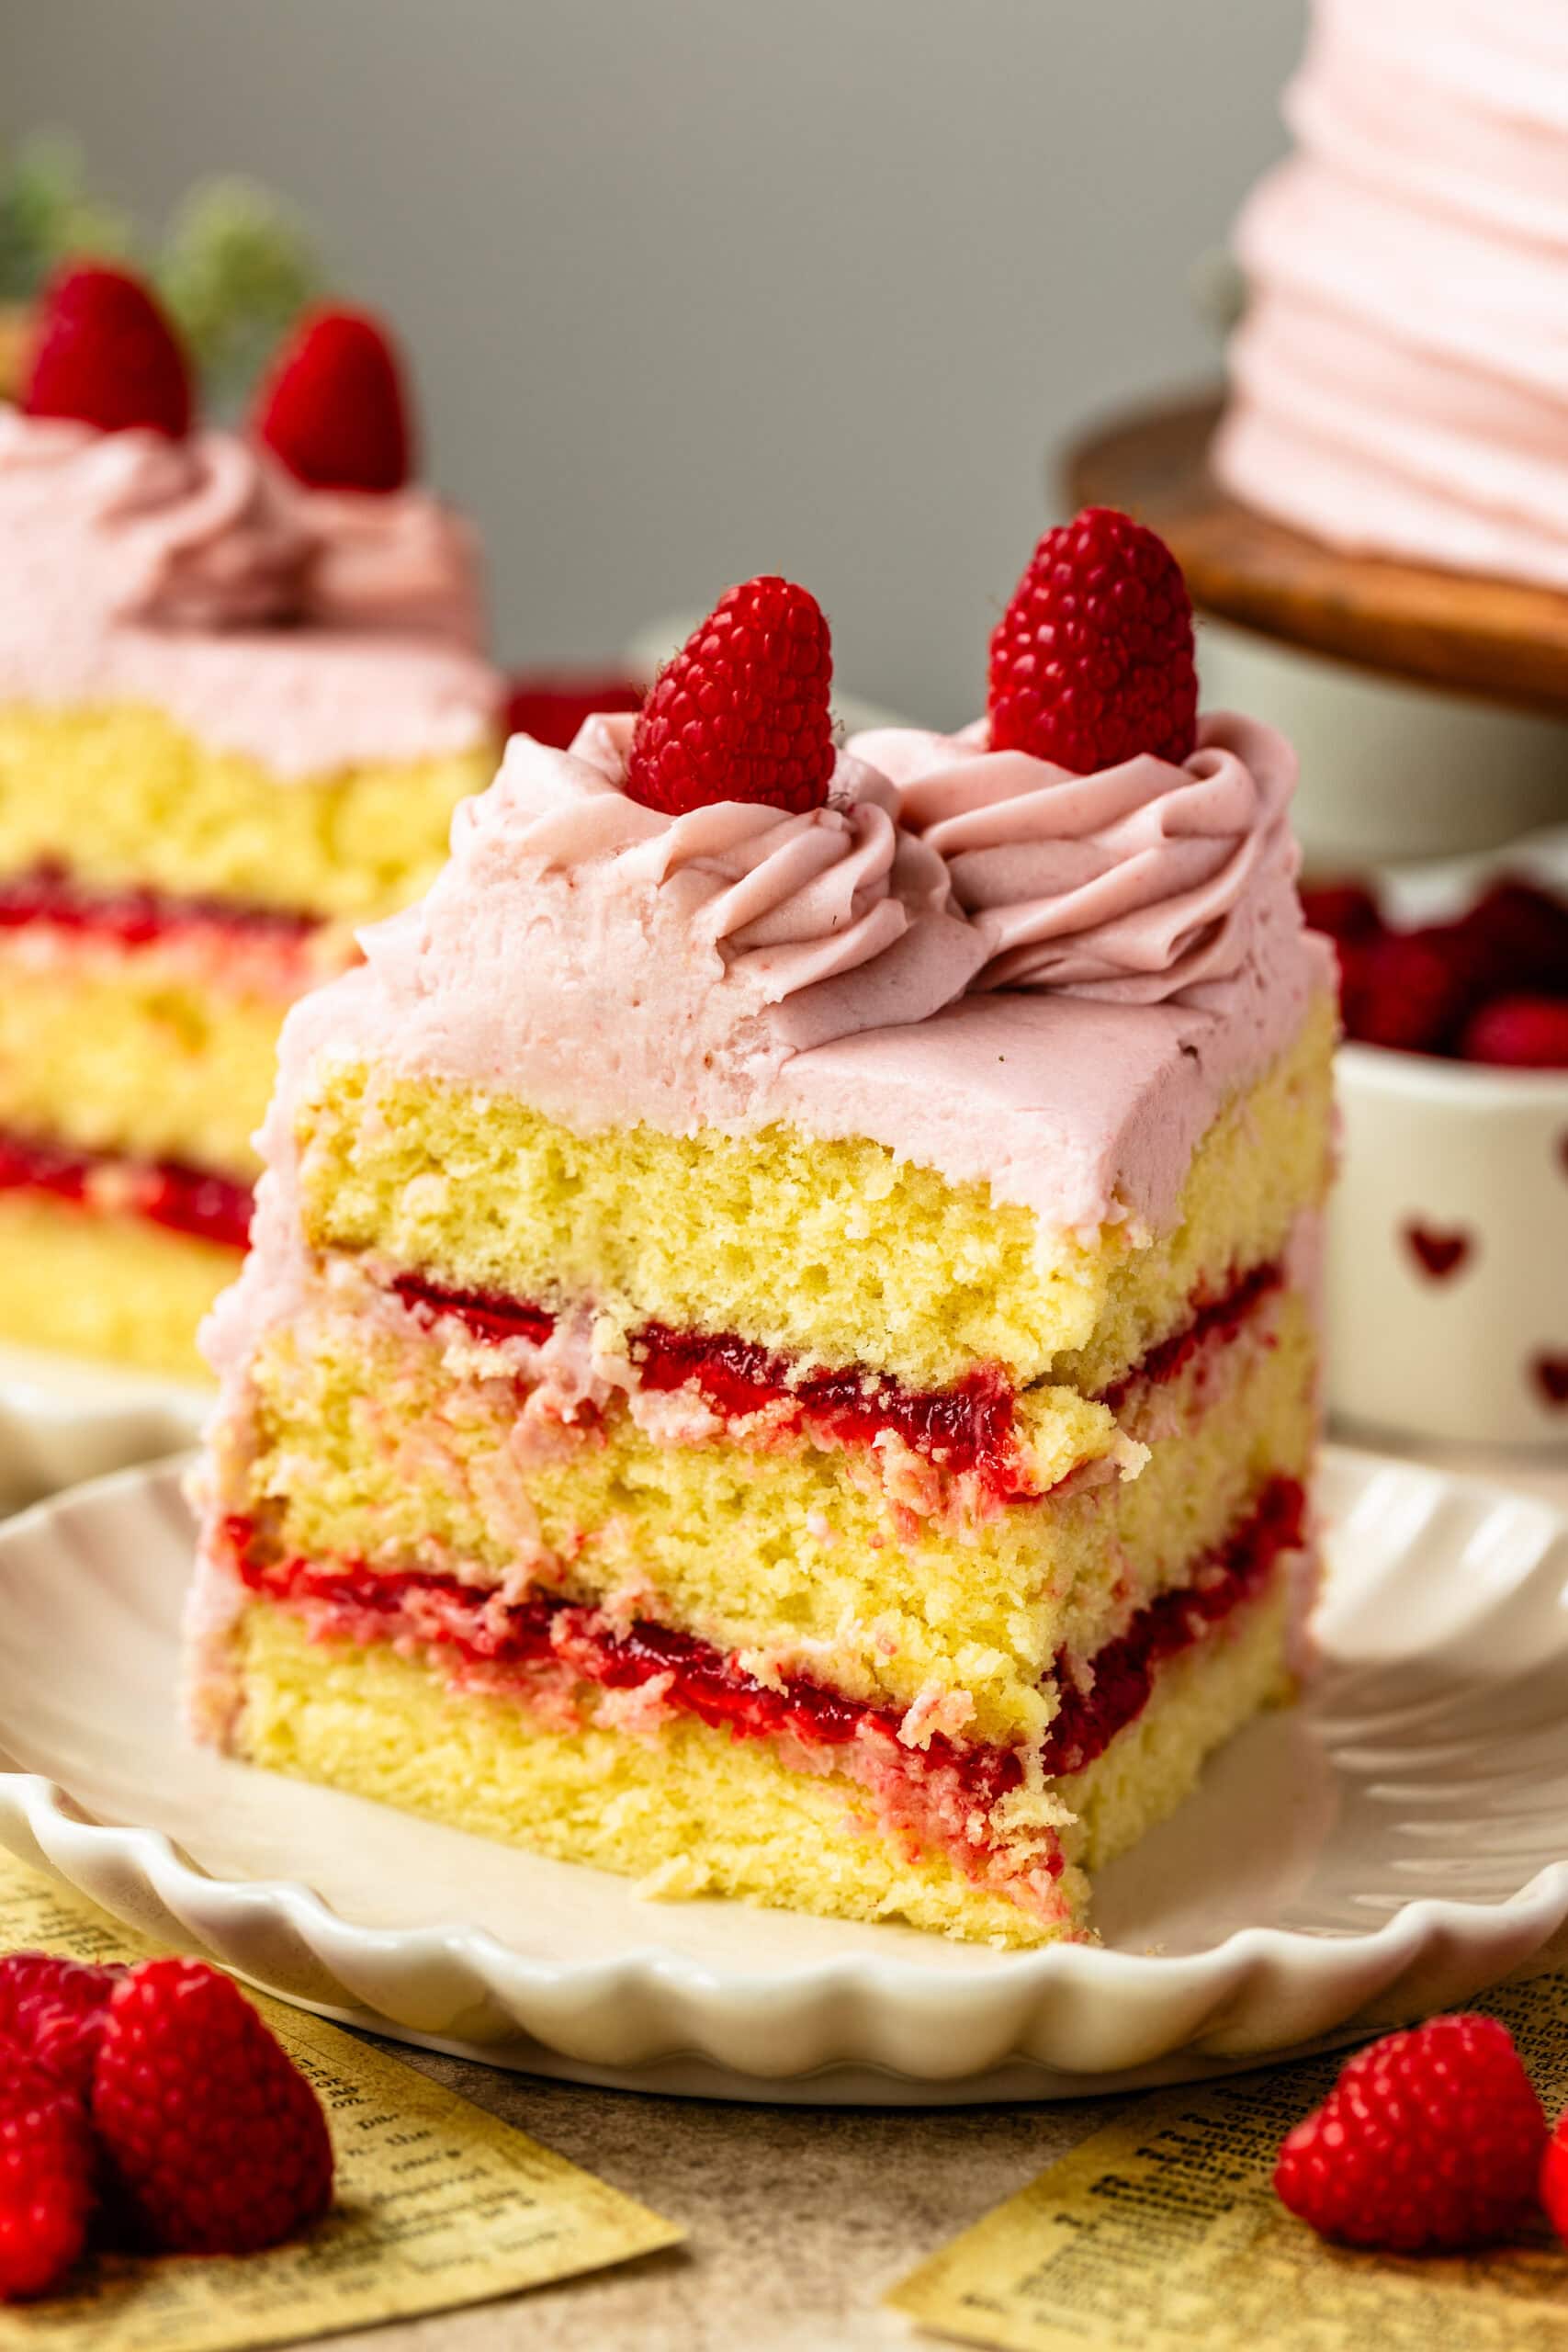
I wanted a version that stayed soft for days, had real raspberry flavor (not extract), and held its structure when sliced. This is the one I make now. It has fluffy vanilla cake layers, homemade raspberry jam between each layer, and a cream cheese frosting flavored with that same jam. It’s balanced, not overly sweet, and the texture is exactly what I look for in a layer cake.
If you’ve made my Strawberry Cake or Blueberry Cake before, this one follows a similar structure — but with a slightly brighter, tangier finish. I’ve tested raspberry cakes that were either too wet from fresh fruit in the batter or too artificial from flavoring. I prefer keeping the vanilla cake clean and building the raspberry flavor through a concentrated homemade jam and frosting. It gives you control, and the texture stays consistent every time!
This post may contain affiliate links. I earn a commission from qualified purchases. Please read our Privacy policy here.
I love this cake because…
This cake is simple in structure but very intentional in texture.
- The vanilla layers bake up soft and sturdy.
- The raspberry jam is thick and seedless.
- The frosting is creamy but stable.
- The layers slice cleanly.
- It stays moist for days (especially with the syrup trick).
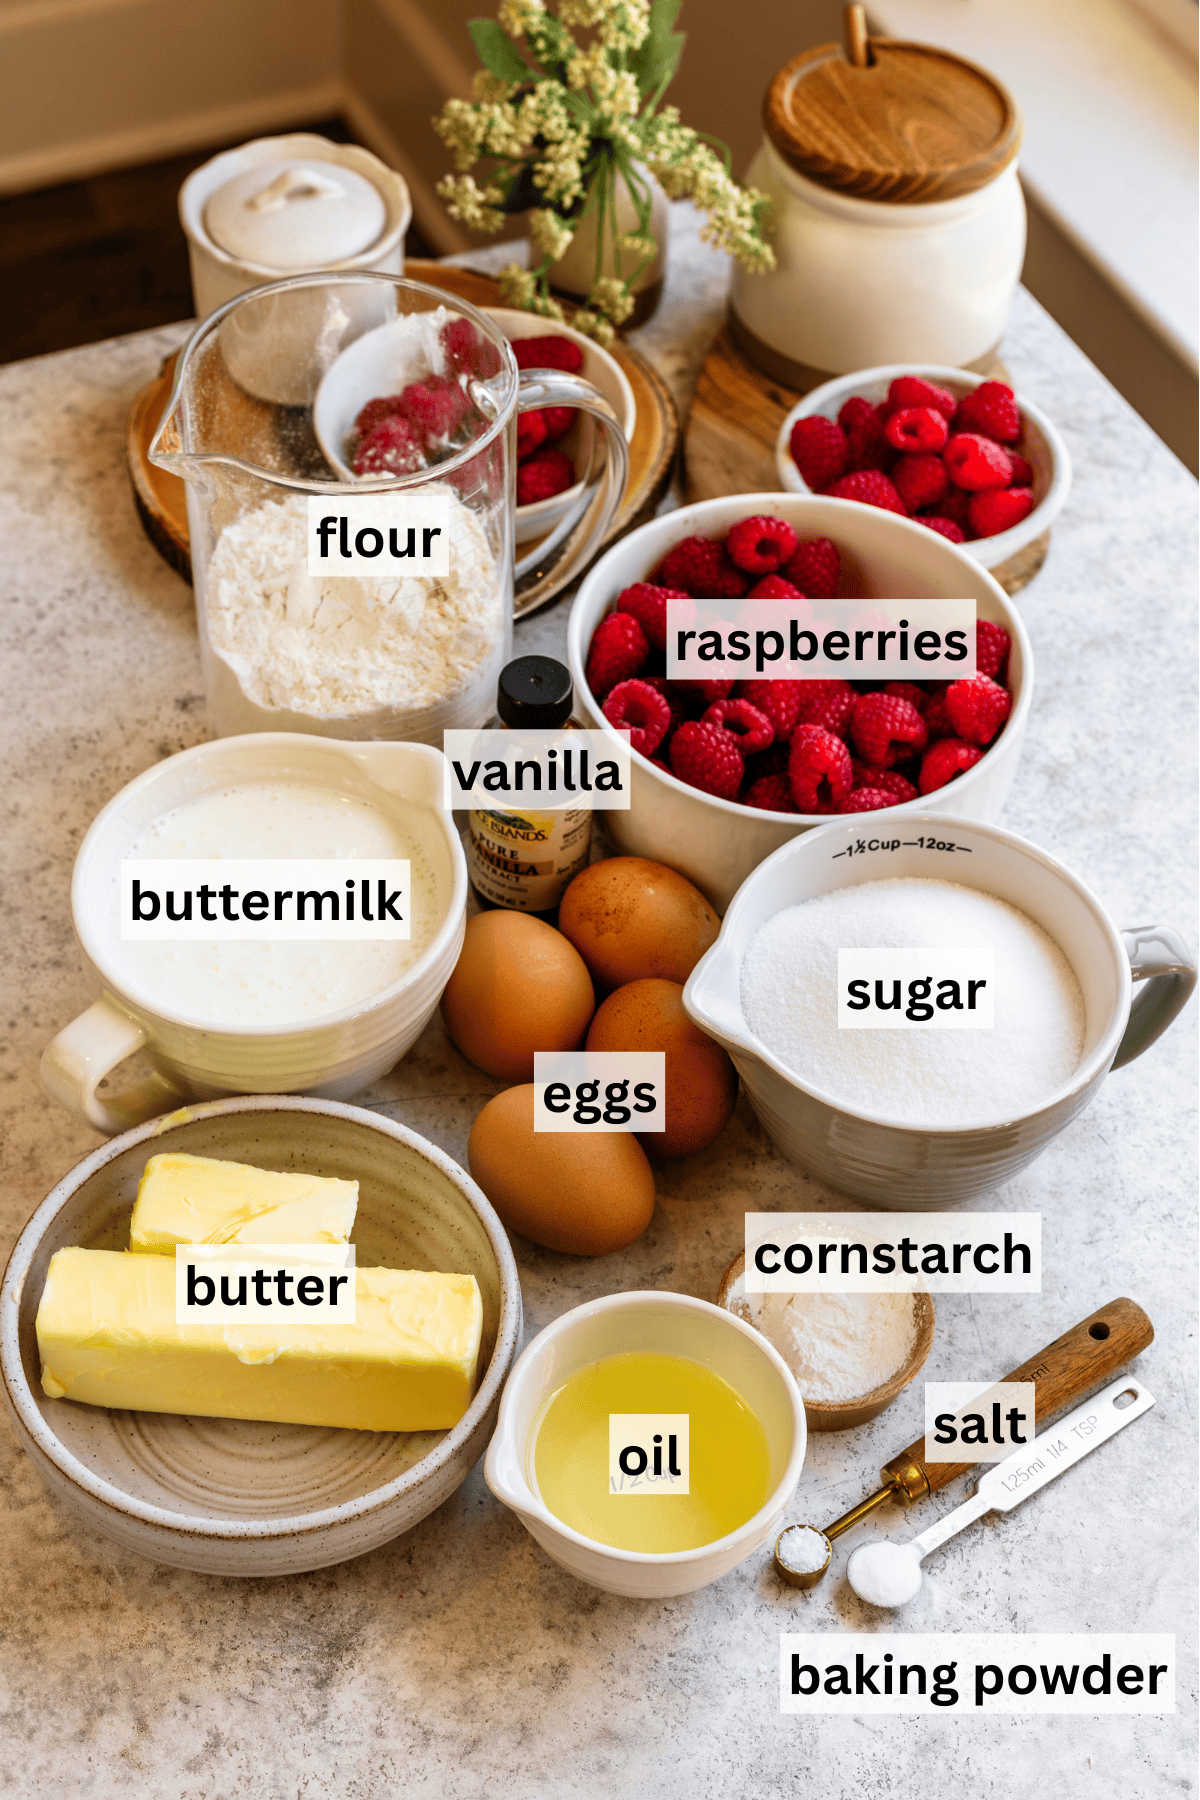
Key ingredients & why I use them
Butter + Oil: I use both. Butter gives flavor, but oil keeps the crumb soft even after refrigeration. I’ve found this combination gives the most consistent results.
Buttermilk: I prefer buttermilk in vanilla cakes because it keeps the texture tender without making the crumb fragile.
Raspberries: I cook them down into a jam instead of folding them into the batter. This prevents excess moisture in the cake layers.
Cornstarch (for the jam): This thickens the jam just enough so it doesn’t slide out when layered.
Cream Cheese: I always use full-fat brick cream cheese. It gives structure and that slight tang that balances the sweetness.
Powdered Sugar: I start with less and add more only if needed. Frosting consistency matters more than exact sweetness.
How I make raspberry cake
The full recipe card is below with ingredients and instructions, but this is how I make it step by step in my kitchen. I’m here so you don’t get lost!
Step 1: Make the vanilla cake layers
Preheat the oven to 350ºF. Grease and line three 8-inch cake pans with parchment.
I whisk together the flour, baking powder, baking soda, and salt first and set that aside.
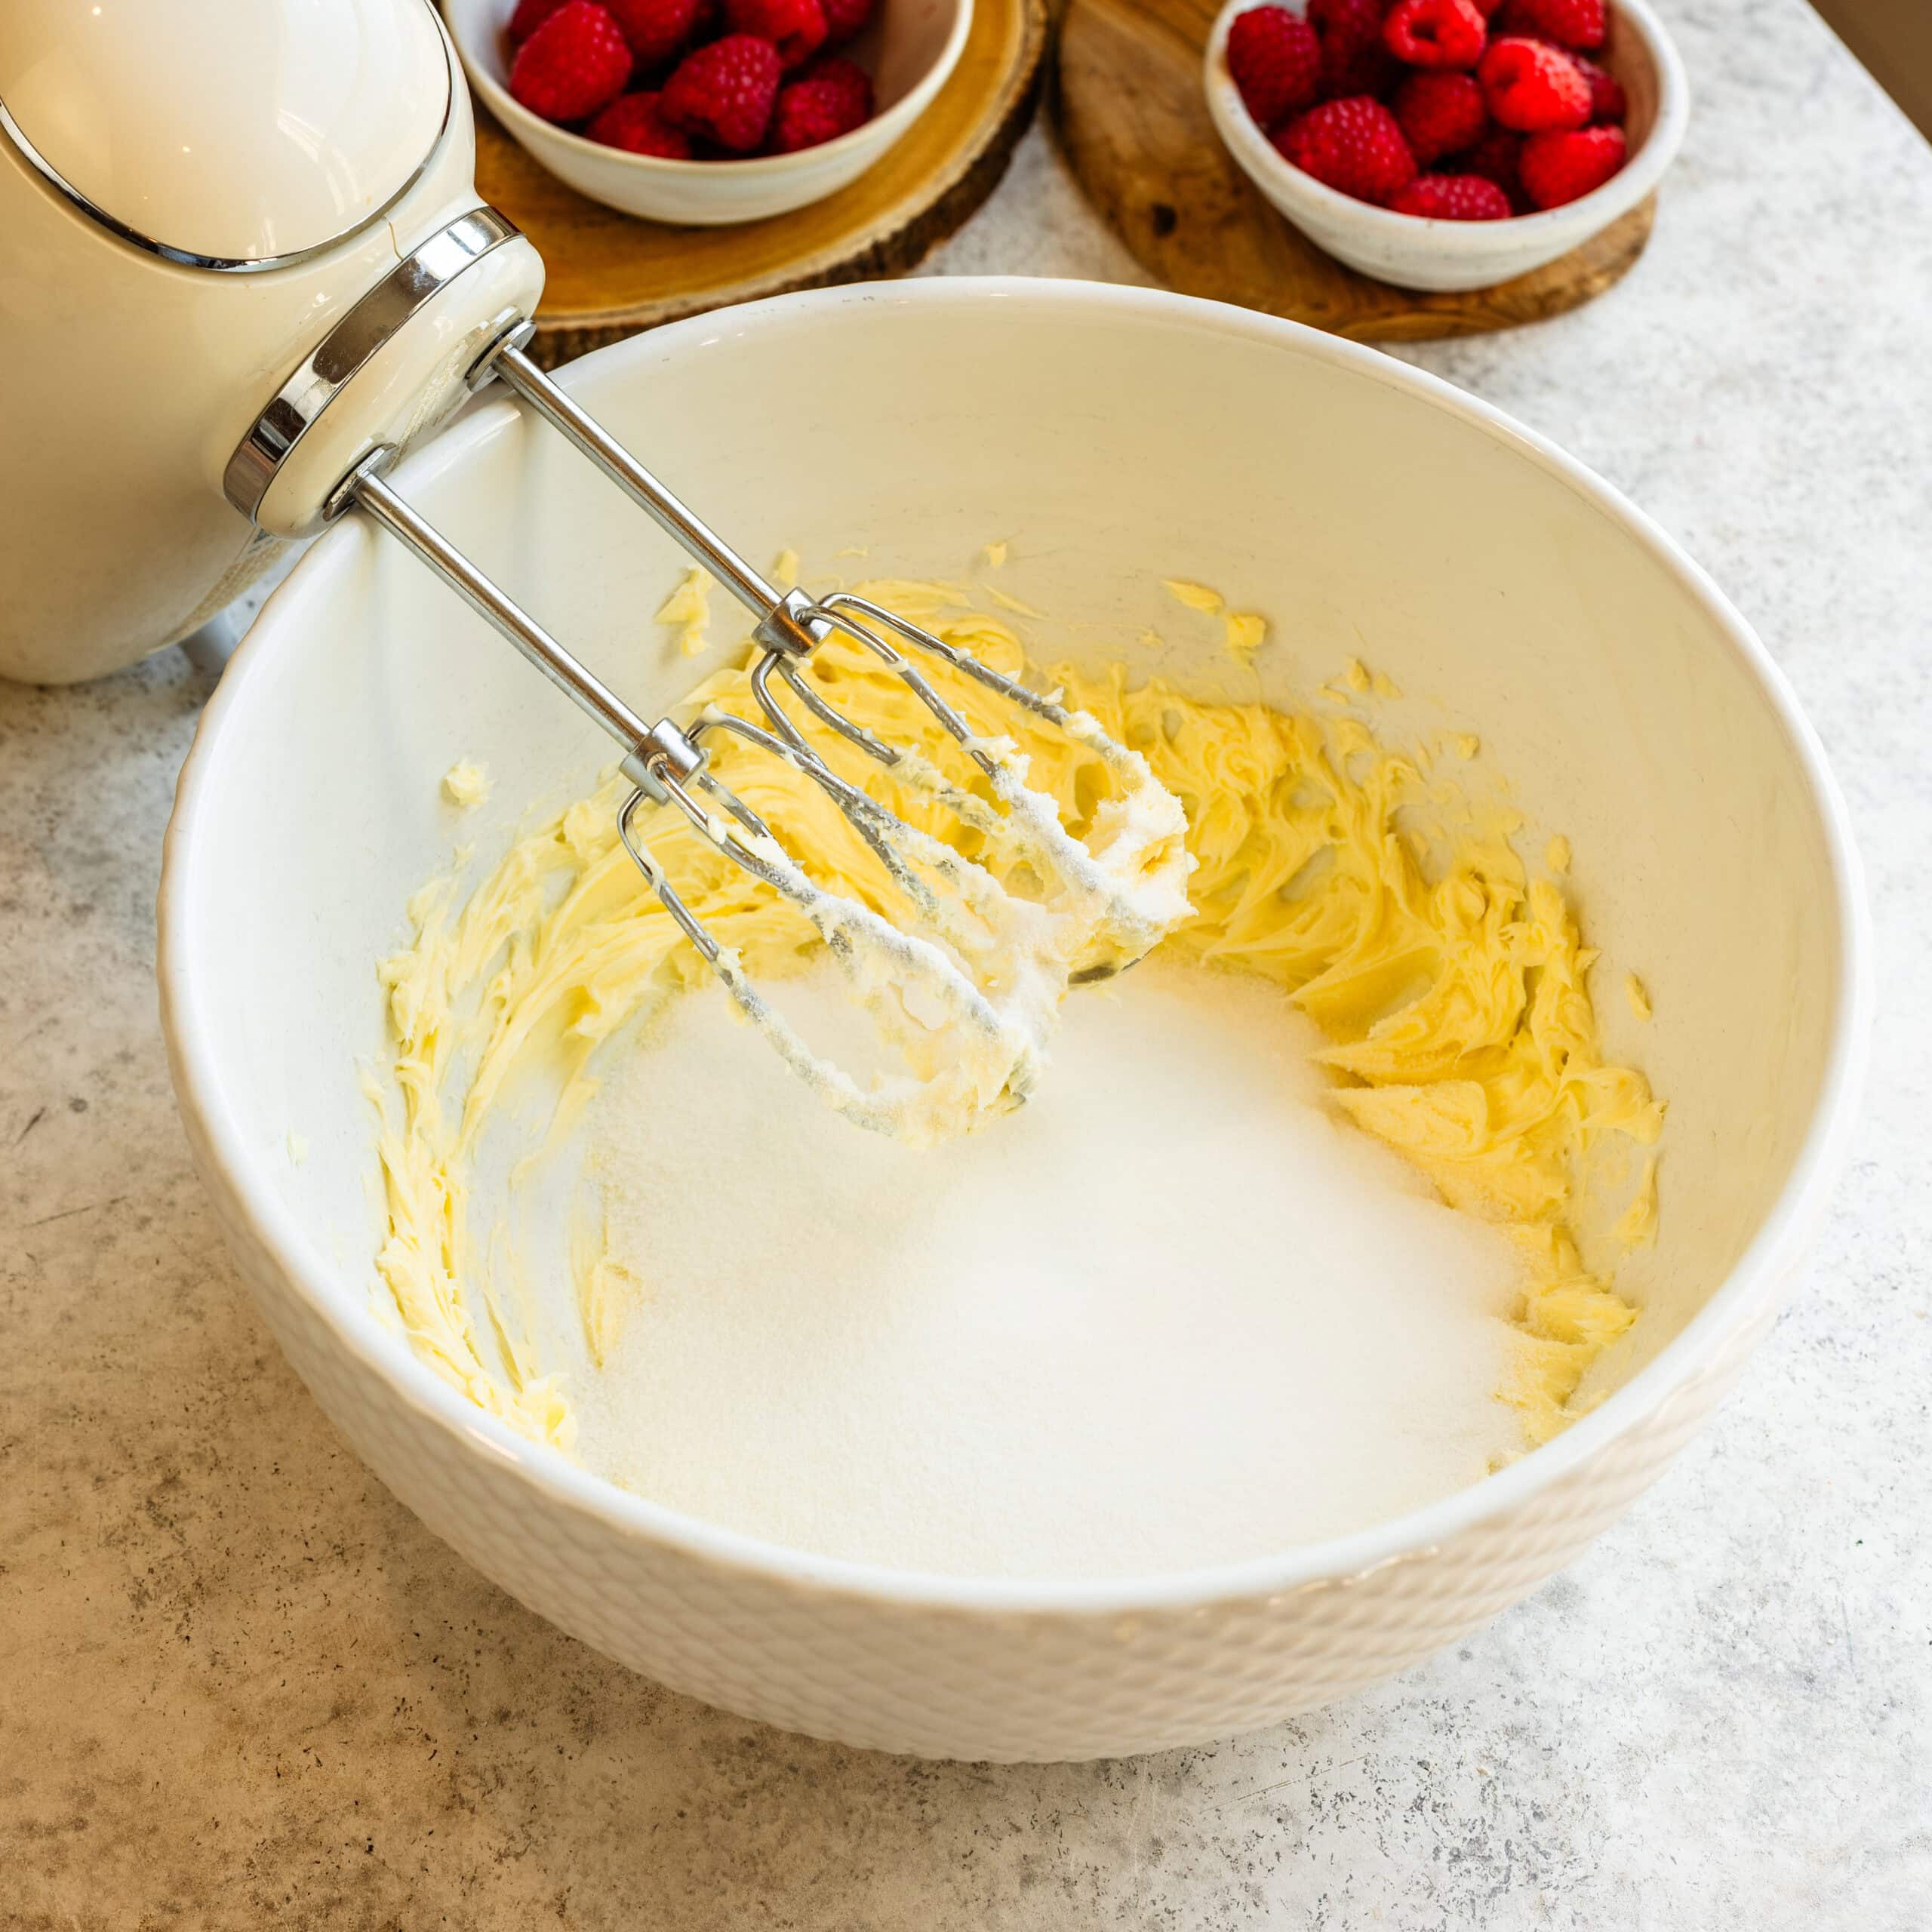
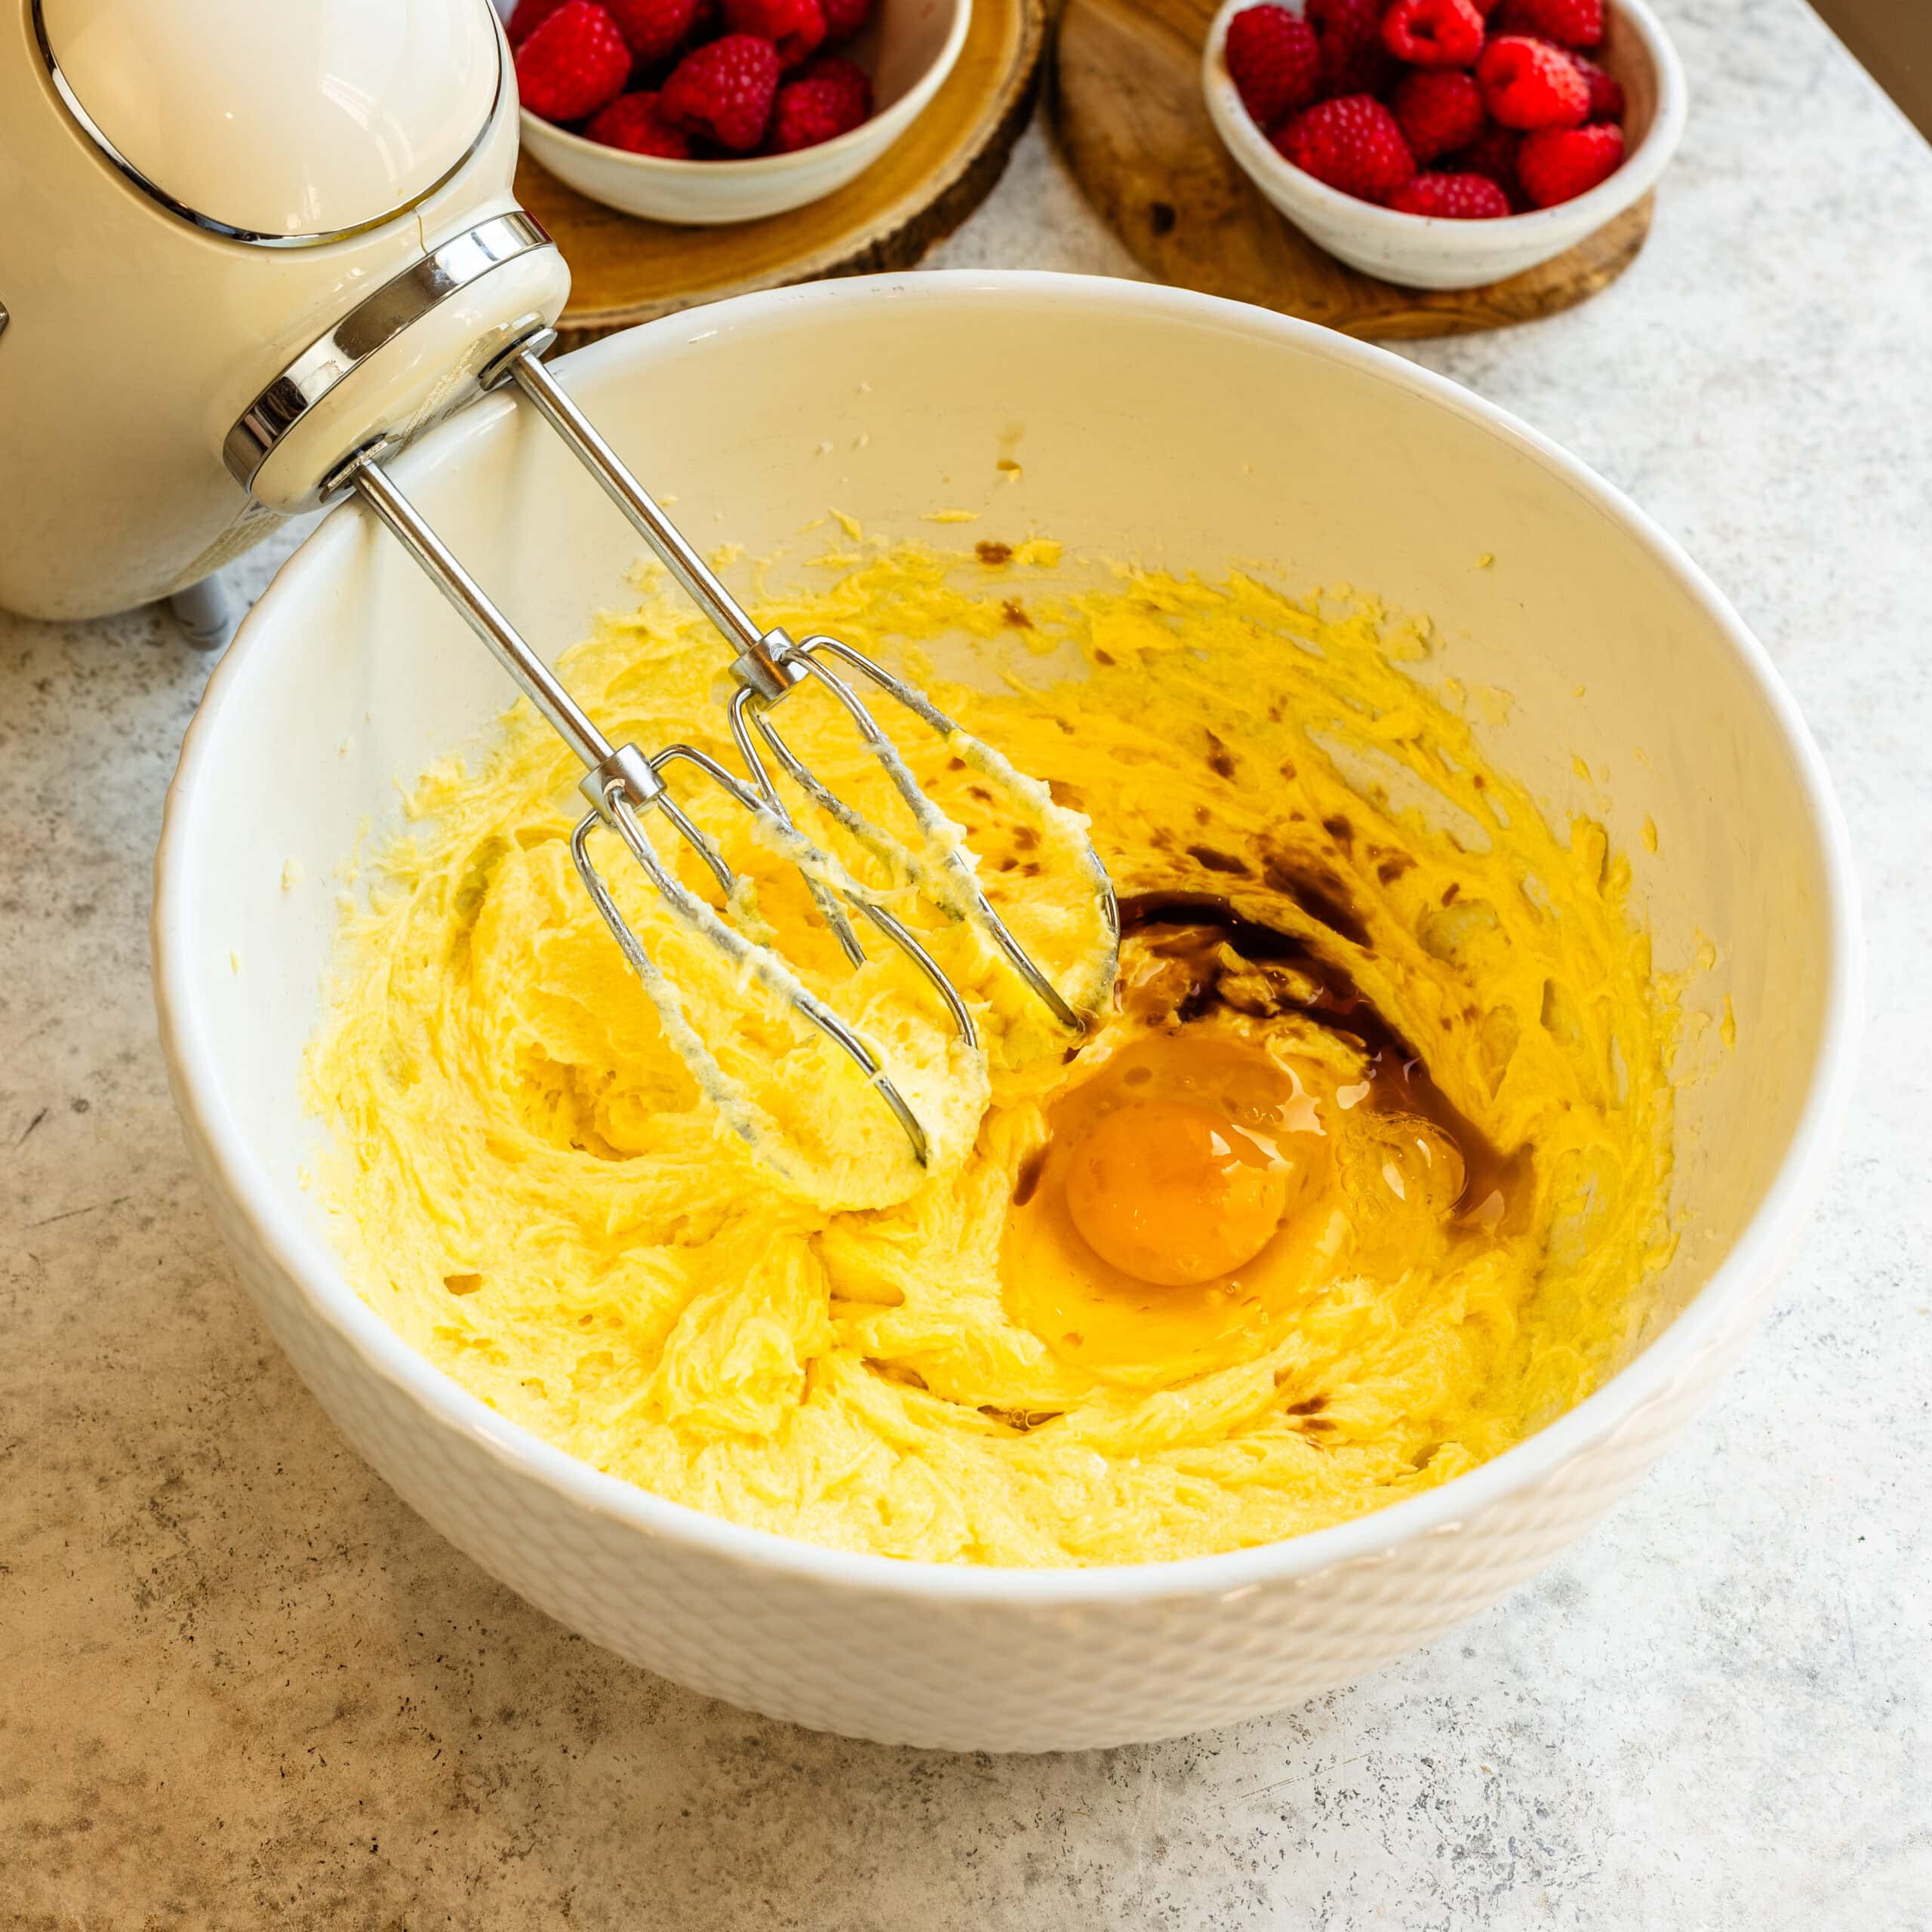
In my mixer, I beat the butter, oil, and sugar for a full 2 minutes. I don’t rush this. I want it lighter in color and slightly fluffy before moving on.
Step 2: Add the eggs one at a time
I add the eggs one at a time, mixing fully before adding the next. I scrape the bowl between additions — this prevents uneven texture later. I also add the vanilla during this step.
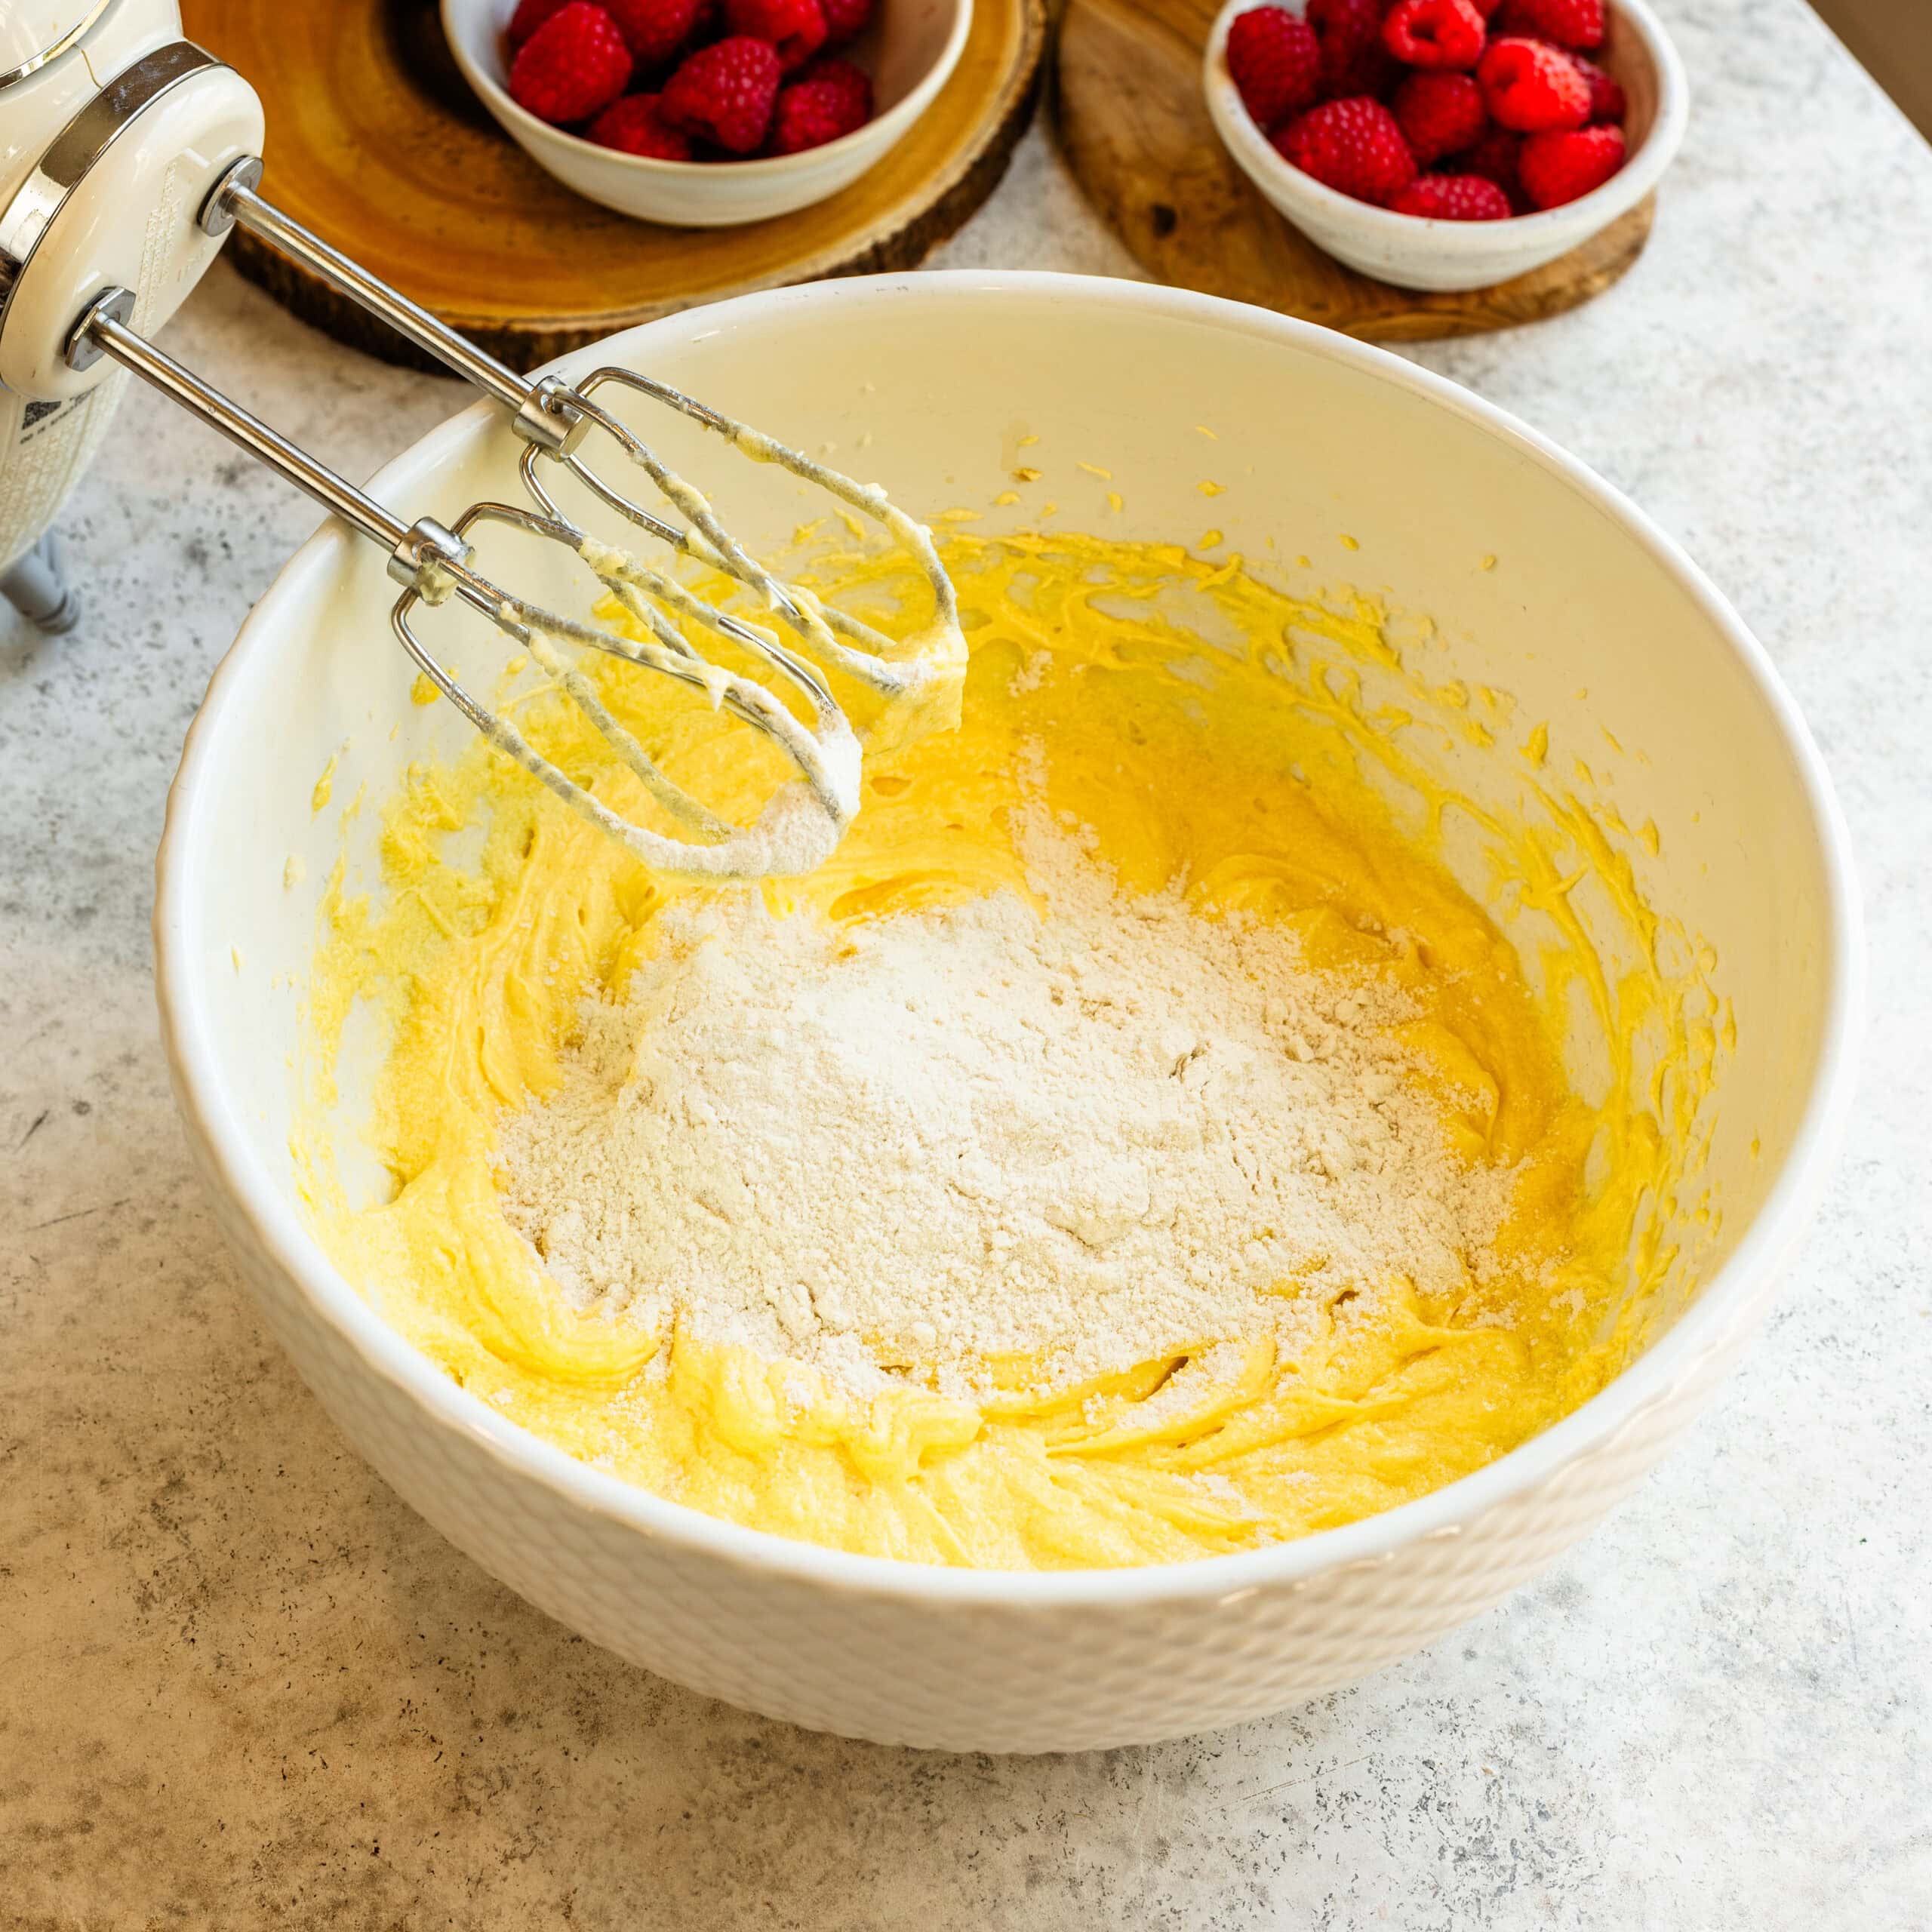
Step 3: Add the remaining ingredients and bake
Then I alternate adding the buttermilk and dry ingredients, starting and ending with dry. I mix on low and stop as soon as everything is incorporated. I almost always finish folding with a spatula so I don’t overmix.
Divide the batter evenly and bake for about 30 minutes, until a toothpick comes out clean.
Let them cool for 10 minutes in the pan, then turn out onto a rack. If I’m assembling later, I wrap them well and freeze — I actually prefer frosting slightly chilled layers.
Step 4: Make the raspberry jam
I combine raspberries, sugar, and lemon juice in a saucepan over medium heat.
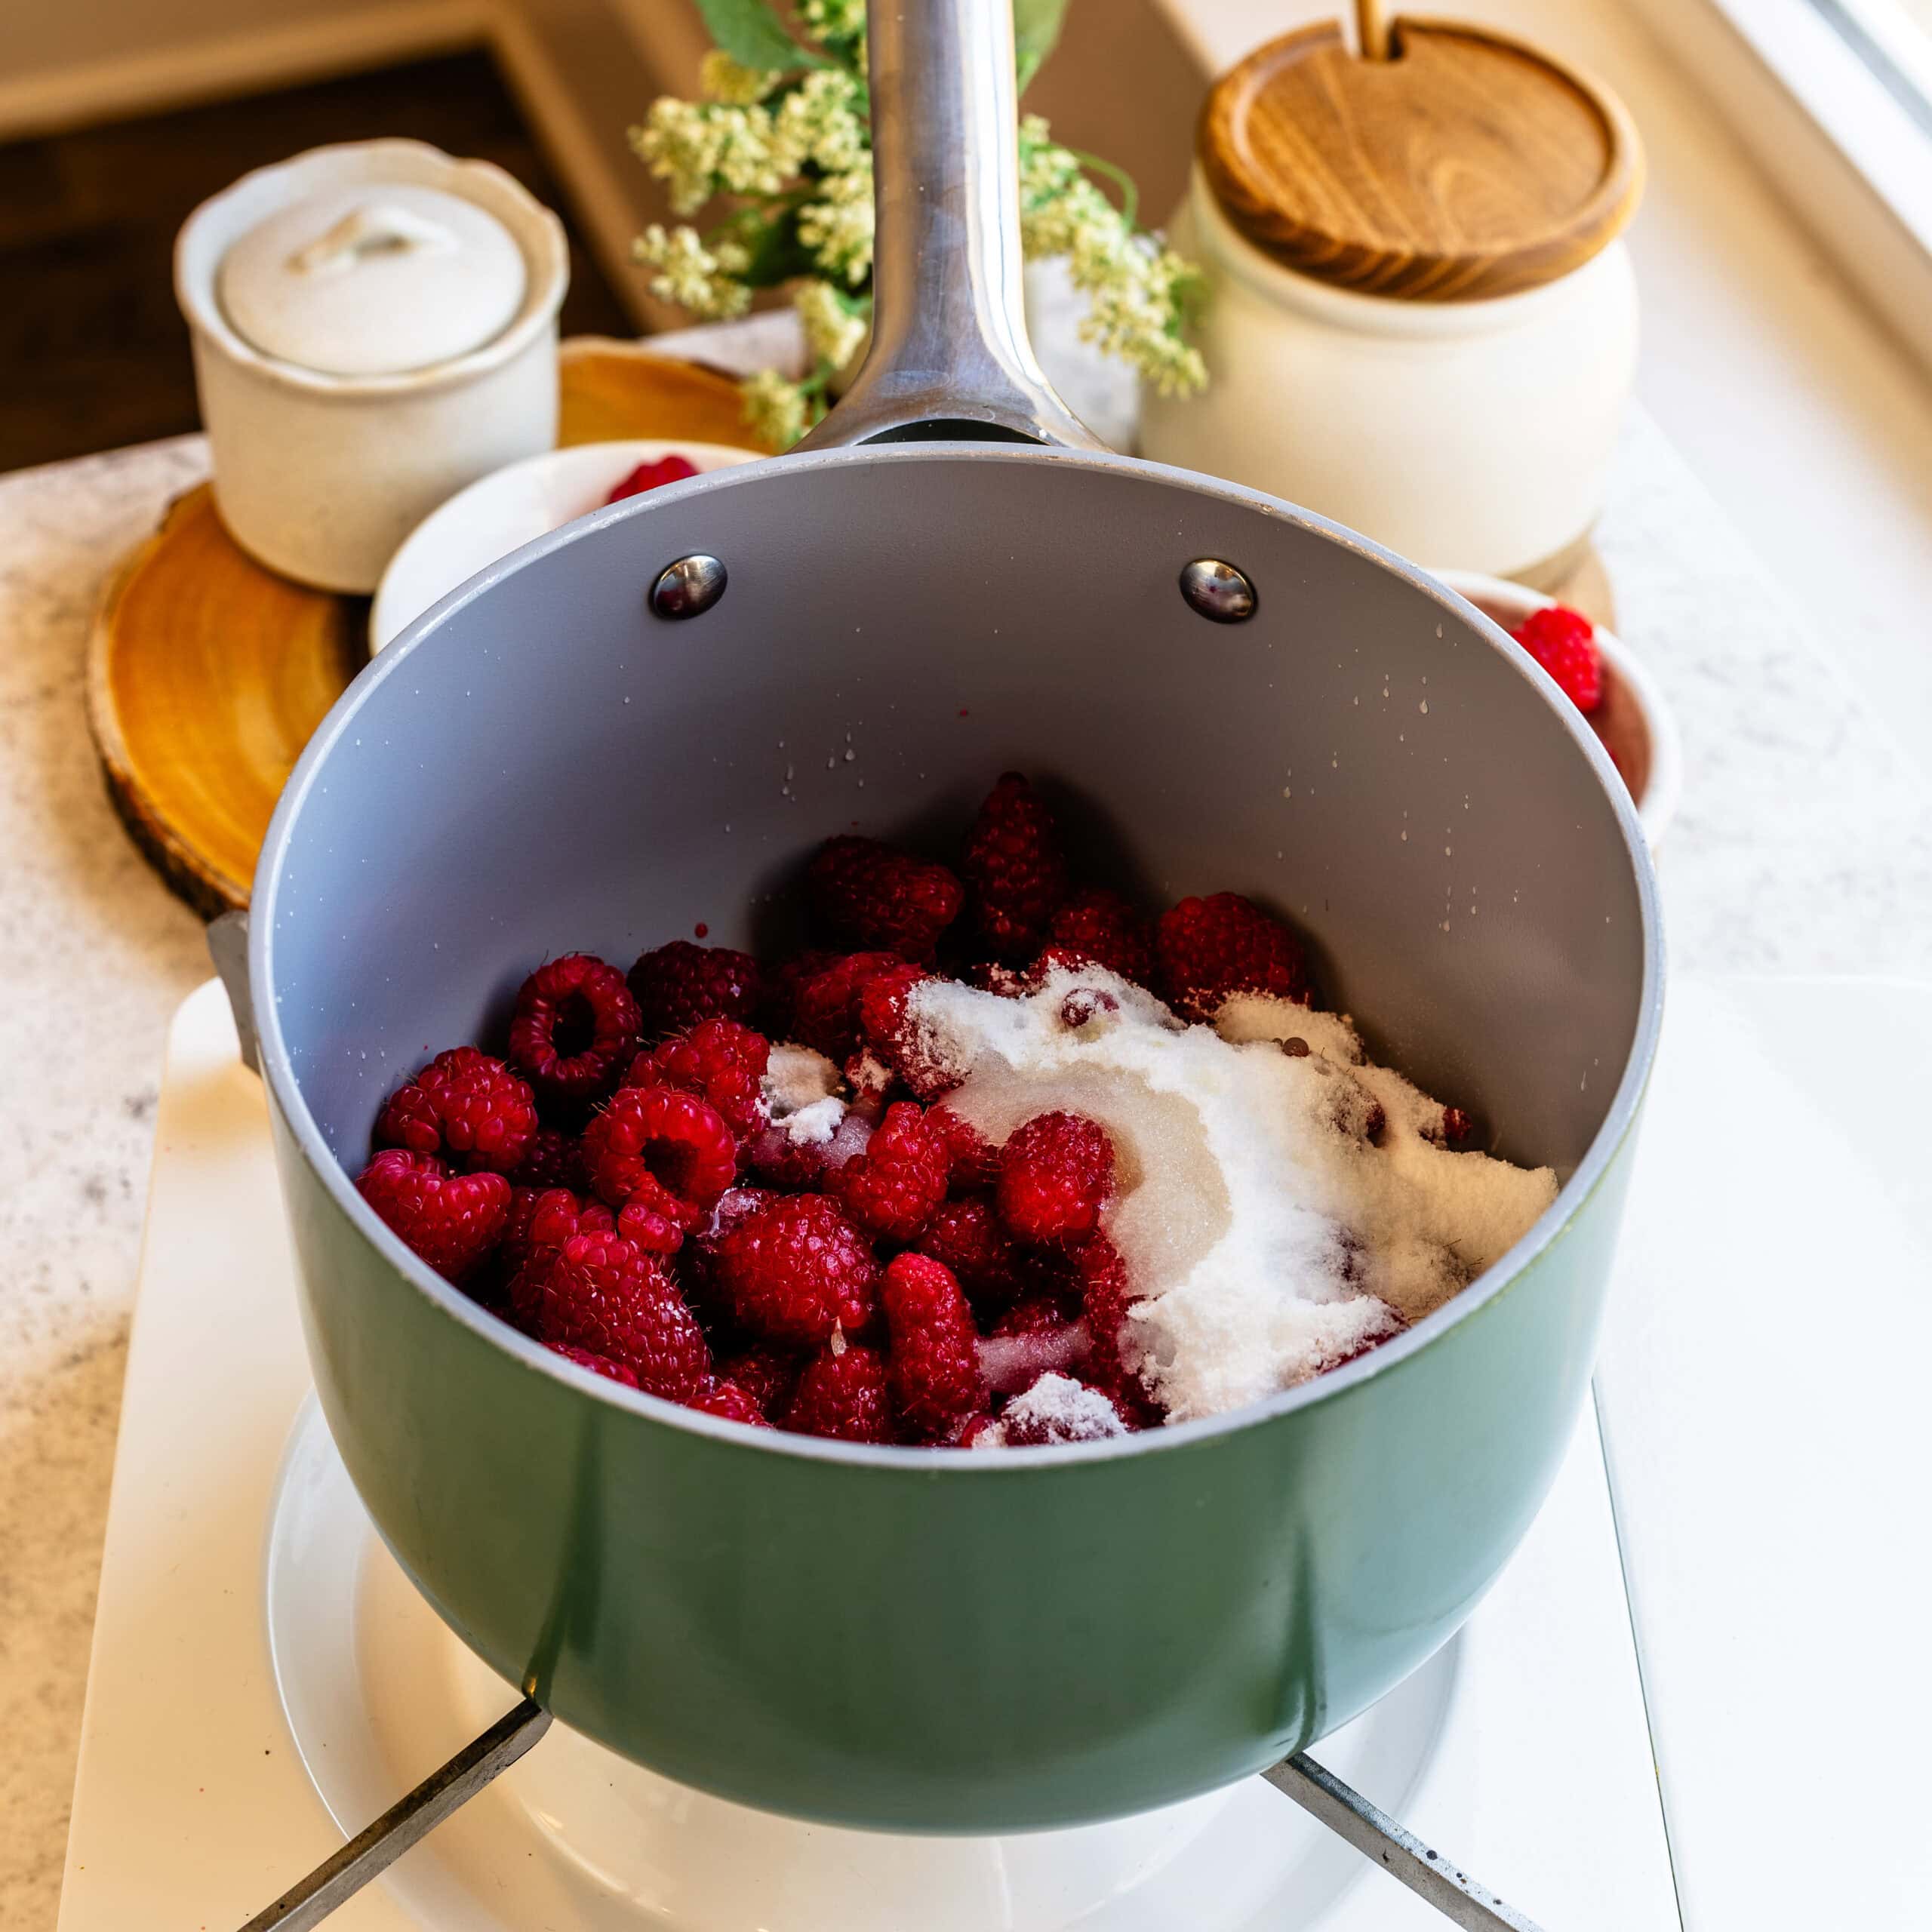
Step 5: Cook and strain the jam
As they soften, I mash them gently and let the mixture simmer until fully broken down.
I whisk the cornstarch with water separately before adding it. This step matters — adding cornstarch directly can create lumps.
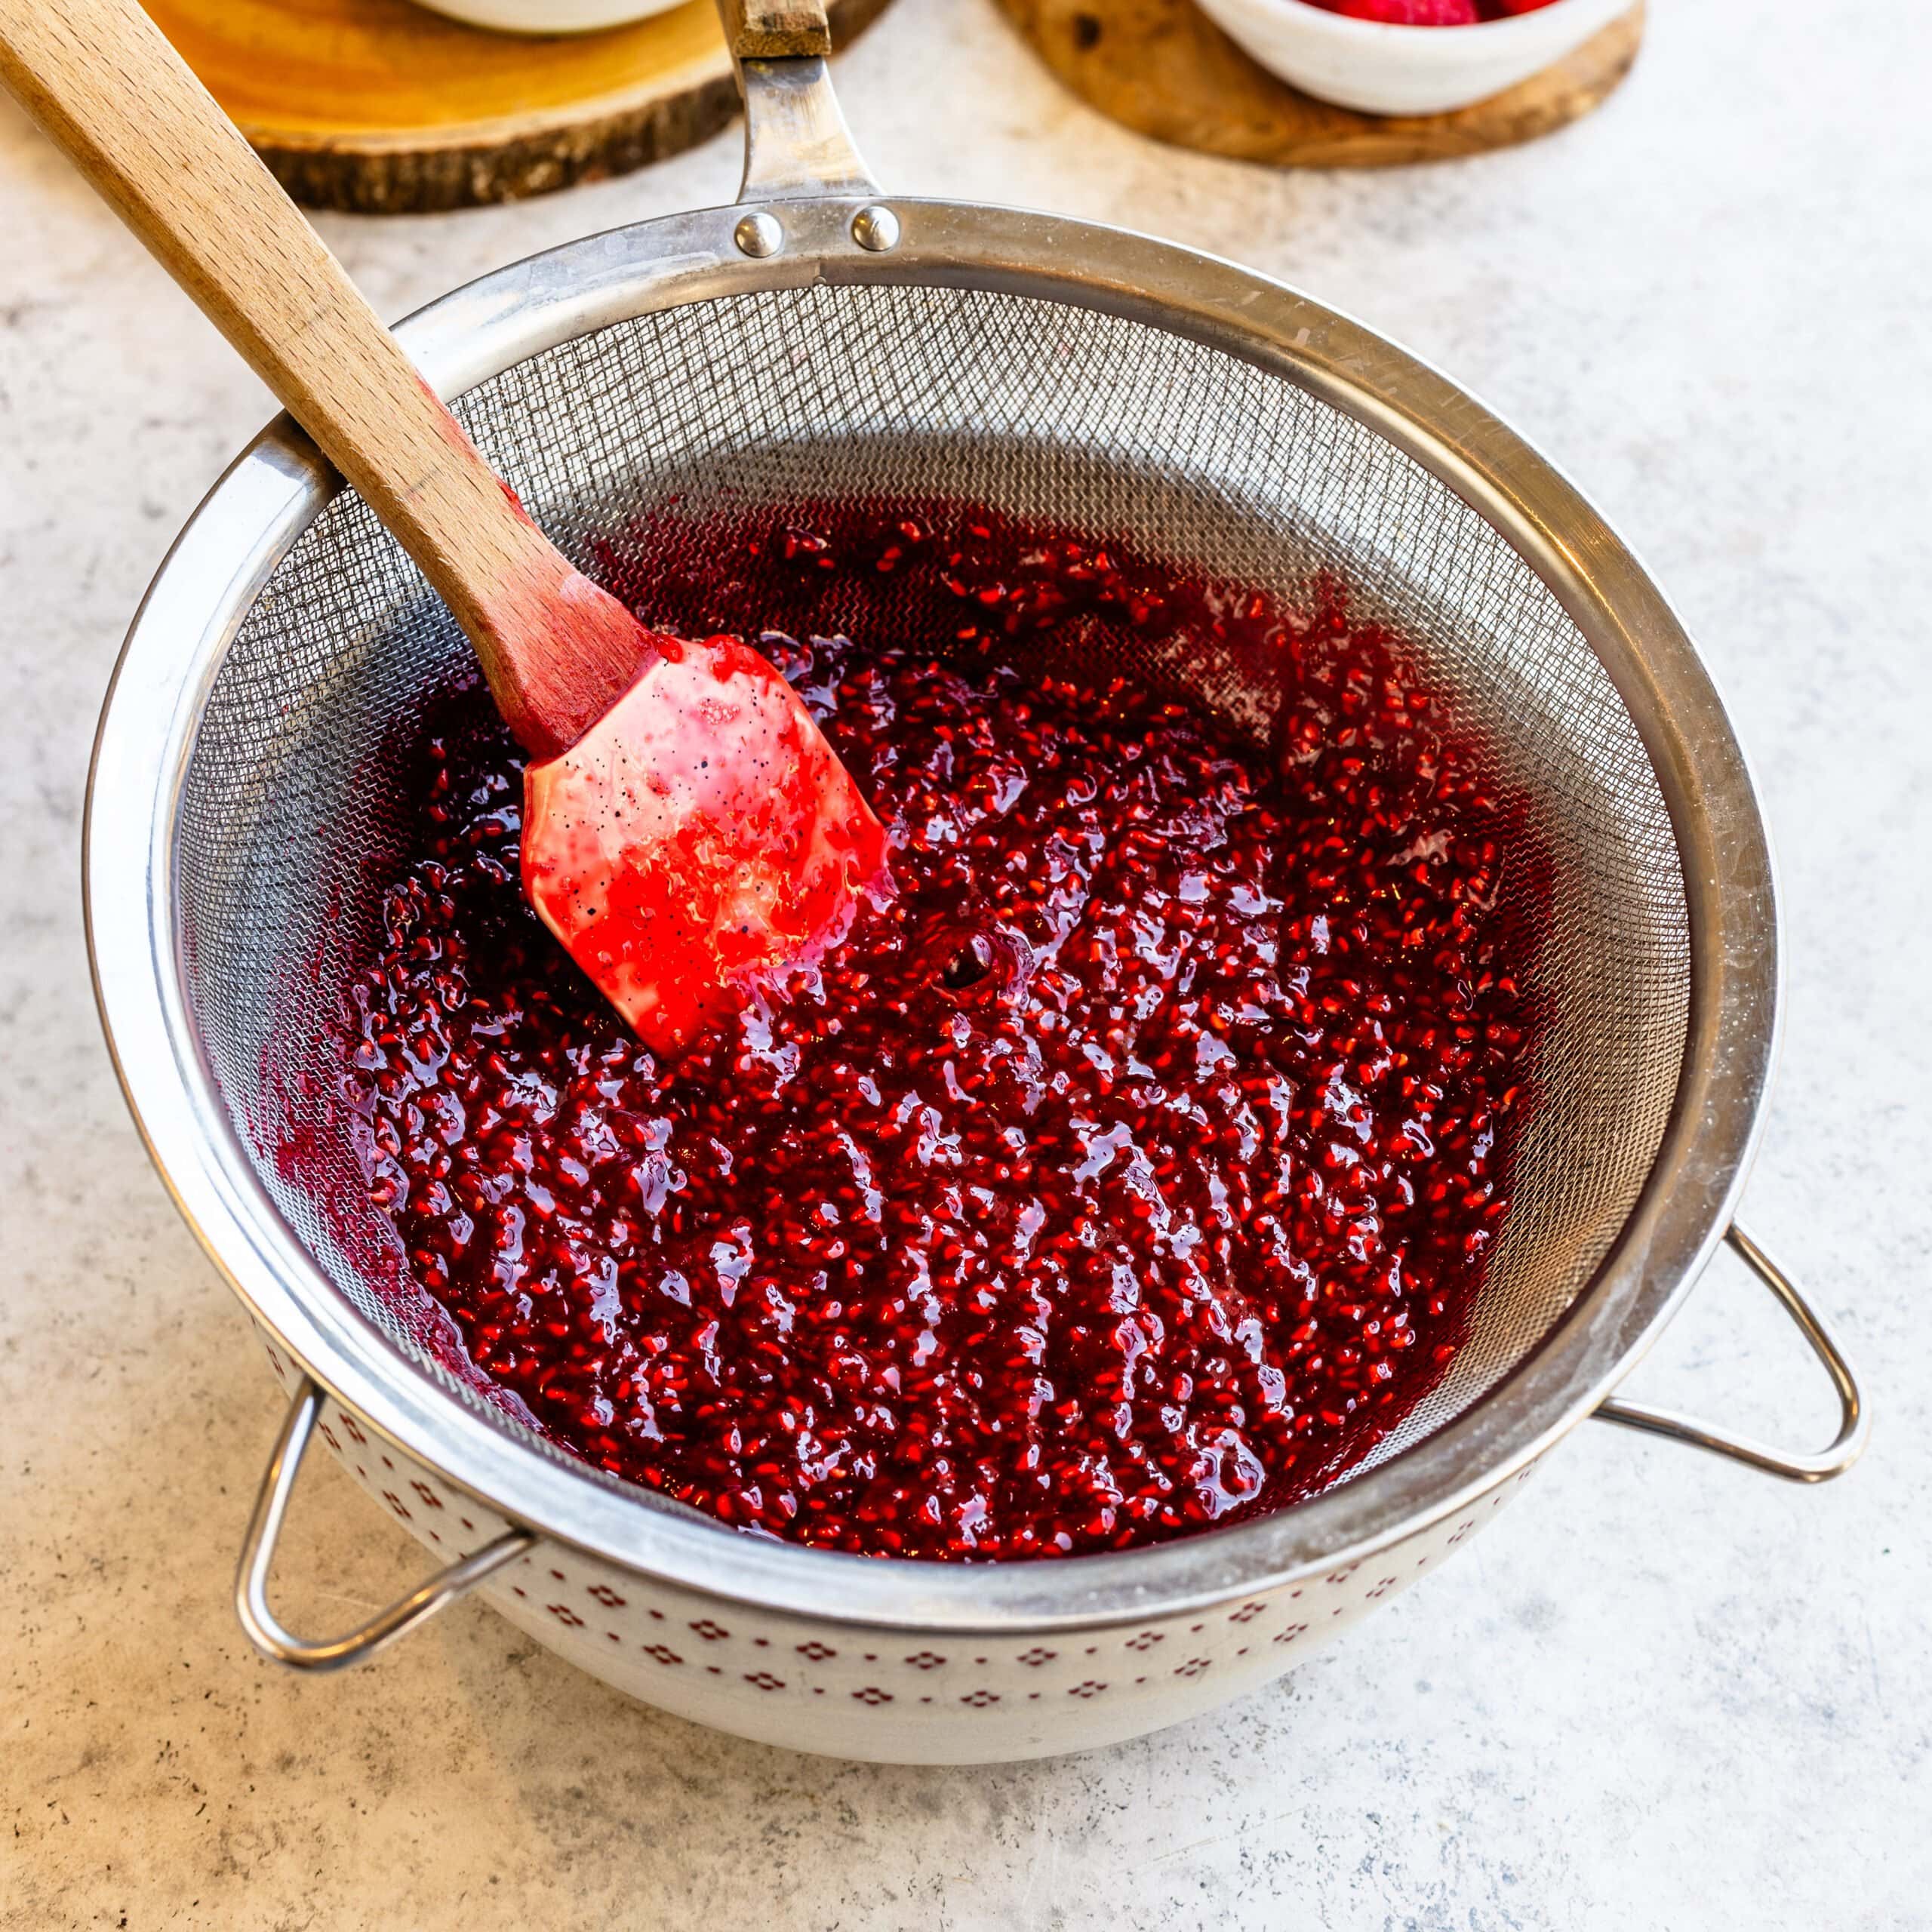
Once thick and glossy, I strain it through a fine-mesh sieve. I always scrape the underside of the strainer — a surprising amount of thick jam sticks there.
Let it cool completely before assembling. It will thicken as it cools.
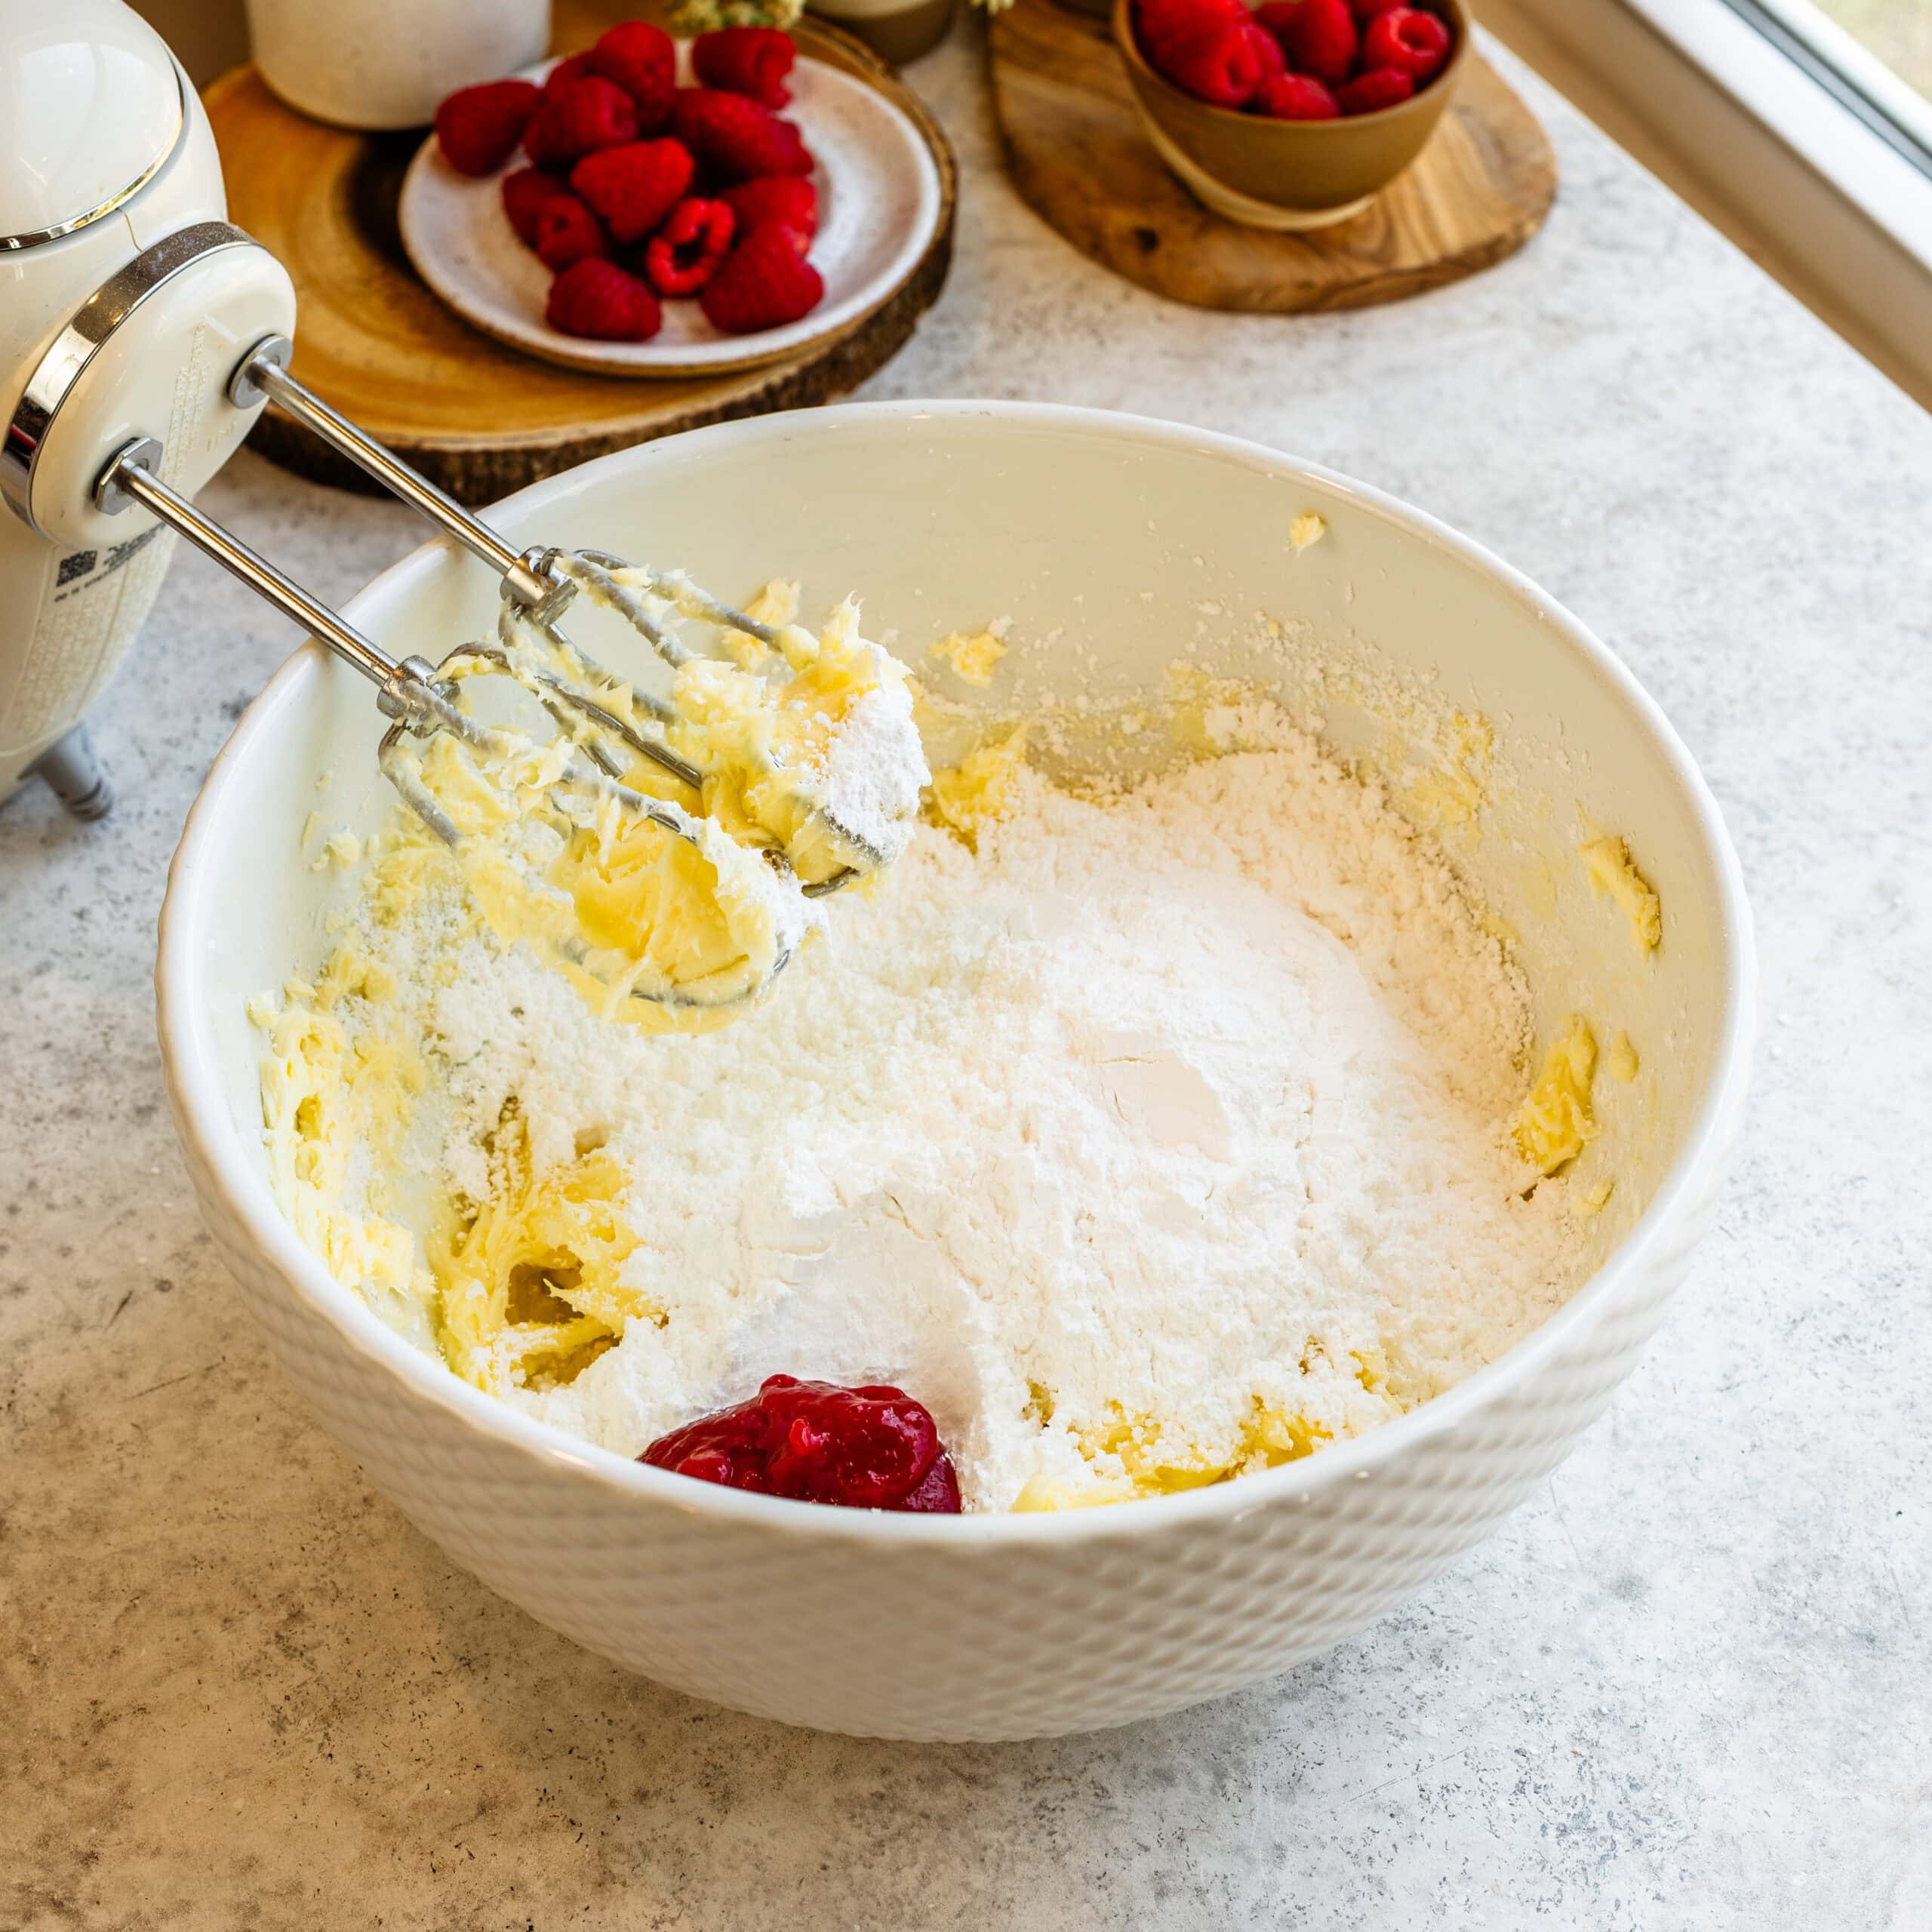
Step 6: Make the cream cheese frosting
First, and most importantly, I beat the butter and cream cheese together until completely smooth. No lumps.
Then I add half the powdered sugar, mix gently, and add the raspberry jam. This gives the frosting a natural pink color without food coloring.
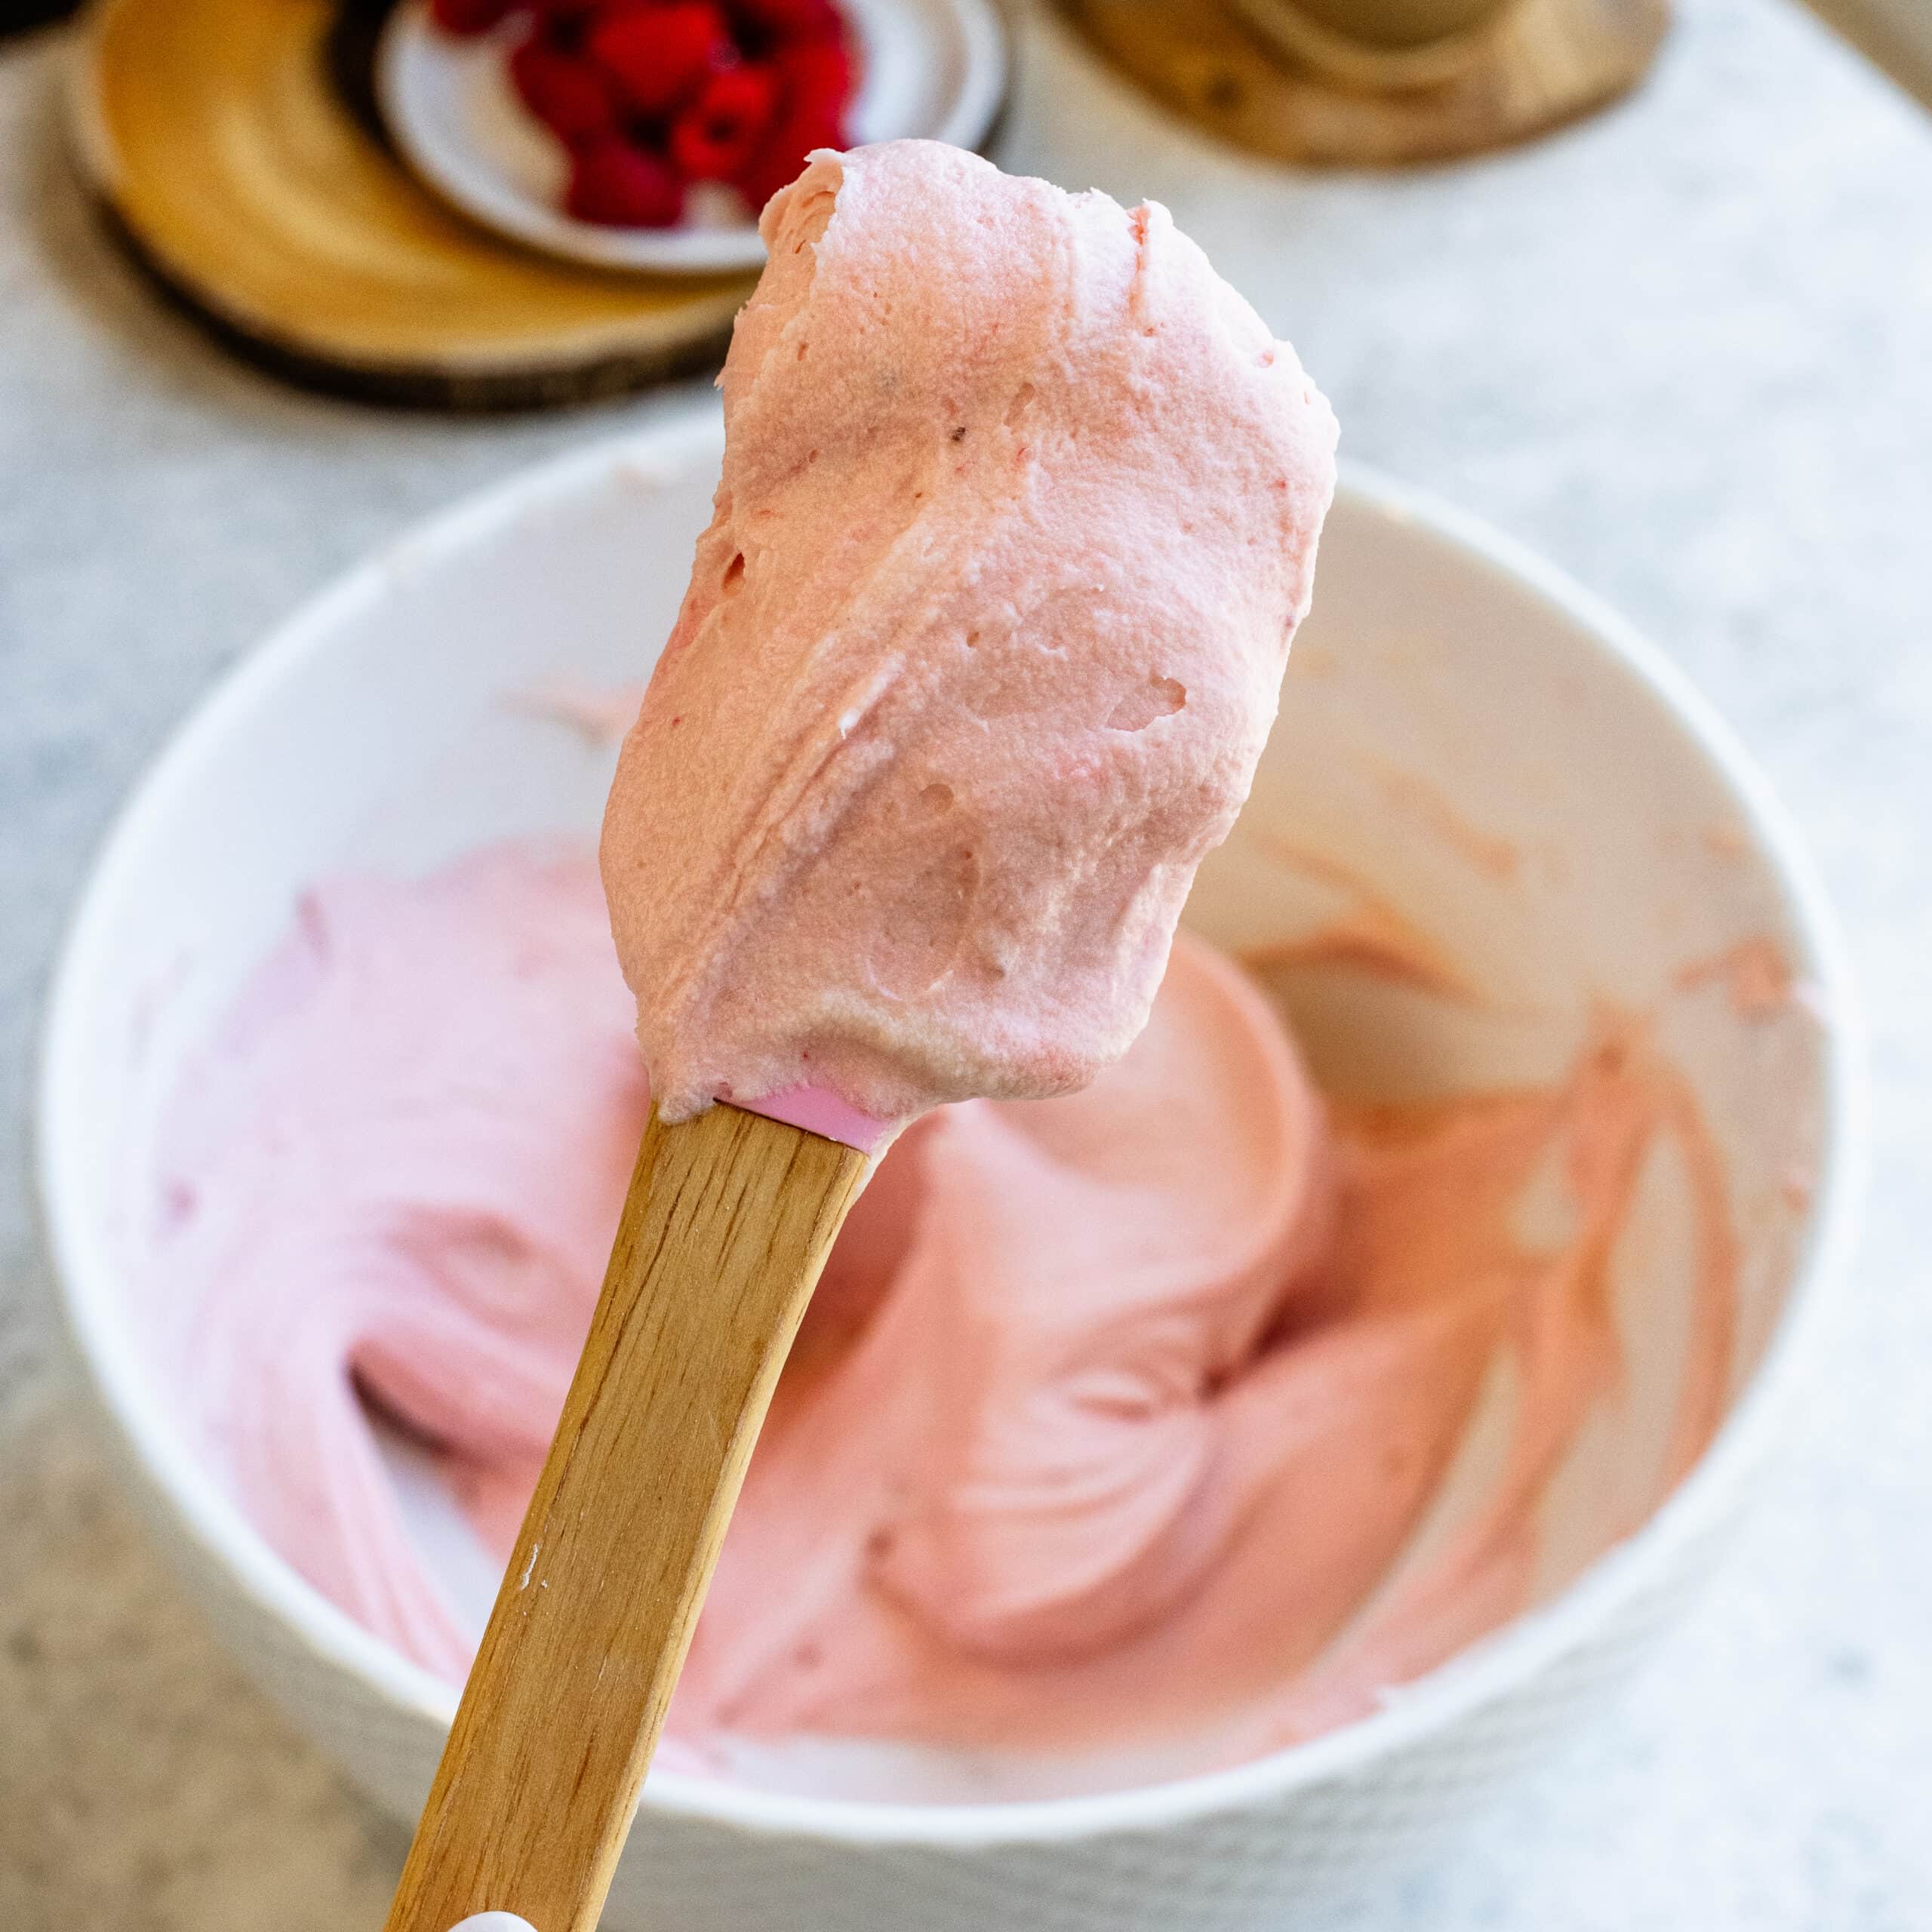
Step 7: Add the remaining sugar
I add the remaining powdered sugar gradually and only use the full amount if needed. If my kitchen is warm, I tend to use more for stability. Beat until fluffy, but not airy.
Step 8: Assemble the cake
Level the cake layers if needed. Before you place each layer down, you can brush it with a simple sugar syrup. This is optional, but it keeps the crumb soft and gives that bakery-style tenderness that holds up even after refrigeration. Check the recipe card for full instructions on how to make sugar syrup.
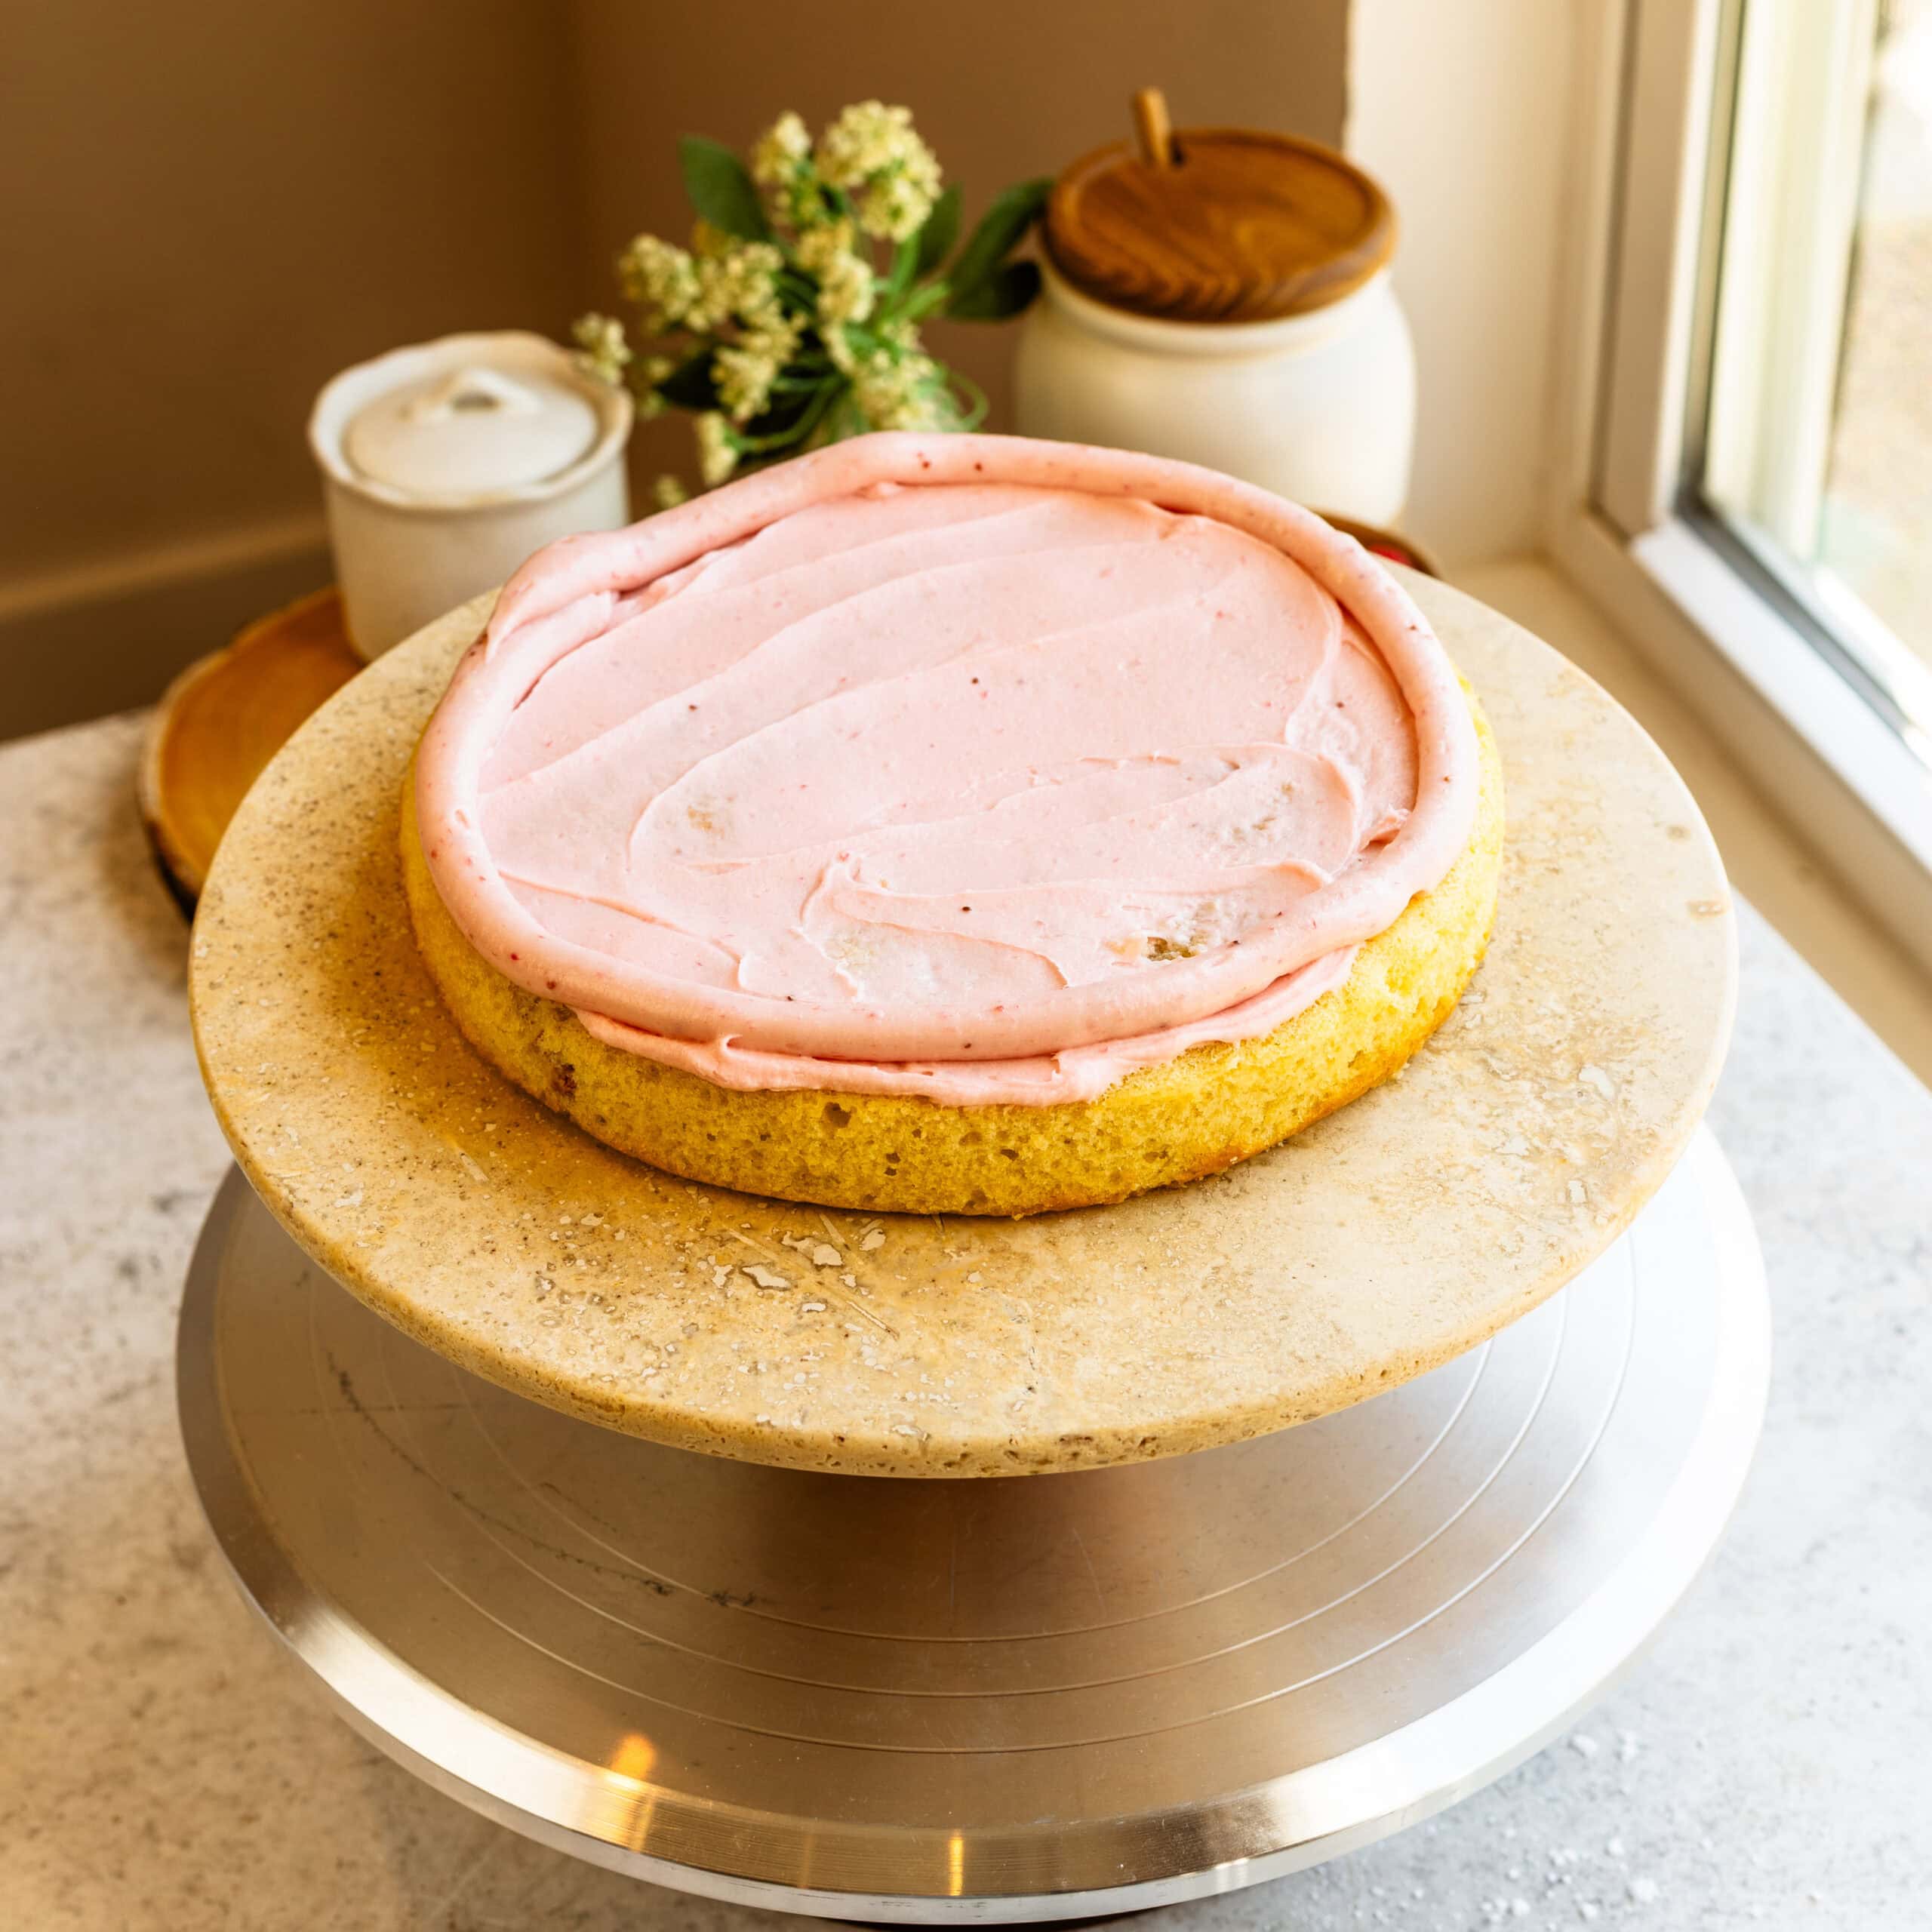
Place the first layer down and brush lightly with cooled sugar syrup. Spread raspberry frosting over the surface. I pipe a border around the edge to hold the jam in place.
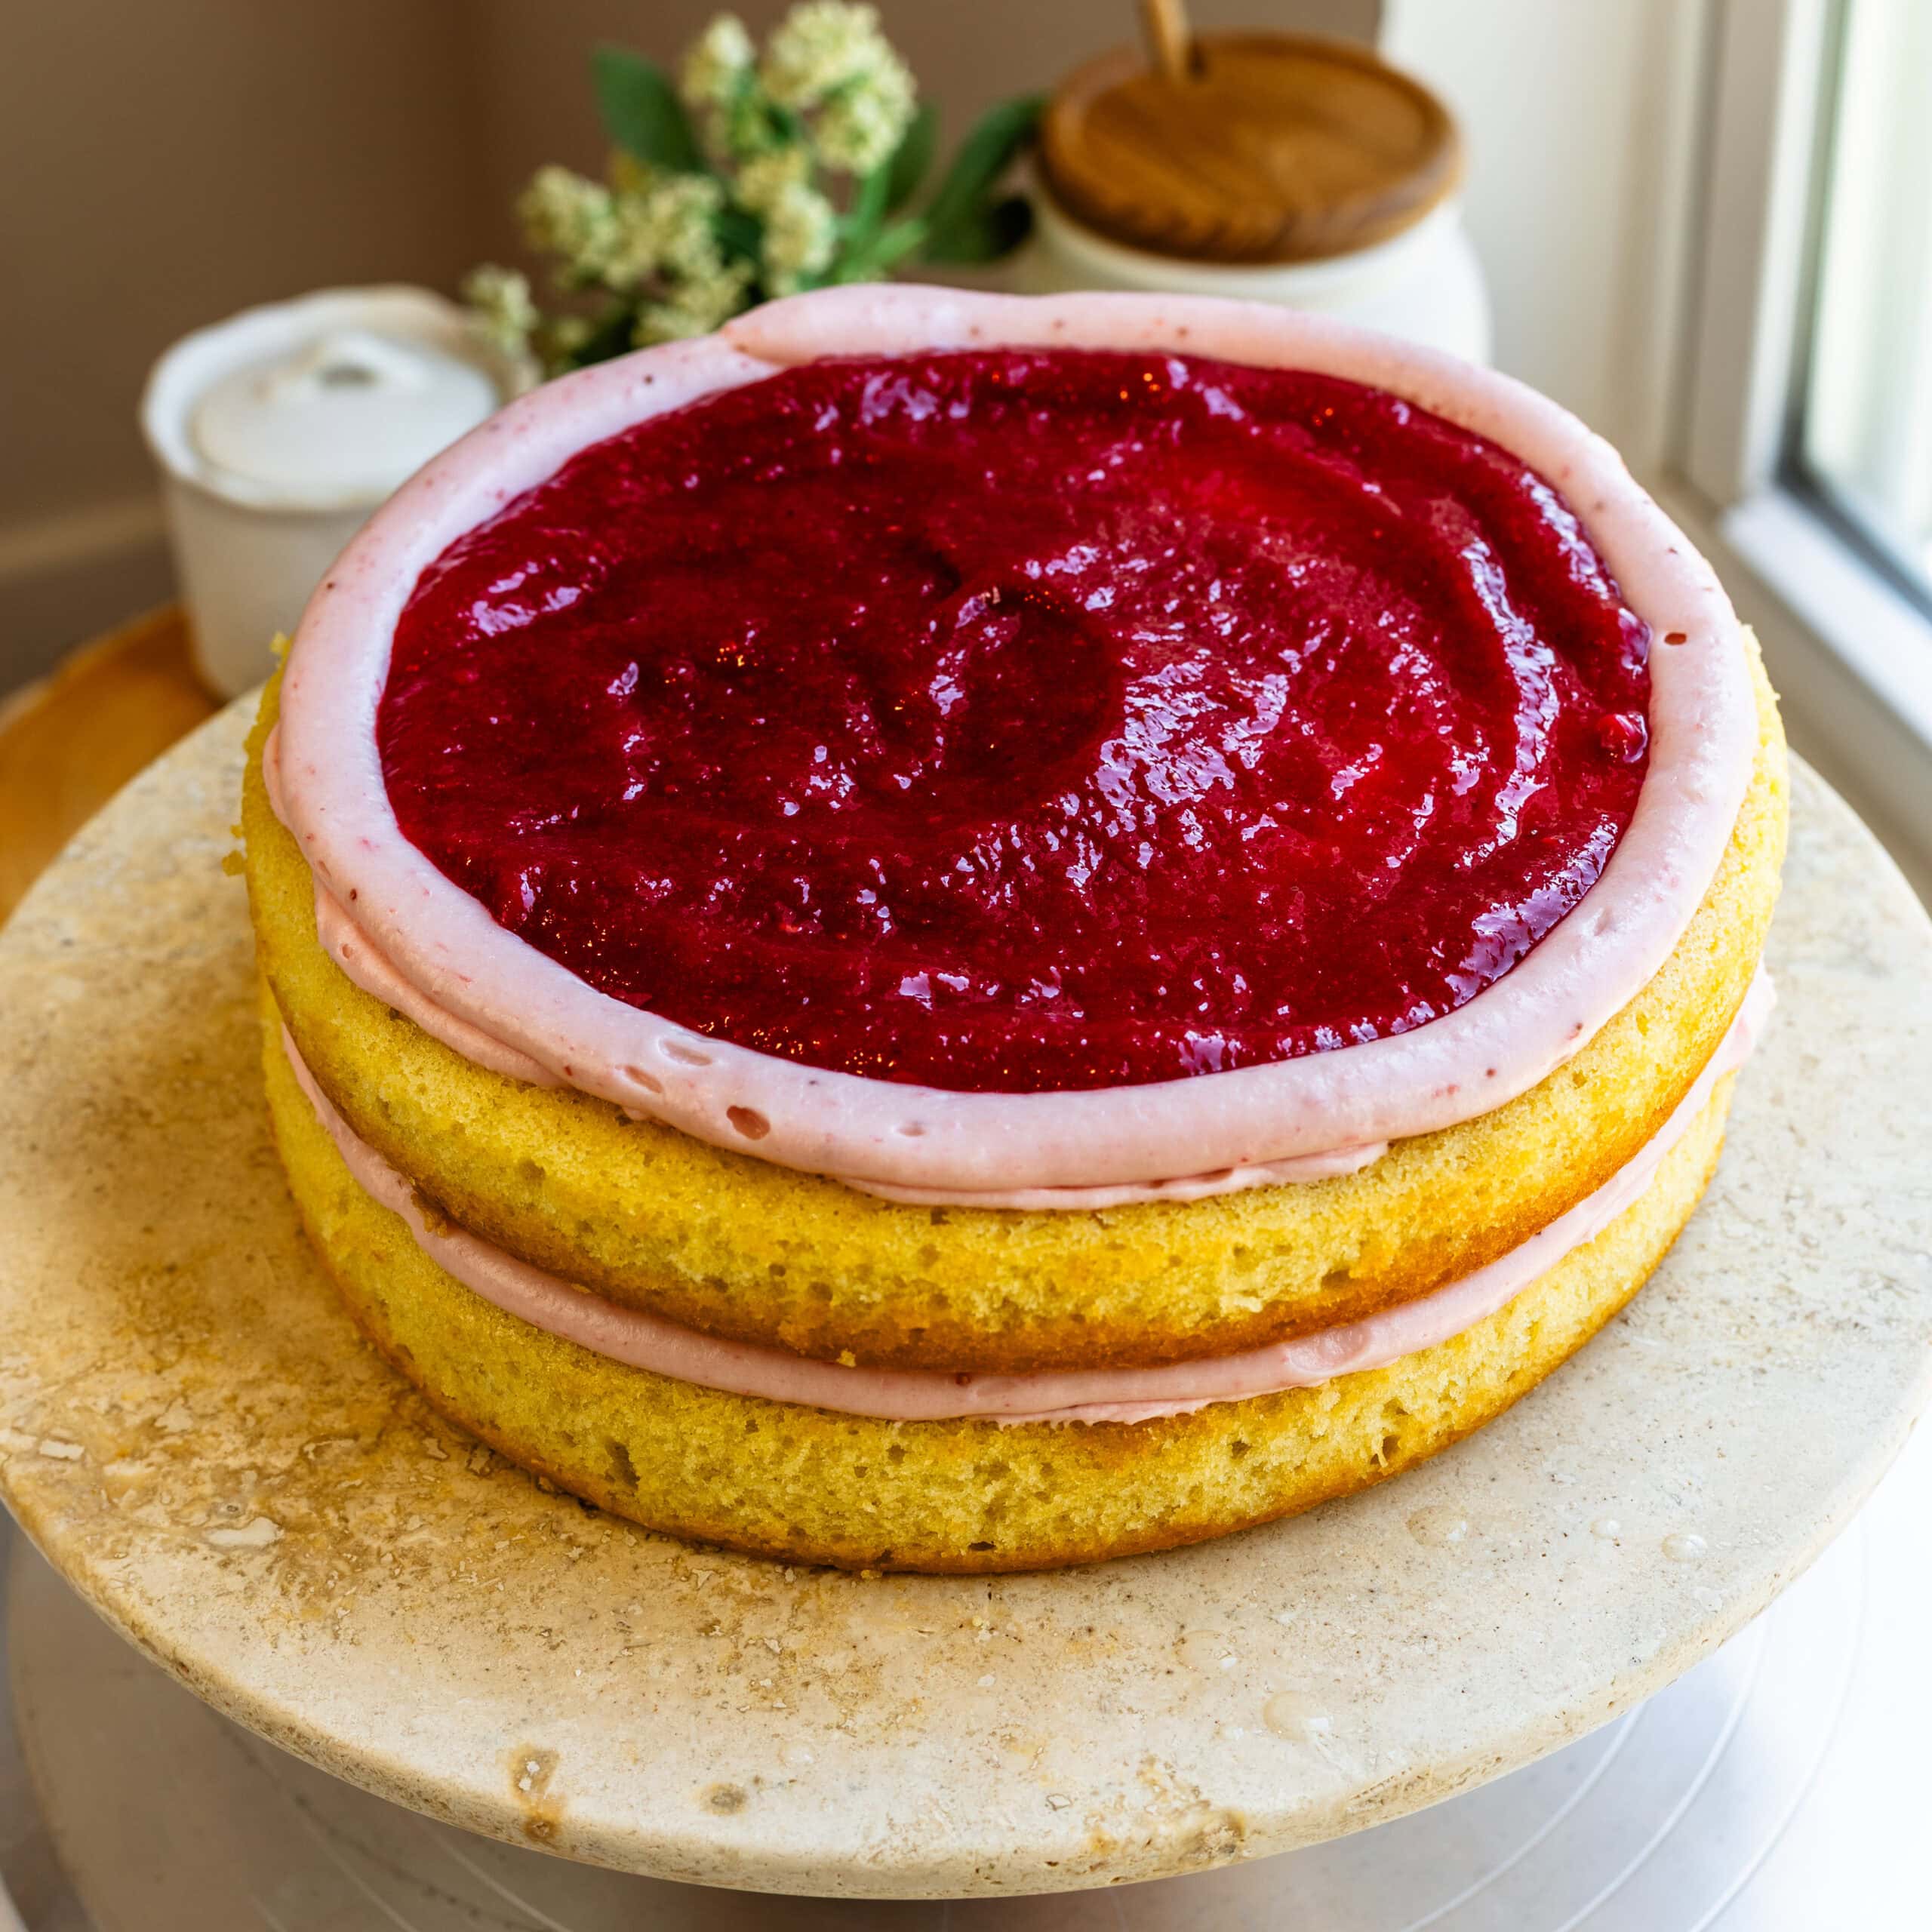
Step 8: Continue assembling
Spread a layer of cooled raspberry jam inside the border. Repeat with the second layer. Add the final layer, brush lightly with syrup, and apply a thin crumb coat. Chill for 15–20 minutes.
Step 9: Finish icing
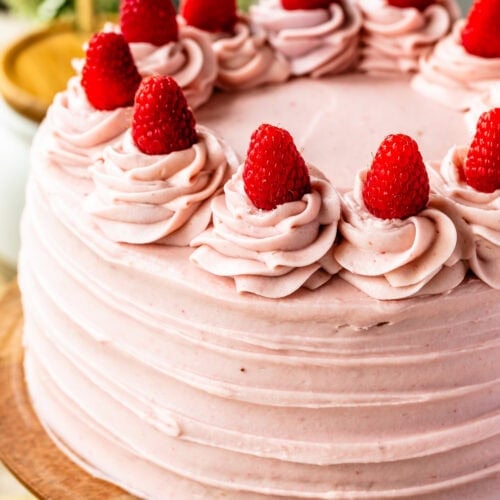
Finish frosting the cake. I use a bench scraper to smooth the sides while rotating the turntable, and I smooth the top with an offset spatula angled slightly inward. Then I like to pipe little swirls and top them with fresh raspberries! So beautiful! Make sure to chill the cake for at least one hour before slicing.
Expert Tips
A few things I’ve learned from testing this:
- Let the jam cool completely before assembling.
- Don’t overmix the cake batter after adding flour.
- If your frosting feels too soft, chill it for 15 minutes instead of adding too much sugar.
- Slightly chilled cake layers are easier to frost cleanly.
- This step matters more than it looks: stop mixing the batter as soon as it’s combined. Overmixing is the fastest way to make a dense cake.
Variations I Actually Use
- I sometimes swap half the raspberry jam in the frosting for strawberry jam if I want a slightly softer flavor (similar to my Almond Strawberry Cake).
- You can bake this in two 9-inch pans — but the layers will be slightly thinner.
- For a slightly richer crumb, I’ve replaced ¼ cup of buttermilk with sour cream and had great results.
Storage & Make Ahead
Because of the cream cheese frosting, I store this cake covered in the refrigerator for up to 4–5 days. I always let slices sit at room temperature for 20–30 minutes before serving. The texture improves noticeably. The cake layers can be baked and frozen for up to 1 month. I wrap them tightly and frost while still slightly chilled.
FAQ
Yes. I usually bake the layers one day and assemble the next.
Yes, but I prefer freezing just the layers. Frosting texture is best fresh.
It thickens significantly as it cools. If it’s still loose after cooling, cook it a bit longer next time.
Yes. I don’t thaw them — I just cook them slightly longer.
If you enjoy this cake…
\If you liked this texture and structure, you might also enjoy my Strawberry Cake, Vanilla Cake, or Lemon Raspberry Cake. They follow a similar layering approach but highlight different flavor balances.
If you make this Raspberry Cake, leave a comment below or tag me on Instagram so I can see it. I always love seeing how yours turns out.
Raspberry Cake
Ingredients
Vanilla Cake
- 2½ cups all-purpose flour 324g
- 1½ tsp baking powder
- ¼ tsp baking soda
- ¼ tsp salt
- ¾ cup unsalted butter room temperature (169g)
- ¼ cup vegetable oil 60ml
- 1½ cup granulated sugar 300g
- 4 large eggs room temperature
- 1 tbsp pure vanilla extract
- 1¼ cup buttermilk 300ml
Raspberry Jam
- 6 cups fresh raspberries 720g
- 1 cup granulated sugar 200g
- 2 tbsp lemon juice
- 2 tbsp cornstarch
- 3 tbsp water
Sugar Syrup
- ½ cup granulated sugar
- ¾ cup water 100g
Raspberry Frosting
- 1½ cups unsalted butter room temperature (340g)
- 1 cup cream cheese room temperature (226g)
- 6 cups powdered sugar 750g
- ¼ cup raspberry jam from above
Instructions
Vanilla Cake
- Pre-heat the oven to 350ºF. Grease and line 3 8” cake pans with parchment paper.
- In a bowl, whisk together the flour, baking powder, baking soda, and salt. Set aside.
- In a large bowl, or in the bowl of a stand mixer, add the butter, oil, and sugar. Beat the ingredients together for two minutes, until the mixture is fluffy and light in color. If using a stand mixer, use the paddle attachment, or you can just use a hand mixer.
- Add the eggs, one at a time, mixing one egg completely until incorporated before adding the next one.
- Remember to scrape the bowl in between mixing. Add the vanilla and mix to combine.
- Add one third of the buttermilk to the bowl with the batter, mix on low to combine. Next, add one third of the dry ingredient mixture. Mix on low speed.
- Add another third of the buttermilk and mix. Follow by another third of the flour mixture, mix to combine.
- Add the remaining buttermilk, and mix. Finish with the remaining flour, add it to the bowl and mix on low.
- You can finish by folding with a spatula, to avoid over mixing the batter.
- Divide the batter between the prepared cake pans. Bake in the pre-heated oven for about 30 minutes, until a toothpick inserted into the cake comes off clean.
- Remove the cake from the oven. After 10 minutes, flip the cake onto a cooling rack or plate. Let the cake cool down completely. If you aren’t assembling the cake on the same day, wrap the completely cooled down cake in plastic wrap, and place in the freezer.
Raspberry Jam
- Combine the raspberries, granulated sugar, and lemon juice in a medium saucepan over medium heat. Stir occasionally as the berries begin to release their juices, then gently mash them with a spoon or potato masher. Bring the mixture to a simmer and cook, stirring frequently, until the berries have completely broken down and the sugar has dissolved.
- In a small bowl, whisk together the cornstarch and water until smooth and free of lumps. Slowly pour the slurry into the simmering raspberry mixture while stirring constantly. Continue cooking for a few minutes, stirring continuously, until the jam thickens and turns glossy.
- Remove the pan from the heat and pour the hot jam through a fine-mesh sieve set over a bowl to remove the seeds. Use a spatula to press the jam through the strainer, and be sure to scrape the bottom of the sieve often to collect the thick jam that clings there so you don’t lose any of it. Discard the seeds, then let the strained jam cool before using; it will continue to thicken as it cools.
Sugar Syrup
- The sugar syrup is optional but does help the cake stay moist with the perfect consistency.
- To make the sugar syrup, combine 1/2 cup granulated sugar and 100 grams water in a small saucepan. Heat over medium heat, stirring just until the sugar dissolves completely. Once the syrup looks clear, remove it from the heat and let it cool before using. The syrup should be completely cool when brushing onto the cakes.
Raspberry Frosting
- Beat the room-temperature butter and cream cheese together until smooth, creamy, and completely combined, scraping down the sides of the bowl as needed so there are no lumps. Add half of the powdered sugar, mix on low until combined. Add the raspberry jam and mix until evenly incorporated and the color is uniform.
- Add the remaining powdered sugar, but reserve a cup to add only to adjust the consistency of the frosting. Mix on low speed until incorporated, then increase the speed briefly to make the frosting light and fluffy. Check the texture at this point; if you want a thicker or more stable frosting, add the remaining 1 cup of powdered sugar a little at a time, mixing well after each addition until the desired consistency is reached. Continue beating for another minute until smooth and fluffy, then use immediately or store chilled until ready to decorate.
Assemble
- To assemble the cake, start by leveling the cooled cake layers if needed. Place the first cake layer on a cake board or serving plate and lightly brush the surface with the cooled sugar syrup to keep the cake moist and tender.
- Spread a layer of raspberry frosting on the bottom of the cake. Transfer some of the raspberry frosting to a piping bag and pipe a ring of frosting around the outer edge of the cake layer to create a border.
- Spread a layer of raspberry jam inside the frosting ring.
- Place the second cake layer on top and repeat the process: brush with sugar syrup, spread the frosting on top, pipe a frosting border around the edge, and fill the center with raspberry jam. Add the final cake layer, brush it lightly with syrup, and apply a thin coat of frosting all over the cake to create a crumb coat. Chill the cake for about 15–20 minutes to set the frosting, then finish with a final layer of raspberry frosting, smoothing the sides and top as desired. I like to use a bench scraper to scrape the sides of the cake as I spin the turntable around.
- I like to smooth the top of the cake with an offset spatula held at about a 30-degree angle, gently dragging it toward the center as you lightly graze the surface to create a smooth finish.
- Pipe the remaining frosting on top of the cake. I used a tip 2D. Then decorate with fresh raspberries.
- Chill for at least one hour before slicing and serving!
Thank you!
Any Adjustments for gluten free baking please?
This cake recipe works well with a gluten-free flour substitute such as 1-to-1 baking flour.