Marble Cake
I first made this marble cake years ago after a friend asked me to bake one for her daughter. Recently, another friend requested a marble cake, and when I went back to the original recipe, I realized it was due for a revamp. After reworking it, I absolutely love the results, and I’m so glad to be sharing this updated version with you today.
The biggest change is how the batter is made. Instead of preparing two separate batters, I start with one vanilla base and turn part of it into chocolate. The vanilla batter stays soft and plush thanks to a mix of butter, sour cream, and milk. To make the chocolate portion, I simply split the batter and fold in cocoa powder, hot coffee, sugar, and butter. This method keeps the flavors balanced and helps the chocolate stay moist rather than dense. The cake is finished with a fluffy frosting made with real chocolate and simple swirls that make it both gorgeous and decadent.
Why You’ll Love This Recipe… (Moist, Bakery-Style Layers)
- One batter, less work: You only make one vanilla batter and divide it to create the chocolate portion. The process is made simple by eliminating the need to juggle two separate batters (and extra dishes).
- Controlled marbling: Because both batters come from the same base, they have similar consistency, making the swirl easy to create without the colors bleeding together.
- Classic and nostalgic: This is the marble cake everyone knows and loves, with that familiar vanilla-and-chocolate combination that never goes out of style.
- Bakery look, homemade flavor: The clean swirls and smooth frosting make it look like it came from a bakery, while still tasting completely homemade.
Key Ingredients:
Butter: I rely on butter here for both flavor and structure. Creaming it properly with the sugar creates a soft, tender crumb that gives the vanilla batter its richness and helps the cake feel plush rather than dry.
This post may contain affiliate links. I earn a commission from qualified purchases. Please read our Privacy policy here.
Sour cream: This is one of the main reasons the cake stays moist. I use sour cream because it adds richness without thinning the batter, and its acidity helps keep the crumb soft while balancing the sweetness.
Cocoa powder (bloomed with hot coffee or water): Instead of making a fully separate chocolate batter, I bloom the cocoa powder with hot liquid and fold it into part of the vanilla batter. This deepens the chocolate flavor while it just as moist and tender as the vanilla. This is key for clean, even marbling.
The Recipe
I have full instructions in the recipe card below, but if you keep reading here, you’ll get some thoughtful insight on how to make this show stopping cake!
Step One: Vanilla Batter
I start by preheating the oven to 350°F (175°C) and preparing three 8-inch cake pans. I grease them well and line the bottoms with parchment, which makes releasing the layers much easier later and keeps the edges clean without tearing. You can also grease them with butter and sprinkle with flour if desired.
In a large bowl, whisk together the flour, baking powder, baking soda, and salt until everything is evenly distributed. I like doing this first so the leavening is fully mixed before it ever hits the batter — it helps the layers bake evenly and keeps the crumb consistent.
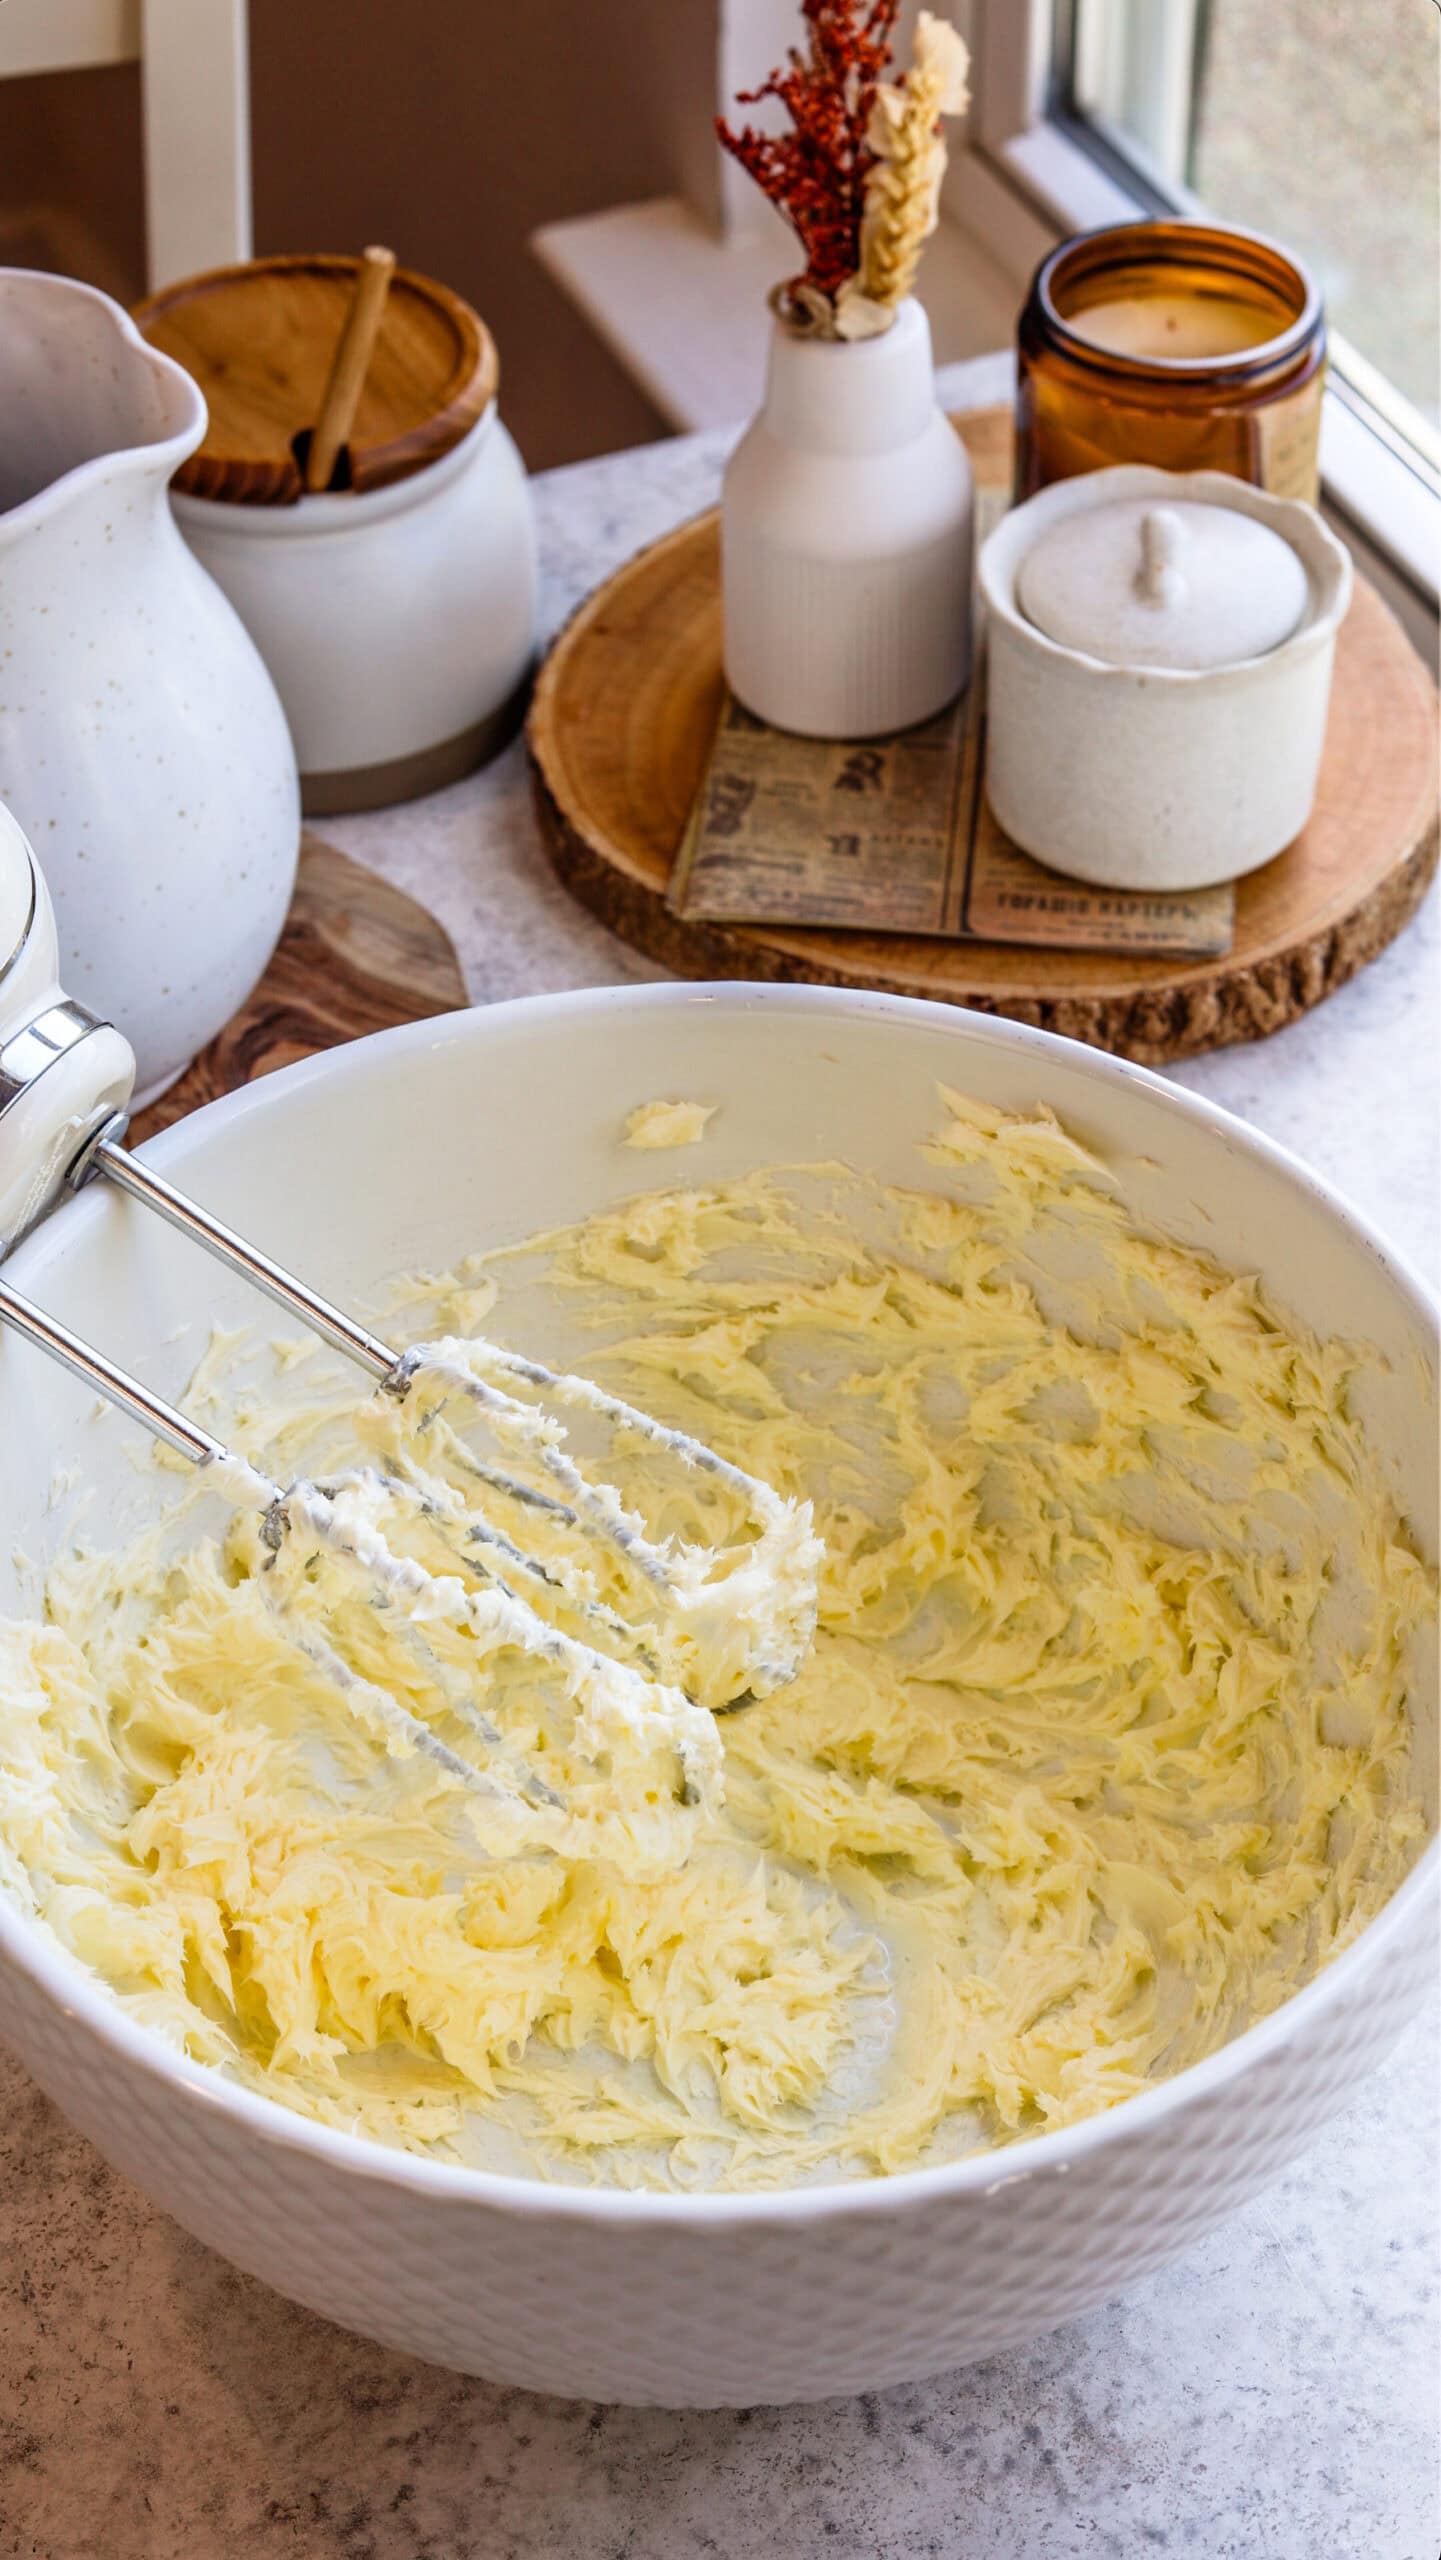
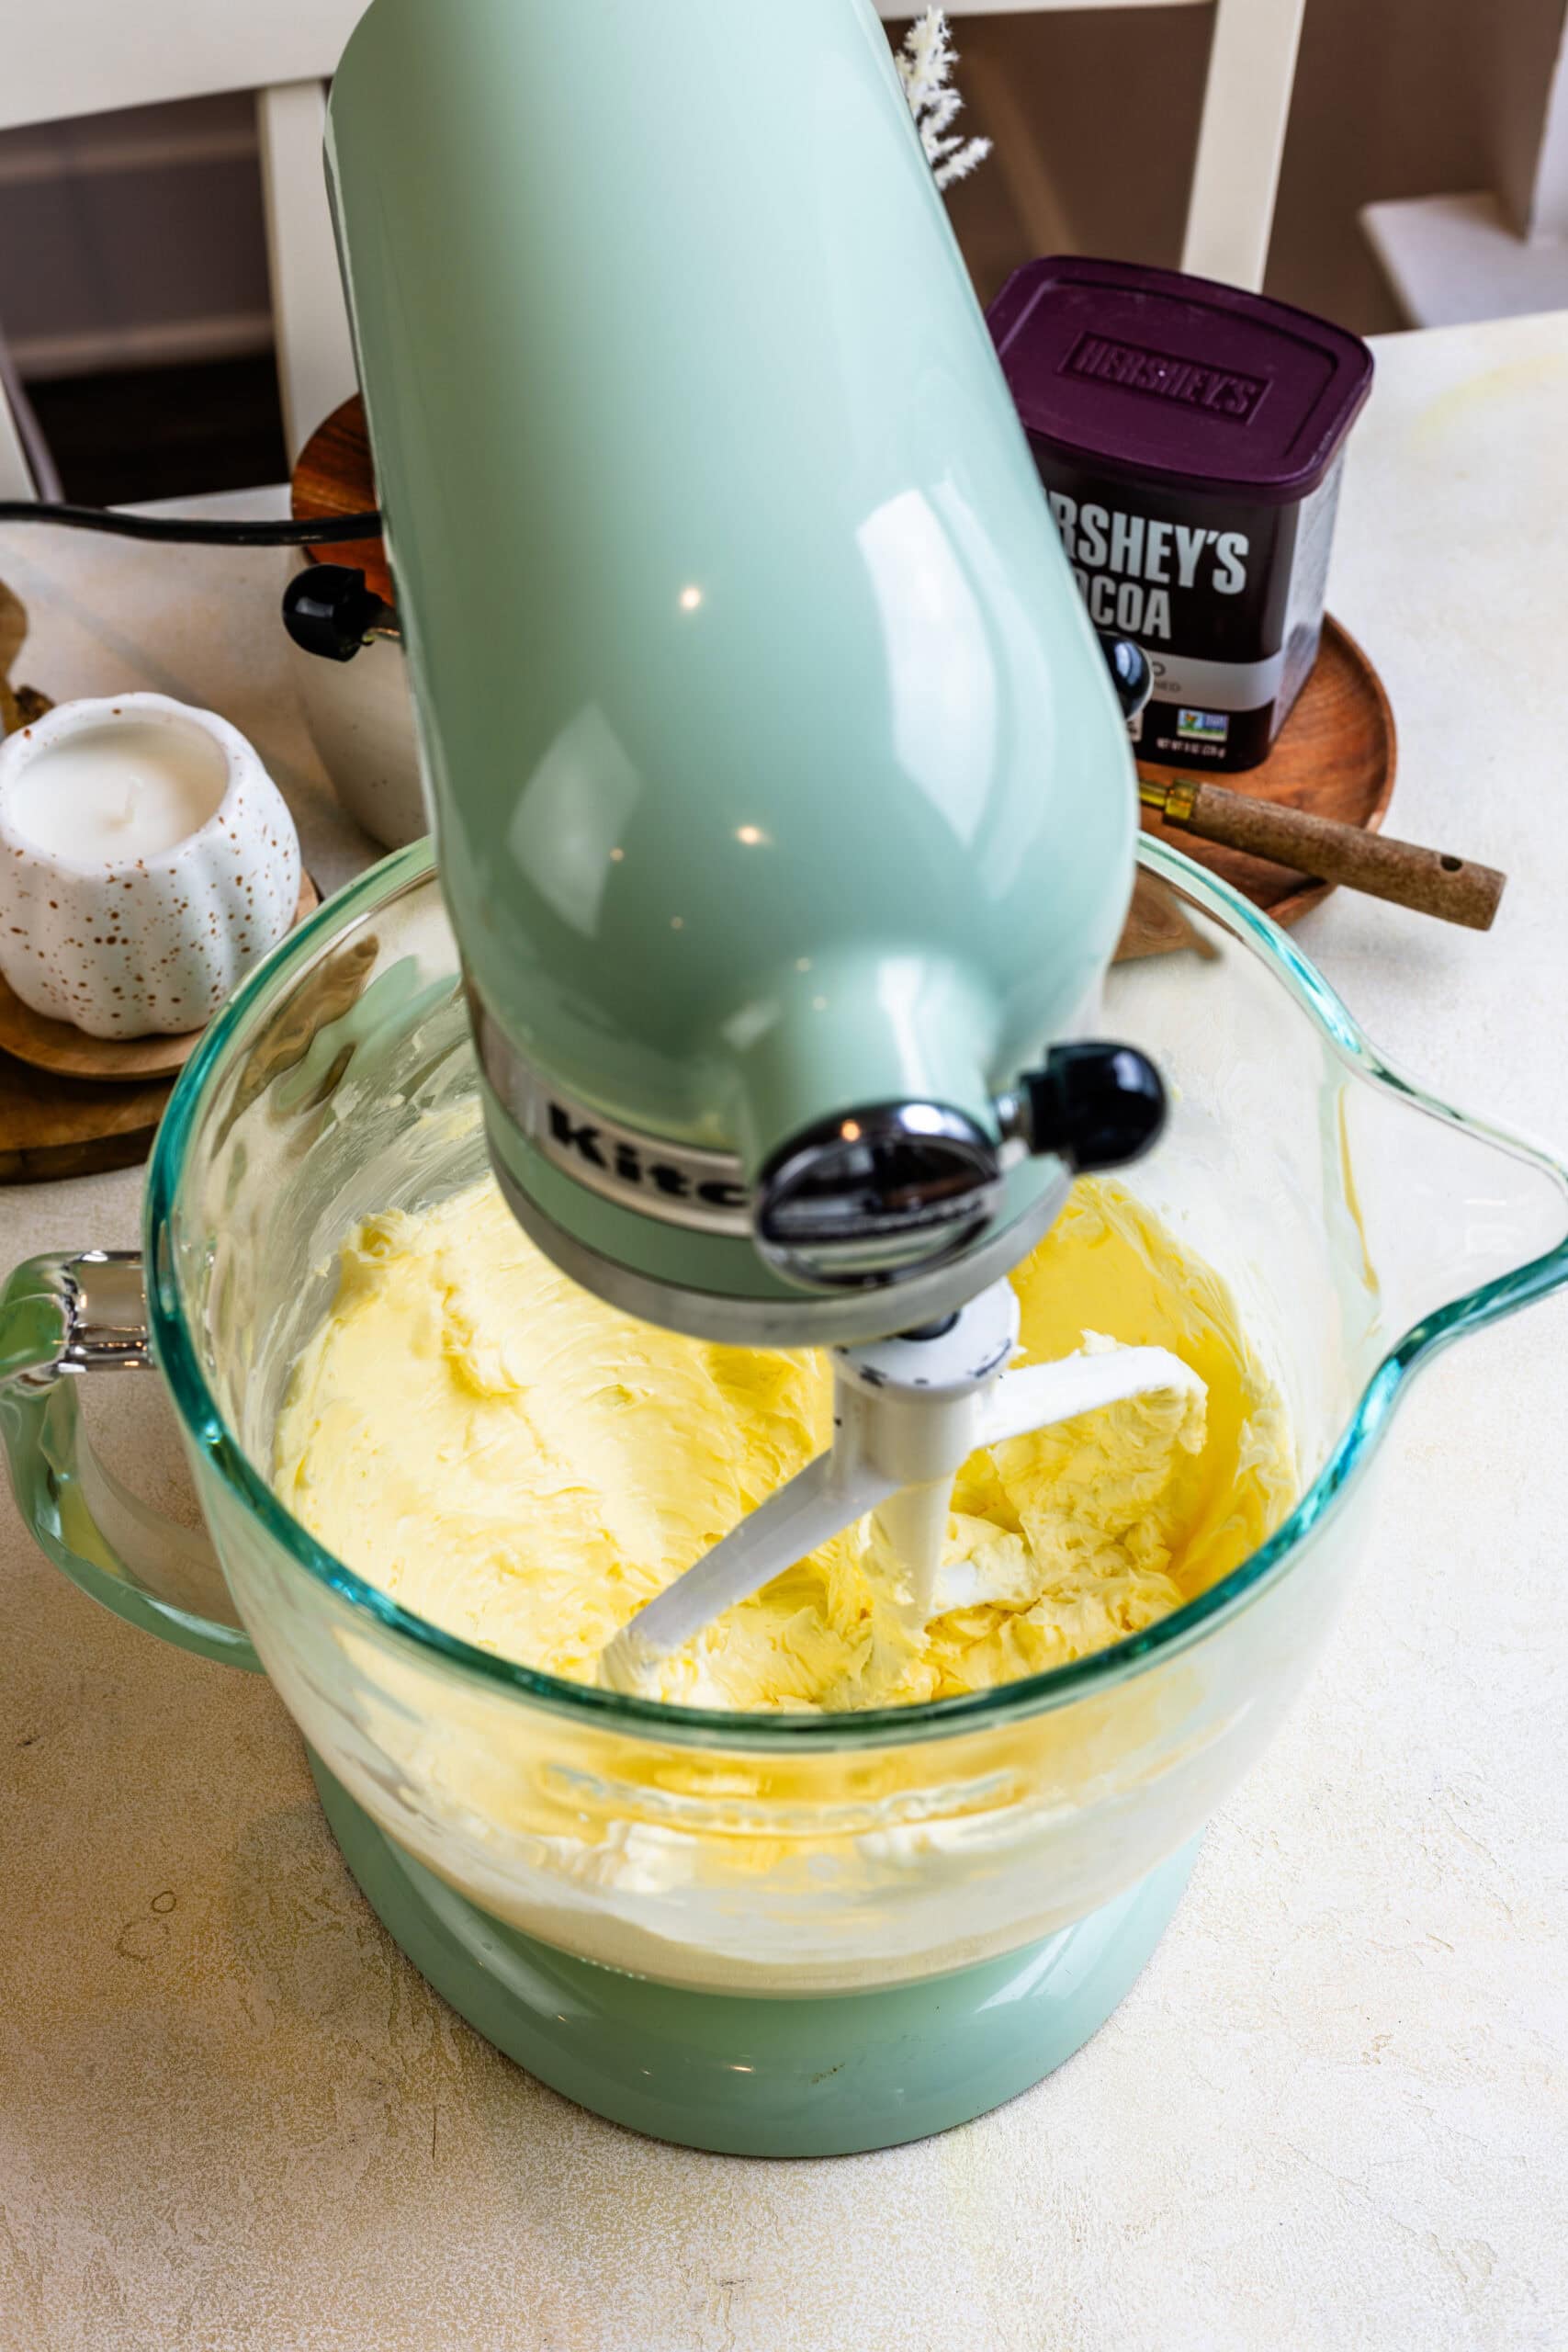
Beat the butter on medium speed until smooth and creamy, usually about a minute.
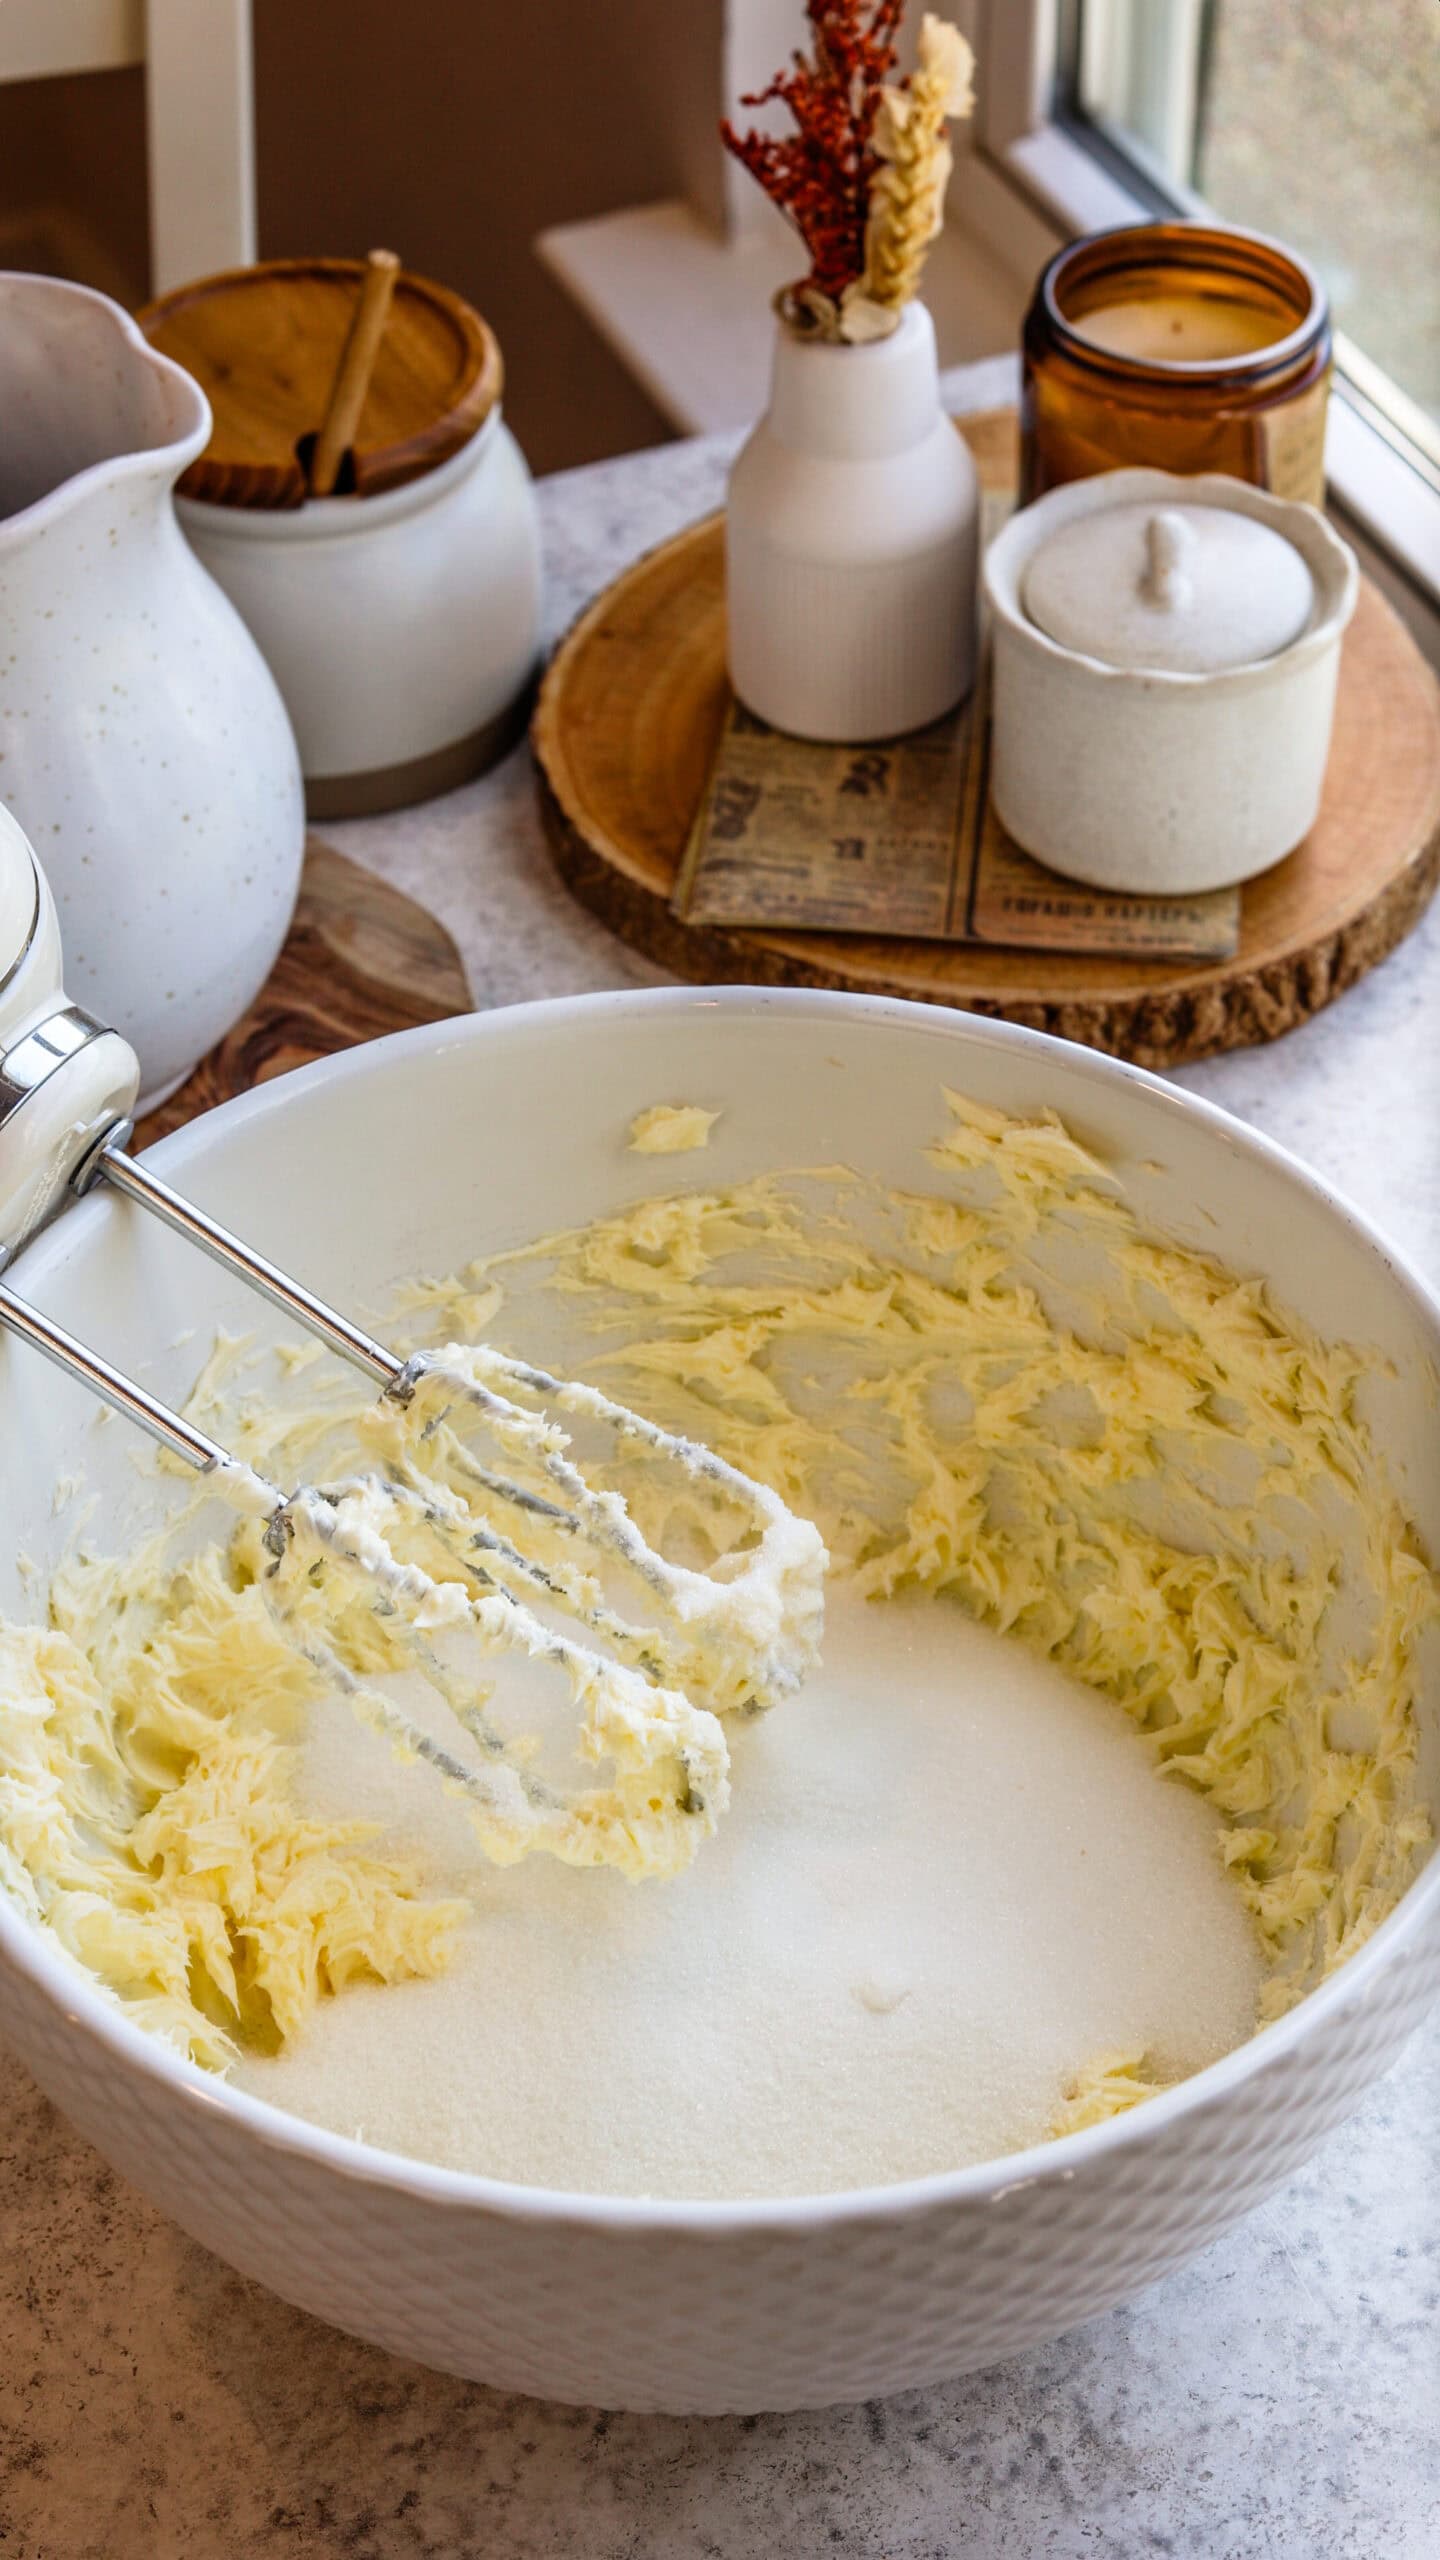
Add the sugar and continue beating on medium-high speed for a few minutes, until the mixture turns pale and fluffy.
Expert Tip
Properly creamed butter and sugar give the cake its soft, plush texture. I always make sure to scrape down the sides of the bowl as needed so nothing gets left behind.
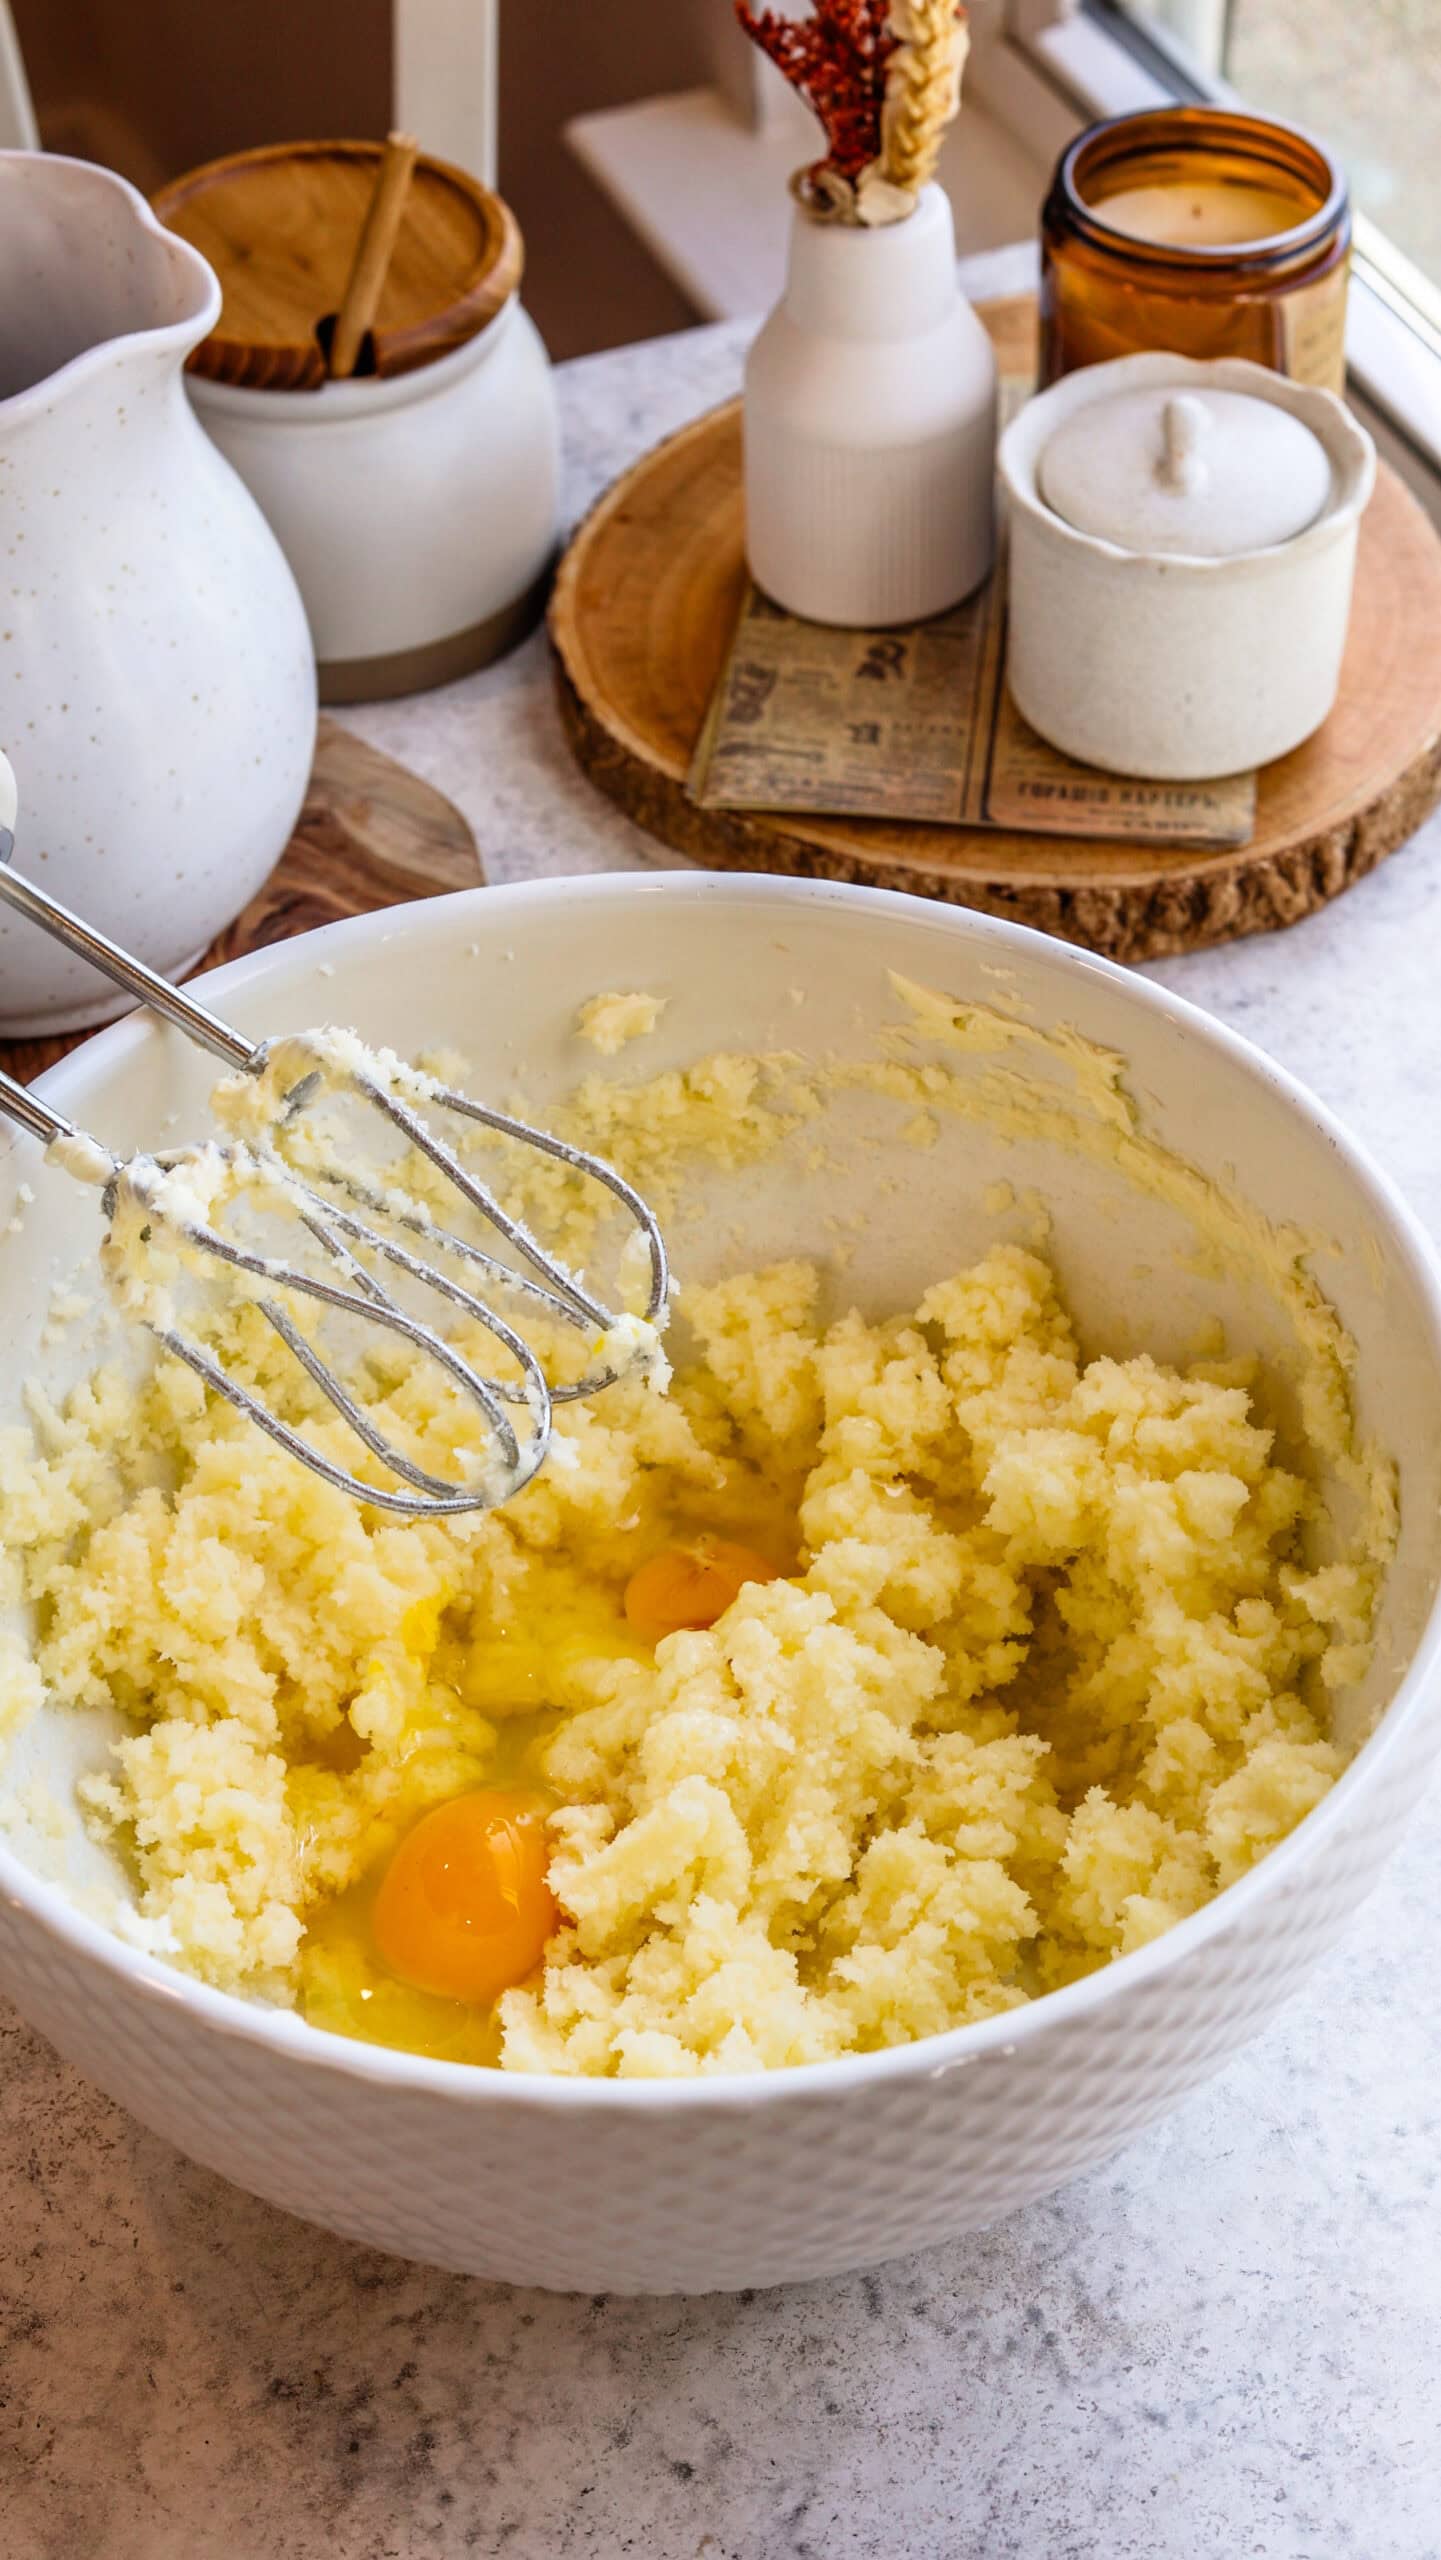
Add the eggs one at a time, letting each one fully incorporate before adding the next. Mix in the vanilla.
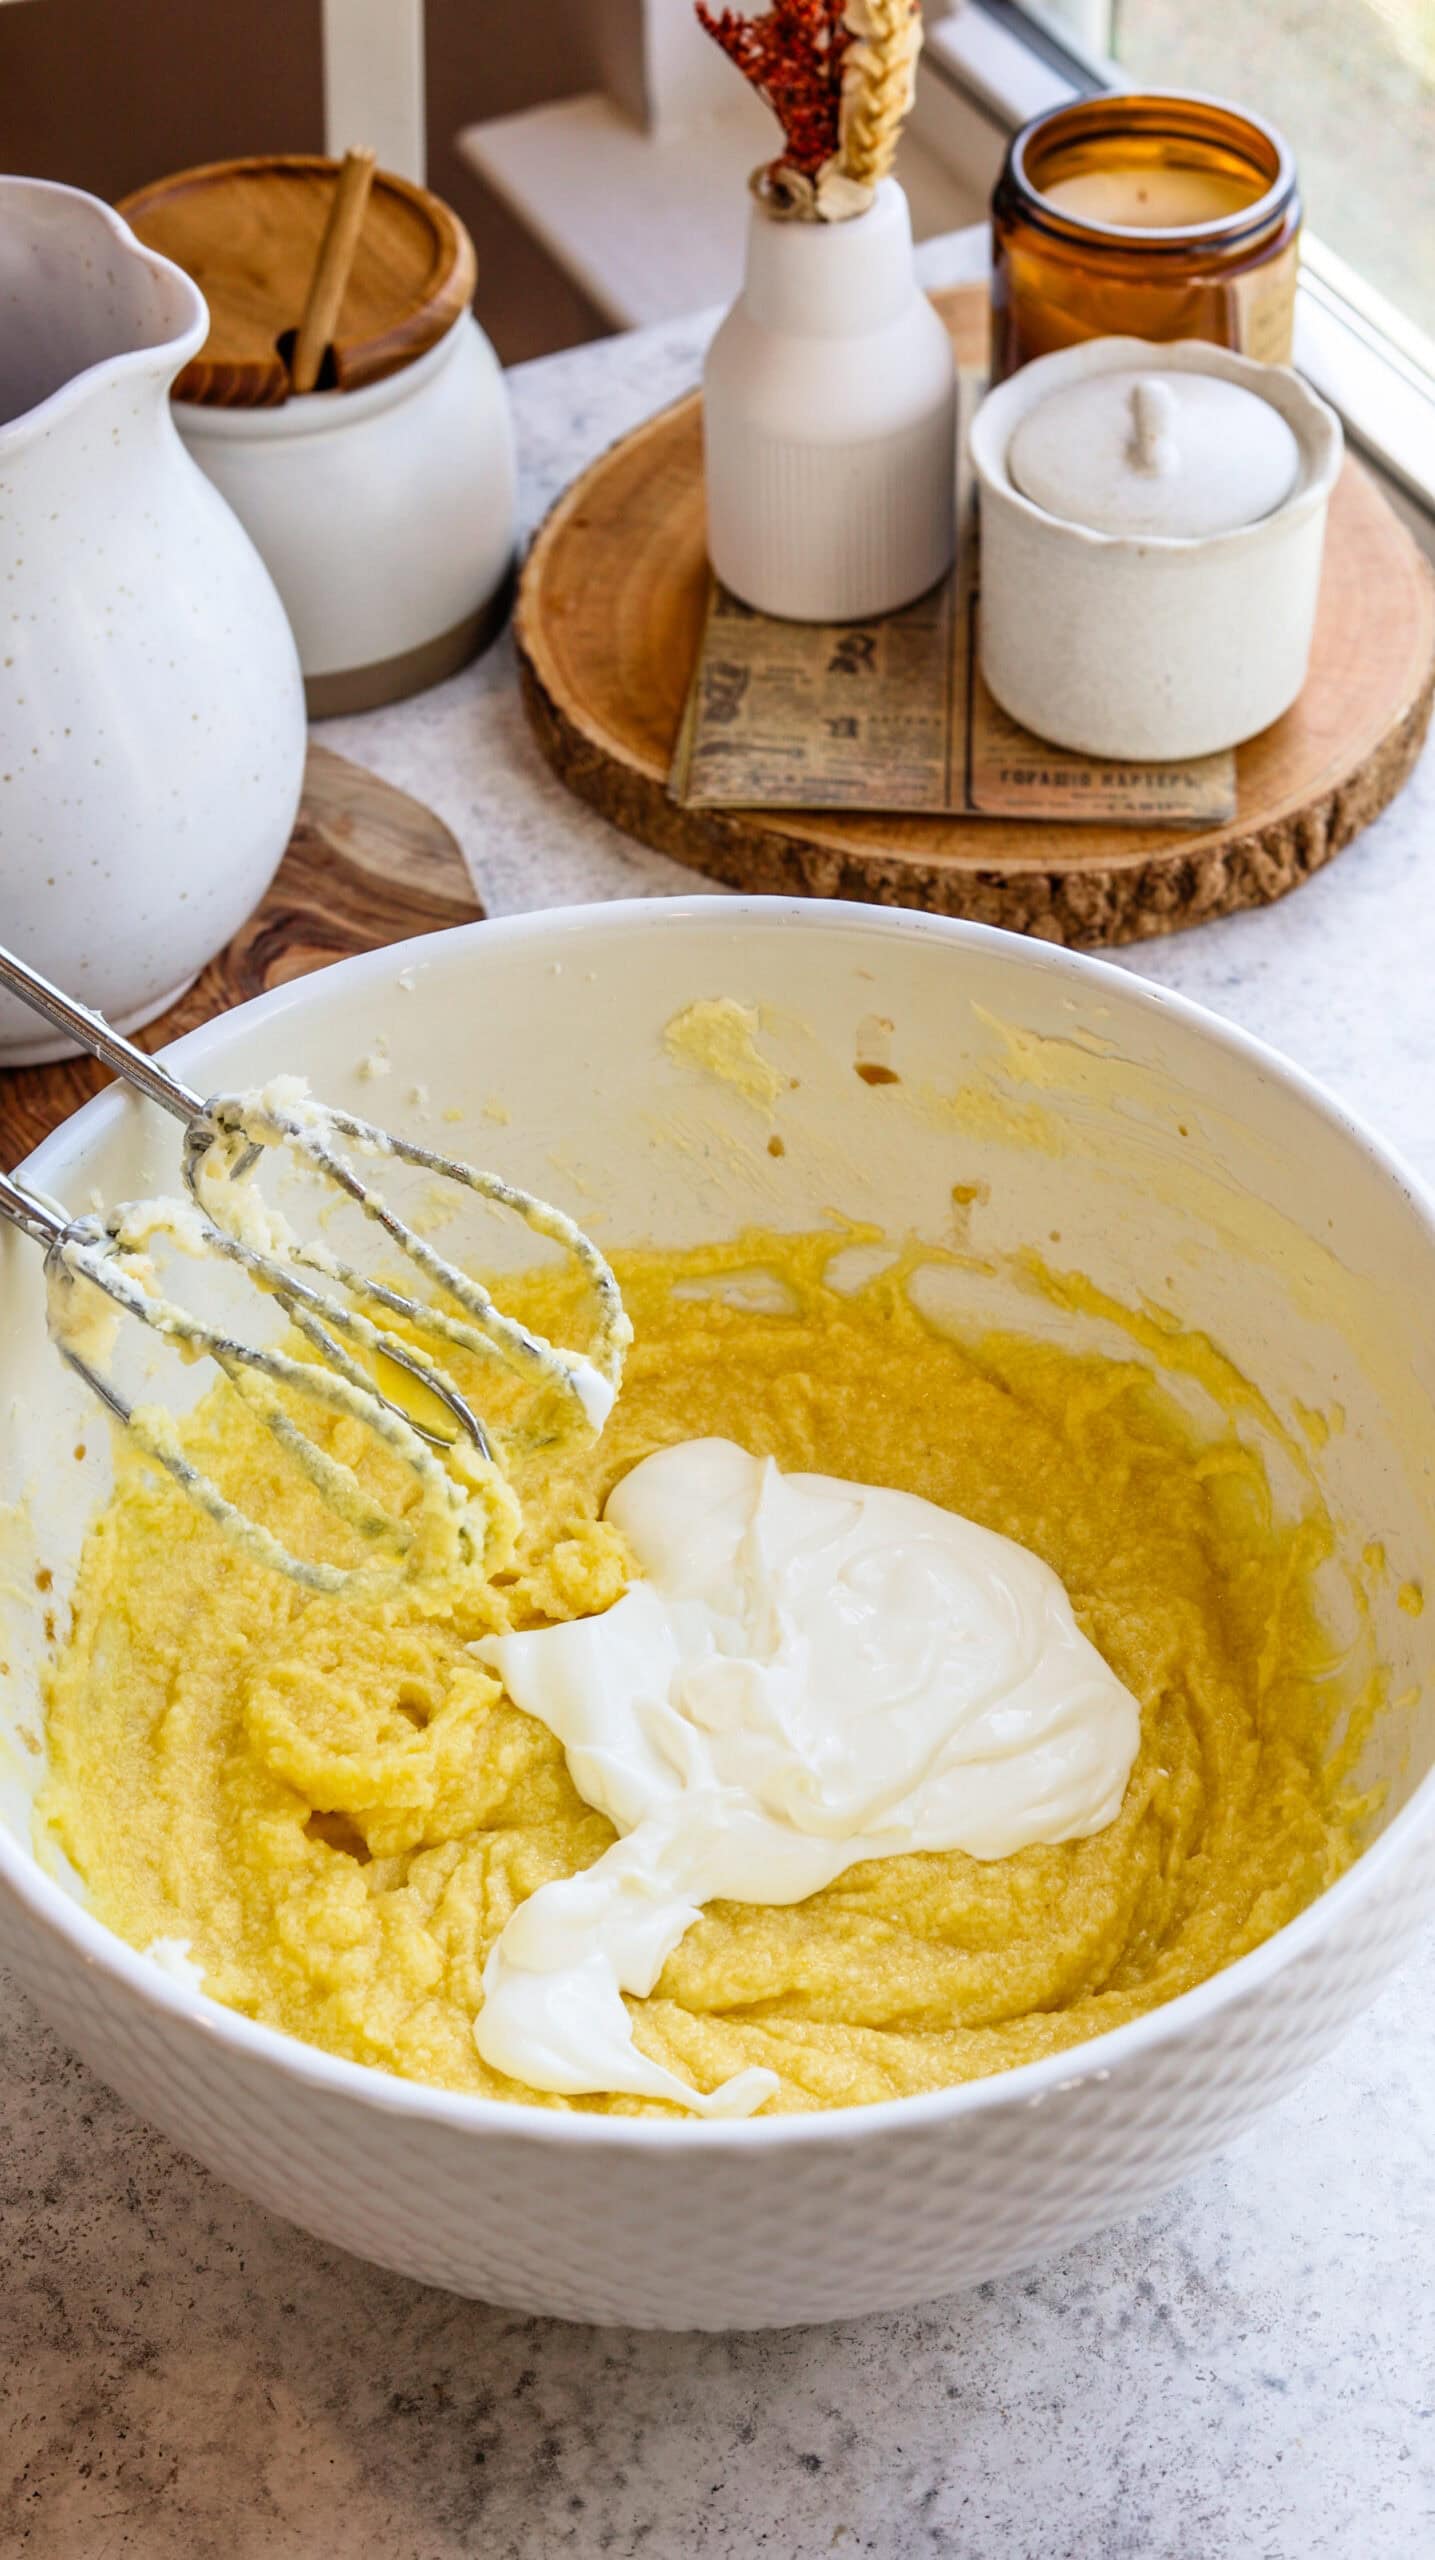
Add the sour cream and mix to combine. Scrape the bowl as needed.
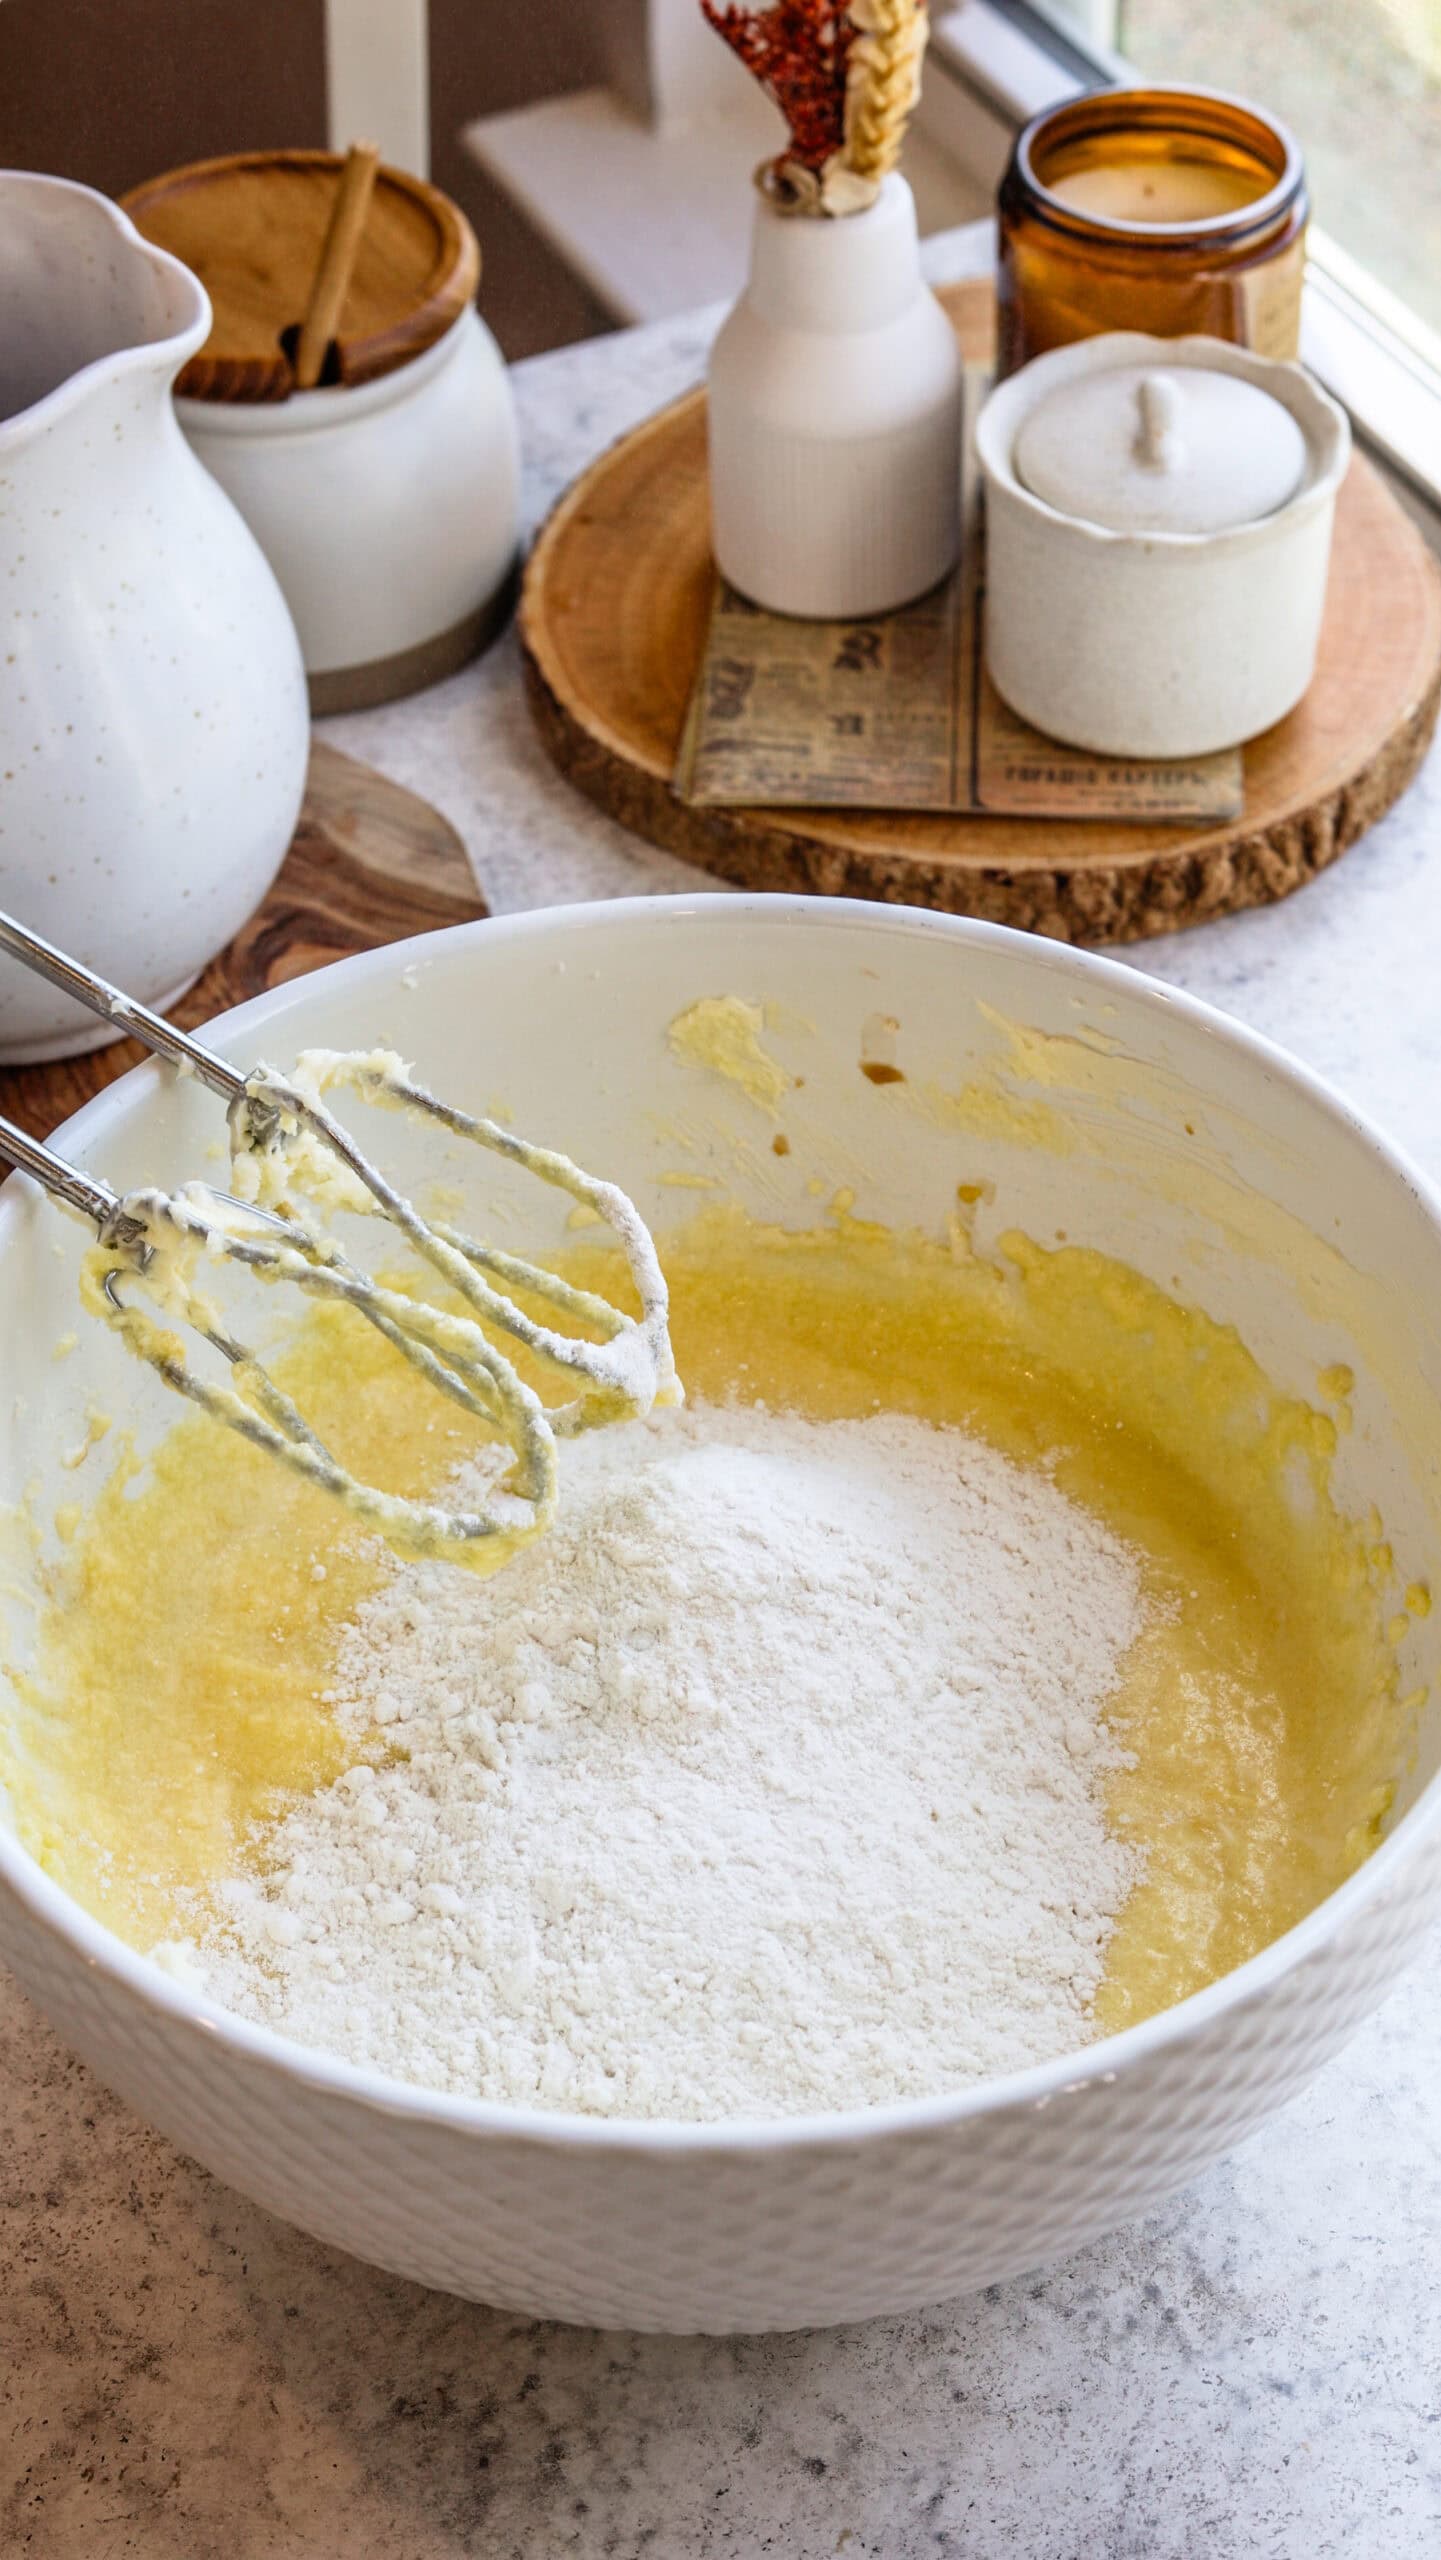
Add one third of the dry ingredients to the bowl. Mix on low to combine.
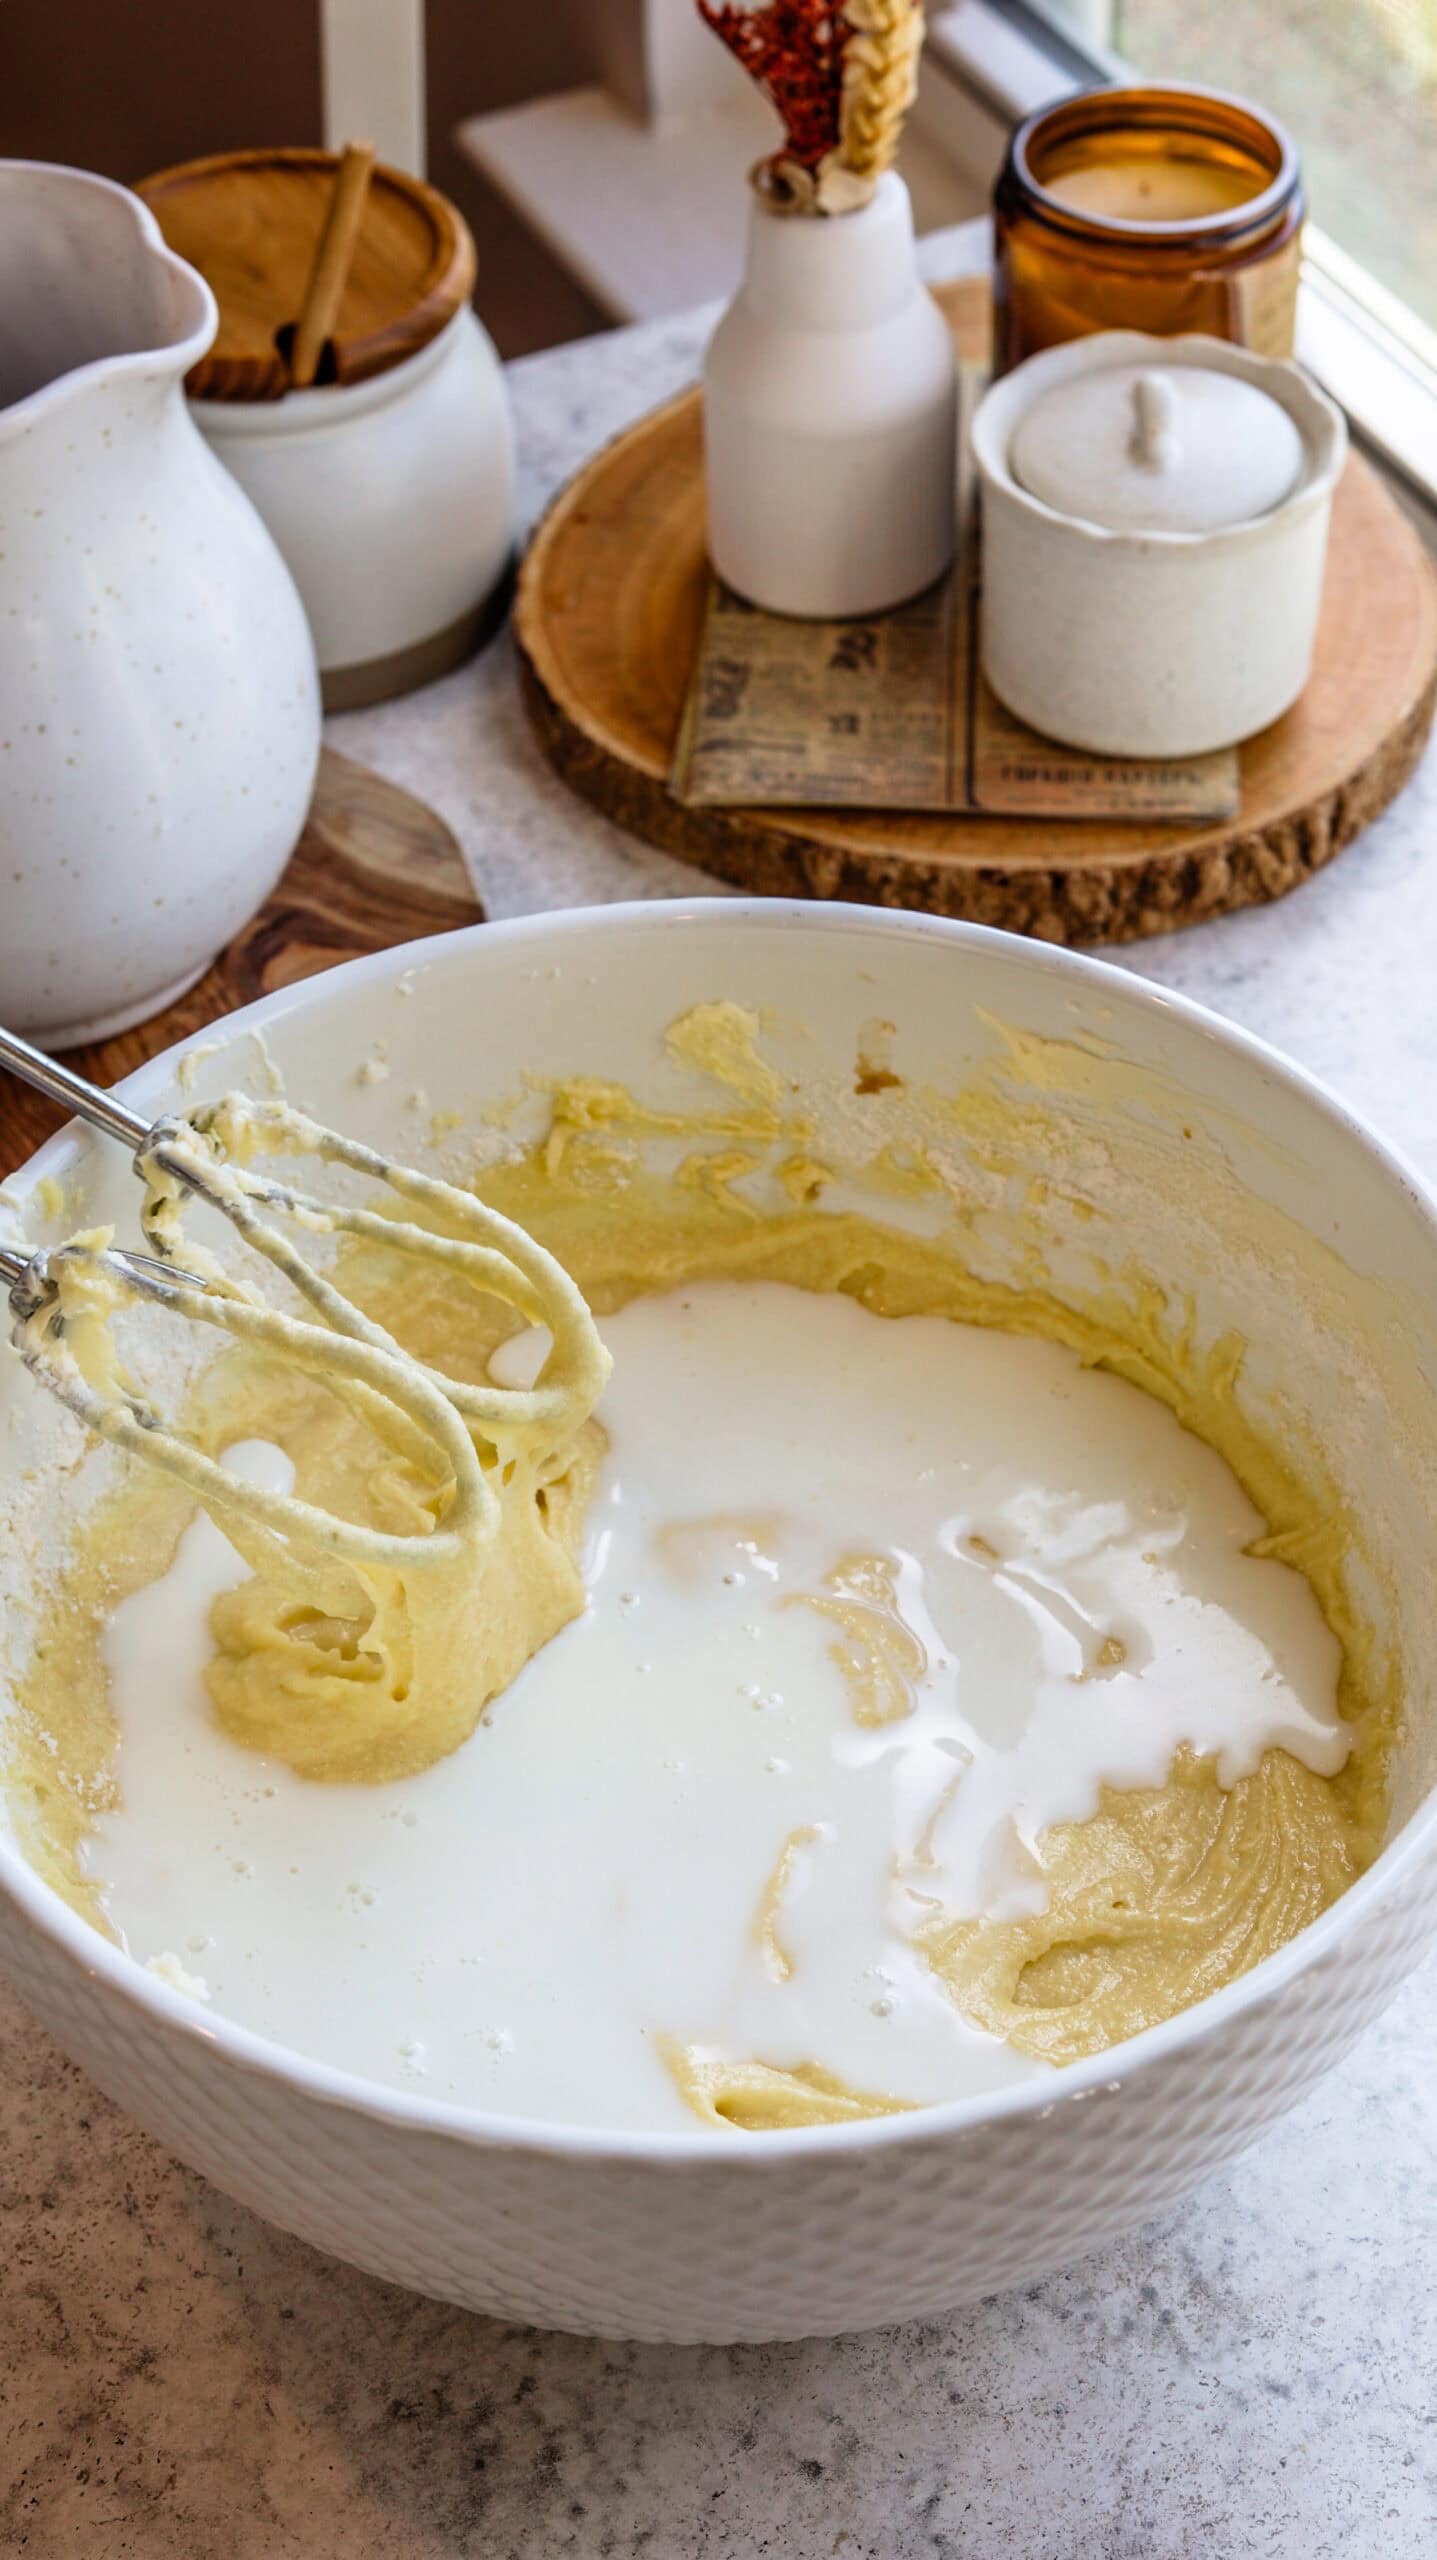
Add half of the milk in and mix to combine.
Continue alternating the flour with the milk until it’s all been added and a smooth batter has been formed.
Step 2: Chocolate Batter Swirl
Now for the fun part, the swirl!
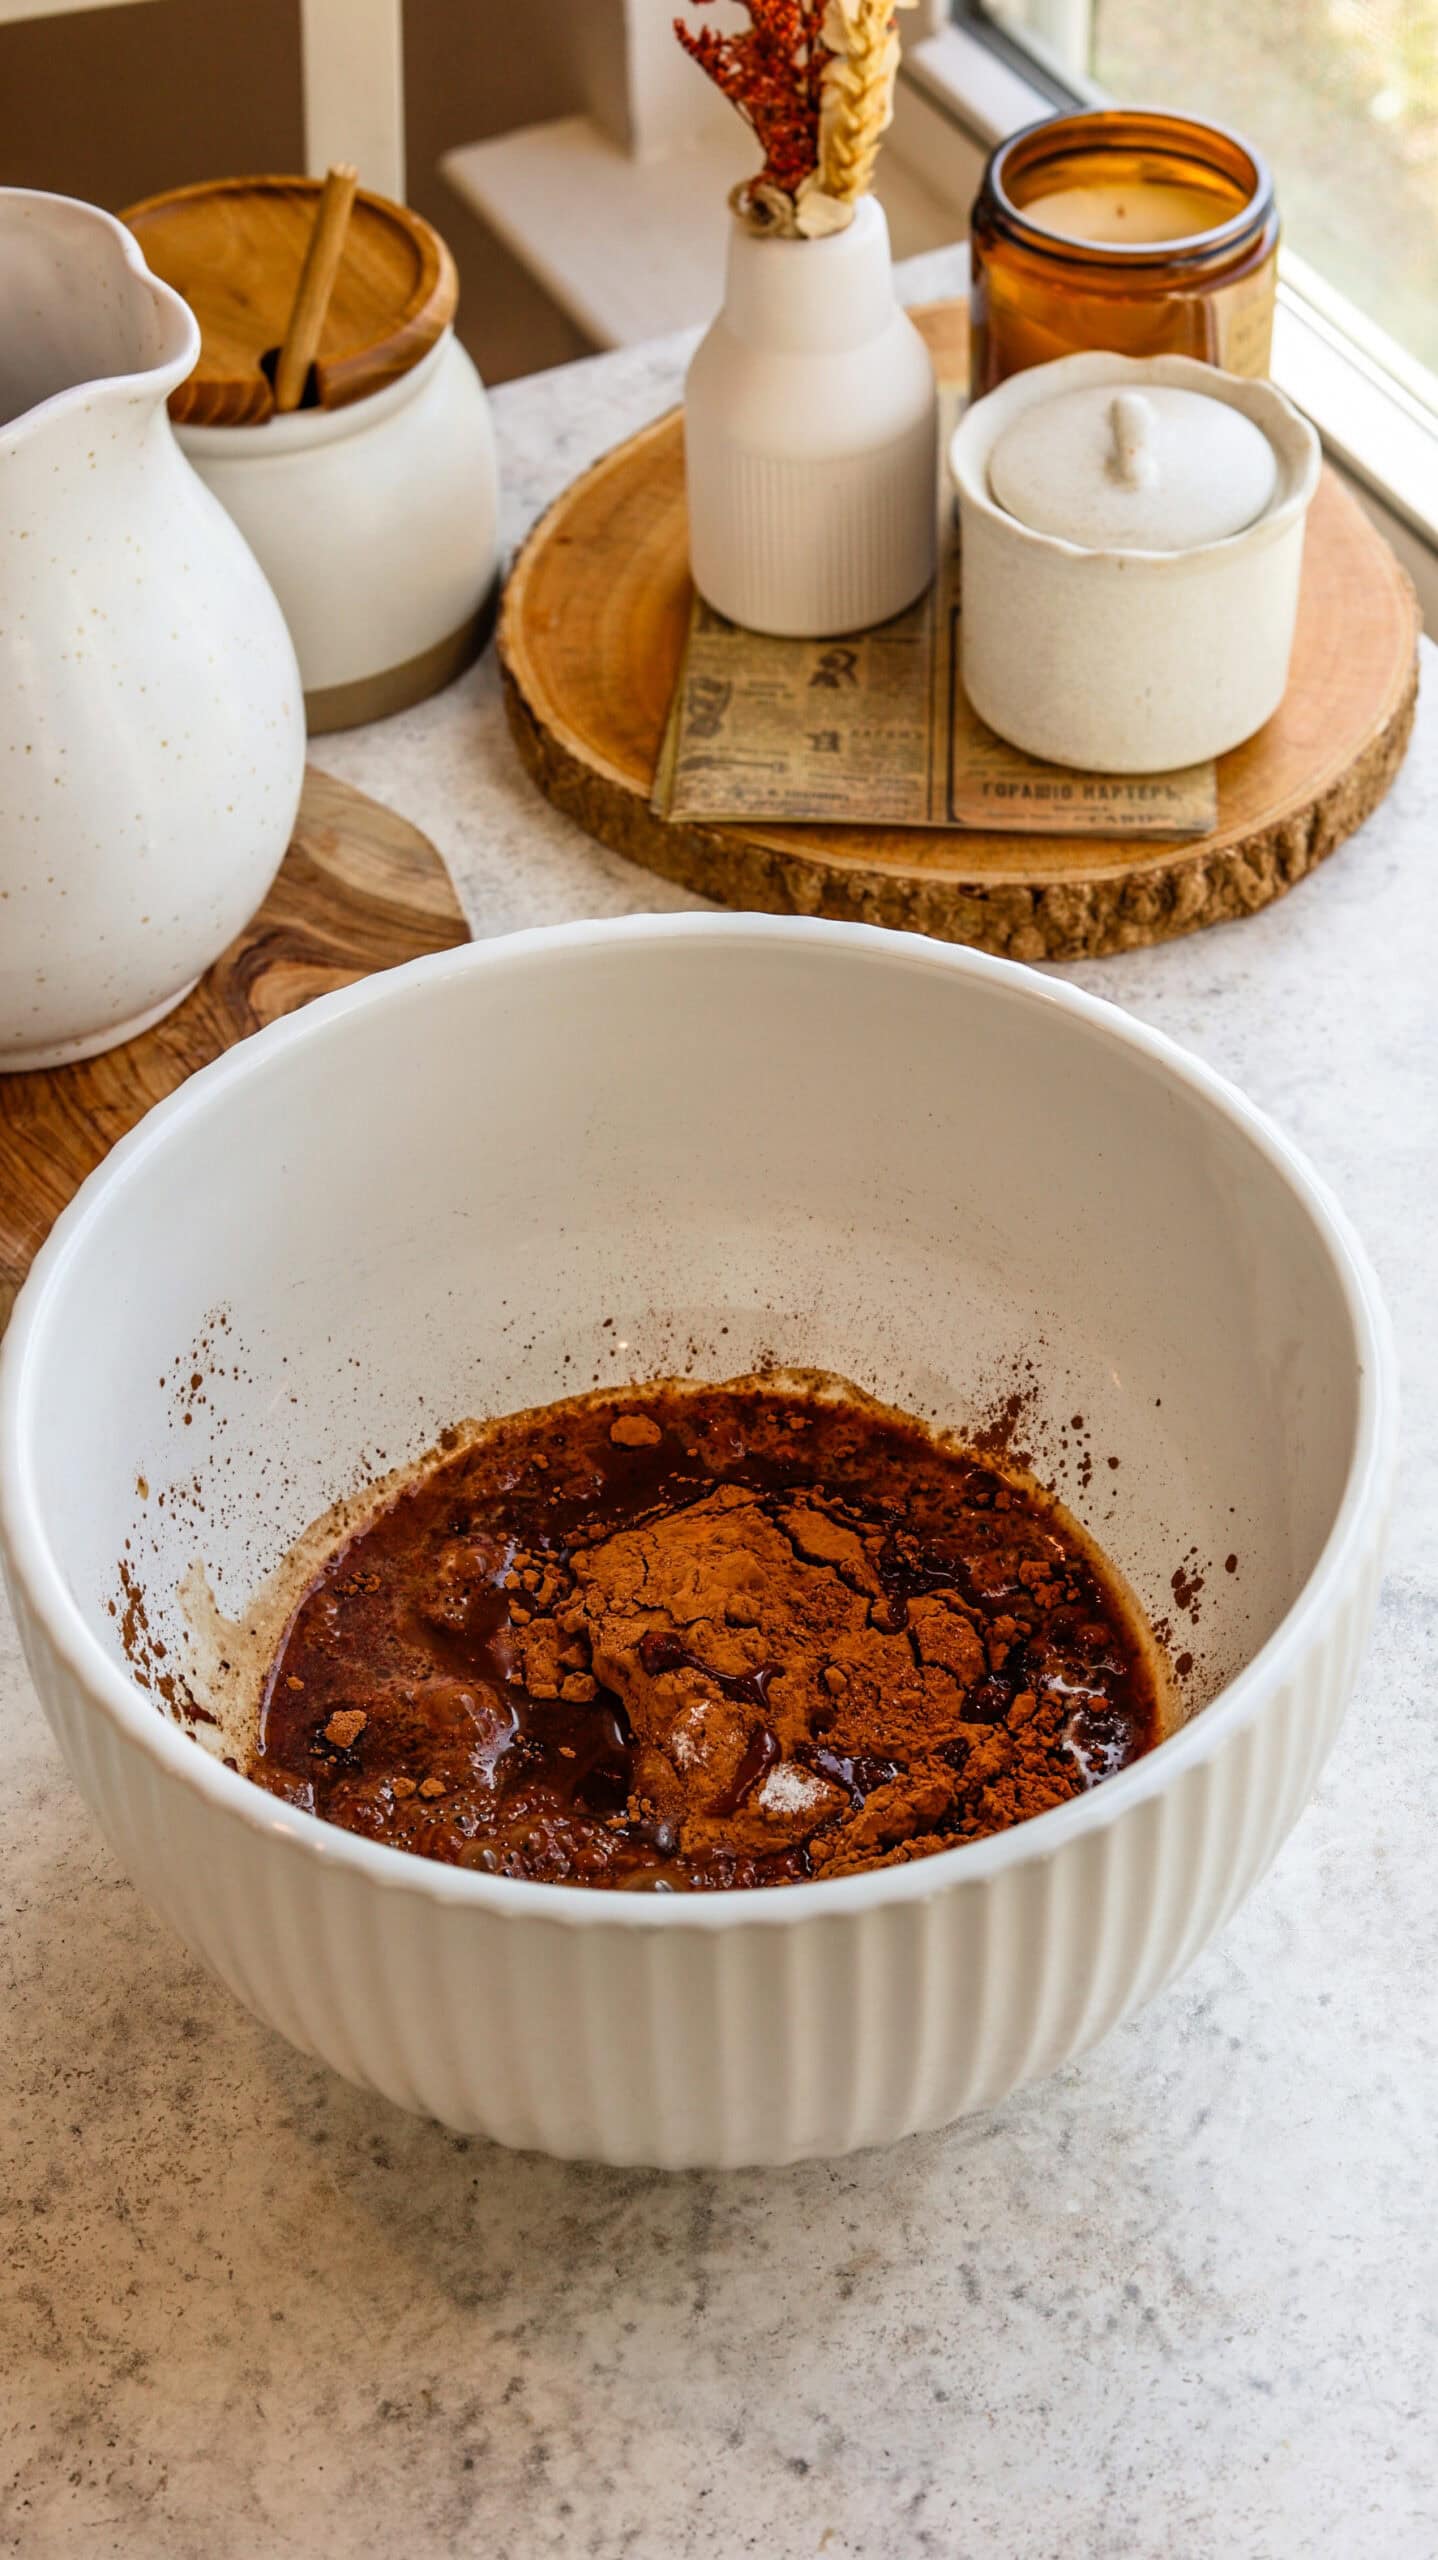
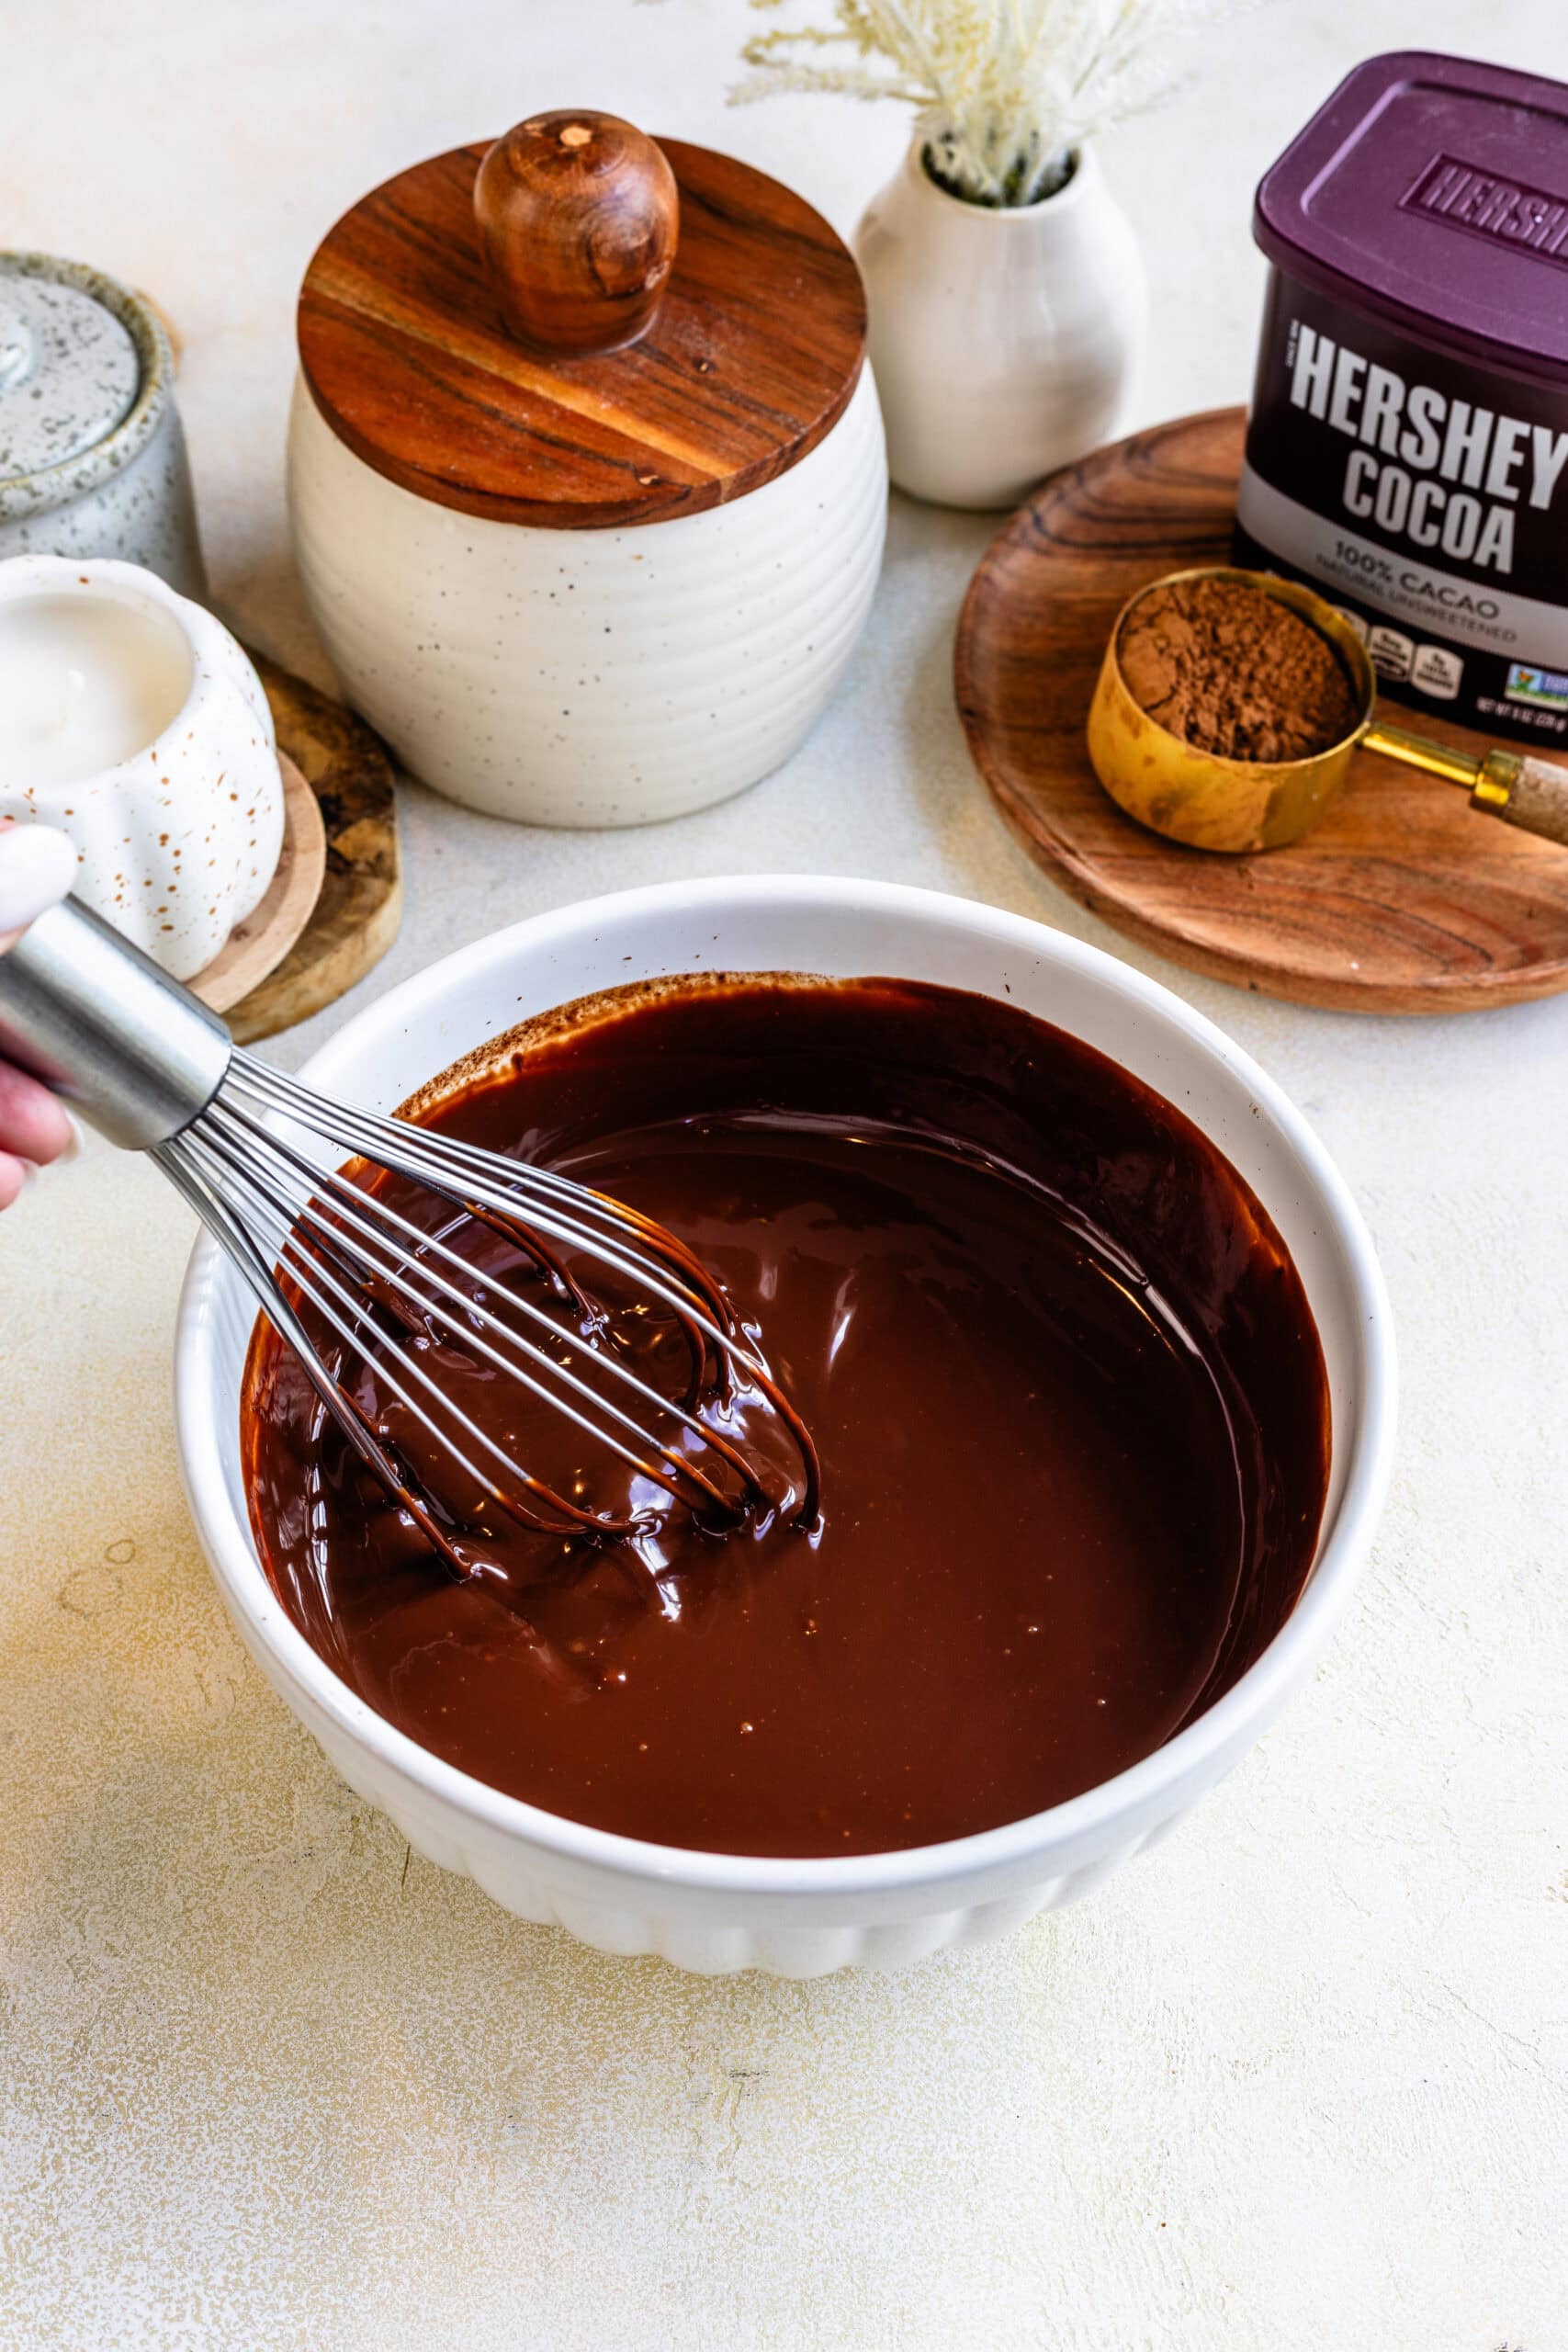
In a separate large bowl, whisk together the cocoa powder, hot coffee or hot water, sugar, and melted butter until the cocoa is fully dissolved.
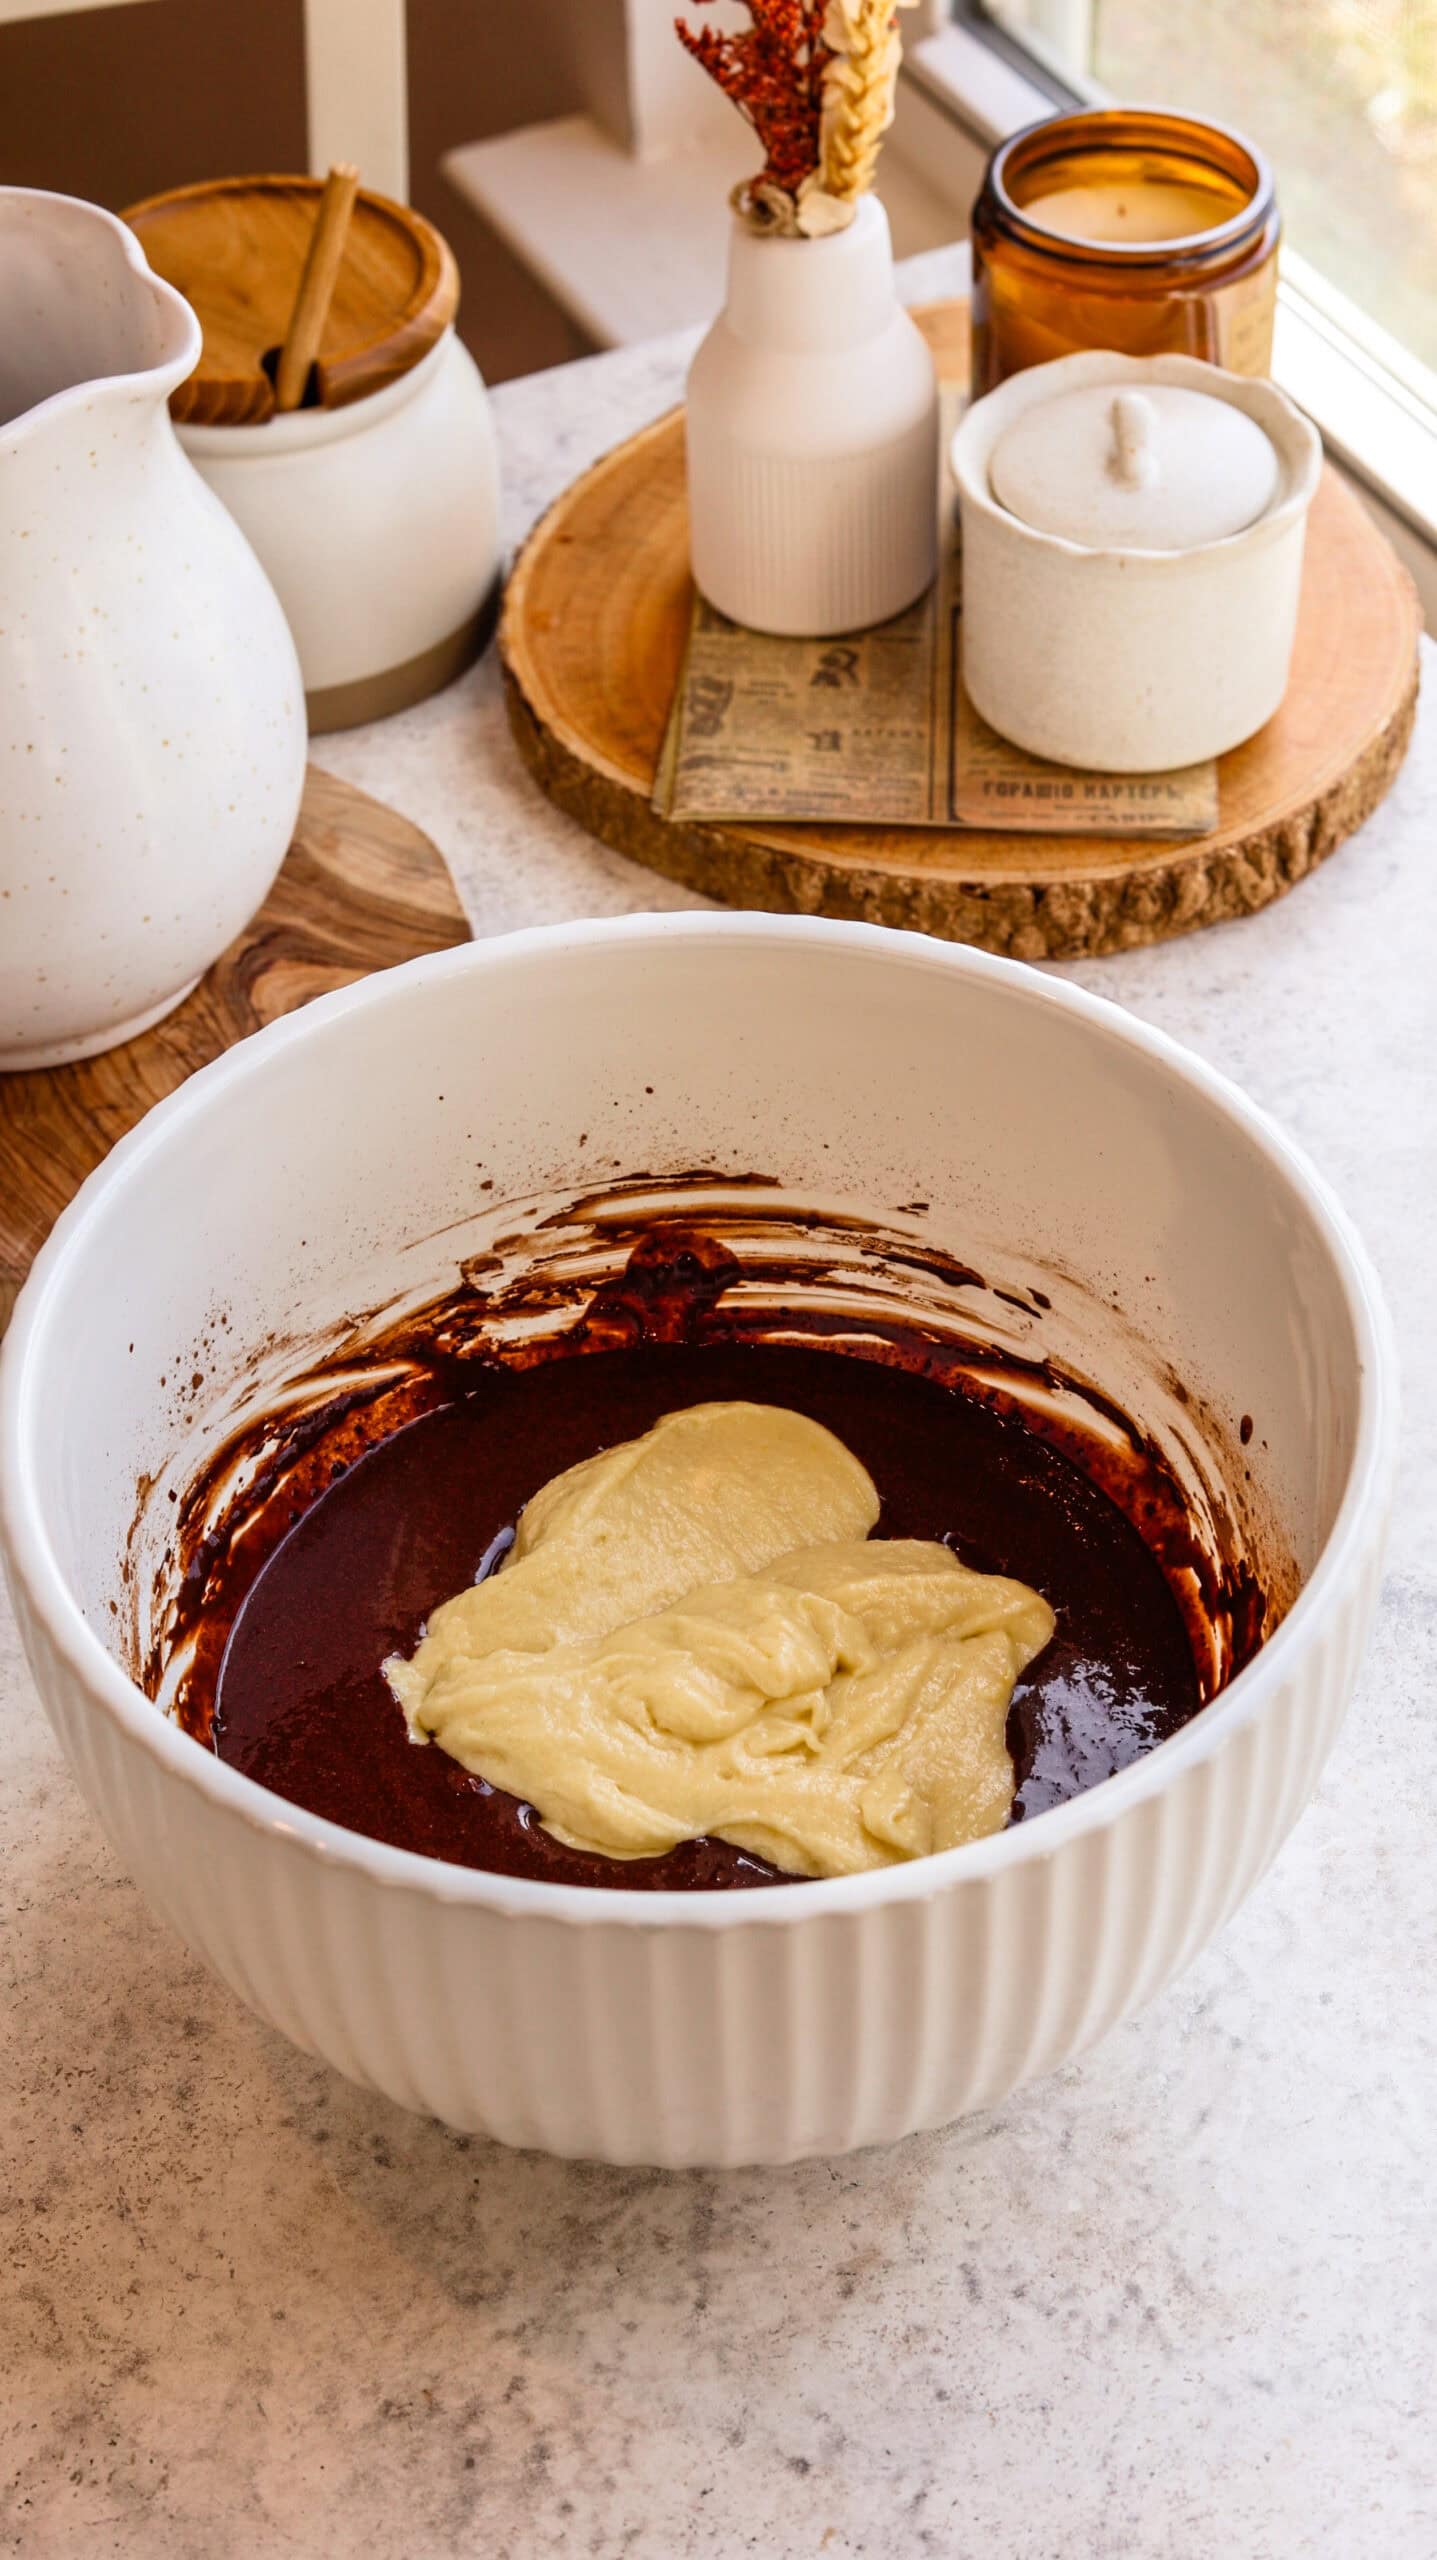
Measure out 1¾ cups of the vanilla batter and add it to the cocoa mixture. Mix just until the batter looks uniform.
Pro tips
Hot liquid: Using hot liquid here is intentional — whether if you’re using hot water or coffee. It helps bloom the cocoa so the chocolate flavor comes through more clearly instead of tasting flat.
Over mixing: Be careful not to overmix at this stage, because I want the chocolate batter to stay as soft as the vanilla. Keeping both batters at a similar thickness is what allows the swirls to bake evenly without one sinking or drying out.
Step 3: Baking
For evenly sized layers, I always weigh my batters. Weigh both the vanilla batter and the chocolate batter separately, then divide each total by three. This ensures each cake pan receives the same amount of batter.
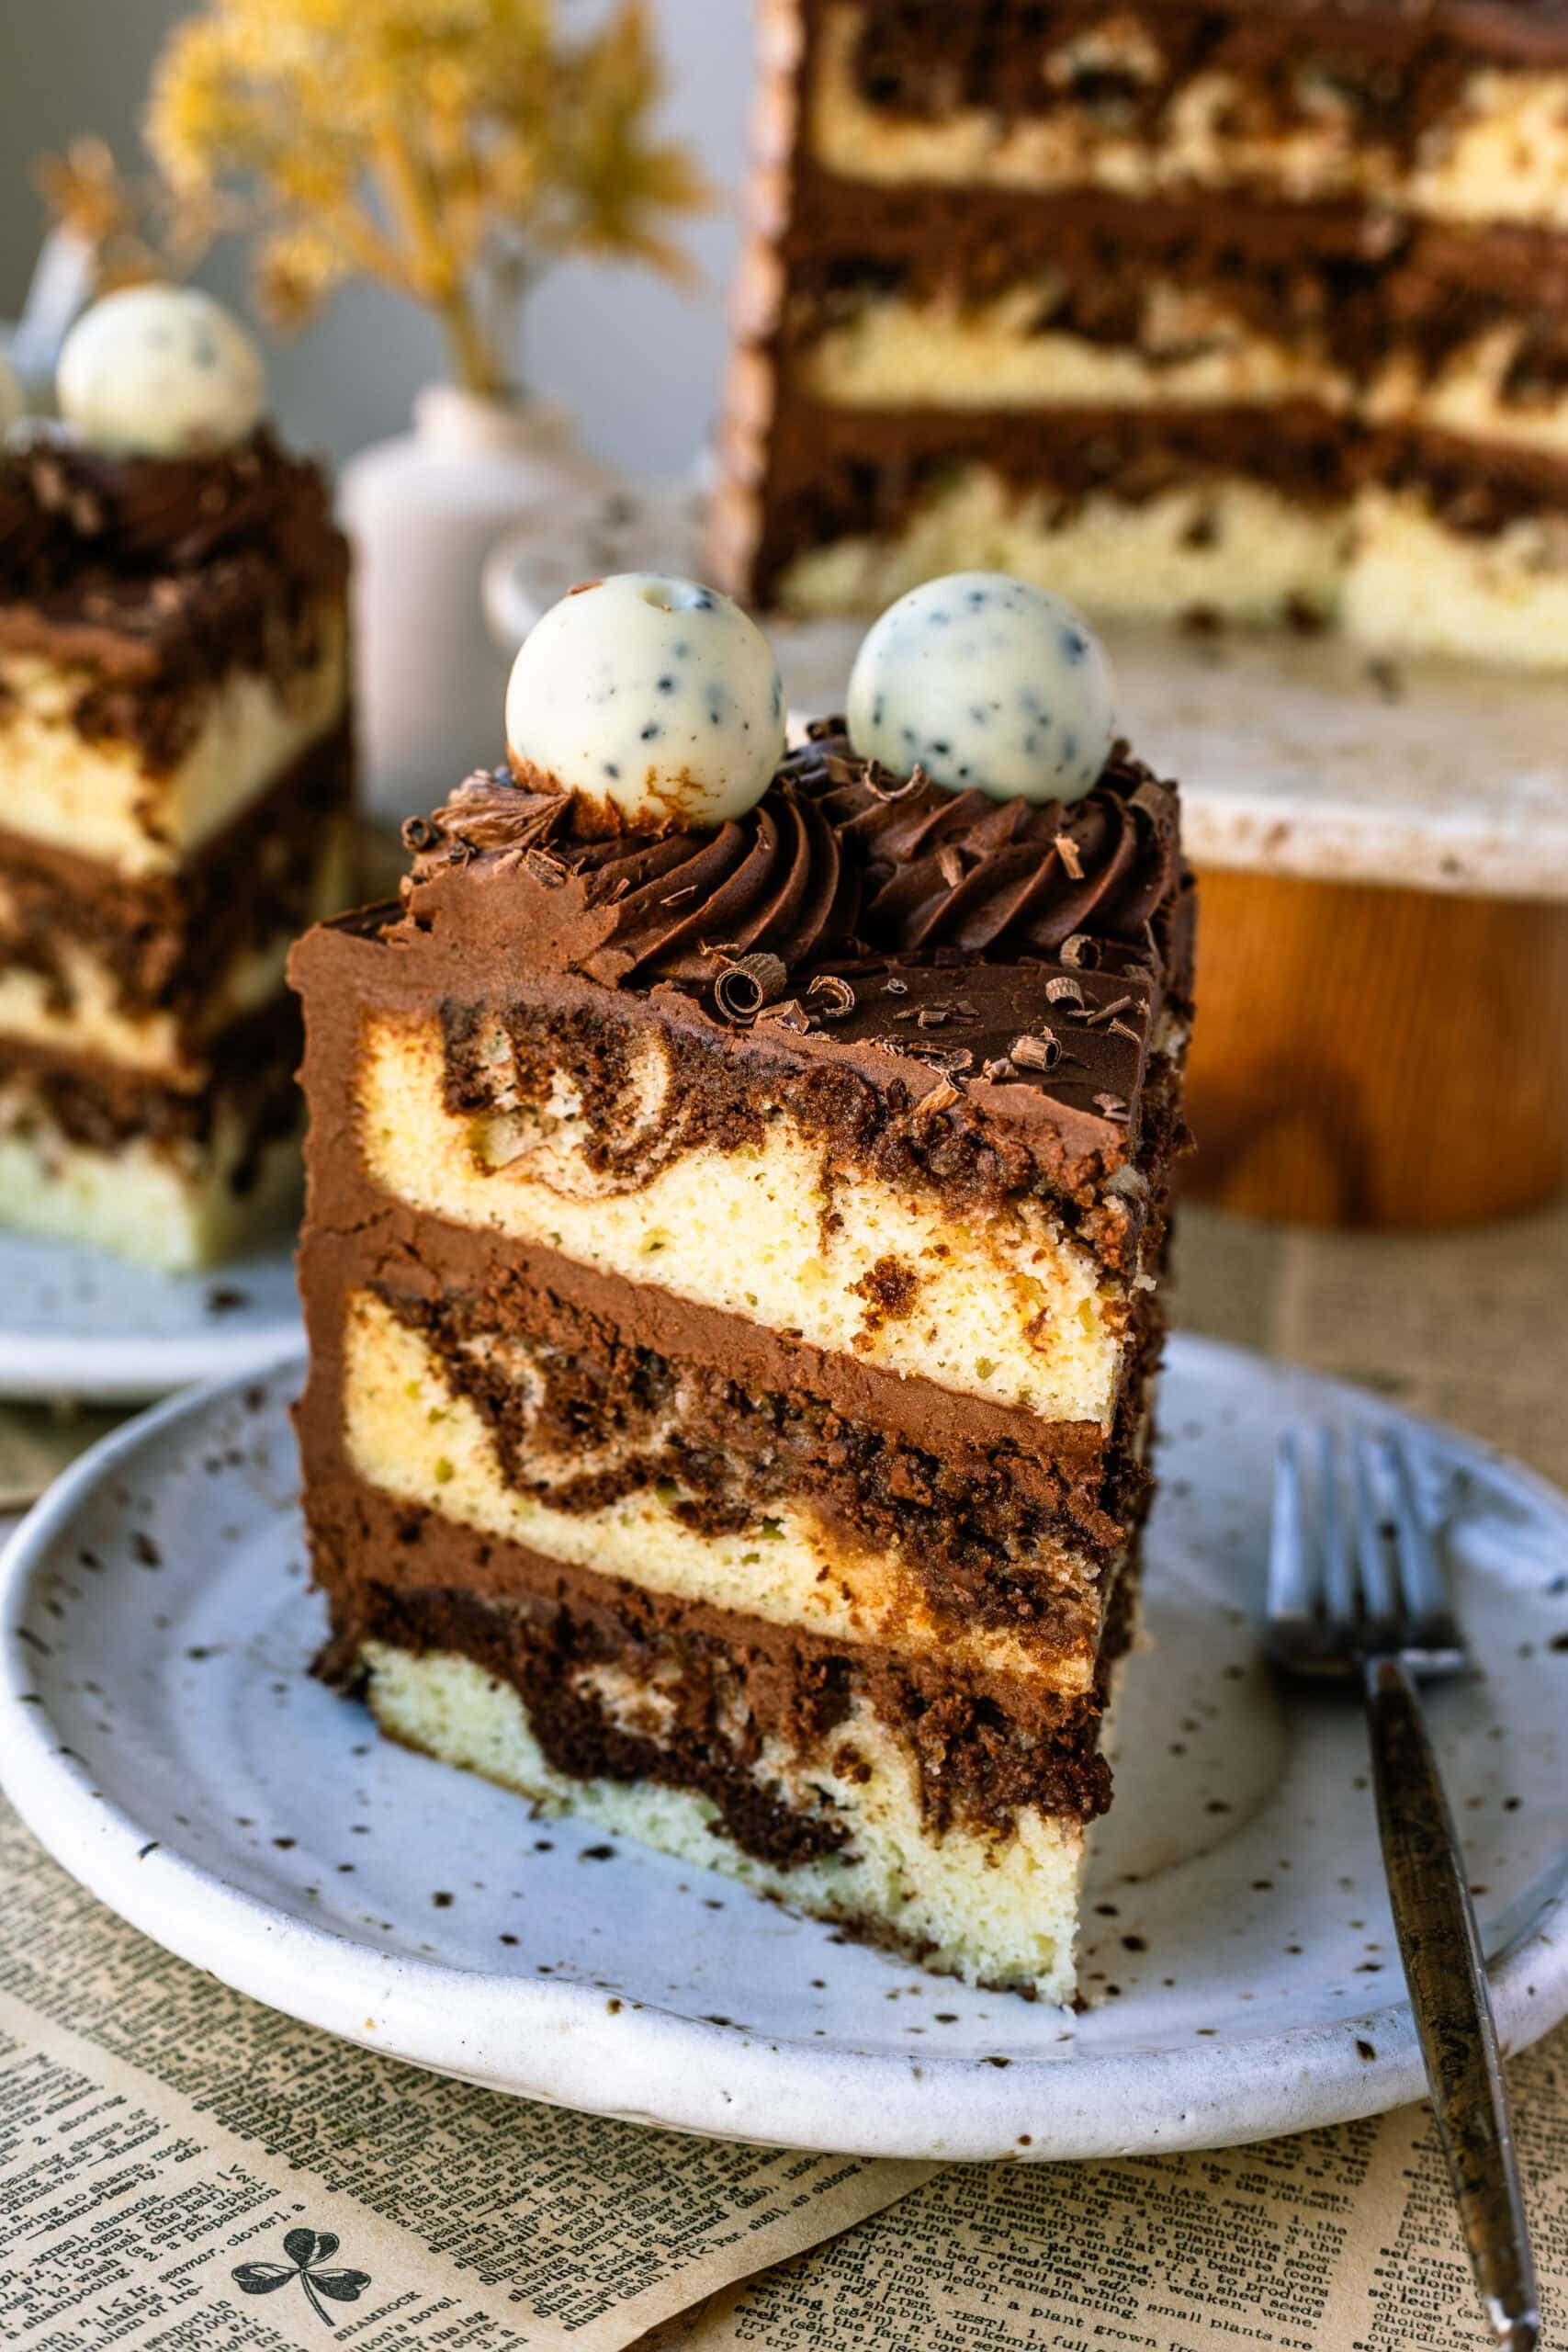
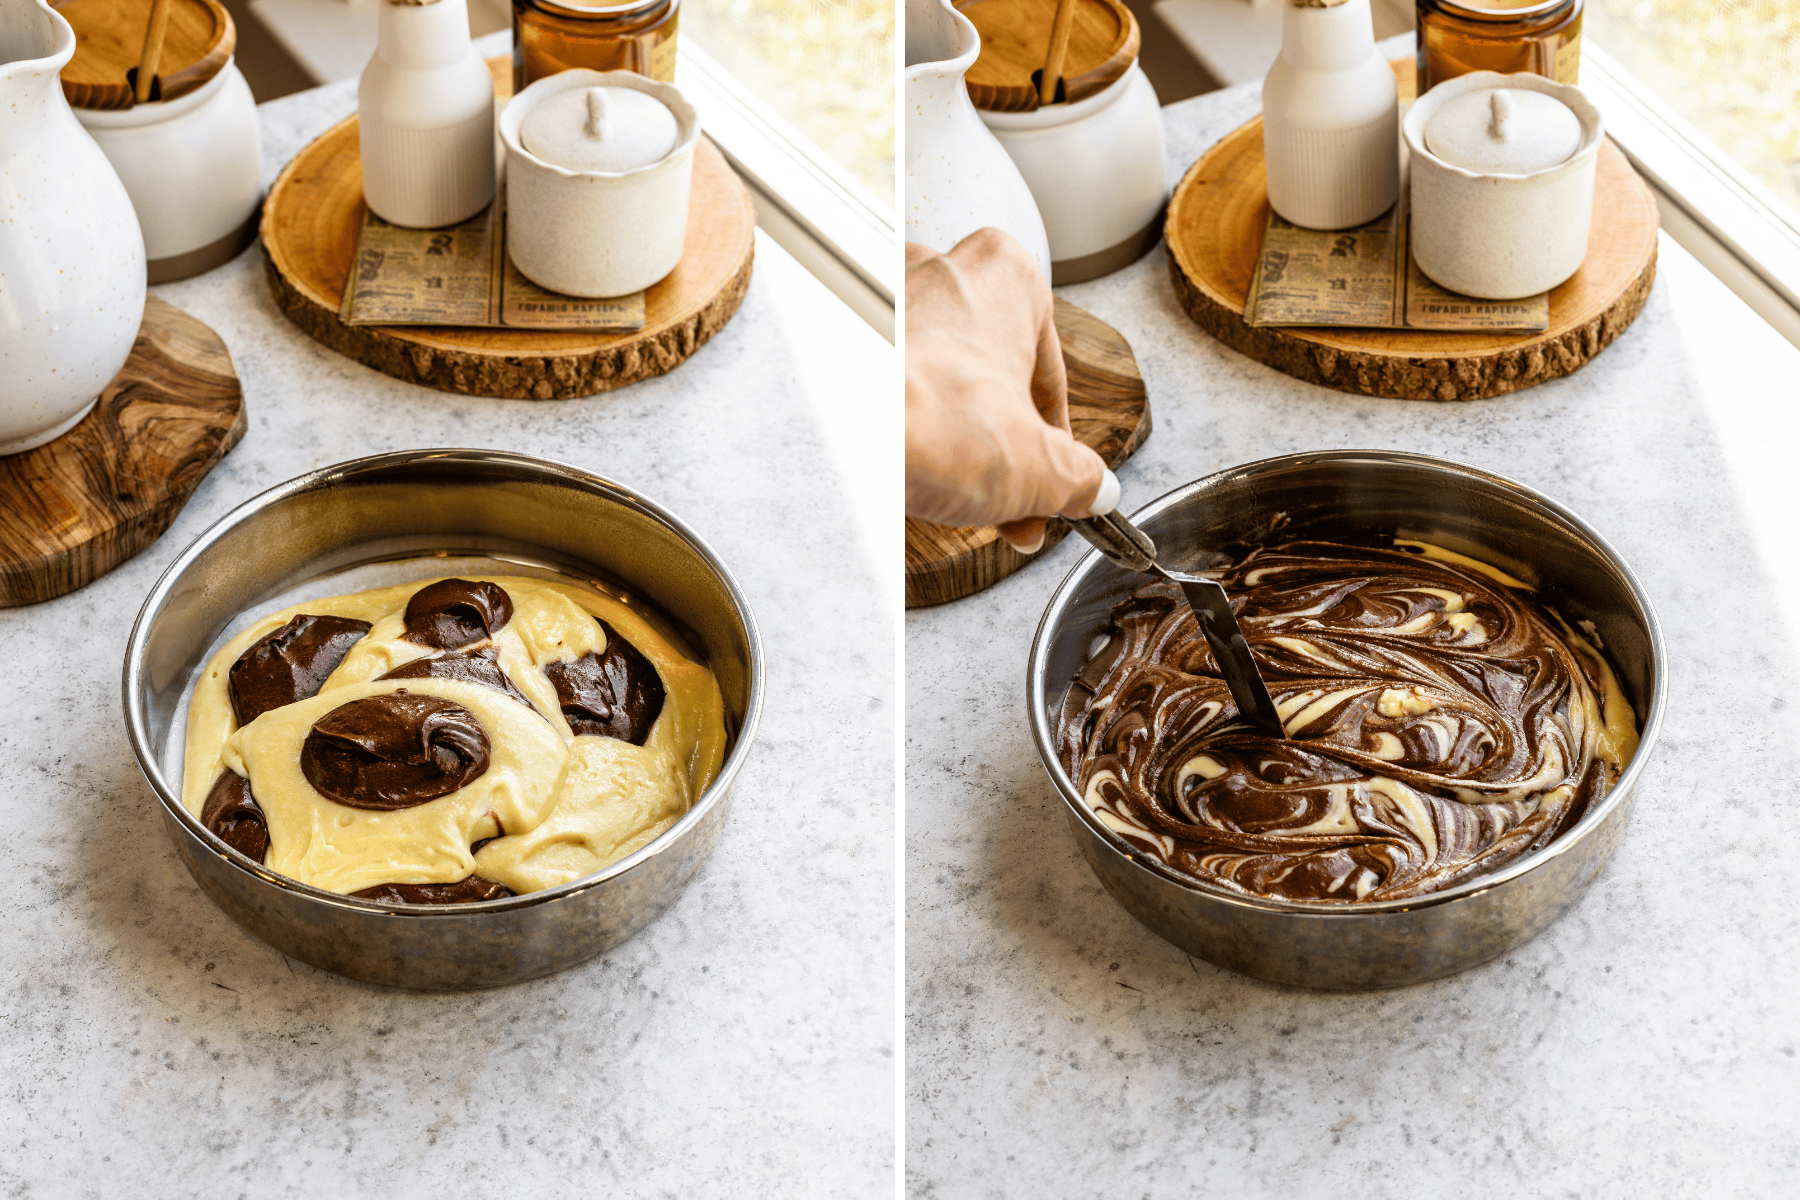
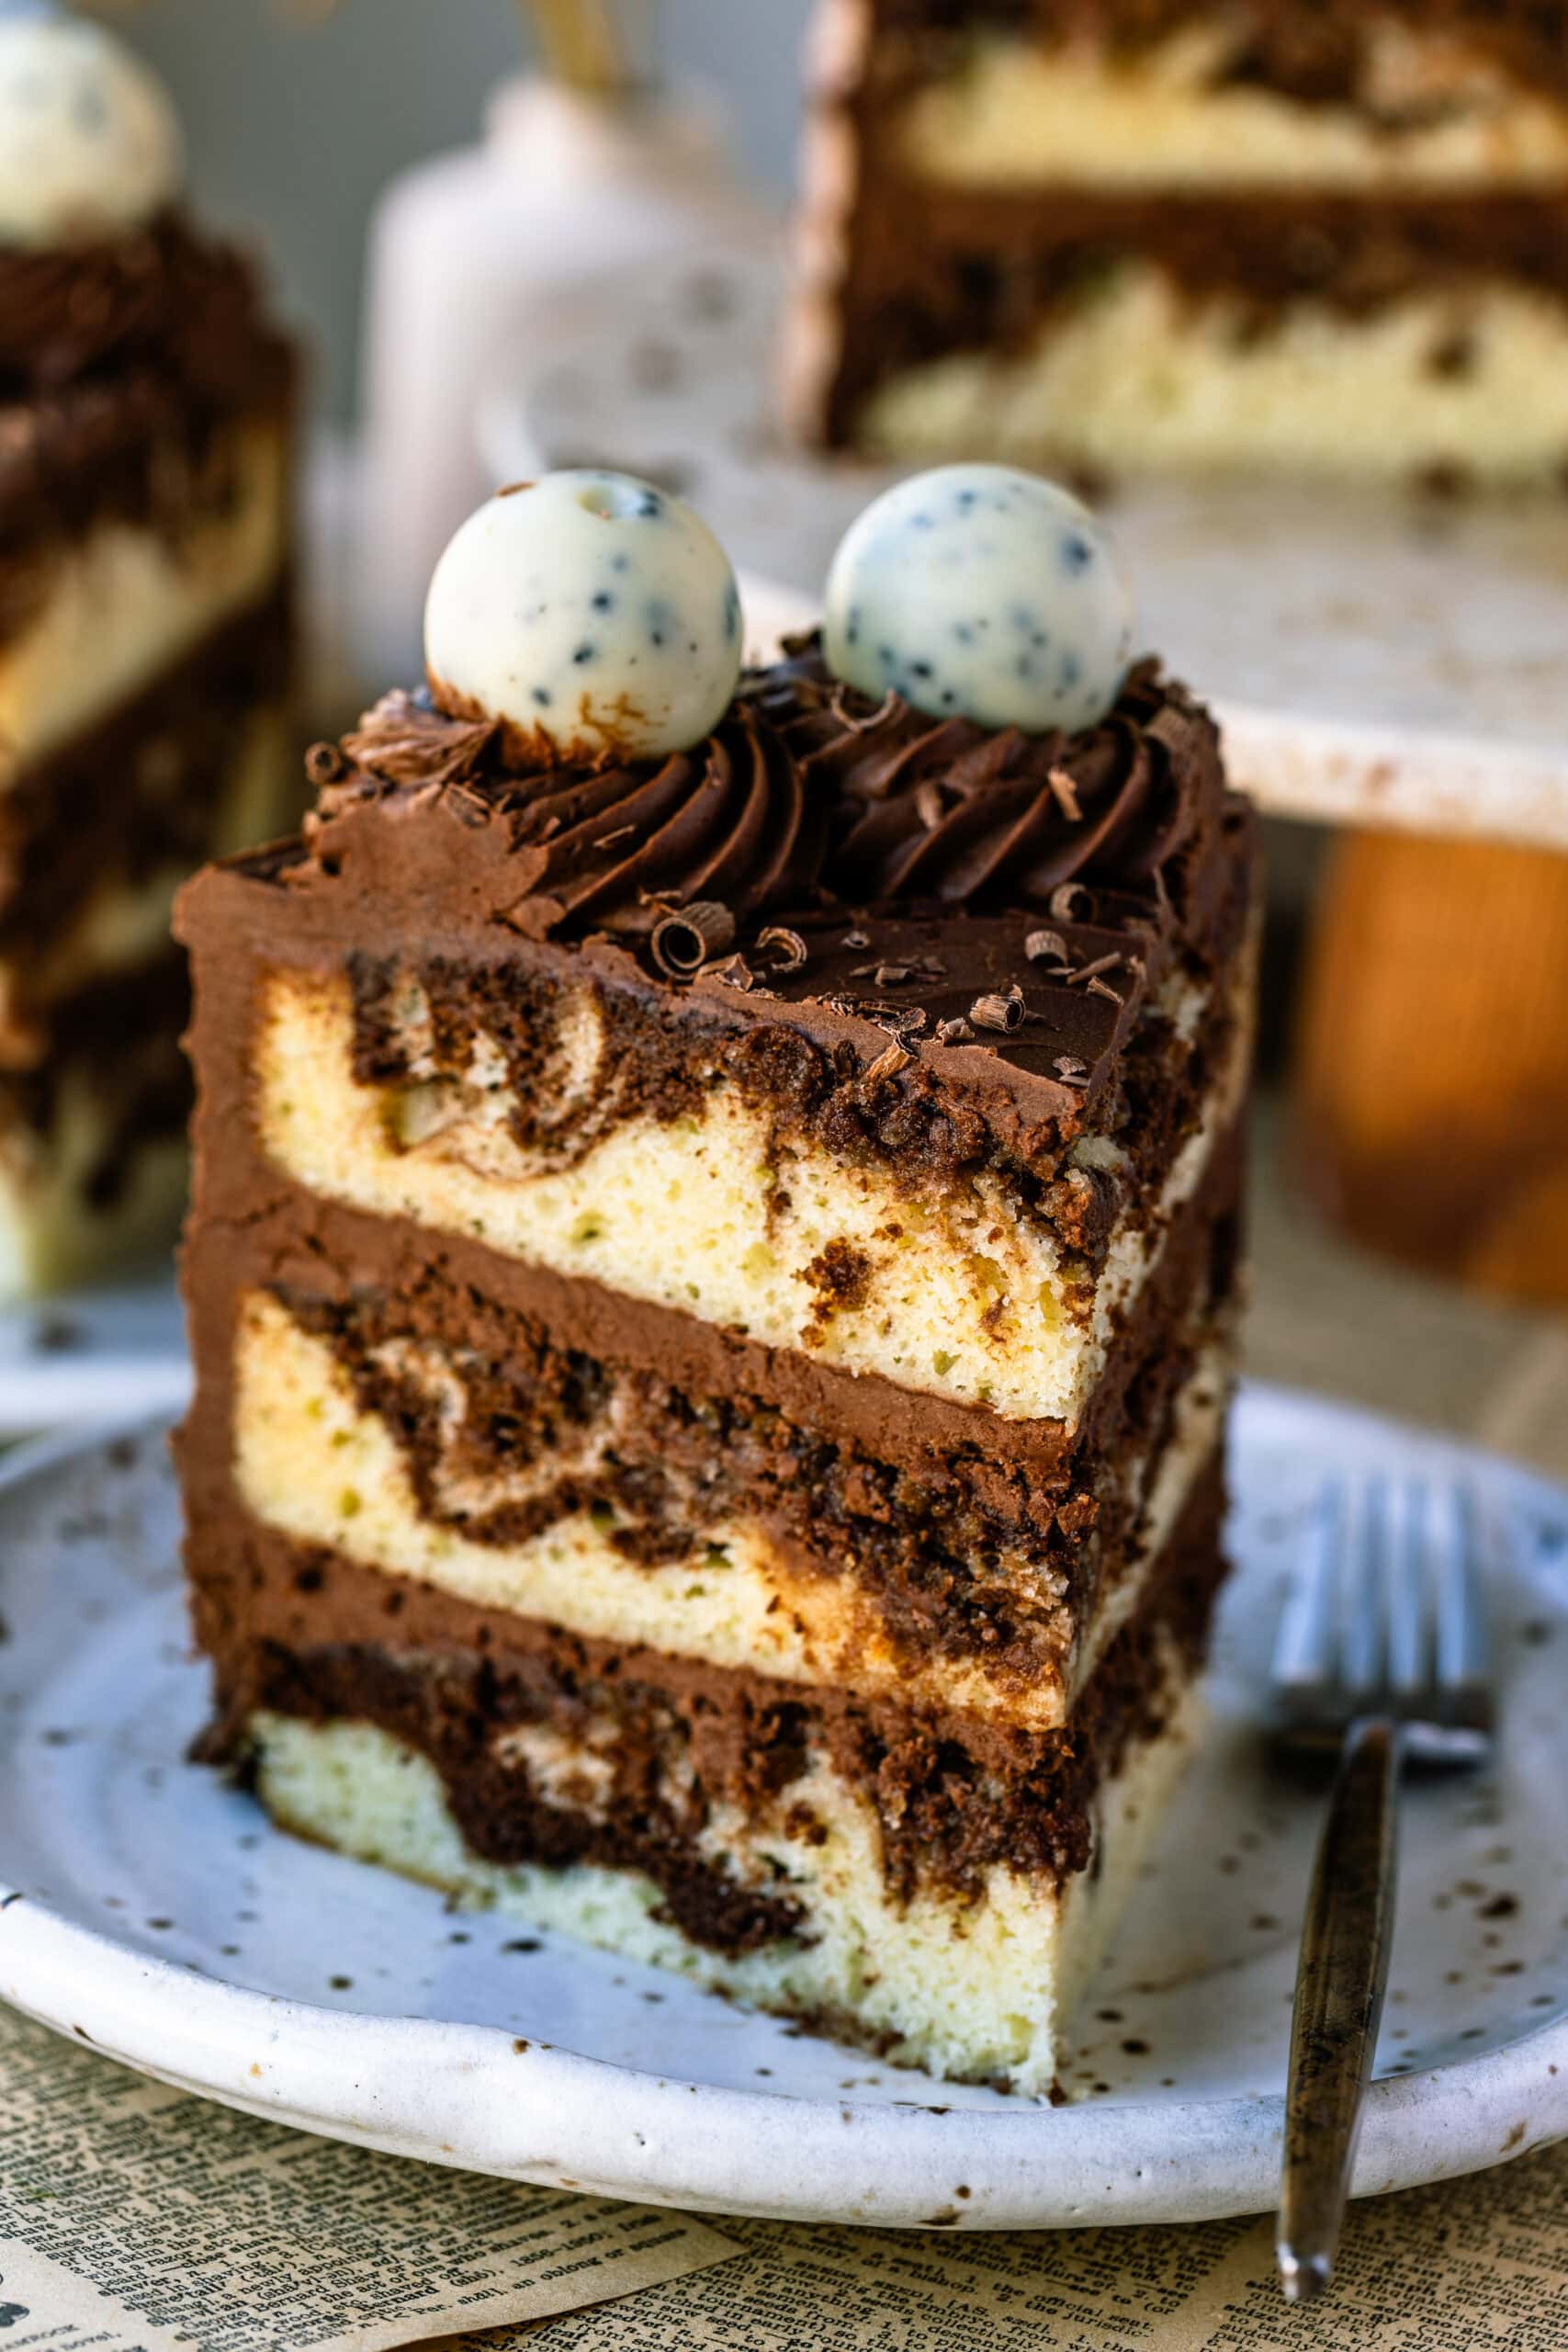
Spoon about one cup of vanilla batter into the bottom of each prepared pan and spread it into an even layer with a rubber spatula. Add large spoonfuls of chocolate batter over the vanilla batter, followed by more vanilla batter on top. Use a knife to gently swirl the batters together once or twice, creating a marbled pattern without overmixing.
Bake the cake layers in the preheated oven for 22 to 27 minutes, or until a toothpick inserted into the center comes out clean with a few moist crumbs attached. Let the cakes cool in the pans for 10 minutes, then turn them out onto a few wire cooling rack to cool completely before frosting.
Step 4: Chocolate Frosting
This chocolate frosting is super rich and creamy. I use it in several cakes such as this German Chocolate Cake. It’s made with a smooth chocolate ganache, cocoa powder, and powdered sugar, which gives the frosting a deep chocolate flavor and a silky, spreadable texture without being overly sweet.
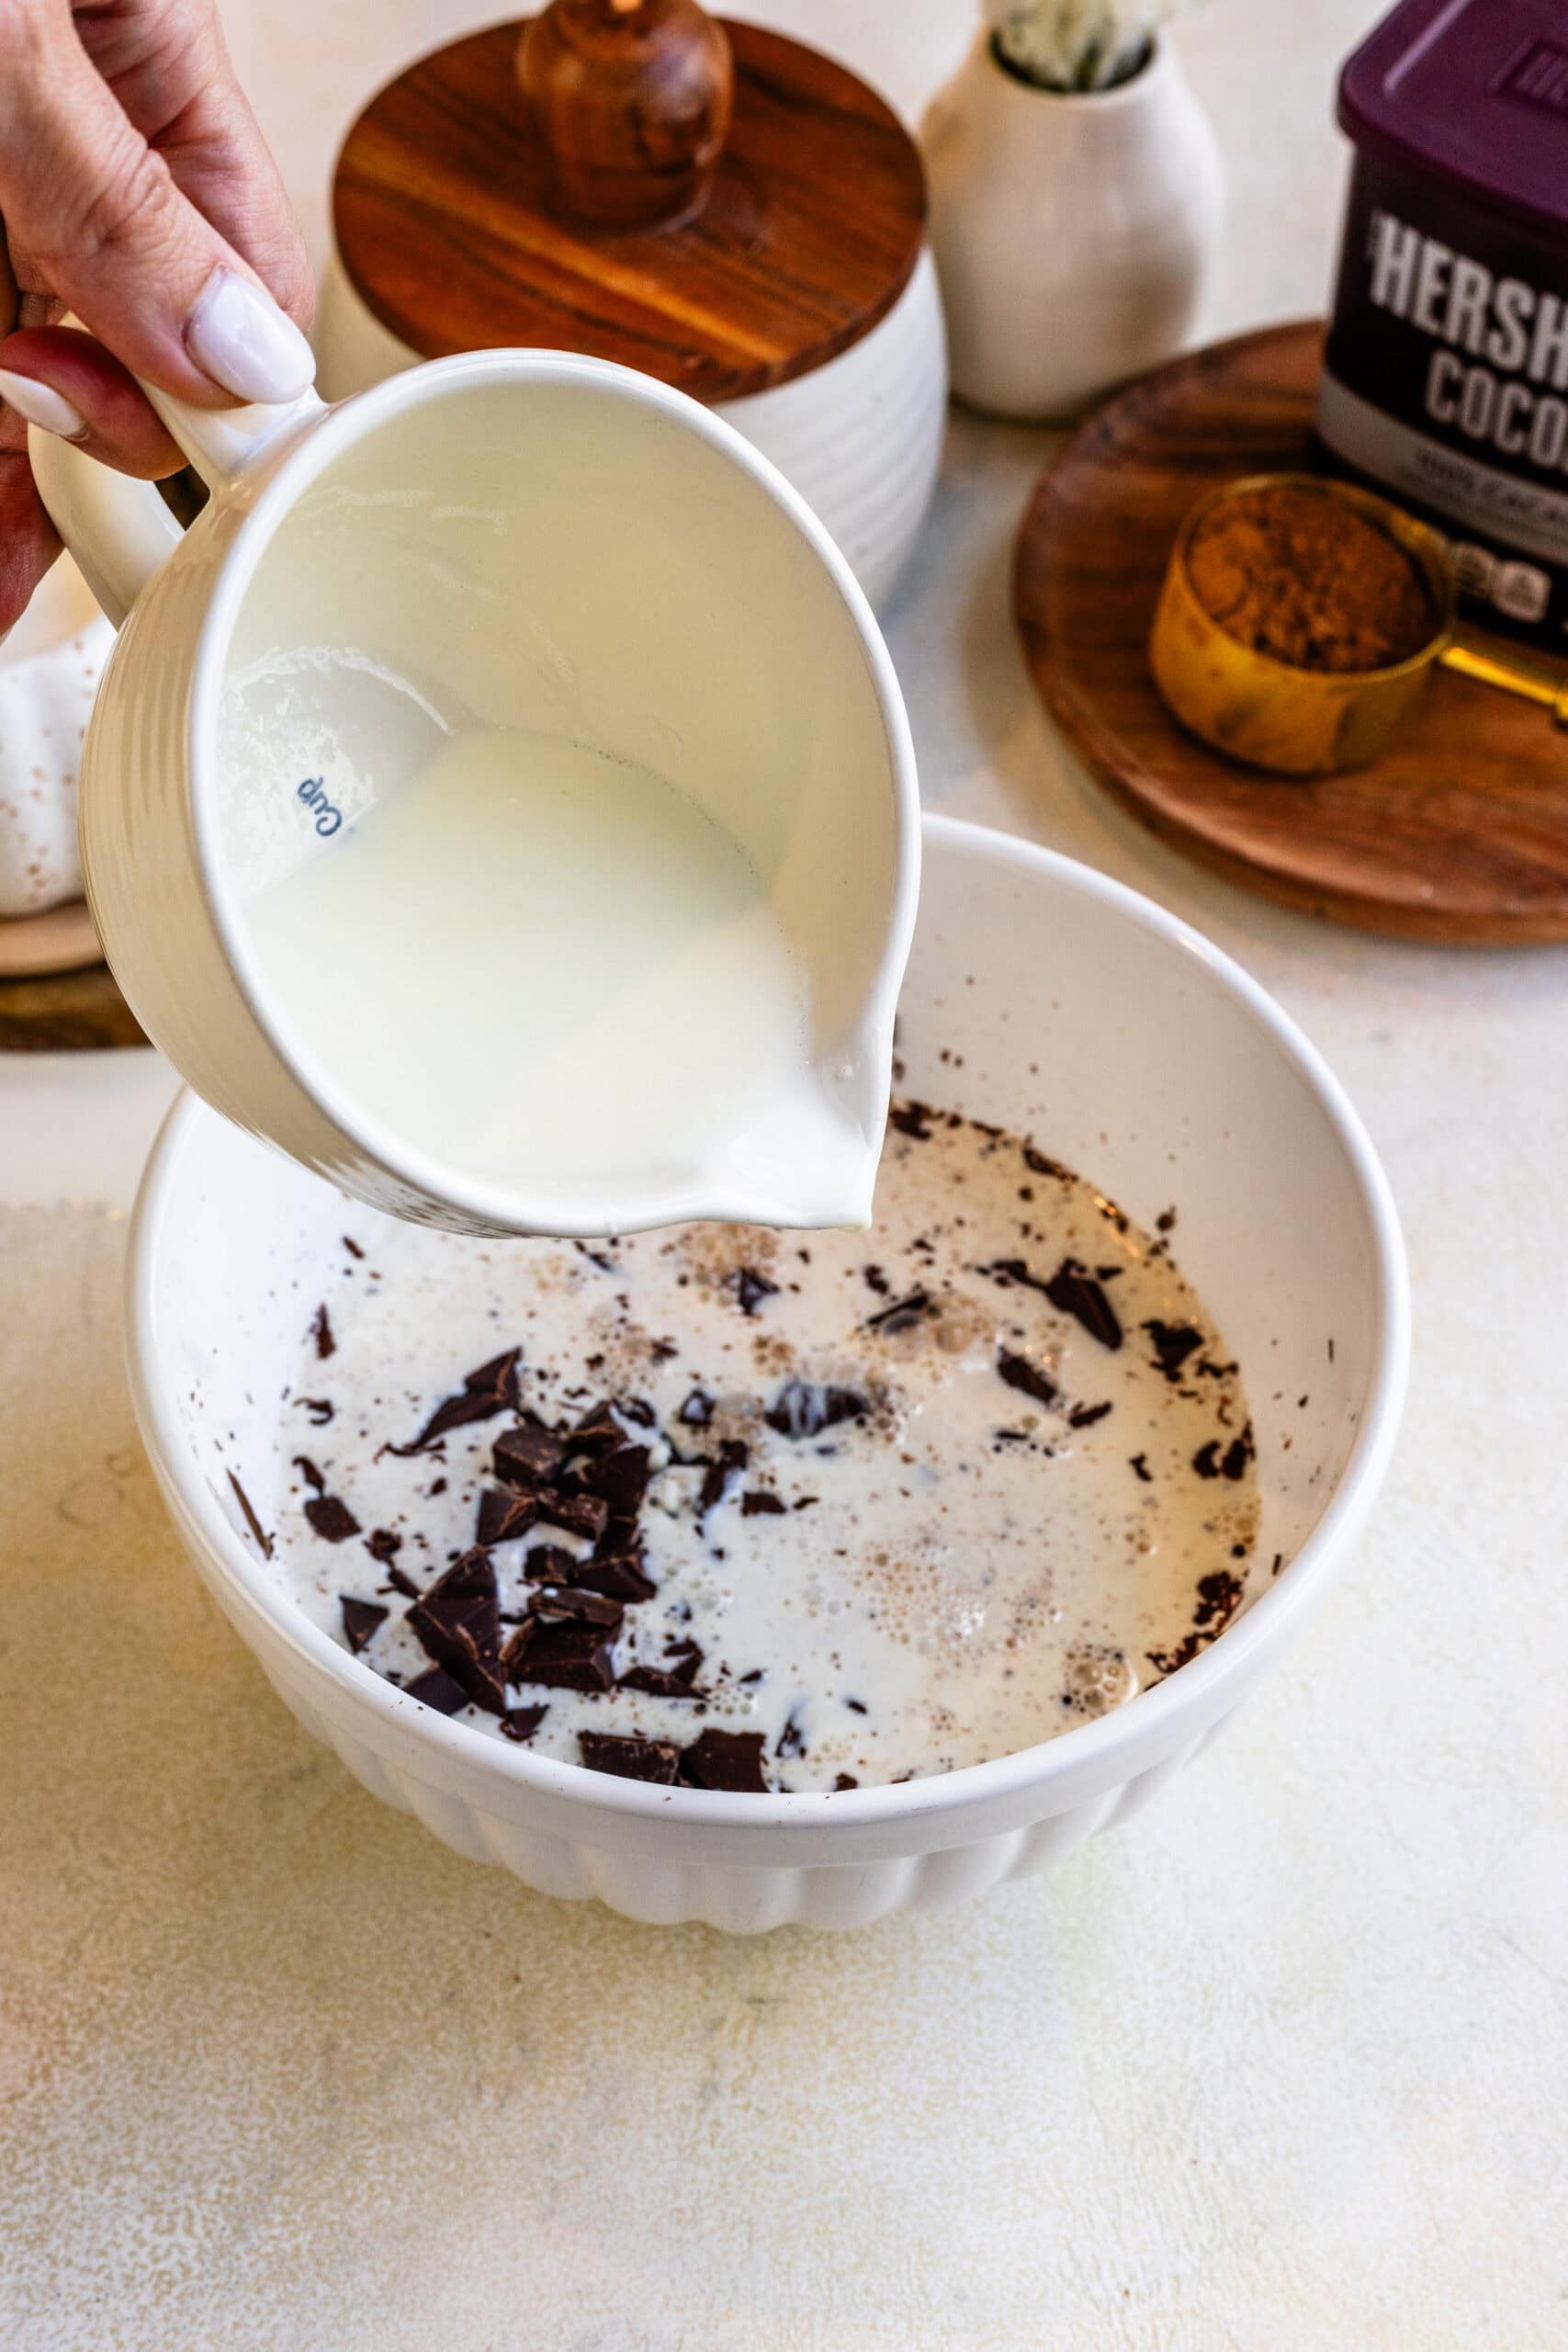
Pour the hot cream over the chopped chocolate and let it sit for one to two minutes, then stir until completely smooth.
Set the melted chocolate mixture (ganache) aside to cool to room temperature until it is soft and spreadable, about 20 to 30 minutes.
Beat the butter on medium-high speed with an electric mixer for three to four minutes, until pale and fluffy.
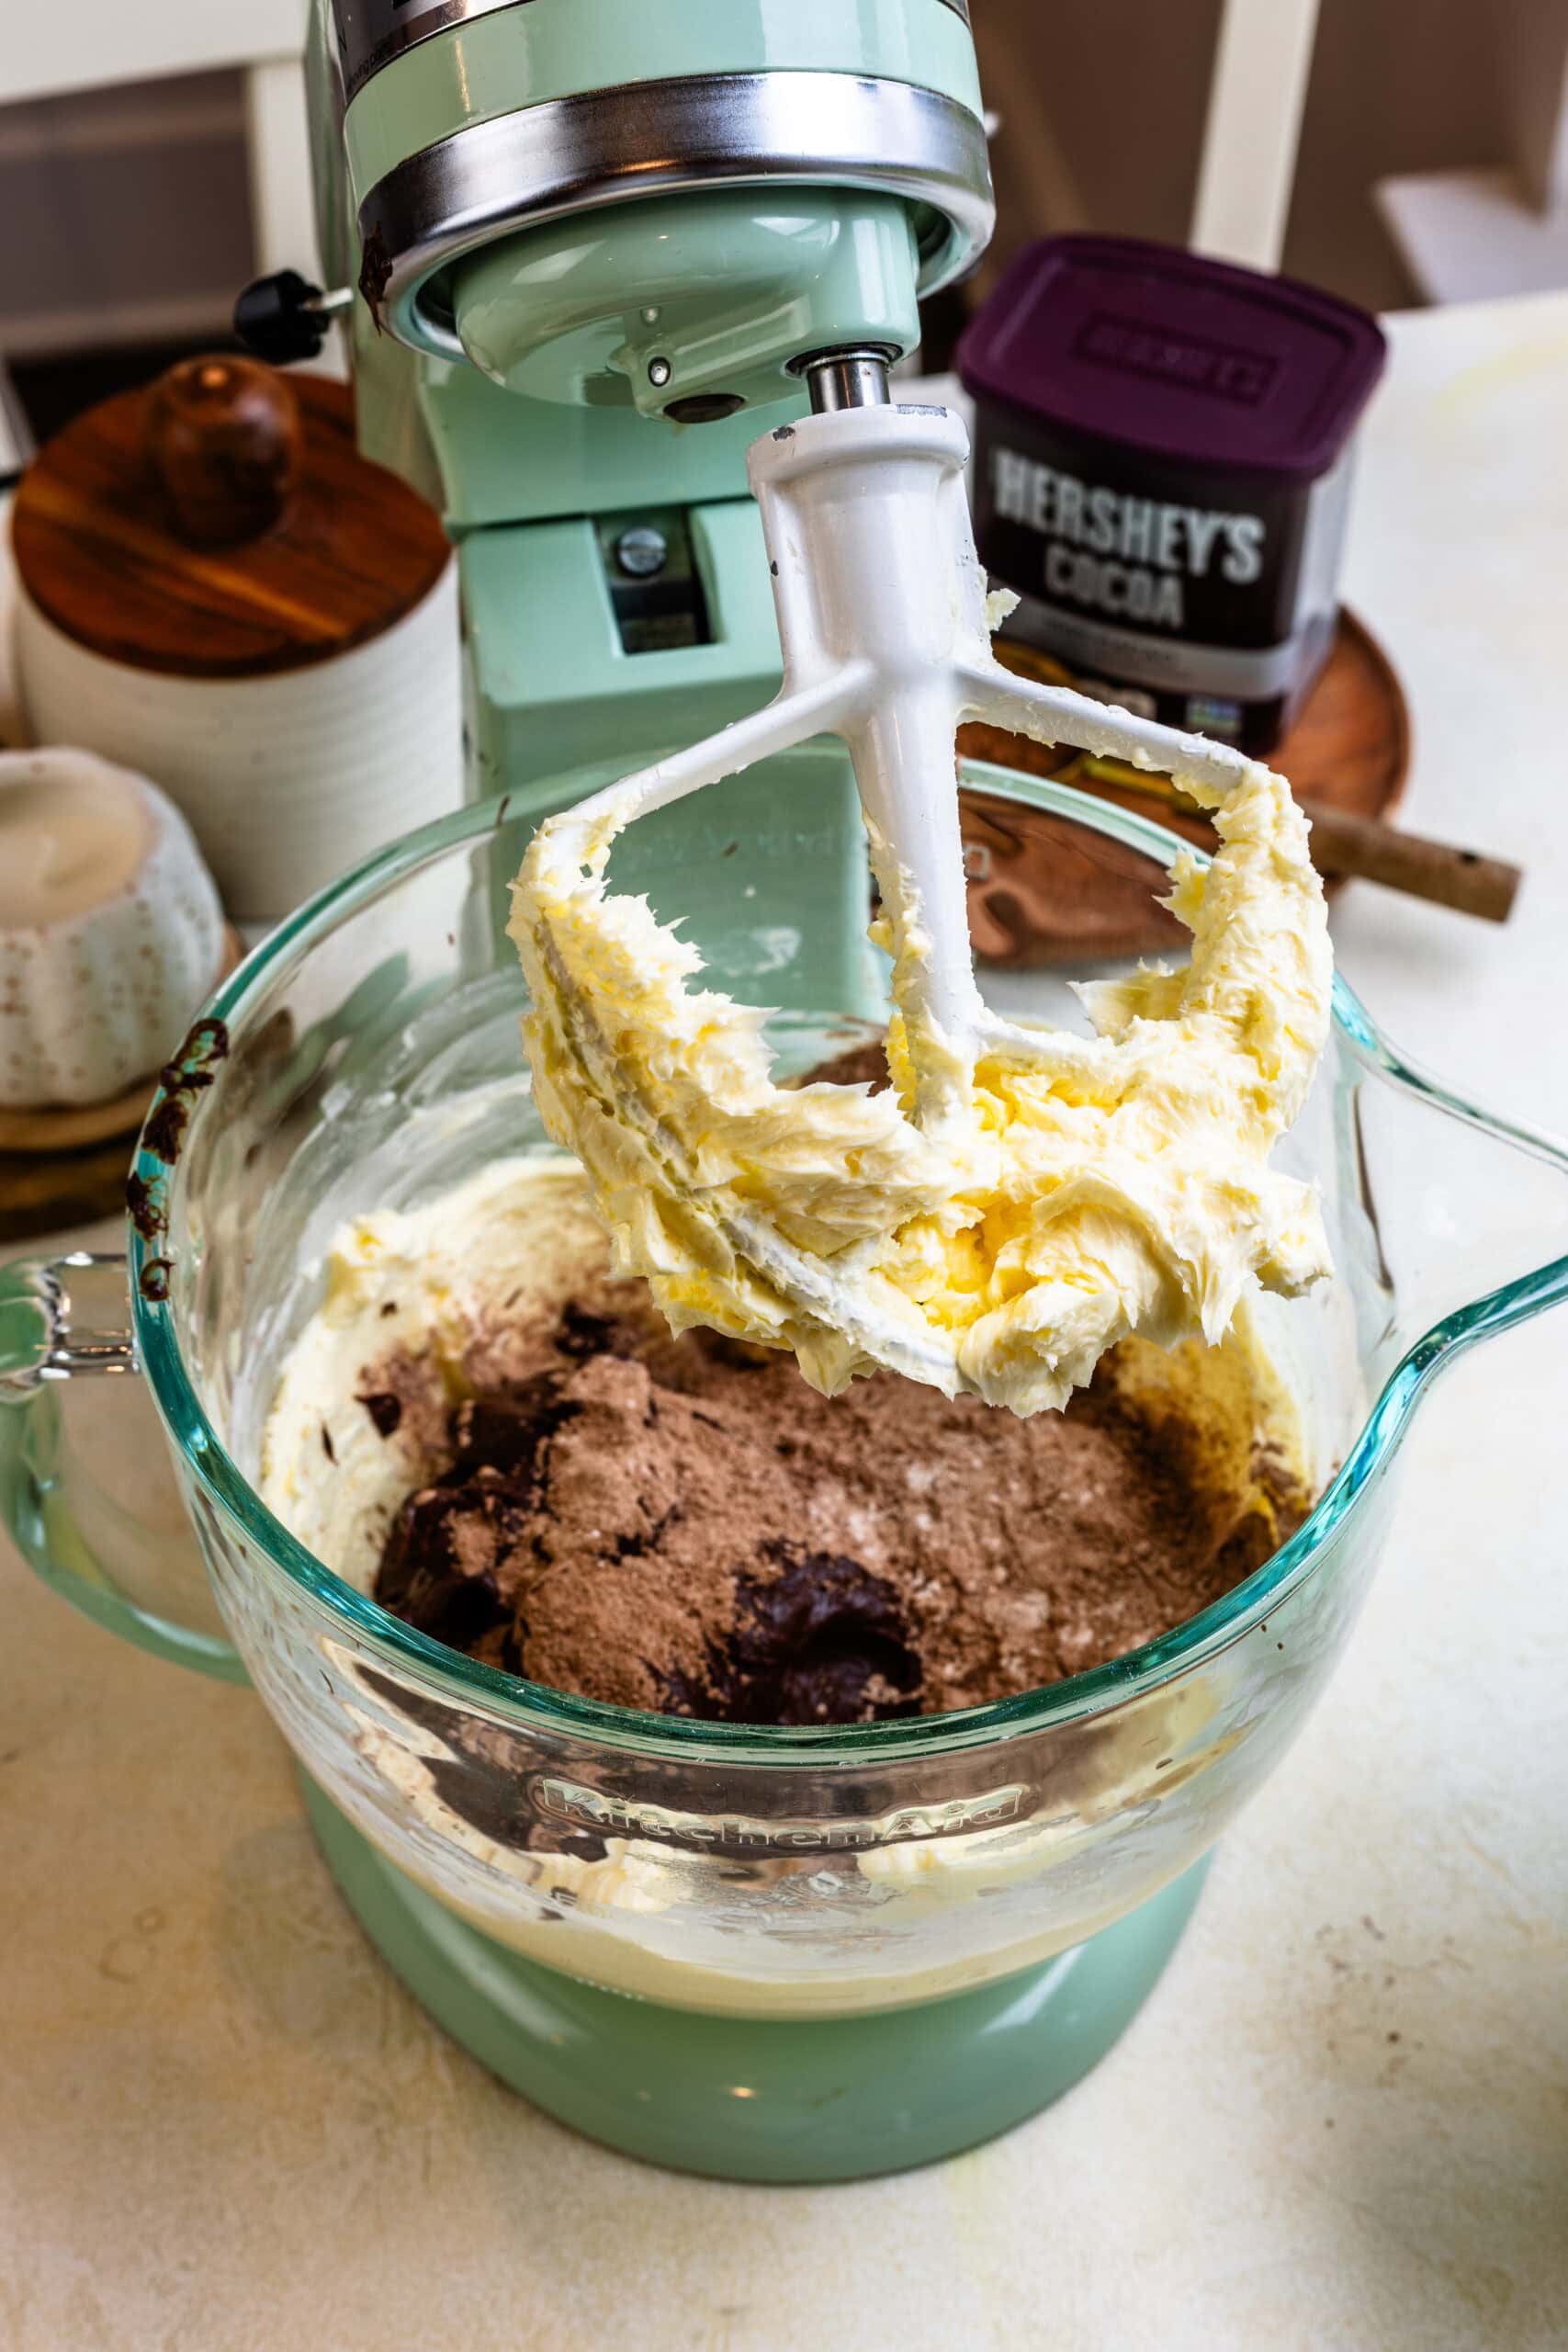
Add the sifted cocoa powder and powdered sugar to the butter in three additions, mixing on low speed after each addition.
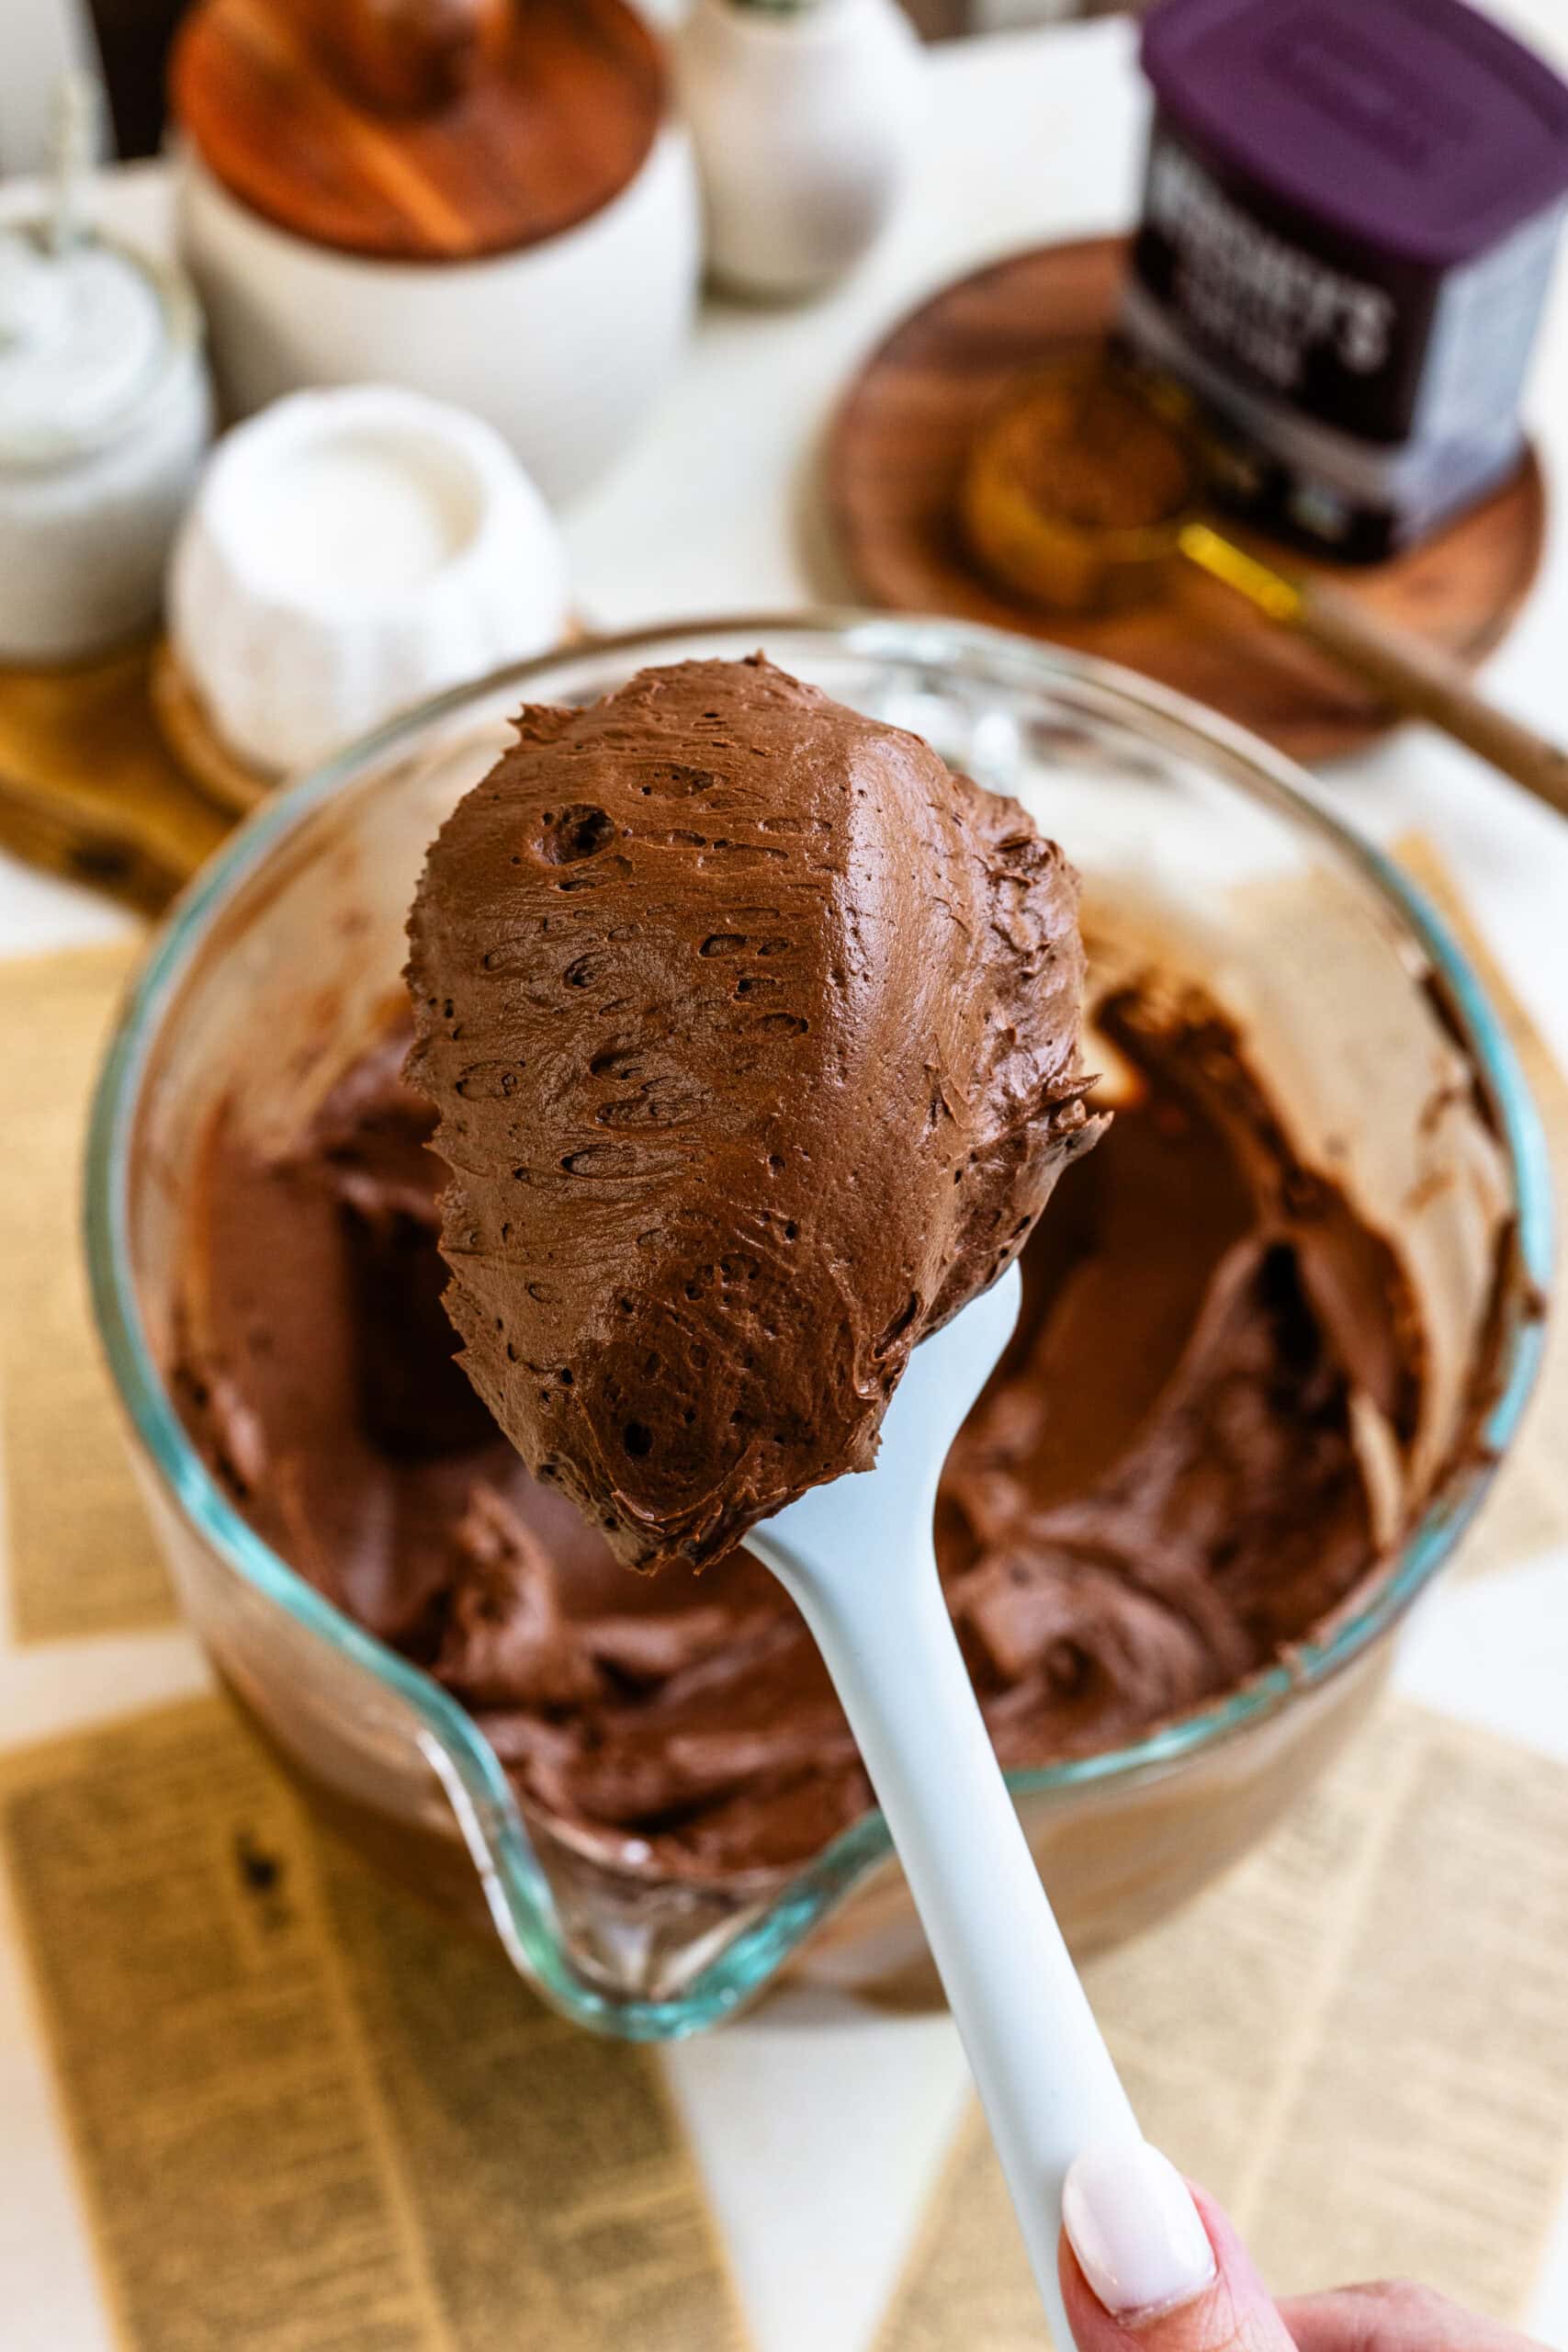
Add the cooled ganache and vanilla extract to the frosting. Beat on medium-high speed for two to three minutes, until the frosting is smooth, fluffy, and easy to spread.
Step 5: Decorating the Cake
I always make sure the cake layers are completely cool before I start decorating to prevent the cake from falling apart while leveling. Also to prevent the frosting from melting! Level your layers if needed first, then place the first layer on a cake board or serving plate.
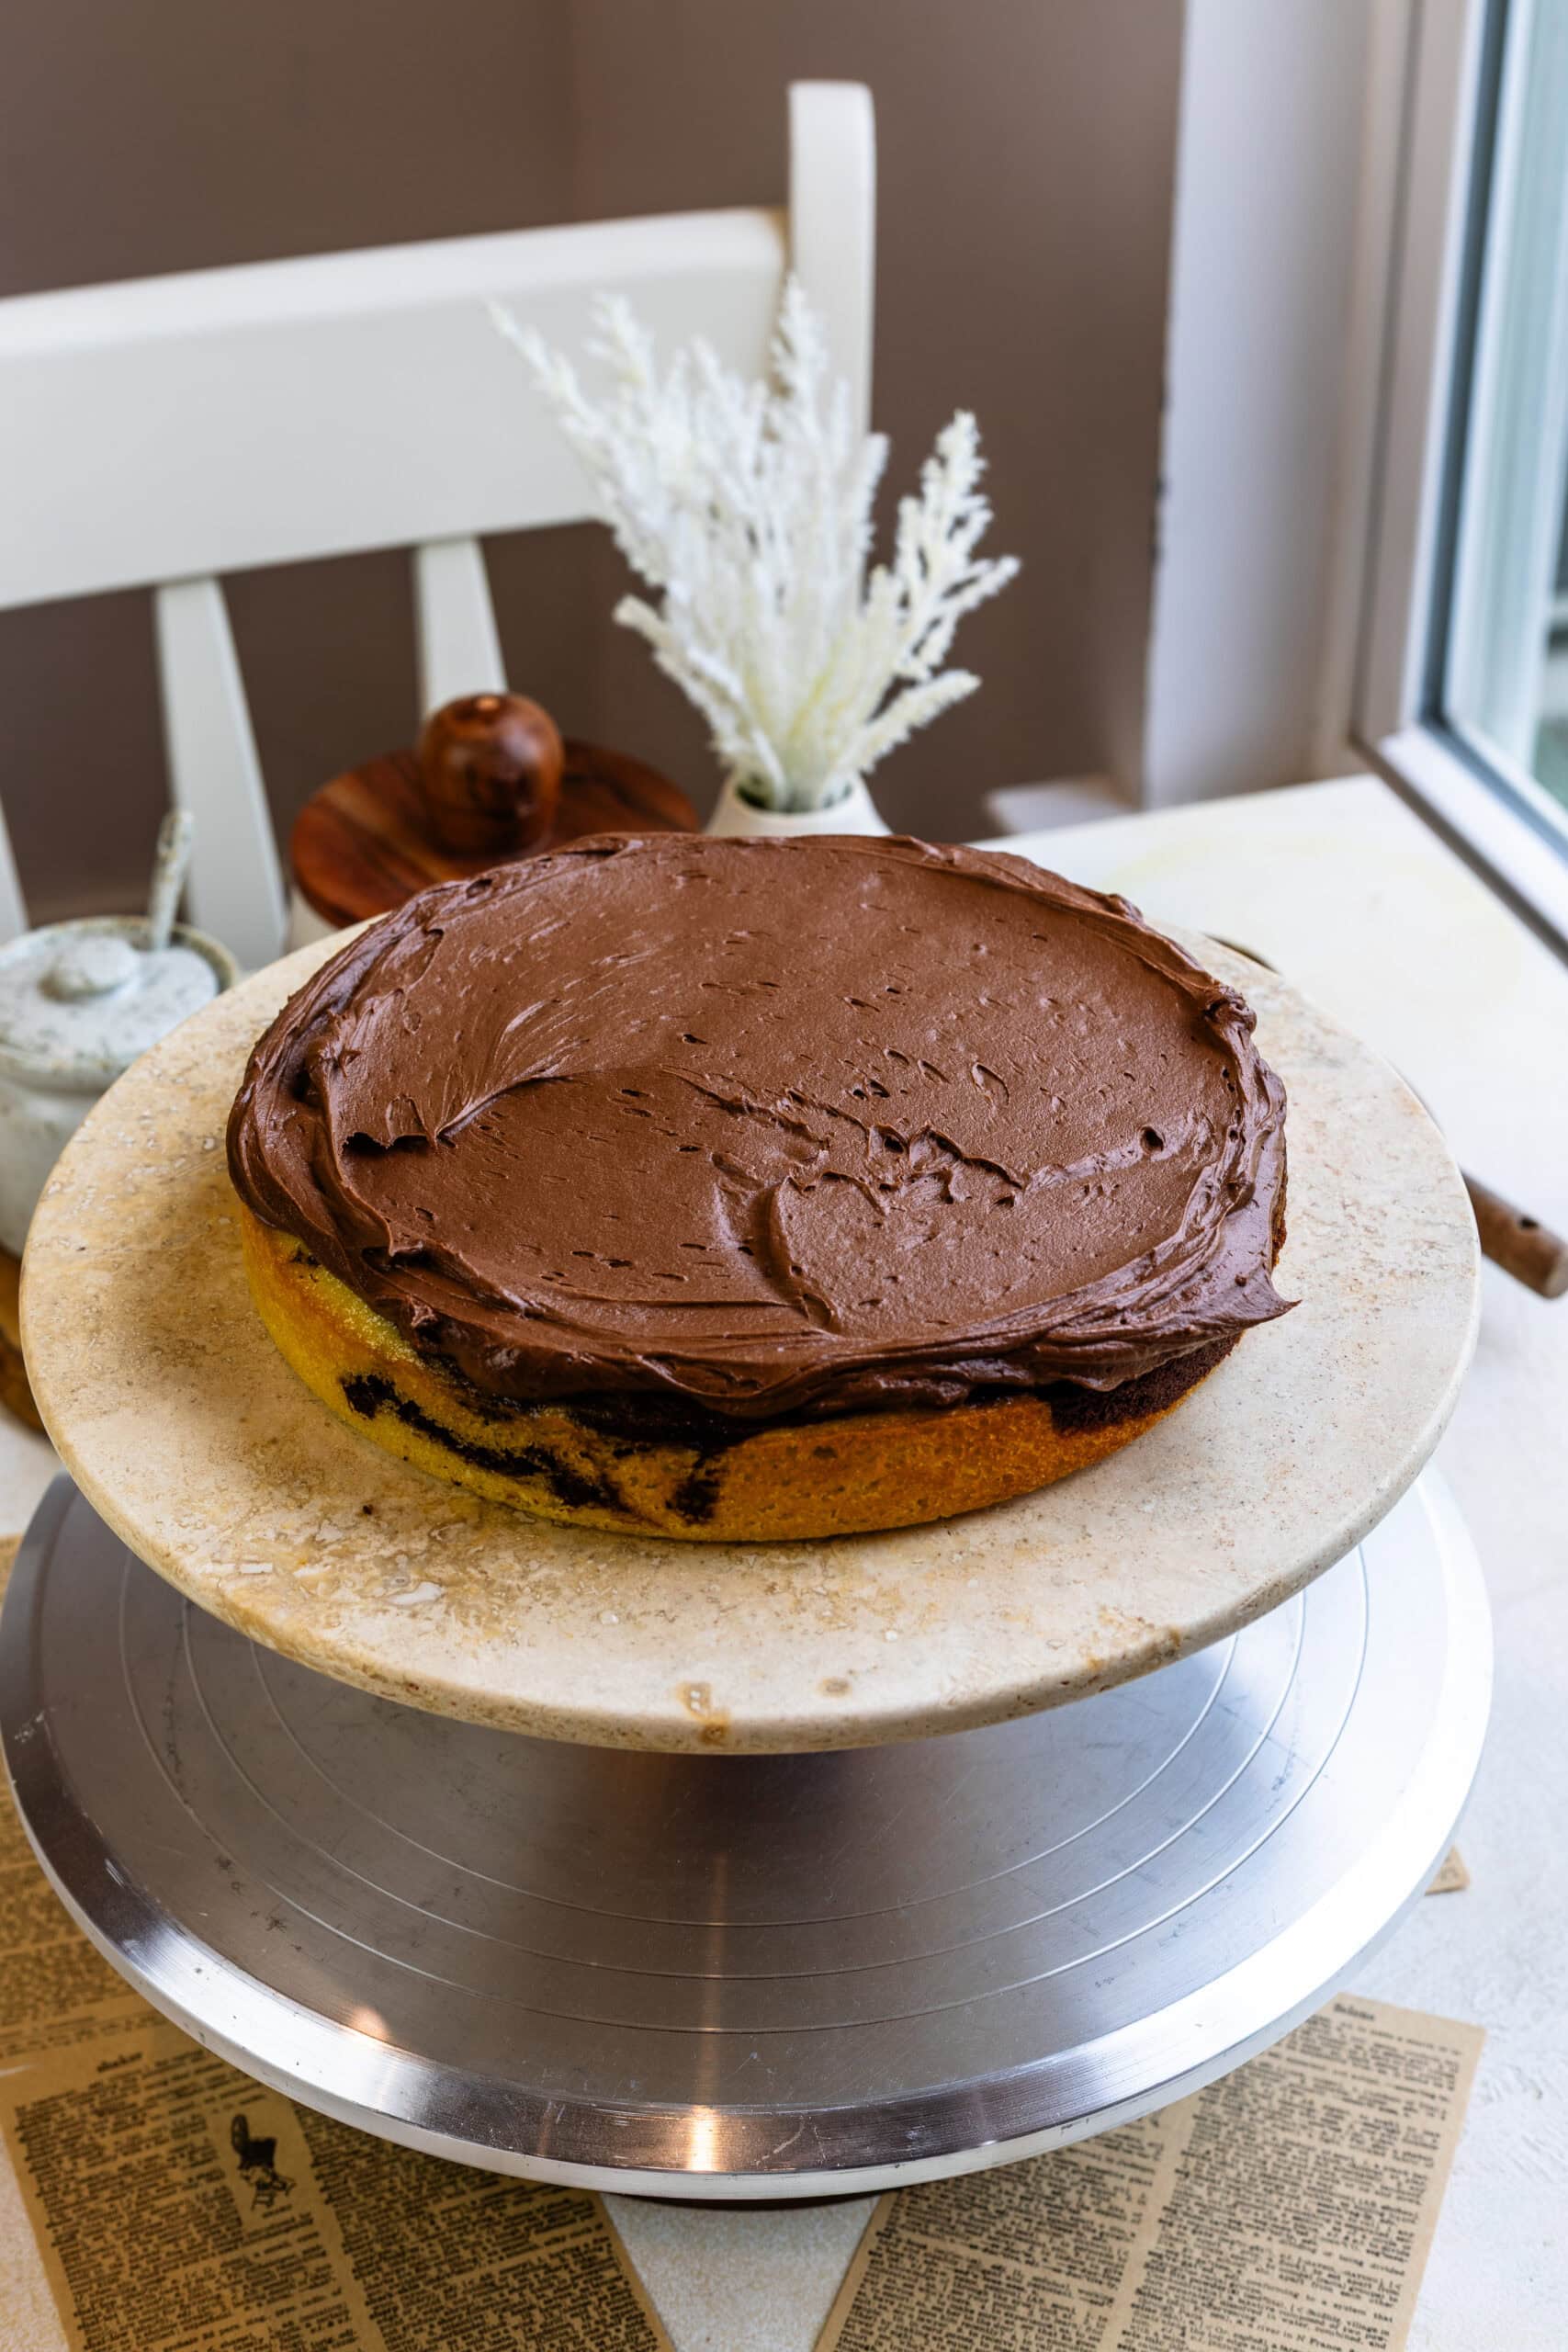
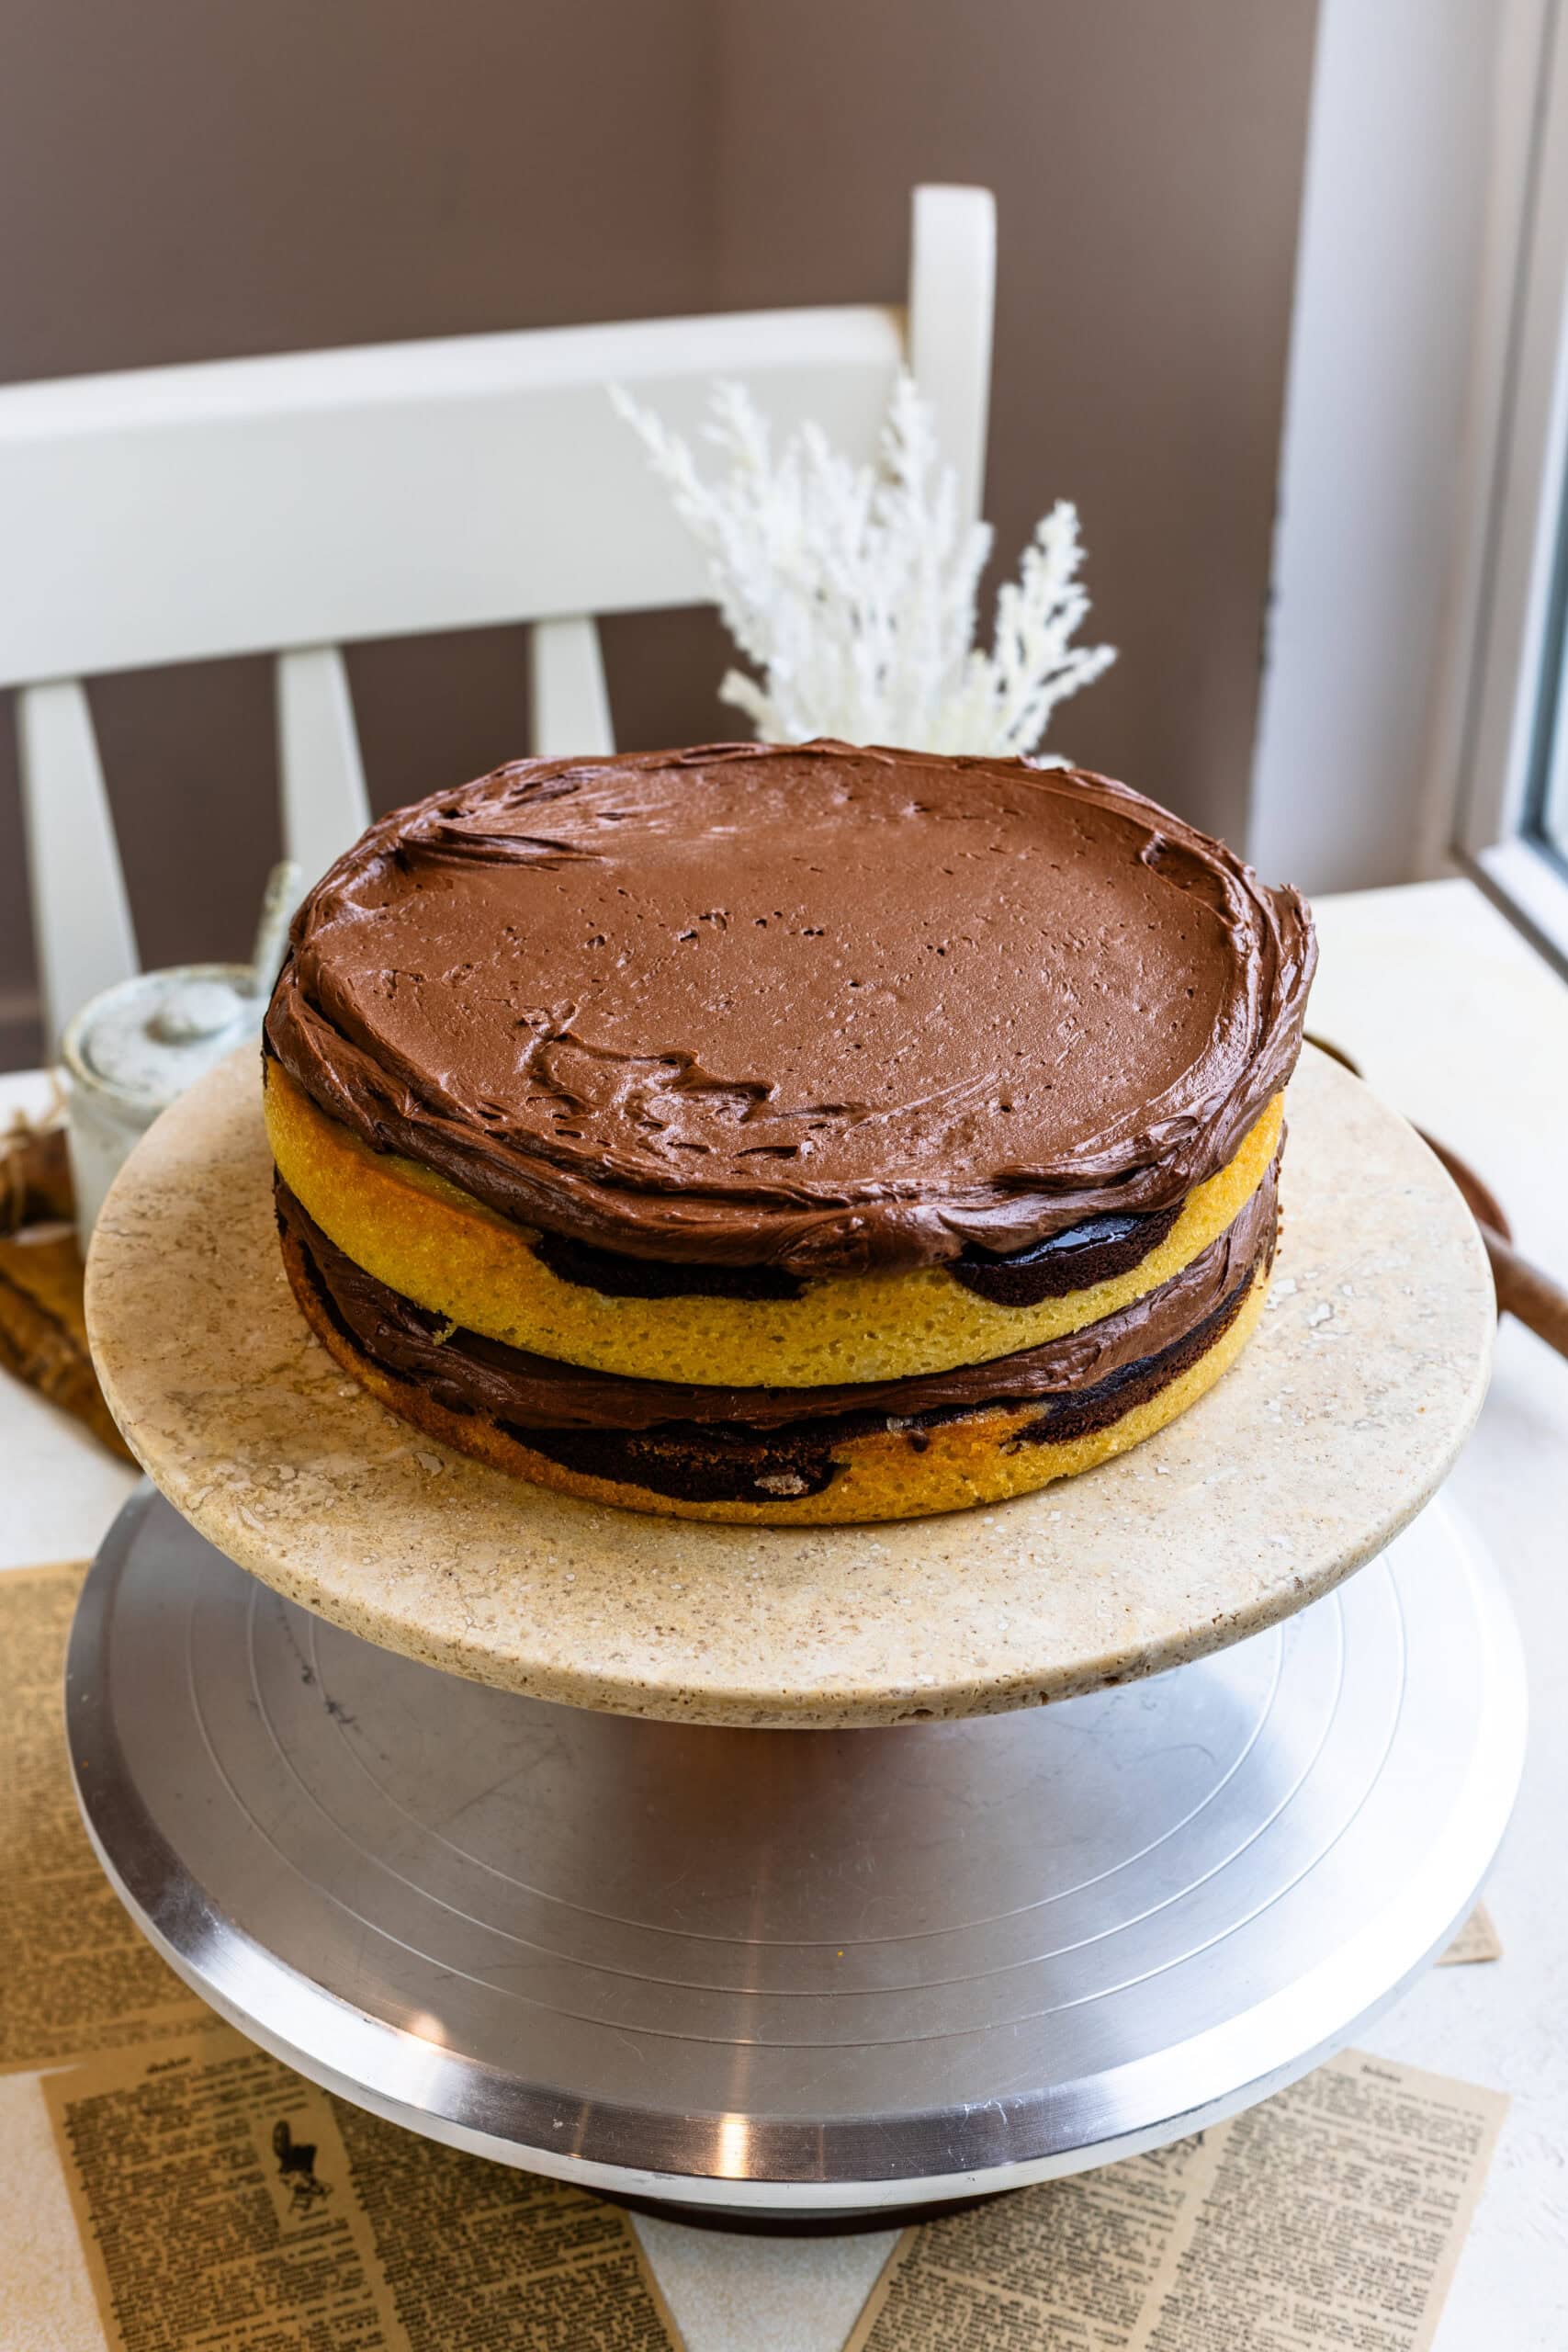
Spread an even layer of chocolate frosting on top. Add the second layer and repeat, then place the third layer on top.
Once the cake is assembled, I always start with a thin crumb coat of frosting around the entire cake. This step traps any loose crumbs and makes the final coat much cleaner. I chill the cake for about 15 to 20 minutes, just until the frosting feels set to the touch.

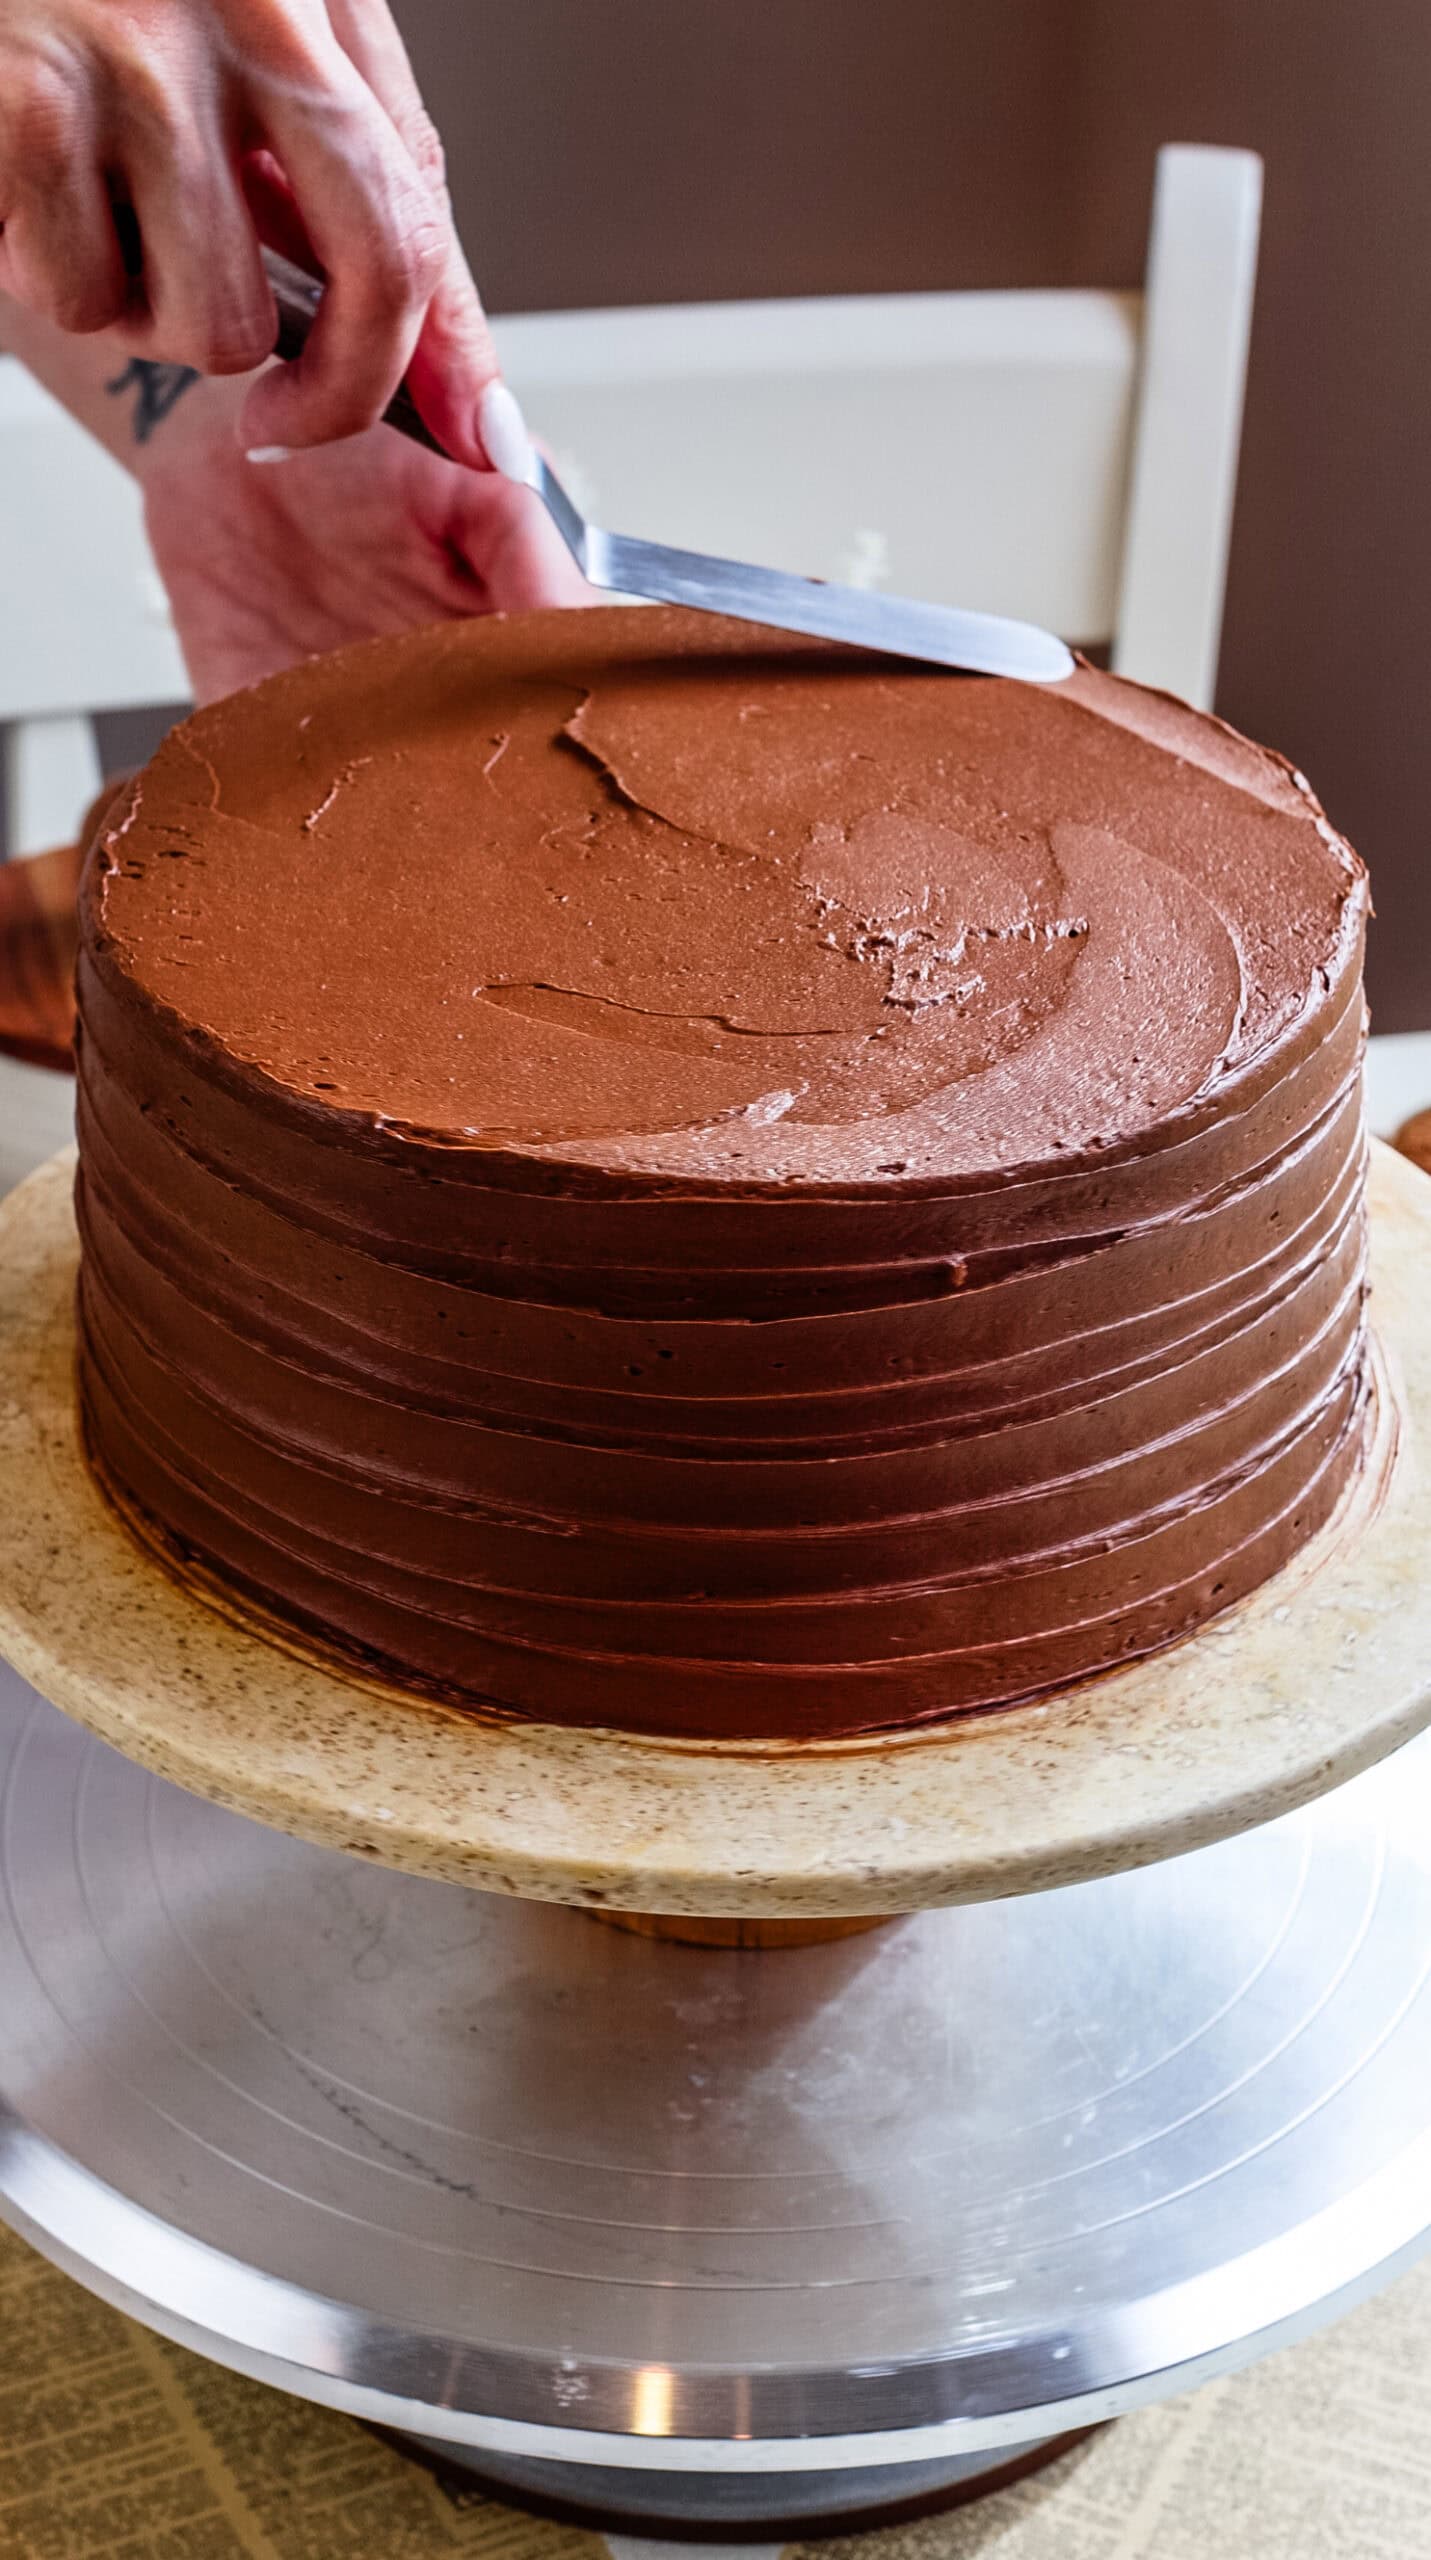
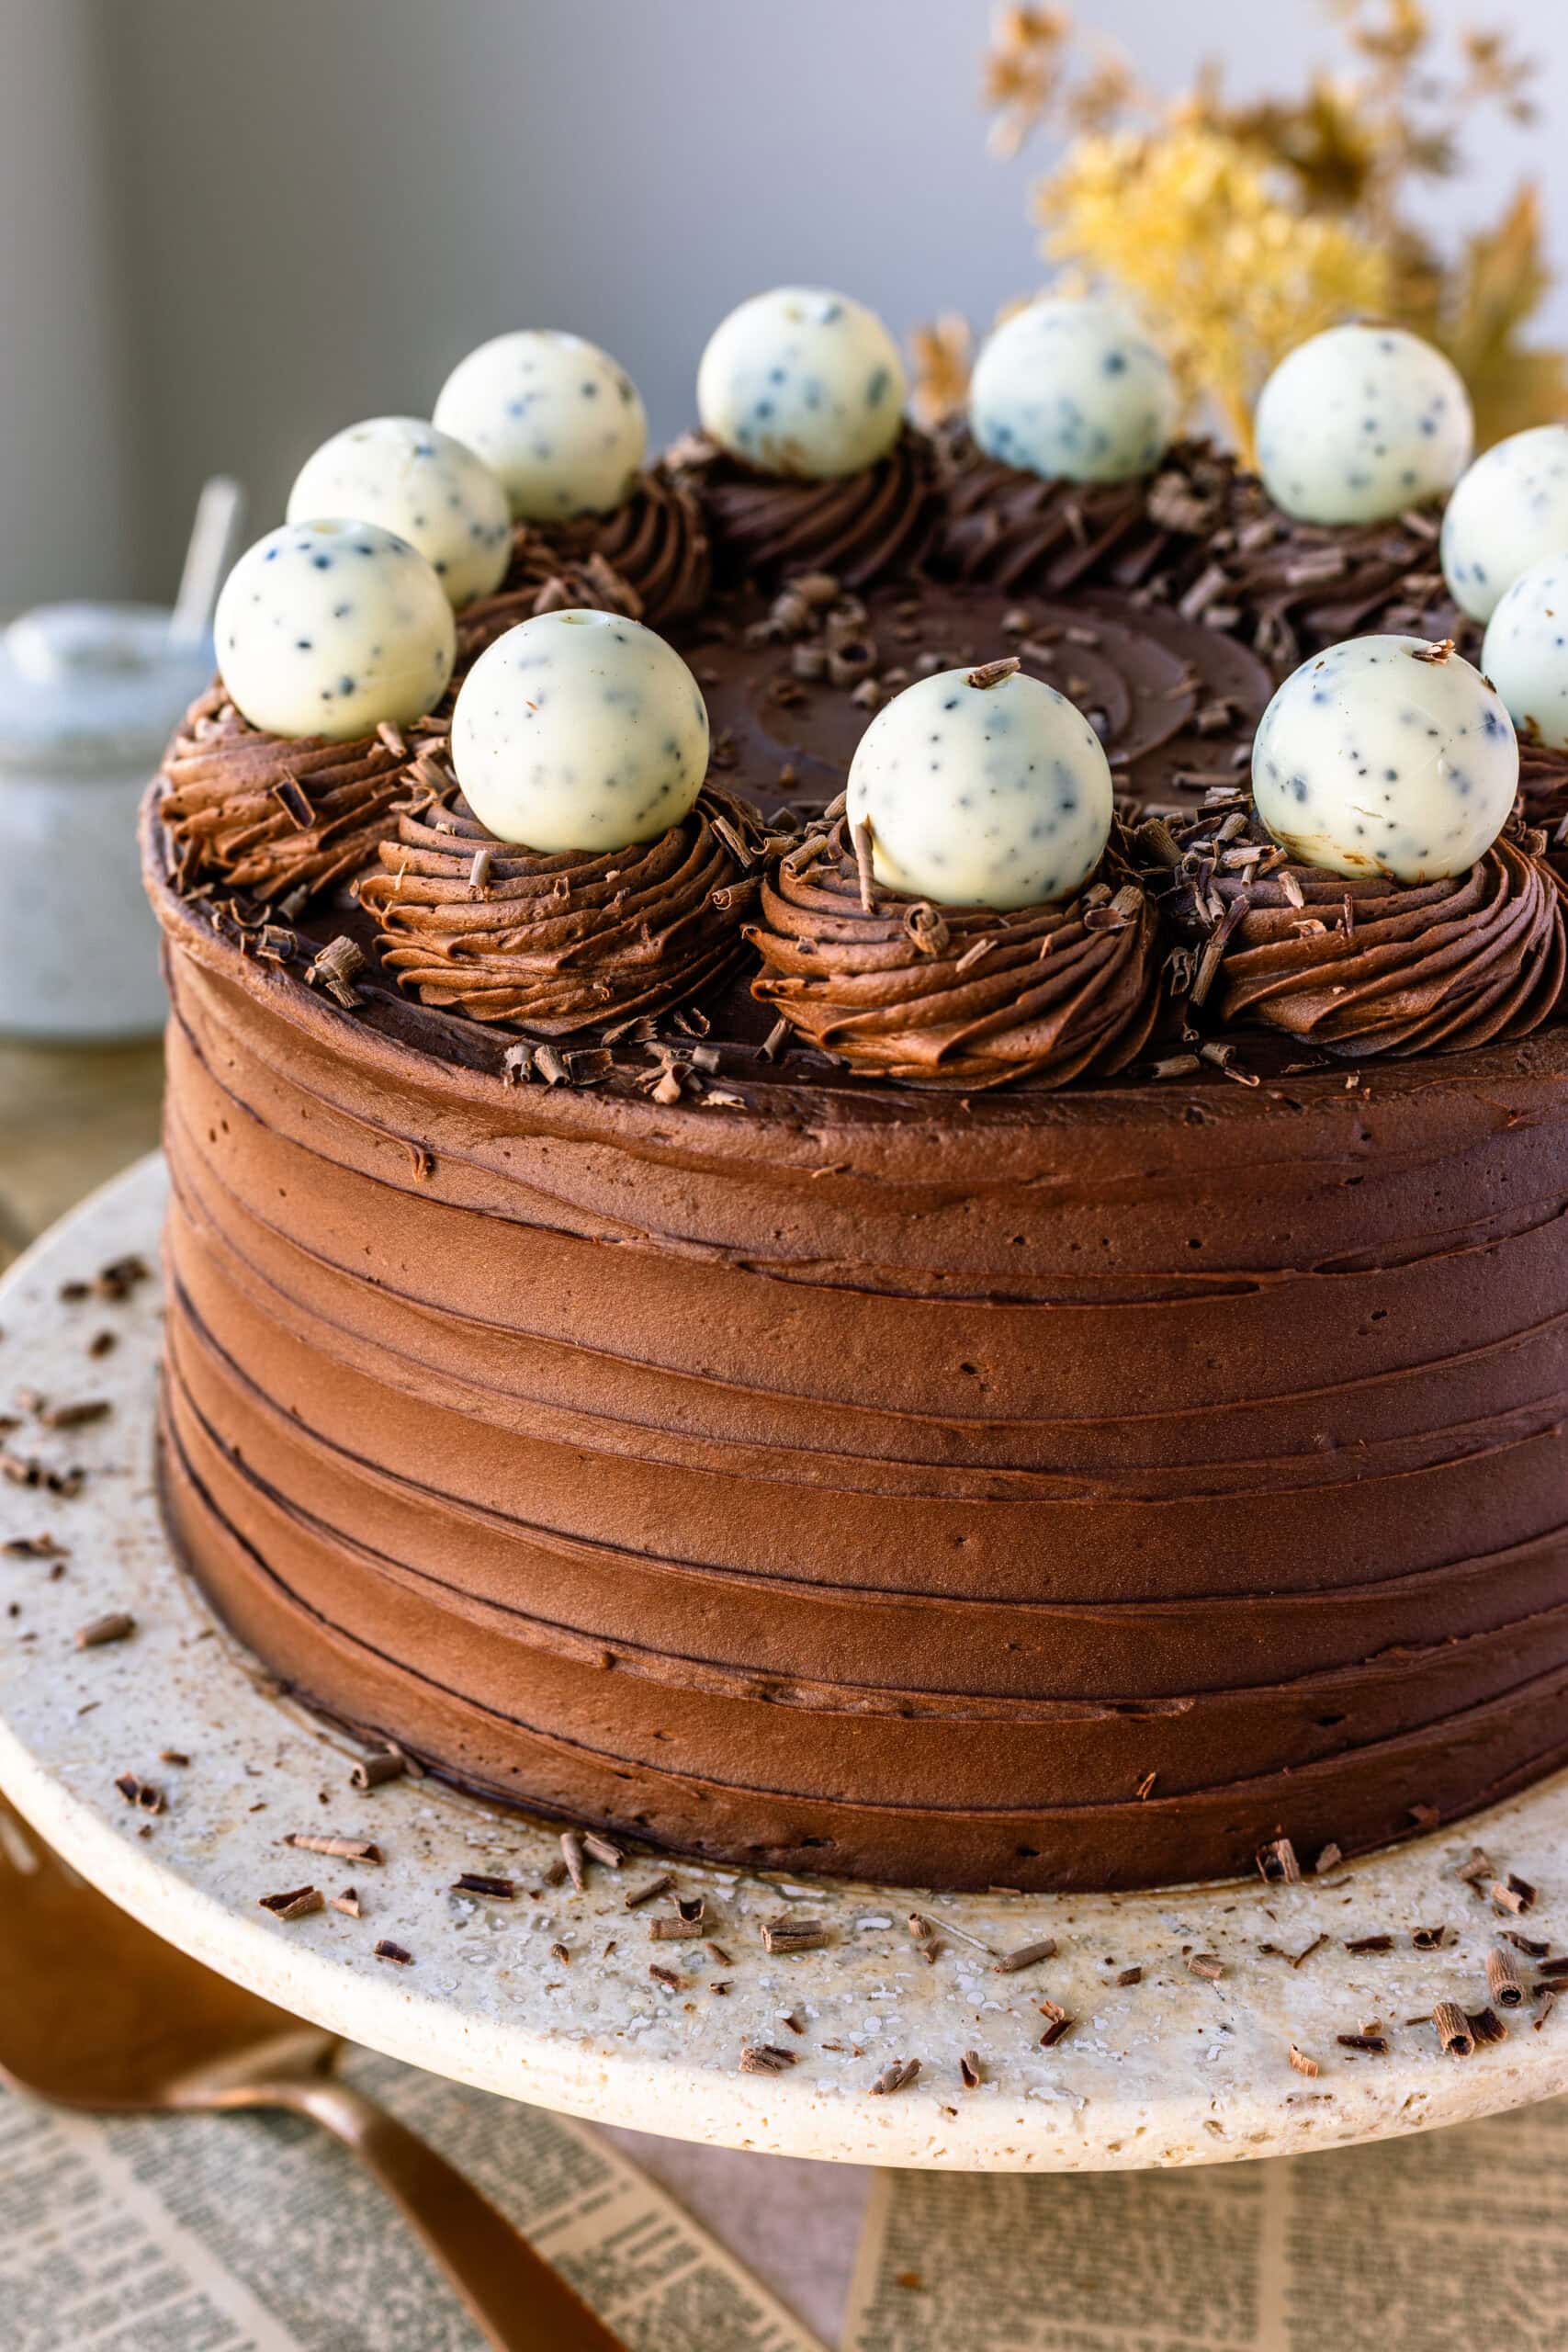
For the final coat, I spread frosting evenly over the sides and top using an offset spatula. To create the textured swirl pattern, I hold a mini offset spatula at a slight angle against the side of the cake and keep my hand steady while slowly turning the cake on a turntable. I use the same approach on the top, letting the movement of the cake — not my hand — create a smooth spiral finish.
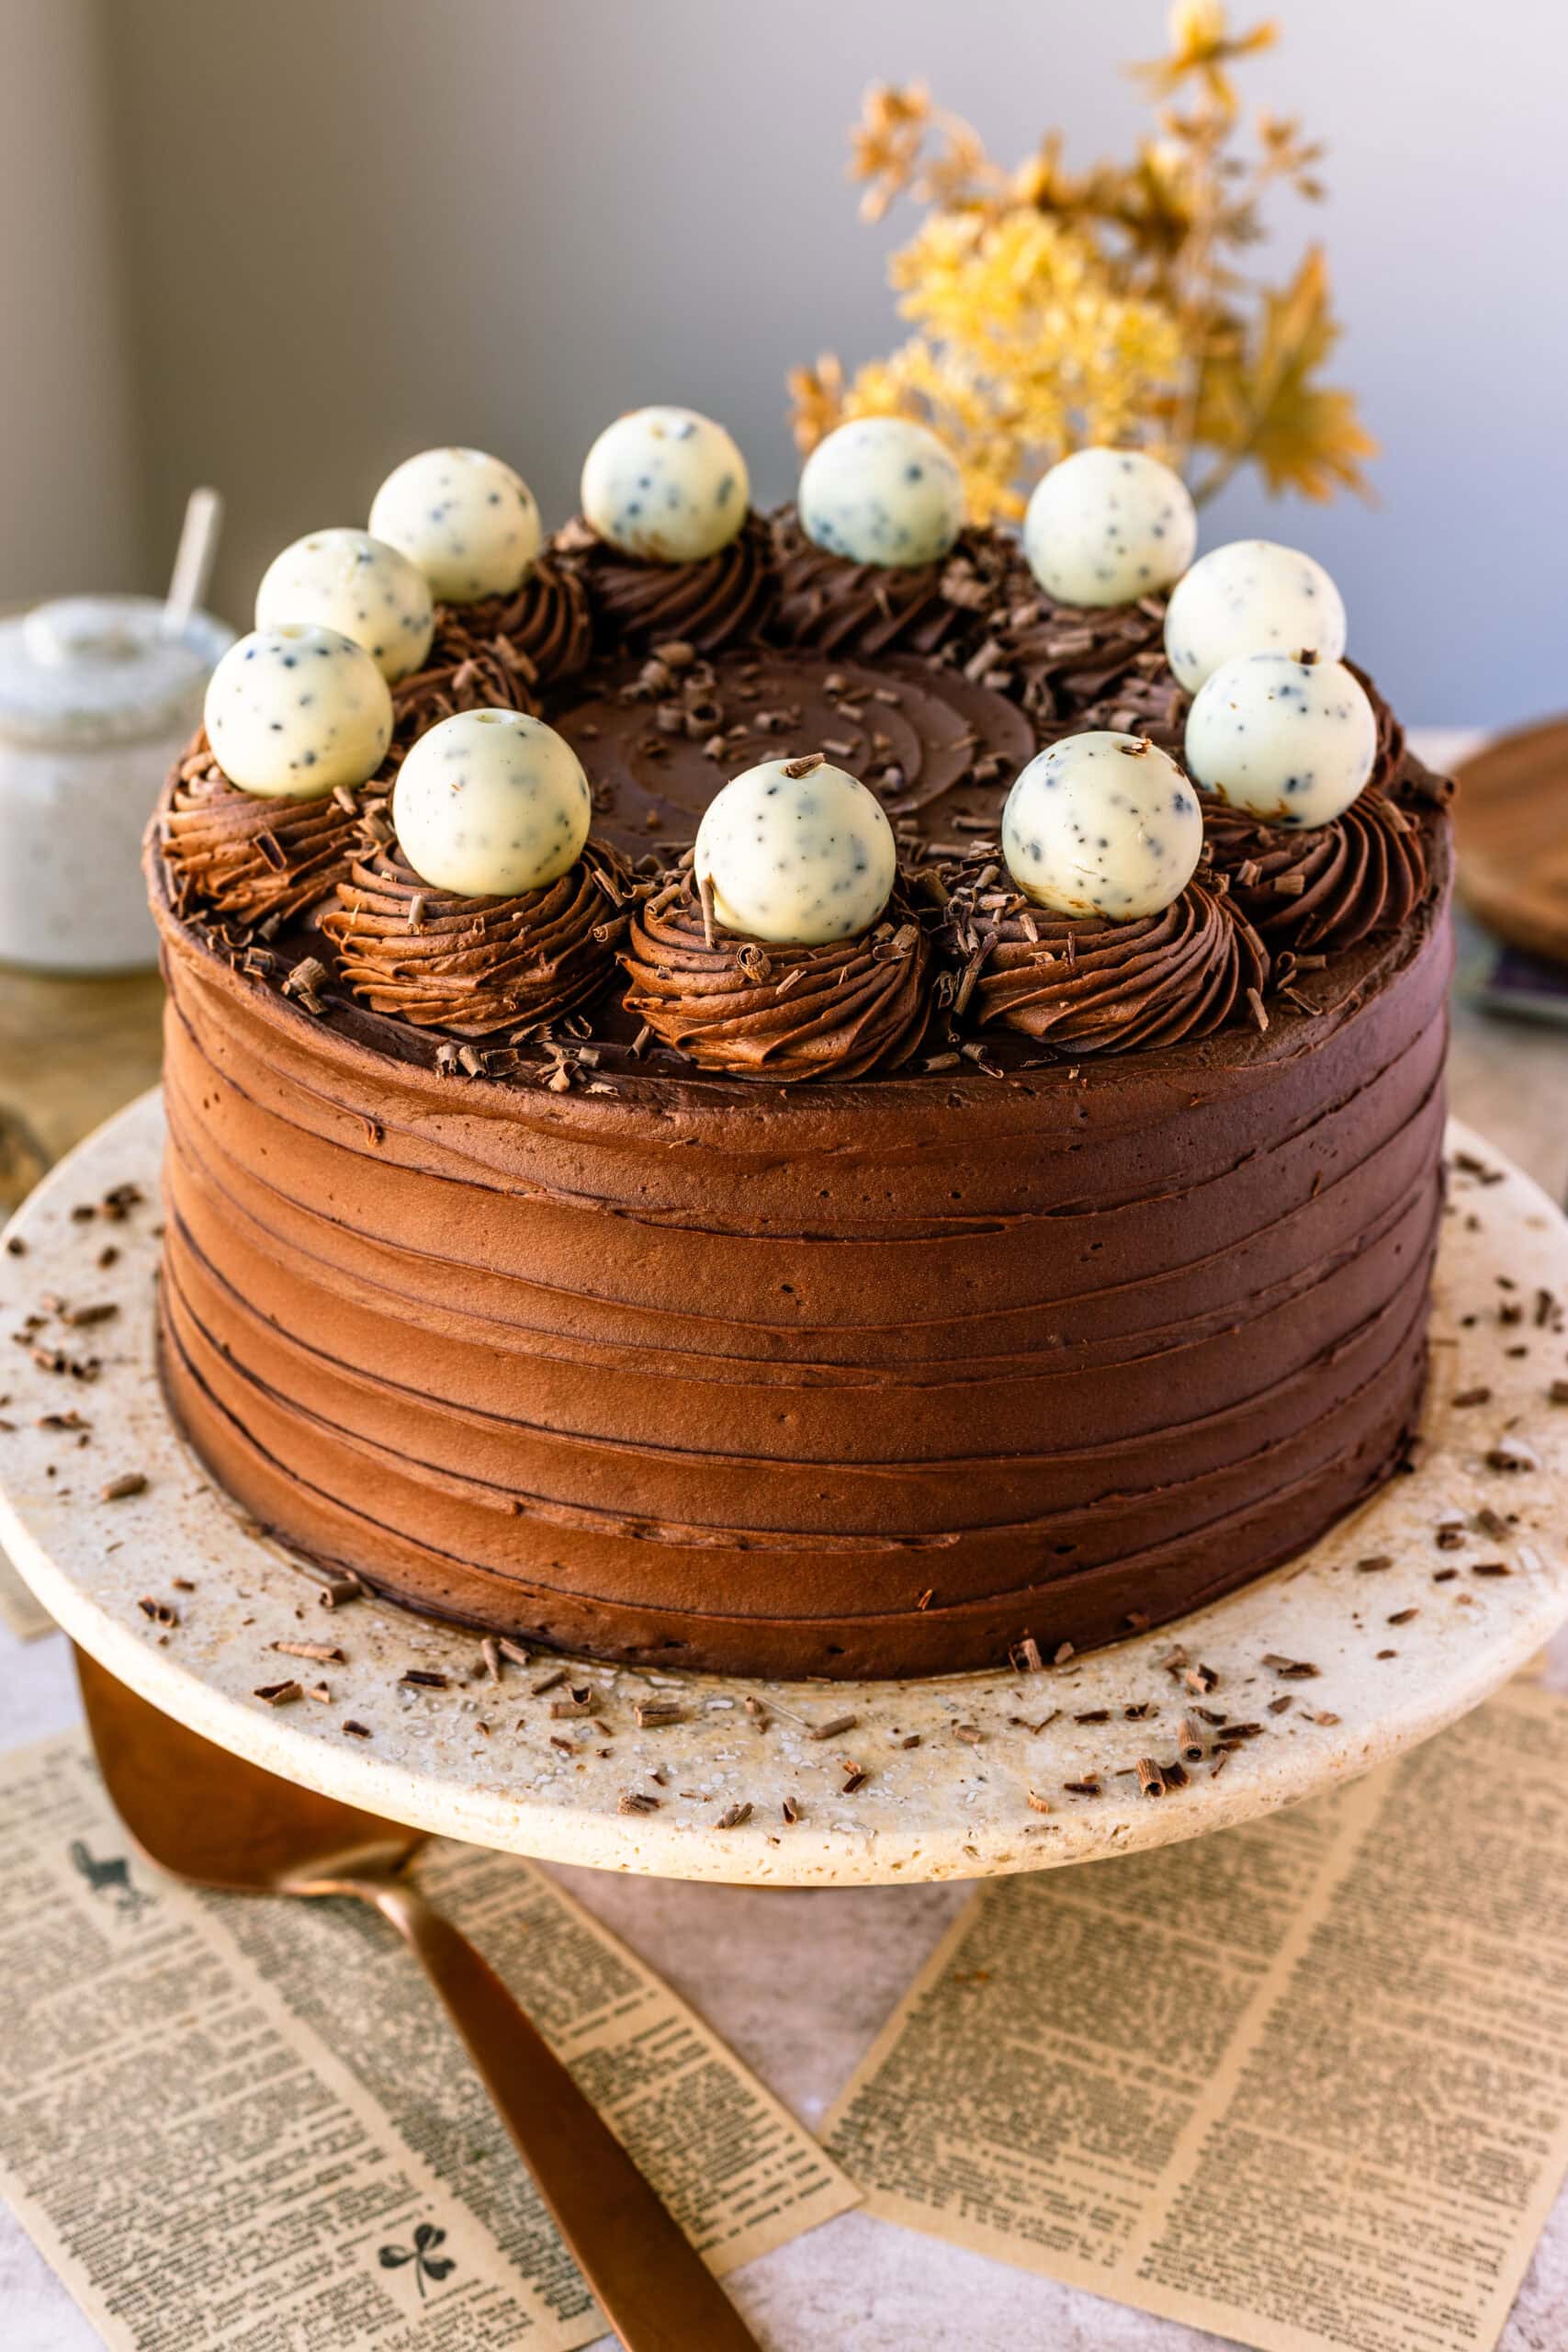
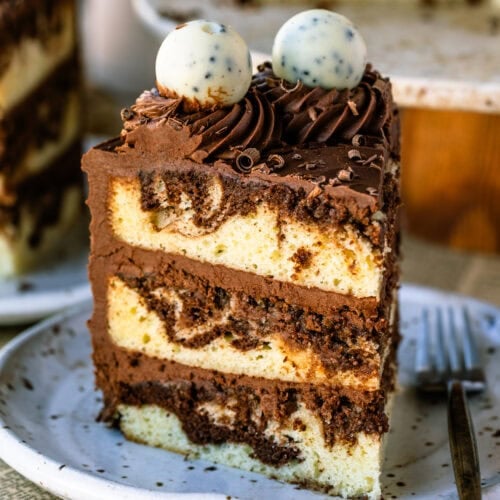
To finish, I fit a piping bag with a 4B piping tip and pipe swirls around the top edge of the cake. I place a chocolate truffle on each swirl and add chocolate shavings or curls when I want a little extra texture and contrast.
Storage
I wrap unfrosted cake layers tightly in plastic wrap or foil to keep them from drying out. At room temperature, they’re fine for one day, but if I’m planning ahead, I freeze them for up to two months — it actually makes assembly easier later on. Once the cake is frosted, I store it in the refrigerator in an airtight container, where it keeps well for up to four days. If there are leftovers, I wrap individual slices and freeze them, which works surprisingly well and lets you enjoy the cake later without any loss in texture.
FAQ
Can I make this cake without coffee?
Yes. You can use hot water instead of coffee in the chocolate batter. The cake will not taste like coffee either way—the liquid simply helps dissolve the cocoa and deepen the chocolate flavor.
How do I get clean marble swirls in the cake?
Make sure the vanilla and chocolate batters are similar in thickness, then swirl them together gently with a knife just once or twice. Over mixing will blend the batters instead of creating defined marbled swirls.
Can I bake this recipe in different pans?
Yes. This recipe can be baked as a sheet cake or divided into two thicker layers instead of three. Baking times will vary depending on the pan size, so check for doneness with a toothpick.
Can I change the frosting?
Yes. The chocolate frosting can be swapped for vanilla buttercream or a simple chocolate ganache if you prefer a more minimal finish. Or you can use this delicious Cream Cheese Frosting. Another delicious light frosting that would go wonderful with this cake without making it overly sweet would be this Chocolate Whipped Cream.
Can I add chocolate chips or other mix-ins?
Yes. Adding chocolate chips to the chocolate batter adds extra texture and pockets of melted chocolate throughout the cake. Fold them in gently to avoid overmixing.
If you love this recipe, you may also enjoy my Chocolate Bundt Cake, which is brimming with rich chocolate flavor. Another great option is my classic red velvet cake — another perfect option for birthdays and celebrations.
If you bake this cake, I’d love to see it. Share your photos and tag me on Instagram or Facebook so I can admire your beautiful swirls.
Marble Cake
Ingredients
Vanilla Batter
- 3 cups all-purpose flour 360g
- 1 tbsp baking powder
- ½ tsp baking soda
- 1 tsp fine salt
- 1 cup unsalted butter, softened 226g
- 2 cups granulated sugar 400g
- 4 large eggs room temp
- 1 cup whole milk, room temp 240ml
- ½ cup sour cream, room temp 120g
- 1 tbsp vanilla extract
Chocolate Batter Swirl
- ½ cup natural cocoa powder 50g
- ½ cup hot water or hot coffee 120ml
- 3 tbsp granulated sugar 40g
- 2 tbsp melted butter 28g
Frosting
- 1 ½ cups chopped chocolate 255g
- 1 cup heavy cream 240g
- 6 cups powdered sugar 720g
- 1 cup unsweetened cocoa powder 85g
- 2 cups unsalted butter room temp (454g)
- 1 tbsp vanilla extract 15g
Instructions
- Preheat the oven to 350°F (175°C).
- Grease and line three 8-inch cake pans with parchment.
Vanilla Batter
- In a large bowl, whisk flour, baking powder, baking soda, and salt. Set aside.
- In a stand mixer, beat the butter for one minute. Add the sugar and beat for another 3 minutes at medium-high speed, until light and fluffy.
- Add eggs one at a time, beating well after each addition. Mix in the vanilla.
- Add the sour cream and mix.
- Add the flour mixture in 3 parts, alternating with the milk. As soon as the flour incorporates, stop mixing. Set the batter aside.
Chocolate Batter Swirl
- In another large bowl, mix the cocoa powder, hot coffee, sugar, and melted butter together.
- Add 1¾ cups of batter to the bowl.
- Mix with a whisk gently to combine.
Frosting
- Place the chopped chocolate in a heatproof bowl.
- Heat heavy cream in the microwave or in a small saucepan until steaming (not boiling).
- Pour over the chocolate and let sit 1–2 minutes.
- Stir until smooth and fully melted.
- Let it cool to room temperature until soft and spreadable, not warm. It should take about 20 to 30 minutes.
- Sift the cocoa powder and powdered sugar together. Set aside.
- Beat the butter on medium-high for 3–4 minutes until pale and fluffy.
- Add the sifted cocoa powder and powdered sugar to the butter in three additions, mixing on low after each.
- Increase to medium speed and whip for 1 minute.
- Add the cooled ganache and the vanilla in.
- Beat on medium-high for 2–3 minutes until smooth and fluffy.
To assemble
- I recommend weighing both batters and dividing the each number by three, so you have equal amounts in each pan.
- Pour about 1 cup of vanilla batter on the bottom of the prepared pan.
- Add spoonfuls of chocolate batter on top. Followed by more vanilla batter.
- Swirl with a knife once or twice to create a marble effect.
Bake
- Bake the cake layers in the preheated oven for 22–27 minutes. A toothpick should come out clean with a few moist crumbs.
- Cool in pans 10 minutes, then turn out onto racks to finish cooling completely.
To decorate
- Once the cake layers are completely cool, level them if needed. Place the first layer on a cake board or serving plate and spread an even layer of chocolate frosting on top. Add the second layer and repeat, then place the third layer on top. Apply a thin crumb coat around the cake and chill for 15–20 minutes until set.
- For the final coat, spread frosting around the sides and top using an offset spatula. To create the textured swirl pattern shown in the photo, hold a mini offset spatula at a slight angle against the side of the cake and keep it steady while slowly spinning the cake on a turntable. The motion of the turntable—rather than moving your hand—creates clean, even ridges. Repeat the same technique on the top of the cake: hold the spatula still and turn the cake to achieve a smooth, spiral finish.
- Once the frosting is smooth, fit a piping bag with a 4B piping tip and pipe swirls around the top edge of the cake. Finish by placing Lindt truffles (or your preferred chocolate truffles) on top of each swirl. Add chocolate shavings or curls if you want extra texture and detail.
- The cake is now ready to serve or chill until needed.
Notes
Keep the unfrosted layers 1 day at room temp wrapped, or freeze up to 2 months. Store the frosted cake in the fridge for up to 4 days, in an airtight container. You can also freeze the cake slices by wrapping them in plastic and placing inside a freezer container. Coffee: You can use hot water instead of coffee. The cake won’t taste like coffee, the coffee only deepens the chocolate taste. Serving: Let the cake sit at room temperature for about 20 minutes before serving. Weighing: Weighing the batters gives the most even layers; divide each batter into three equal portions before filling the pans.
I made this cake for a birthday at my workplace, and it was a success. The general comment was “sublime”. Thank you!
Ohhhh that’s so lovely to hear! Thank you so much!
How should I increase the recipe if I need an 8” 3-layer cake?
Yes, I would make 1.5x the recipe.
The chocolate frosting was one of the best things I’ve ever tasted but the cake was really dense. What did I do wrong?
Can I not use simple syrup? Will it stay moist even without the syrup?
sure it will stay moist even without the syrup.
Thank you!! I’ll for sure try this out!!!! ♥️
This Marble Layer Cake was a total hit at my friend’s birthday! The marble sponge was moist, and the Chocolate Swiss Meringue Buttercream with Vanilla Swiss Meringue Buttercream was heavenly. The ganache drip added a pro touch. Thanks for this amazing recipe!
I have made this twice, using 9″ round pans. Second time I doubled the vanilla cake recipe, because the first time it cake out too short. This seemed to work perfectly! My only problem is both times I made it, the cake layers are very dense/heavy. I noticed yours looks light and fluffy. What am I doing wrong? Also, my buttercream comes out more yellow-white than white. Might this be the type of butter I used?
about the buttercream coming out yellow could be the type of butter, or just that you arent whipping the butter enough. The longer you whip the butter the lighter in color the buttercream will be. and about the cake coming out dense or heavy could have something to do with overmixing once you add the flour in.
Are there any substitutes for canola oil please?x
Any neutral oils will work.