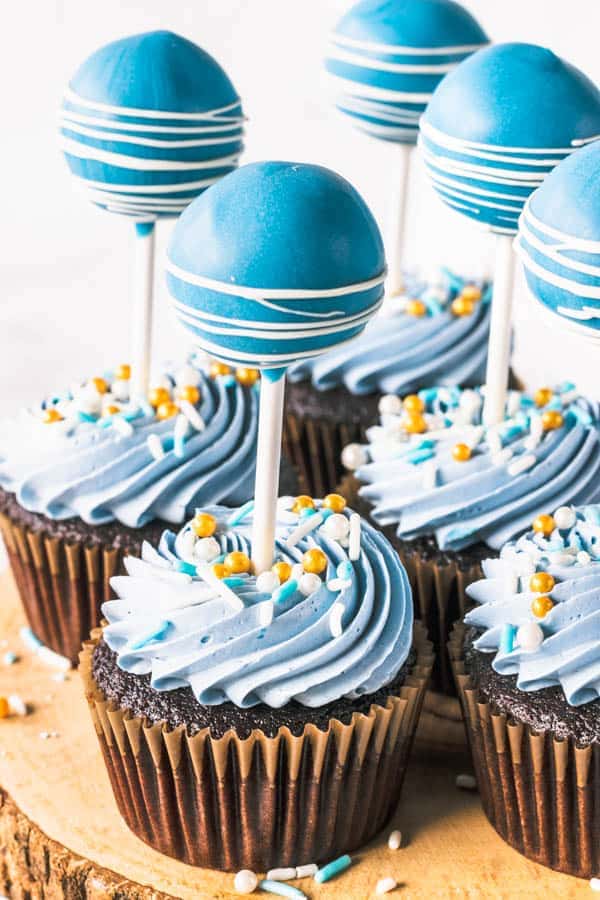
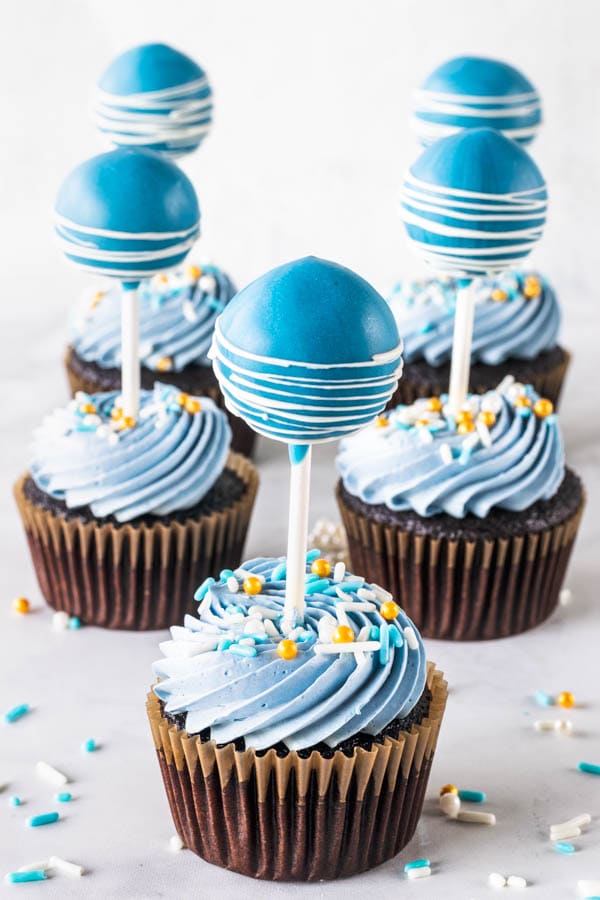
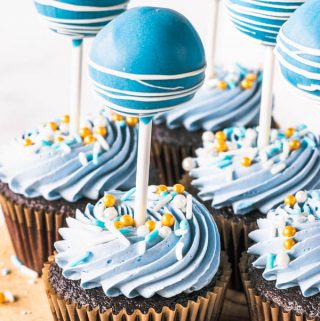
Cake Pop Cupcakes
I made these Cake Pop Cupcakes to celebrate the New Year that is coming.
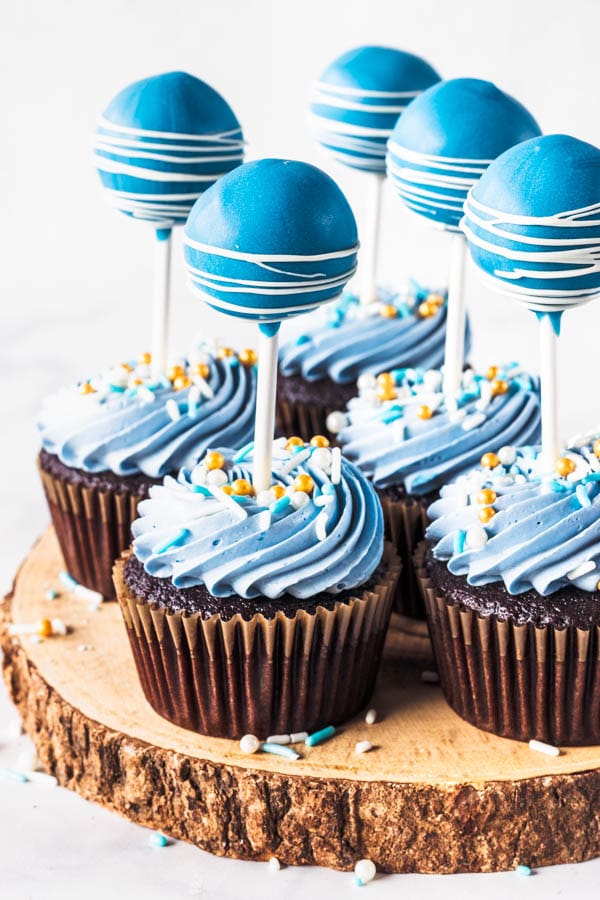
The flavors here in these Cake Pop Cupcakes are very simple. Chocolate and Vanilla. The cupcake is chocolate, topped with Swiss Meringue Buttercream. And the cake pops are chocolate cake, mixed with some of the Swiss Meringue Buttercream, and covered in candy melts.
This was my first time making cake pops. I must say I was in love! I just want to make more of them. They are so delicious and cute!
This post may contain affiliate links. I earn a commission from qualified purchases. Please read our Privacy policy here.
How to make cake pops
You are going to start with some cake. Here I give you the recipe for a 8″ chocolate cake, to be baked and then turned into the cake pops.
Process the cake in the food processor. And then add a bit of frosting to it. Process until the cake turns into a dough.
If the cake is too crumbly, add a bit more frosting to it. Not too much. Don’t go crazy here.
The cake is supposed to resemble a smooth dough.
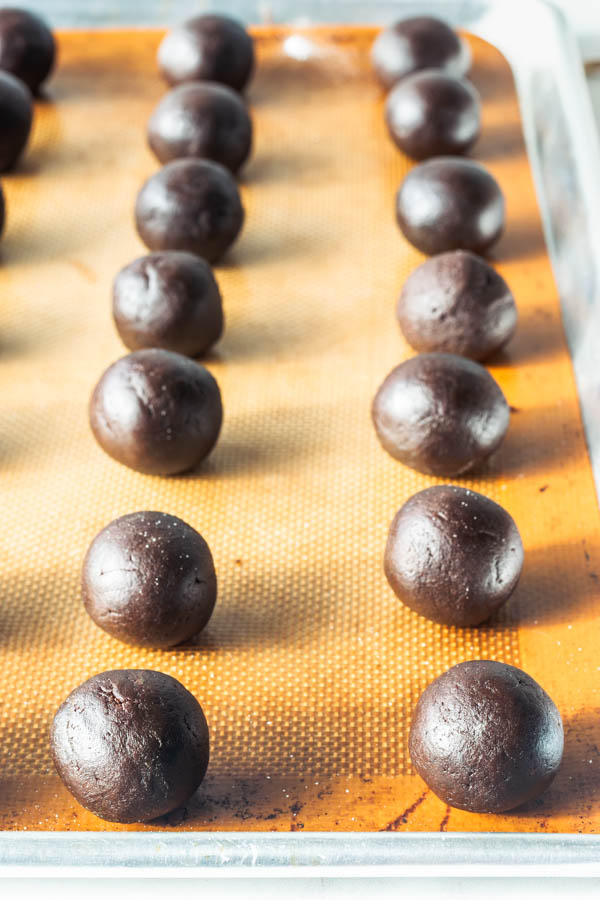
Roll it into balls. I used a cookie scoop to measure my cake balls.
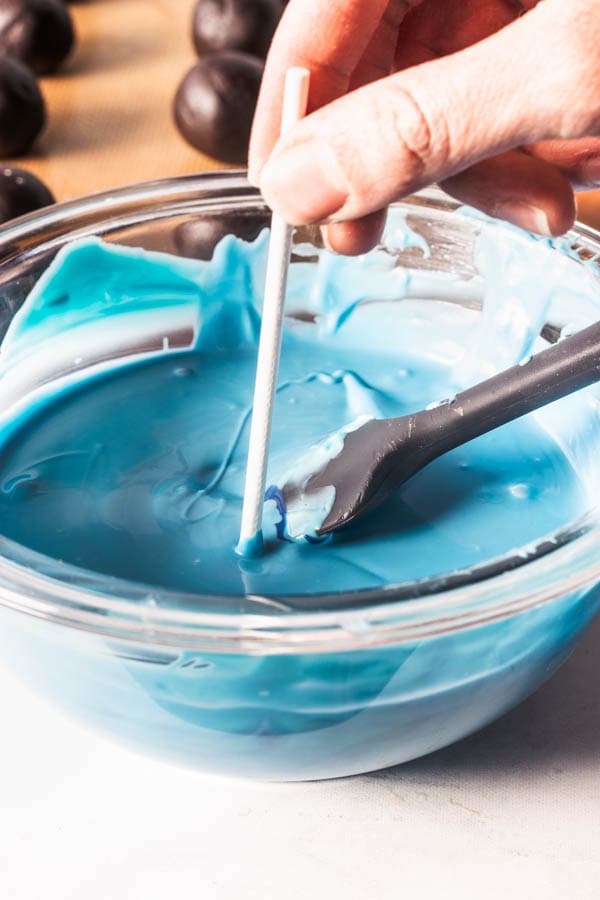
Melt your candy melts. Have your cake pop sticks ready. Dunk the stick in the melted coating and remove excess, leaving a thin layer of coating at the end of the stick.
Insert the stick into the cake pop.
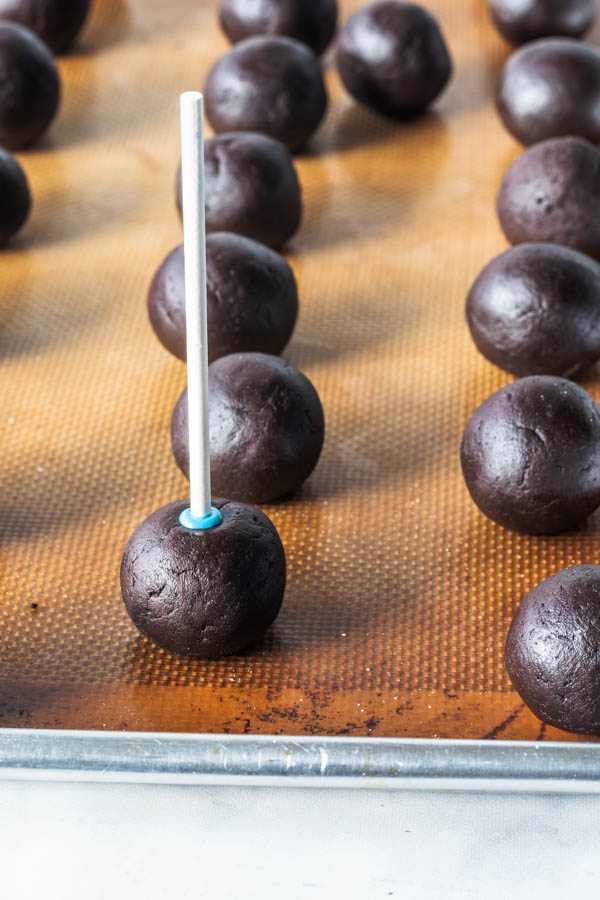
Wait for the coating to set before dipping the cake pops. You can place your baking tray in the fridge for 3 minutes or so to speed up this part.
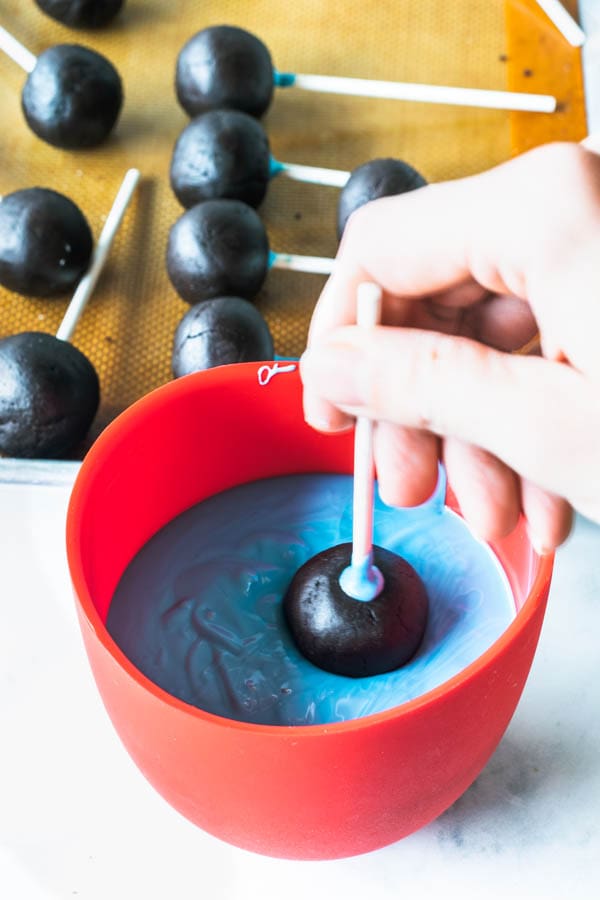
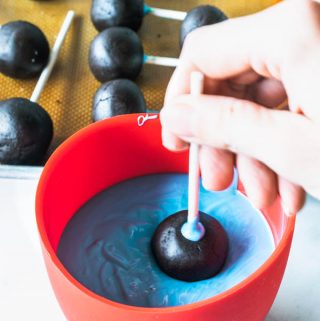
Then dip the cake pops in the coating. Dip them at a 90 degree angle, without twisting or swirling your pop. Simply dunk it and pull it back up at a 90 degree angle.
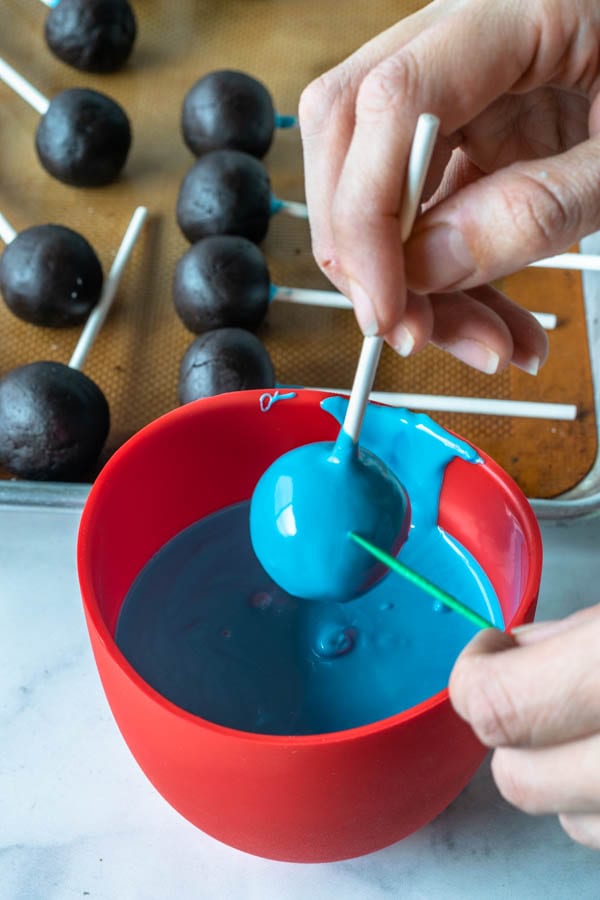
Hold the cake pop over the bowl, letting all the excess coating drip.
TIP: use a toothpick to help the excess coating drip away, and also to pop any air bubbles in your coating, which may lead to cracking.
Important tips about making cake pops
- When you form the cake balls, you may freeze your baking sheet with the assembled balls. Once the balls are frozen, you may place them in a ziplock bag, or air tight container. Wait for them to be frozen to place them in a container, so they won’t stick to each other.
- When you want to coat your frozen cake pops, first make sure to place the frozen cake balls on top of a baking sheet, and let them come to room temperature before proceeding.
- If your cake balls are too cold, or frozen, and you dip them, they will expand as they come to room temperature, and will also cause cracking in the coating.
I would also like to dedicate these cupcakes to my grandpa Manuel (Neco) who passed away last week.
My grandpa was an outstanding human being. A selfless generous soul. He left Portugal when he was 15 years old, hiding in a cargo ship, trying to scape the war.
He ended up in Brazil where he worked many jobs, and saved enough money to open his own bakery. He married my grandma, who opened her own bakery. So you can see where my passion for baking comes from, right? I grew up in a bakery, seeing my grandpa everyday, and my grandma baking in the back.
My grandpa had a warm personality, a kind smile, and a positive attitude, no matter what. And I am so grateful that our paths crossed here in this planet.
I hope you liked my cupcakes from today. These Cake Pop Cupcakes are so delicious and fun to make.
If you want to check out some more Cupcake recipes, I have the perfect archive of over the top cupcakes right here.
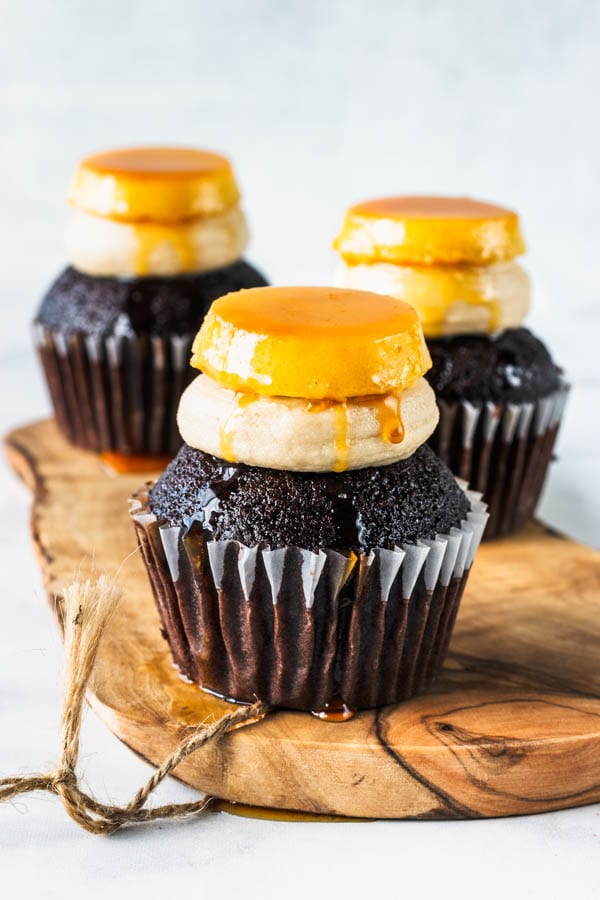
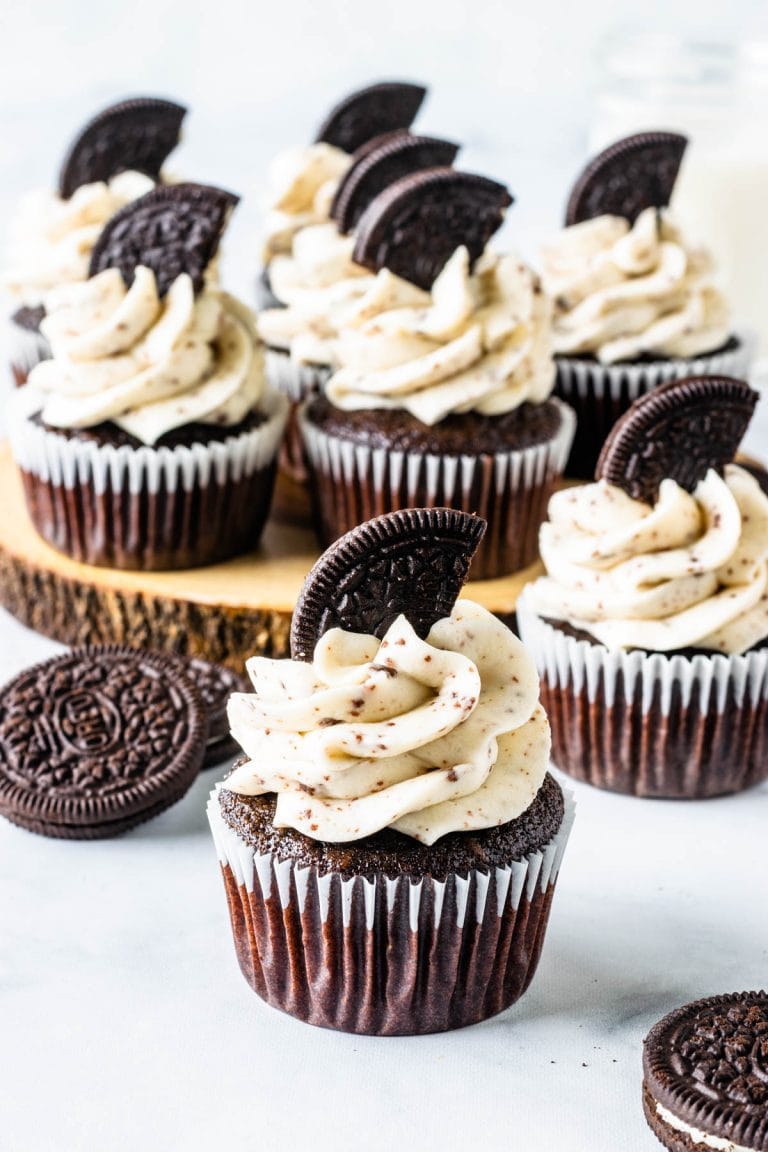
And these are some of my favorites: Hot Chocolate Cupcakes, Flan Cupcakes, Grape Cupcakes.
Cake pop Cupcakes
Ingredients
Chocolate Cupcakes
- 1 1/2 cups all-purpose flour 190 grams 6.75 oz
- 1/4 cup unsweetened cocoa powder 31 grams 1.125 oz
- 1 cup granulated sugar 200 grams 7 oz.
- 1 teaspoon espresso powder
- 1 teaspoon baking soda
- 3/4 teaspoons baking powder
- 1/2 teaspoon fine sea salt
- 1 cup brewed coffee*
- 1 tablespoon white vinegar
- 2 teaspoons vanilla extract
- 1/2 cup canola oil 107 grams 3.8 oz
Swiss Meringue Buttercream
- 4 egg whites 160 grams, 5.6 oz
- 1 cup granulated sugar 200 grams, 7 oz
- 24 tablespoons unsalted butter 340 grams,12 oz
- 2 teaspoons vanilla
Instructions
Chocolate Cupcakes
- Pre-heat oven to 350F. Line cupcake tins with cupcake liners or grease them with butter and flour.
- Sift flour, cocoa powder, sugar, baking soda, baking powder, espresso powder, and salt together in a large bowl.
- In another bowl, mix coffee, vinegar, vanilla and oil. Pour dry mixture over wet ingredients. Whisk briefly, until incorporated. Be careful not to overmix. As soon as you see no more streaks of dry mixture, stop whisking.
- Distribute batter evenly in cupcake pans.
- Bake for 15-20 minutes.
- Remove and let it cool.
Swiss Meringue Buttercream
- About 30 minutes before you start to make your buttercream, remove butter from the fridge. Cut it into thin slices, about 1/4 inch thick. Set aside and let it come to room temperature. Depending on the temperature of your kitchen, you might need an hour or so to have the butter soften. Please note that you don’t want your butter to be too hot and melted either.
- Place egg whites and sugar in a heat-proof bowl or in a double boiler pan.
- Bring a pot of water to a boil, then reduce it to a simmer. Set bowl on top of the pan with simmering water.
- Whisk constantly until egg whites and sugar reach 138F temperature. This ensures that the egg whites will have reached a safe temperature. The temperature of pasteurized egg whites is actually 140F, however, if you bring it up to 138F, the temperature will raise a couple degrees even after you take it out of the heat source.
- Keep whisking mixture for about 30 seconds after you take it off the heat.
- Pour mixture into the bowl of a stand mixer. Be sure to wipe dry the bottom of the bowl to get rid of the condensation that formed before you transfer mixture. Because if a drop of water gets in contact with your egg white/sugar, it will ruin your meringue.
- With the whisk attachment, beat meringue on medium-high speed.
- You are going to beat the meringue until stiff peaks form. Now, this might take a while. Usually takes me about 10 minutes. The reason for that is that the egg whites have to cool down first and then they will be able to reach stiff peak.
- Just let the mixer do its job and cool down the meringue as it whisks it.
- Once your meringue has reached stiff peaks, start adding butter, with the mixer on medium-high speed.
- Add one slab of butter at a time. Waiting a few seconds before adding the next one.
- At times, you will question yourself if your meringue will ever form, the answer is mostly likely: yes it will form. Just be patient. Keep whisking it.
- Add vanilla once you’re done adding the butter.
- At this point, you should see your meringue having hardened up and formed into a smooth cream.
To assemble
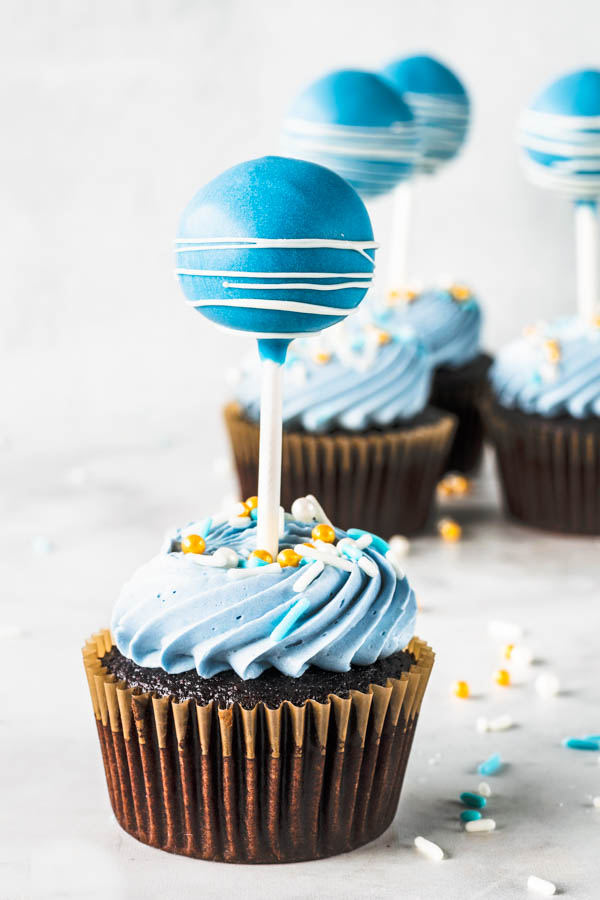
- Simply pipe some frosting on top of the cupcakes. Then place the cake top in the center of the cupcakes.
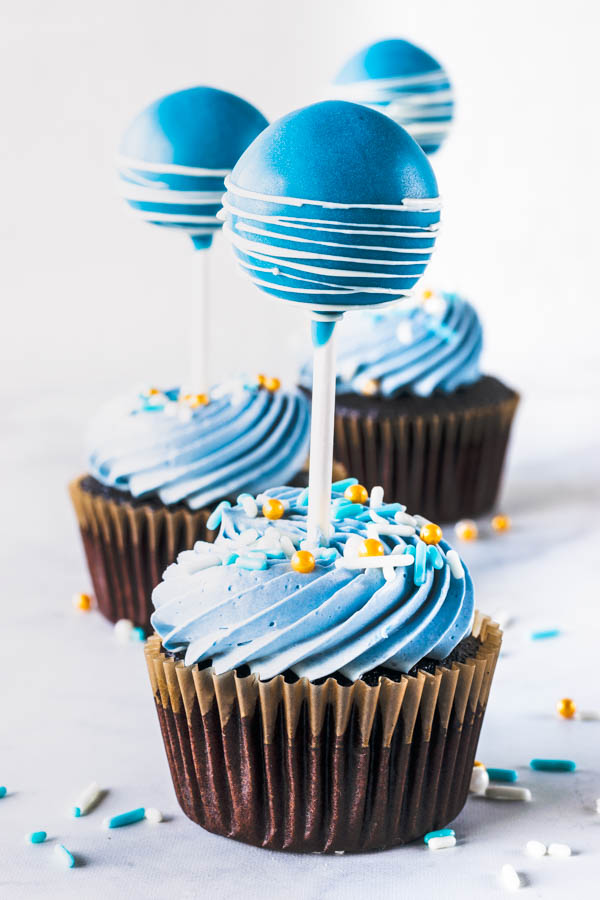
- The cake pop might be heavy and make the cupcake tilt over because the cupcake is so light. I had a couple of cupcakes fall over because of it. So next time, I would fill the cupcakes with something, jam, or frosting, or another buttercream, to make the cupcake heavier so this won’t happen. If you are careful with it, and place cupcakes in little cupcake holders, you should be fine without a filling in your cupcakes.
Storage
- Since I didn’t fill these cupcakes with jam, or any type of frosting/filling that needs to be refrigerated, you can keep them at room temperature, in a container, for a couple of days. I would move them into the refrigerator if you desire to keep them longer, to keep cupcakes fresher. Cake pops will usually keep for a long time outside of the fridge, granted you didn’t use any frosting that requires refrigeration to make your pops. Some places say they will keep well in an air-tight container at room temperature for up to 2 weeks.
Notes
Cake Pops
Ingredients
Chocolate Cake
- 3/4 cups all-purpose flour 95 grams, 3.37 oz
- 1/4 cup unsweetened cocoa powder 31 grams, 1 oz
- 3/4 teaspoon baking powder
- 1/2 teaspoon baking soda
- 1/2 teaspoon fine sea salt
- 1/4 cup unsalted butter room temperature 56 grams, 2 oz
- 1/2 cup granulated sugar 100 grams, 3.5 oz
- 1/4 cup brown sugar 50 grams, 1.75 oz
- 1 egg
- 1 teaspoons vanilla extract
- 1/3 cup milk
- 1/3 cup hot brewed coffee* read note
To assemble
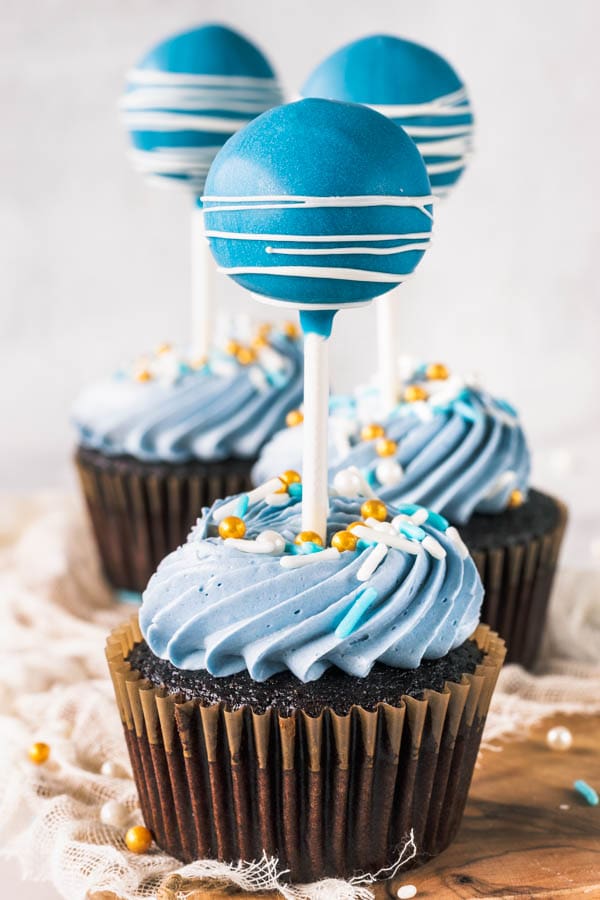
- Candy melts I ended up using about 12 ounces of blue candy wafers, and just a few ounces of the white one. Use whatever color you prefer.
- About 2 tablespoons of frosting I used some of the Swiss Meringue Buttercream from the recipe above
Instructions
Chocolate Cake
- Pre-heat oven to 350F.
- Butter one 8″ cake pan and place a parchment paper circle in the bottom of pan. Butter parchment. Set aside.
- Sift together flour, cocoa powder, baking powder, baking soda, salt, and espresso powder, if using it. Set aside.
- Cream butter at medium-high speed for 1 minute.
- Add sugar slowly, cream for another 2 minutes.
- Add eggs to the mixture, one at a time, scraping the bowl in between and making sure the first egg is incorporated before adding the second one.
- Add vanilla extract and mix.
- Slowly add milk, mix to combine.
- Pour dry ingredients over wet mixture.
- Fold with a spatula slowly, until ingredients are just combined.
- If you see big clumps of cocoa powder, you can use the whisk to try to gently smooth the batter out.
- Once batter is incorporated, pour hot coffee in the bowl. Whisk until combined.
- Pour batter evenly onto baking pan.
- Bake in pre-heated oven for 20-25 min. After the 10 minute mark, keep checking regularly, because you don’t want to burn your cake or overbake it. Rotate cake when necessary. If the cake is starting to get overbaked on the outside but still raw inside, cover it with some foil to finish baking. Remove cake from the oven once a toothpick comes our clean once inserted in the cake, or better yet, just test it by touching the surface of the cake lightly with your finger. If it springs right back, means your cake is done.
- Once you remove it from the oven, wait 10 minutes, flip cake onto a cookie cooling rack and let cake cool.
- Once cool, wrap each layer individually in plastic wrap and refrigerate until ready to use.
To assemble cake pops
- This recipe will make about 16 cake pops, depending on the size that you will shape them.
- Cut cake into pieces with your hands as you place it in the food processor. Process cakes until crumbled. Add frosting and process until the whole mixture becomes literally a dough.
- If mixture hasn’t become a dough yet, add a bit more frosting. But be aware, don’t add too much. Add just the amount necessary. Test by the teaspoon.
- Once it comes together, you can use a cookie scoop to form balls, roll them between your hands, and place them in a cookie sheet.
- At this point, you can freeze the cake balls, but be aware you will have to thaw them completely and let them come to room temperature before dipping them. This is important because if you dip the frozen pops, they will expand as they come to room temperature and will crack the coating.
- Anyway, to procees, you have to melt your candy melts in the microwave, or according to package instructions.
- You want its consistency to be almost like paint from a can.
- Dip the end of a cake pop stick in the melted coating. Remove excess. Insert it into cake ball.
- Do this to all cake balls. Let the coating set.
- Once set, you may start dipping the cake pops.
- Dip them by simply dunking them at a 90 degree angle, and pulling them up vertically, without swirling or moving the cake pop around in the coating bowl.
- Pull the cake pop up and hold it vertically for quite a bit of time to remove excess coating.
- Use a toothpick to pop any air bubbles, which may also cause cracking in the coating.
- Place your pops on a foam board, or cake pop stand. Let them dry.
- Once dry, melt the white coating, and place it in a zip log bag. Cut a very tiny hole at the end.
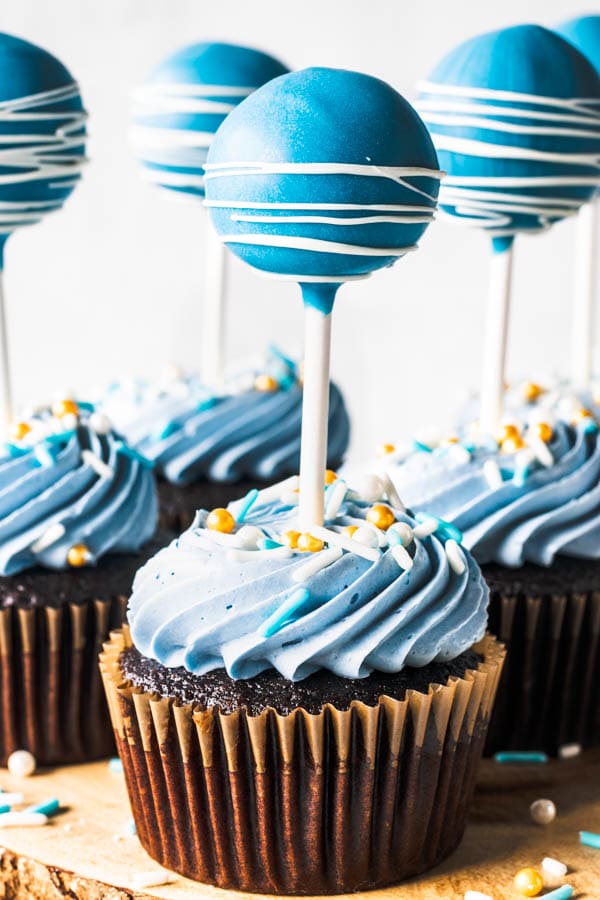
- Holding a cake pop on the horizontal, start piping some white coating moving your hand forward and backward as you rotate the cake pop to form the lines on the cake pop.
Storage
- Cake pops will keep well in an air-tight container, at room temperature (granted you haven’t used any frosting that requires refrigeration to make your cake pops) for 7-10 days.

So sorry for your loss! Beautiful cupcake pops in his memory!
Thank you Patrick.